

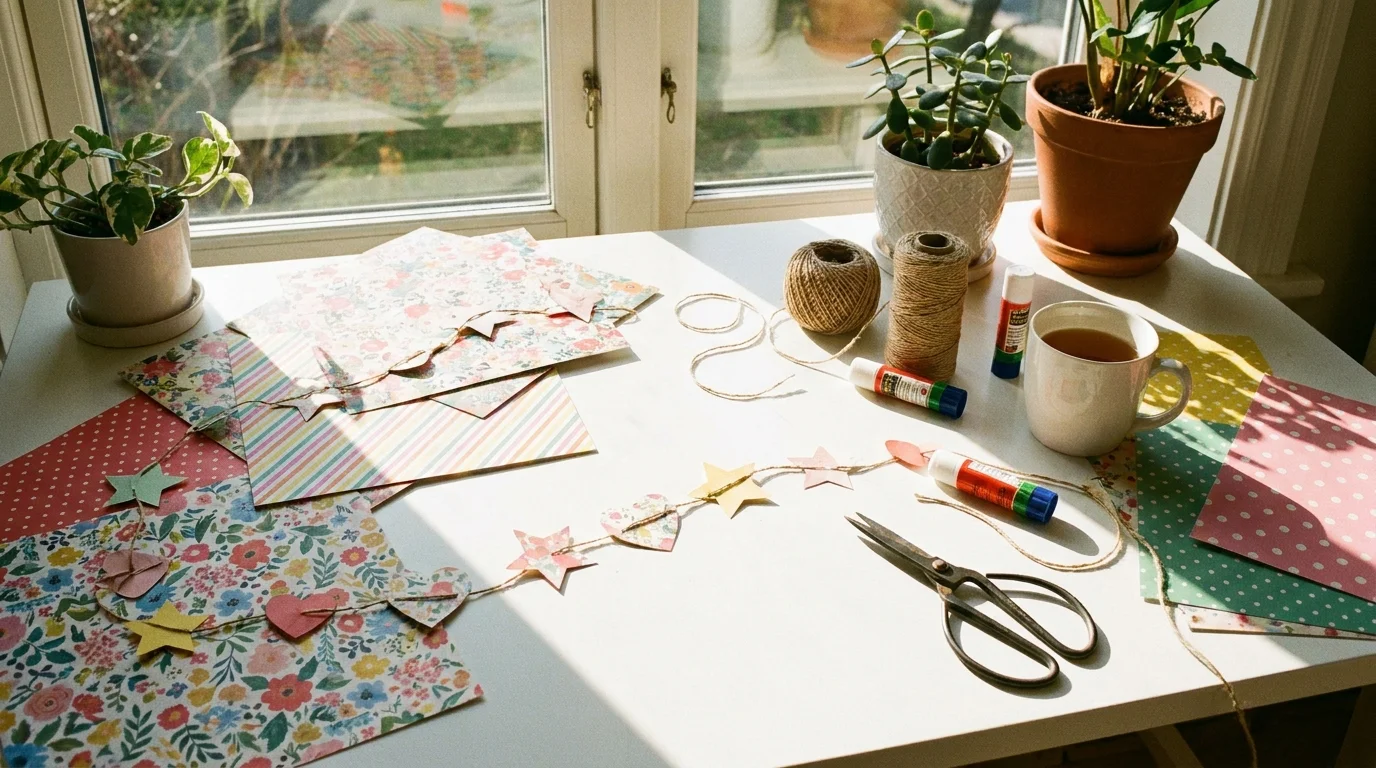
There’s something undeniably charming about a paper garland strung across a mantle, draped above a dessert table, or zigzagging through a birthday party. They’re festive, affordable, and here’s the best part ridiculously easy to make. Whether you’re prepping for a celebration or just want to add a little whimsy to your everyday space, this DIY is for you.
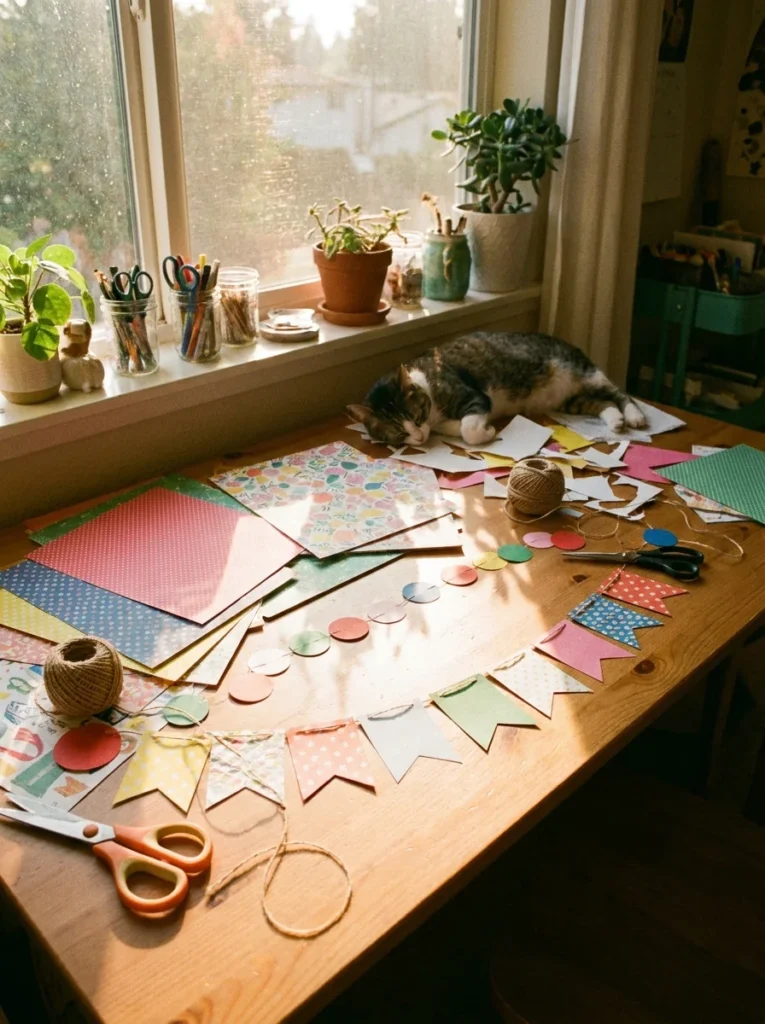
No fancy tools. No prior crafting experience. Just paper, a little patience, and three simple steps standing between you and your next favourite decoration.
What You’ll Need Before You Start
Gathering your supplies takes all of two minutes. Here’s your quick checklist:
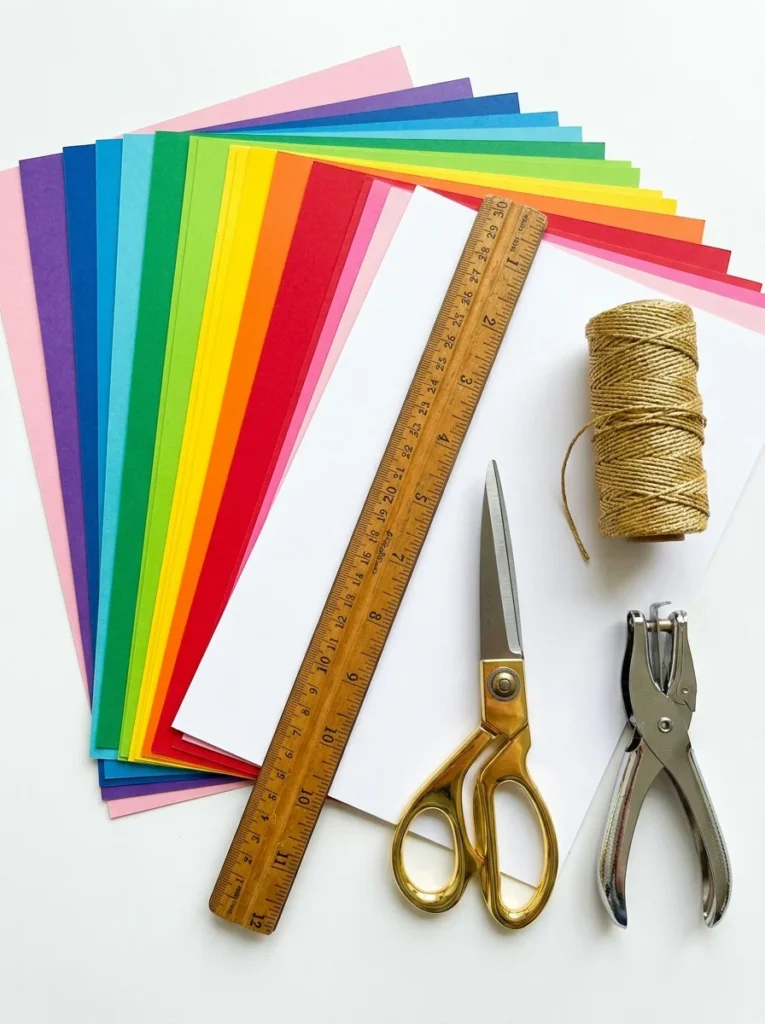
- Paper cardstock, scrapbook paper, tissue paper, or even old book pages
- Scissors or a paper trimmer
- Twine, string, or thin ribbon about 2 metres per garland
- Hole punch or a needle and thread (optional, depending on your style)
- Glue stick or double-sided tape (for looped garlands)
- Ruler (optional, but helpful for clean cuts)
The beauty of this project is that almost any paper works. Raid your recycling bin, use leftover wrapping paper, or splurge on a pretty pack of scrapbook sheets all of it becomes magical once it’s strung up.
Step 1: Cut Your Paper into Shapes
This is where your garland gets its personality.
Choose your shape:
- Strips: the simplest option; cut long rectangles and loop them into chains
- Circles or ovals: use a coin or bottle cap as a template for consistent sizing
- Triangles (bunting-style): classic party look, timeless and easy
- Leaves or stars: fold the paper first and cut for symmetrical shapes in seconds
Aim for pieces that are roughly the same size so your garland looks intentional, not chaotic. A consistent size around 5–8 cm works beautifully for most styles.
Pro tip: Stack 4–5 sheets and cut them all at once to save time. Your hands will thank you.
Step 2: Assemble Your Garland
Now for the satisfying part, watching it come together.
For a looped chain garland:
- Take one strip and form it into a loop, gluing or taping the ends together.
- Thread the next strip through the first loop before sealing it.
- Repeat until your chain is as long as you’d like.
For a strung garland (shapes on twine):
- Use a hole punch to make a hole near the top of each shape.
- Thread your twine through each piece, spacing them evenly about 3–5 cm apart looks clean and full.
- Tie a small knot on either side of each shape to keep them from sliding.
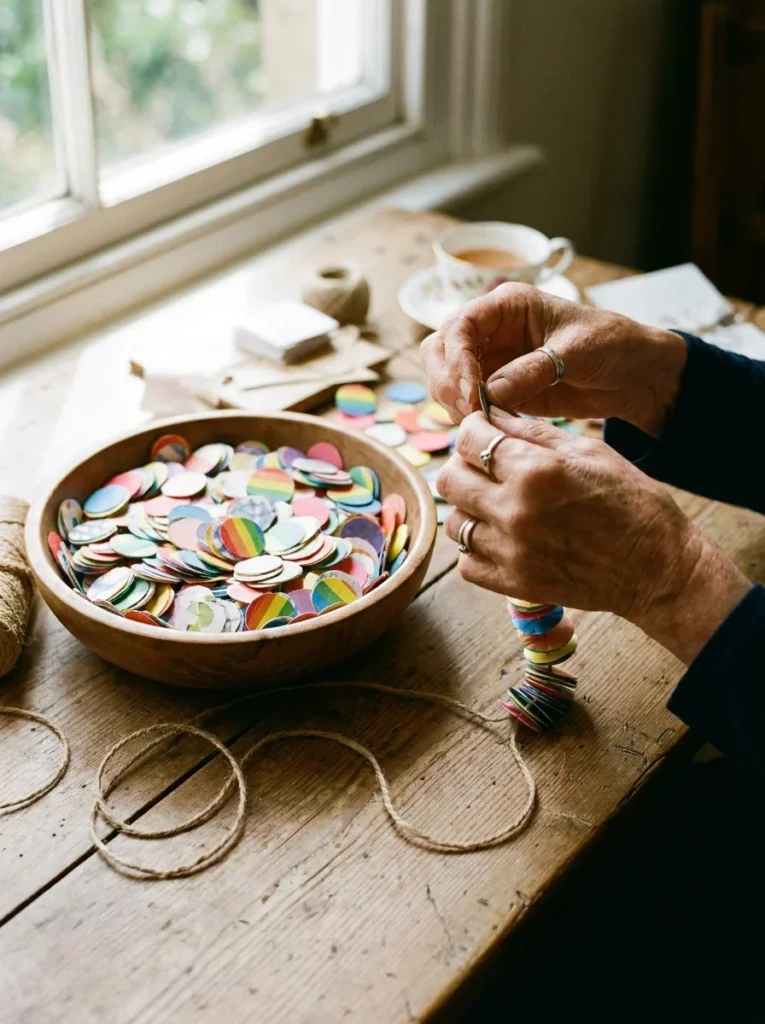
For a sewn garland: Run your shapes through a sewing machine (no thread needed a needle alone creates tiny holes) or hand-stitch them onto the string for a rustic, heirloom feel.
Step 3: Hang and Style It
You’ve made something beautiful, now show it off.
A few styling tips to make your garland look intentional:
- Let it droop naturally. A gentle swag looks far more elegant than pulling it taut.
- Layer two or three garlands at different lengths for a lush, layered effect.
- Mix textures, pair a paper garland with eucalyptus, fairy lights, or dried flowers for a boho touch.
- Use removable hooks or washi tape on walls to avoid damage when you take it down.
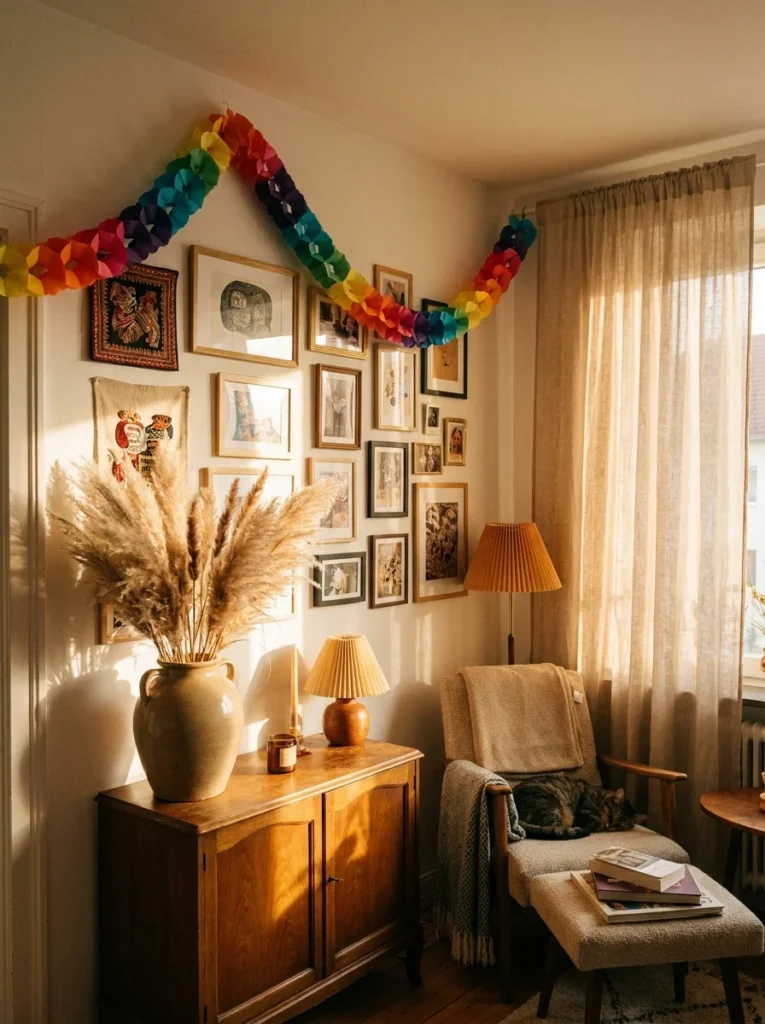
Paper garlands work in literally every setting, birthday parties, baby showers, Christmas, Eid celebrations, a random Tuesday when your home just needs more joy.
The Takeaway
Three steps. A handful of supplies. Endless possibilities.
Paper garlands are one of those rare crafts that look impressive but ask almost nothing of you in return. Once you make one, you’ll want to make ten, in every colour, every pattern, for every occasion.
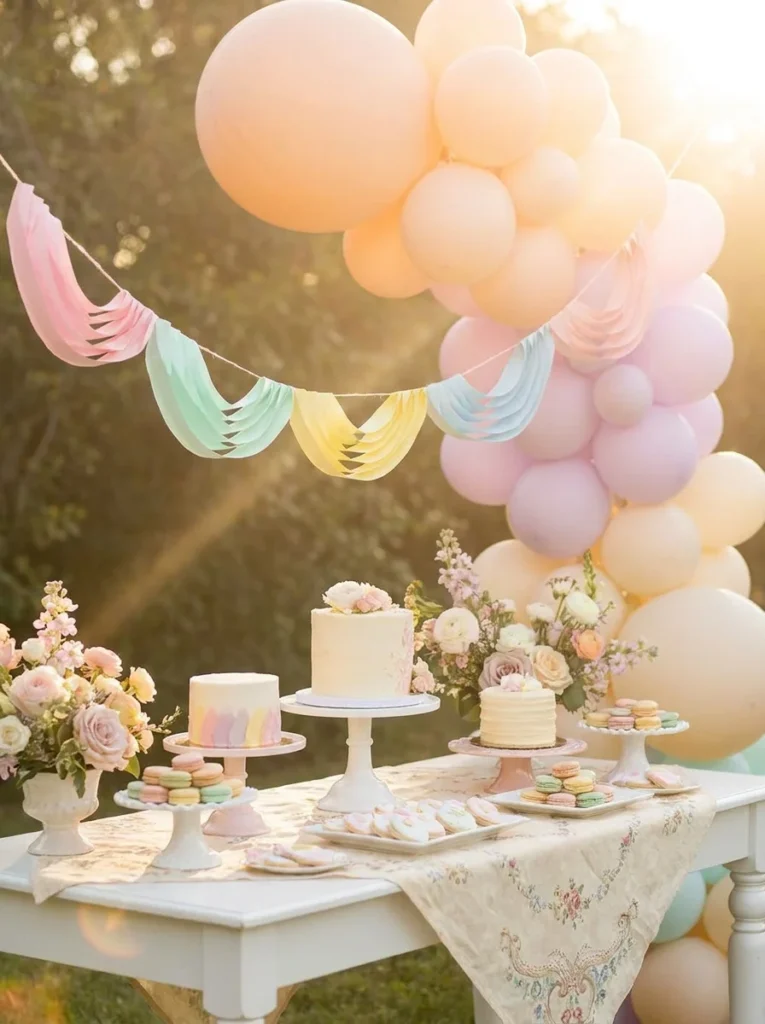
Save this article for your next celebration, and tag your finished garland when you make it — we’d love to see what you create! 🎉
Wait, I need to re-read the rules. I should add 3-5 links total, and I placed only one so far. Let me redo this properly with 3-5 links placed throughout the article in appropriate locations.
There’s something undeniably charming about a paper garland strung across a mantle, draped above a dessert table, or zigzagging through a birthday party. They’re festive, affordable, and here’s the best part, ridiculously easy to make. Whether you’re prepping for a celebration or just want to add a little whimsy to your everyday space, this DIY is for you.
No fancy tools. No prior crafting experience. Just paper, a little patience, and three simple steps standing between you and your next favourite decoration.
What You’ll Need Before You Start
Gathering your supplies takes all of two minutes. Here’s your quick checklist:
- Paper cardstock, scrapbook paper, tissue paper, or even old book pages
- Scissors or a paper trimmer
- Twine, string, or thin ribbon about 2 metres per garland
- Hole punch or a needle and thread (optional, depending on your style)
- Glue stick or double-sided tape (for looped garlands)
- Ruler (optional, but helpful for clean cuts)
The beauty of this project is that almost any paper works. Raid your recycling bin, use leftover wrapping paper, or splurge on a pretty pack of scrapbook sheets, all of it becomes magical once it’s strung up.
Step 1: Cut Your Paper into Shapes
This is where your garland gets its personality.
Choose your shape:
- Strips: the simplest option; cut long rectangles and loop them into chains
- Circles or ovals: use a coin or bottle cap as a template for consistent sizing
- Triangles (bunting-style): classic party look, timeless and easy
- Leaves or stars: fold the paper first and cut for symmetrical shapes in seconds
Aim for pieces that are roughly the same size so your garland looks intentional, not chaotic. A consistent size around 5–8 cm works beautifully for most styles.
Pro tip: Stack 4–5 sheets and cut them all at once to save time. Your hands will thank you.
Step 2: Assemble Your Garland
Now for the satisfying part watching it come together.
For a looped chain garland:
- Take one strip and form it into a loop, gluing or taping the ends together.
- Thread the next strip through the first loop before sealing it.
- Repeat until your chain is as long as you’d like.
For a strung garland (shapes on twine):
- Use a hole punch to make a hole near the top of each shape.
- Thread your twine through each piece, spacing them evenly, about 3–5 cm apart looks clean and full.
- Tie a small knot on either side of each shape to keep them from sliding.
For a sewn garland: Run your shapes through a sewing machine (no thread needed, a needle alone creates tiny holes) or hand-stitch them onto the string for a rustic, heirloom feel.
Step 3: Hang and Style It
You’ve made something beautiful, now show it off.
A few styling tips to make your garland look intentional:
- Let it droop naturally. A gentle swag looks far more elegant than pulling it taut.
- Layer two or three garlands at different lengths for a lush, layered effect.
- Mix textures, pair a paper garland with eucalyptus, fairy lights, or dried flowers for a boho touch.
- Use removable hooks or washi tape on walls to avoid damage when you take it down.
Paper garlands work in literally every setting, birthday parties, baby showers, Christmas, Eid celebrations, a random Tuesday when your home just needs more joy.
The Takeaway
Three steps. A handful of supplies. Endless possibilities.
Paper garlands are one of those rare crafts that look impressive but ask almost nothing of you in return. Once you make one, you’ll want to make ten, in every colour, every pattern, for every occasion.
Save this article for your next celebration, and tag your finished garland when you make it, we’d love to see what you create! 🎉
