

You picked up a crochet hook and have absolutely no idea what to do next. That is completely fine and honestly, you are closer to making something beautiful than you think. Crochet is one of those skills that looks complicated from the outside but clicks surprisingly fast once you get your hands on it. All you need is a hook, some yarn, and about 30 minutes of patience.
This guide walks you through every step from choosing your supplies to finishing your very first stitch. Let’s get into it.
Step 1: Gather Your Supplies (Keep It Simple)
Before you touch a hook, you need the right materials. The good news? You only need two things to start.
- A crochet hook Go with a 5mm or 6mm hook for your first time. This size is easy to hold and works with most beginner yarns. Look for one with a soft rubber grip handle.
- Yarn Choose a medium-weight (size 4) yarn in a light or bright color. Avoid dark colors when starting out you cannot see your stitches clearly, and that gets frustrating fast.
That is genuinely all you need. Scissors and a yarn needle come later for finishing, but for your first session, hook and yarn are enough.
Budget tip: A beginner hook and one ball of yarn costs about $6–$8 total at any craft store. Some stores even sell starter kits.
Step 2: Hold the Hook and Yarn Correctly
This is the part that trips up most beginners and it feels awkward for everyone at first. Give yourself grace here.
Holding the hook:
- Hold it like a pencil (between your thumb and index finger) or overhand like a knife whichever feels natural.
- Your grip should be relaxed. A tight grip causes hand cramps within minutes.
Holding the yarn:
- Drape the yarn over your index finger on your non-dominant hand.
- Use your middle finger and thumb to lightly pinch the yarn tail.
- The yarn should flow with light, consistent tension not too loose, not pulled tight.
It will feel weird for the first 10 minutes. Then it starts to feel normal. Keep going.
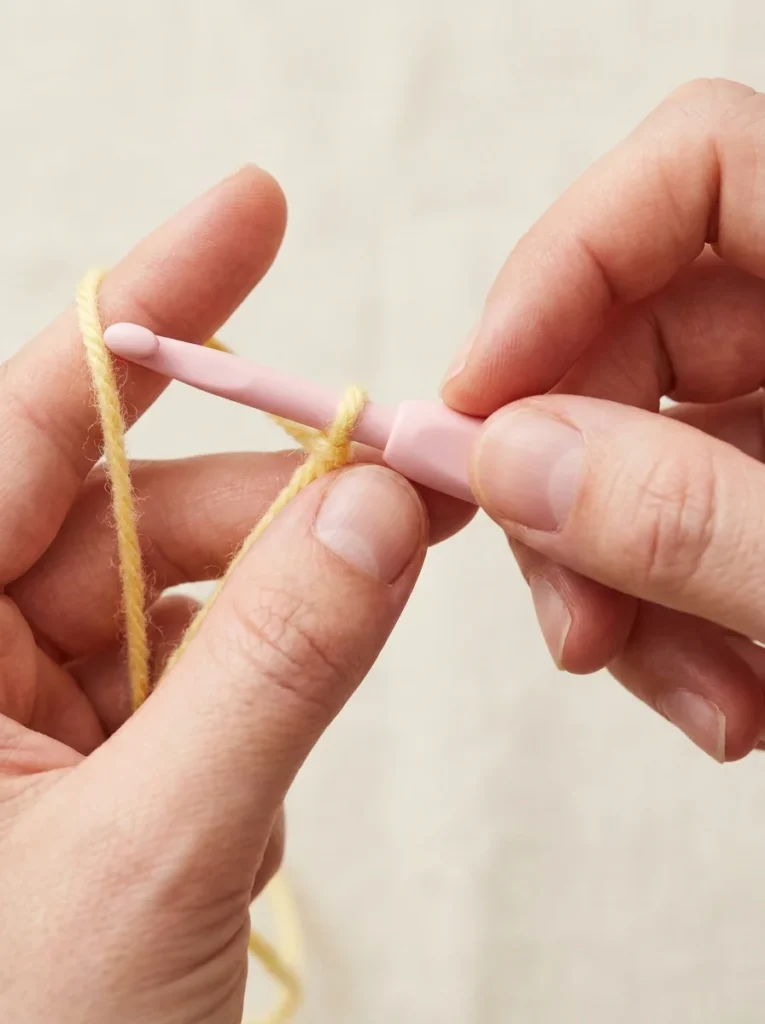
Step 3: Make a Slip Knot
Every crochet project starts with a slip knot. It is the anchor point between your yarn and your hook.
- Make a small loop with your yarn, crossing the working end over the tail.
- Reach through the loop and pull the working yarn through to create a new loop.
- Slide that new loop onto your hook.
- Pull both ends gently to snug it not too tight.
The loop on your hook should slide freely. If you cannot move it, loosen it slightly.
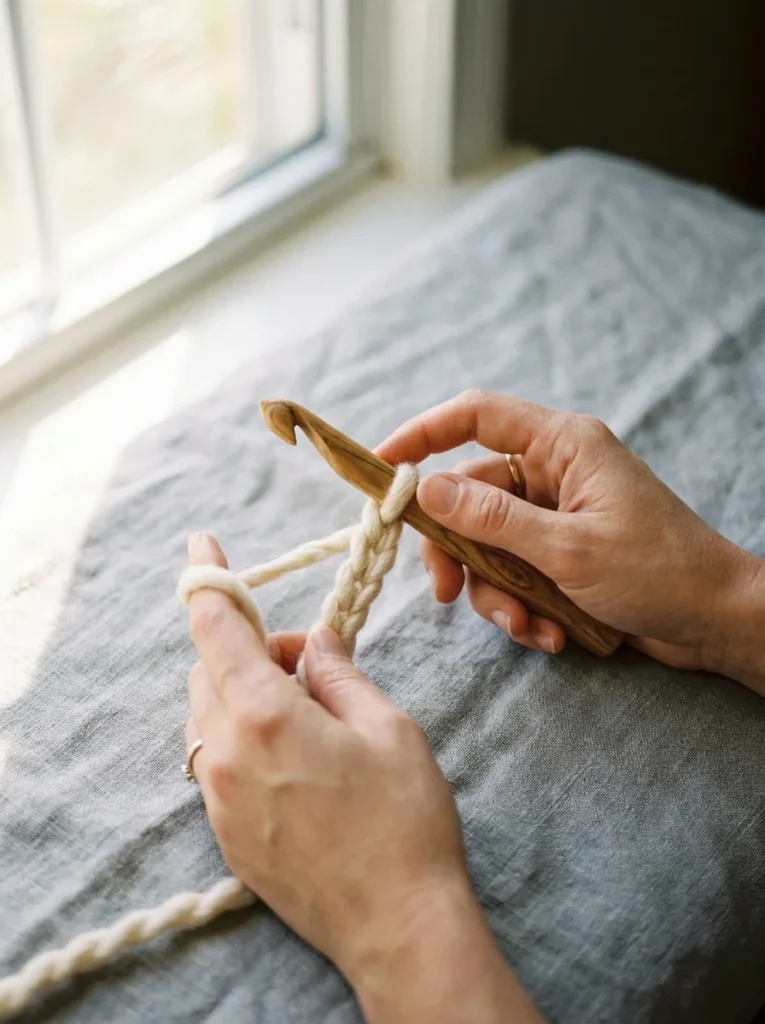
Step 4: Learn the Chain Stitch
The chain stitch is the foundation of almost every crochet pattern ever written. Master this and you are already halfway to your first project.
- With the slip knot on your hook, wrap the yarn over the hook from back to front. This is called a yarn over.
- Pull that wrapped yarn back through the loop on your hook.
- You now have one chain stitch. Congratulations.
- Repeat yarn over, pull through to build your chain.
Practice goal: Make a chain of 20 stitches without stopping. Count them as you go. Each “V” shape you see is one chain stitch.
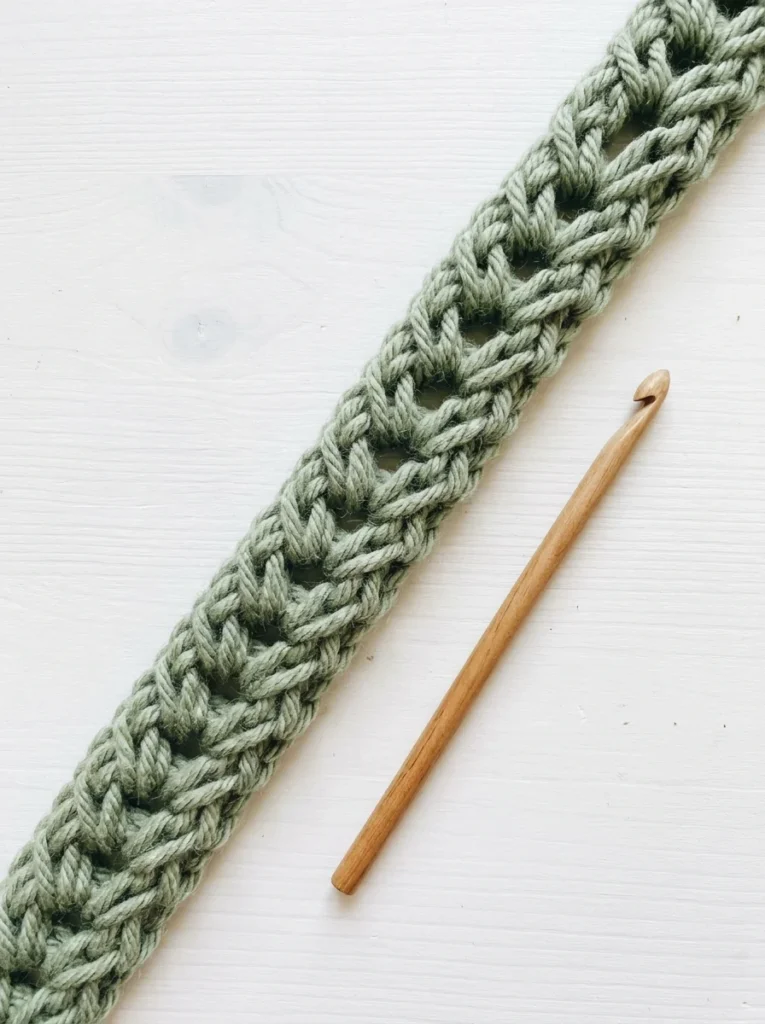
Do not worry if your chain looks uneven at first. Everyone’s first chain looks uneven. It tightens up with practice.
Step 5: Try the Single Crochet Stitch
Once you have a chain of 20, you are ready for the single crochet — the most foundational stitch in crochet.
- Insert your hook into the second chain from the hook.
- Yarn over and pull up a loop. You now have two loops on your hook.
- Yarn over again and pull through both loops.
- That is one single crochet stitch.
- Move to the next chain and repeat across the row.
At the end of the row, chain 1 and turn your work around. Then single crochet back across. Keep doing this row after row and you are officially crocheting.
Step 6: Finish and Fasten Off
When you are ready to stop, you need to secure your work so it does not unravel.
- Cut your yarn leaving about a 6-inch tail.
- Pull the tail all the way through the last loop on your hook.
- Pull it snug.
- Thread the tail onto a yarn needle and weave it through several nearby stitches to hide it.
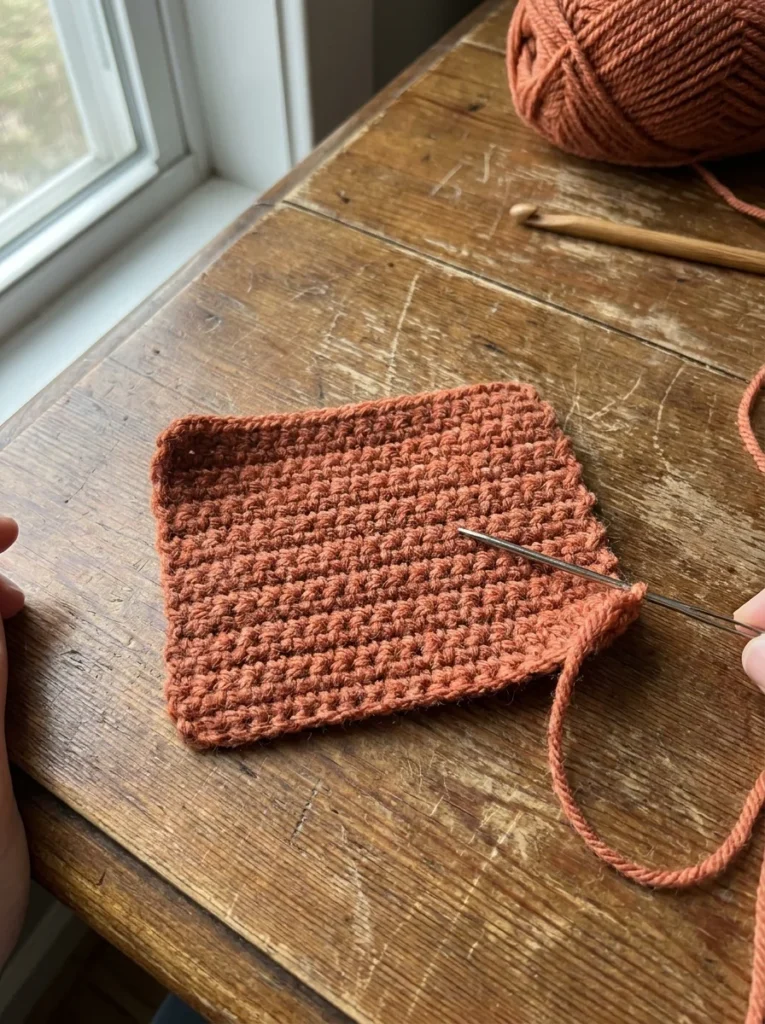
Your piece is now complete and will not come undone.
What to Make First
Once you can chain and single crochet, you can make real things. Start with one of these:
- A dishcloth chain 25, single crochet in rows until square
- A bookmark chain 80, slip stitch back along the chain
- A simple headband chain 8, single crochet for 18 inches, sew the ends together
All three take under two hours and use only the stitches you just learned.
You Are a Crocheter Now
That is all it takes to get started. A slip knot, a chain, and a single crochet stitch. From those three things, you can make dishcloths, scarves, bags, blankets, and eventually just about anything you can imagine.
The biggest thing holding most beginners back is waiting until they feel “ready.” You will never feel fully ready before you start. Pick up the hook, make your chain, and figure it out as you go that is exactly how every experienced crocheter began.
Save this guide and come back to it whenever you get stuck. And when you finish your first little swatch? That small rectangle of handmade fabric? That is something to be genuinely proud of.
Once you have the basics down, explore 22 Easy Crochet Stitches for Beginners You Can Master This Weekend to keep building your skills. You might also enjoy browsing 25 Easy Crochet for Beginners Projects to Start Today for your next project ideas. When you are ready to tackle something a little more structured, How to Crochet a Granny Square: The Foolproof Beginner Tutorial is a perfect next step. And if you want to eventually follow written patterns, How to Read a Crochet Pattern Without Getting Confused will walk you through exactly that.