

There is something about a handmade gift box that a store-bought one simply cannot match. Before the recipient even sees what is inside, they already know someone took time. Someone cared. And here is the best part, making a paper gift box from scratch is far easier than it looks, costs almost nothing, and can be customised for any occasion in minutes.
Whether you are wrapping a birthday present, preparing a holiday hamper, or packaging a small wedding favour, this guide walks you through everything, materials, folding, finishing, so your boxes look polished every single time.
What You Will Need
The beauty of this project is how little it requires. Most of these materials are already sitting in a drawer somewhere.
- Cardstock or thick decorative paper (at least 200gsm for structure)
- A ruler and pencil
- A bone folder or butter knife for crisp creases
- Scissors or a craft knife and cutting mat
- A glue stick or double-sided tape
- Ribbon, twine, or washi tape for finishing
A note on paper choice: Patterned scrapbook paper makes stunning boxes and costs around $0.50–$1 per sheet. For something more minimal, plain kraft paper with a ribbon does the job beautifully. Avoid paper that is too thin, it will not hold its shape once folded.
How to Measure and Cut Your Box Base
Getting the measurements right is the only part that requires a little focus. Everything after this is satisfying.
For a standard small gift box:
- Cut a square of cardstock, 30 x 30 cm works well for a medium-sized box
- Mark 6 cm in from each corner along every edge using a pencil and ruler
- Draw lines connecting your marks to form a smaller square in the centre, this is your box base
- Cut a small square out of each of the four corners (the 6 x 6 cm squares)
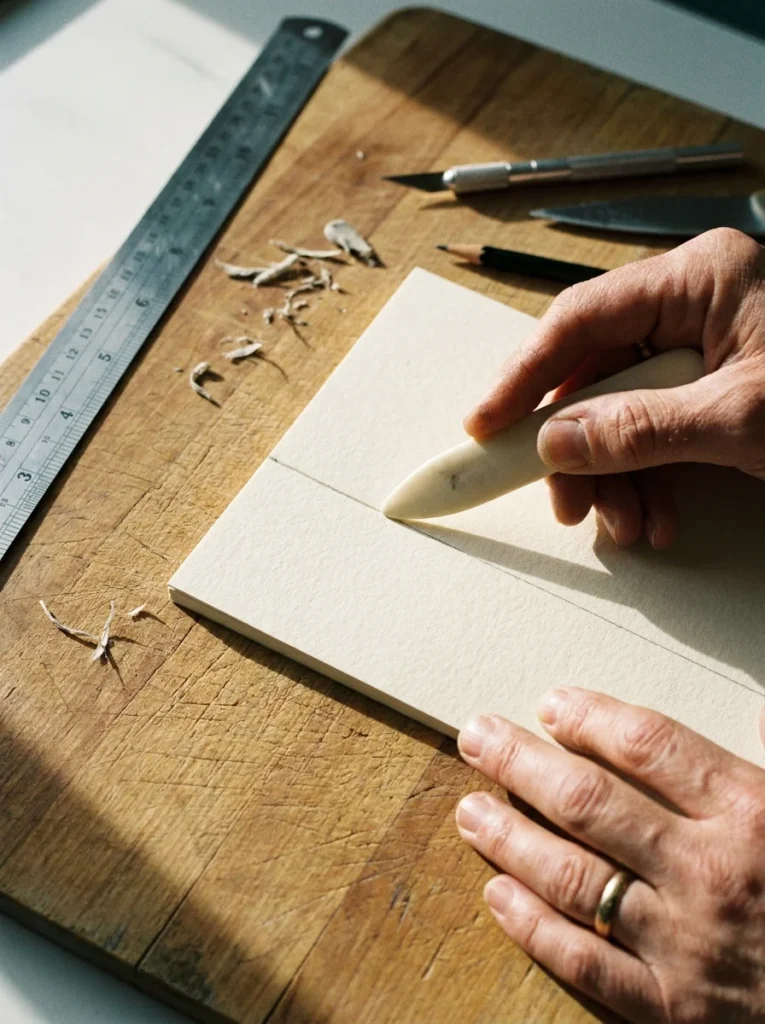
What you are left with is a cross-shaped piece of card. Score firmly along every interior line with your bone folder before folding, this single step is the difference between a crisp, professional-looking box and a wobbly one.
Folding and Assembling the Box
Now the satisfying part begins.
- Fold all four side flaps upward along your scored lines
- On two opposite sides, fold the corners inward to form neat triangular tabs
- Fold these tabbed sides up and over to meet the interior of the box
- Apply glue or double-sided tape to the tabs and press the remaining two sides down over them firmly
Hold each glued section for 20–30 seconds before moving on. A bone folder pressed along the outside edges after assembly sharpens every corner and gives the finished box a structured, clean look.
For the lid: Repeat the exact same process with a sheet that is 0.5 cm larger in each direction than your base sheet. This slight size difference means the lid fits over the base without forcing.
Decoration and Finishing Touches
This is where your box goes from functional to genuinely beautiful.
A few ideas that always work:
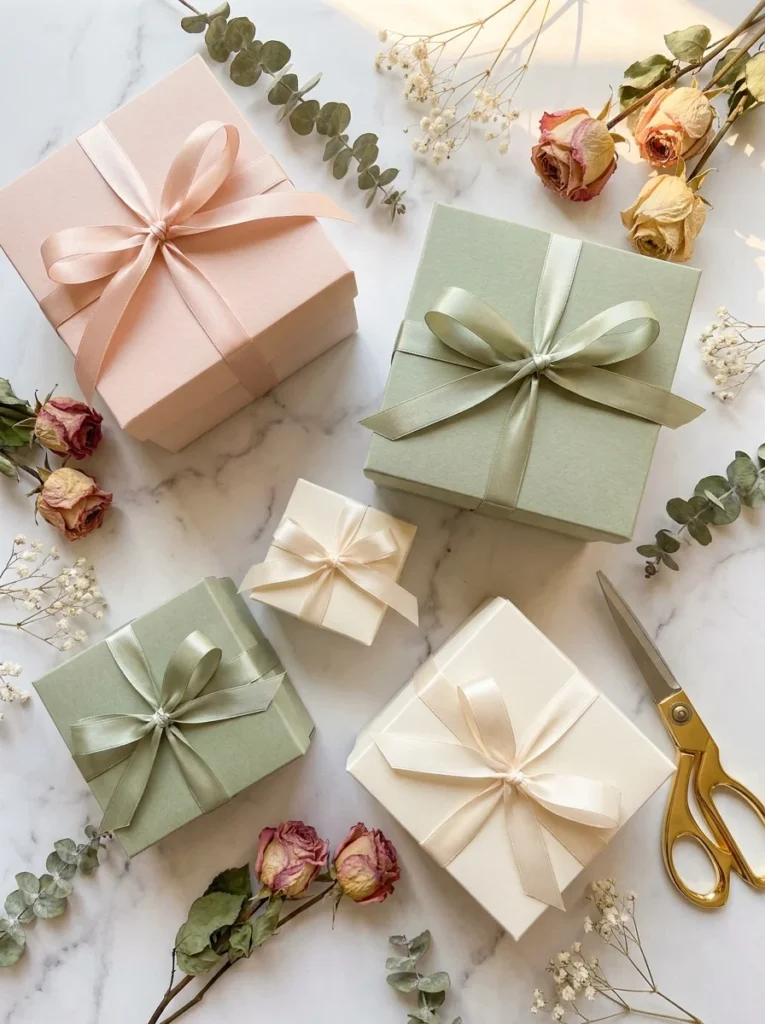
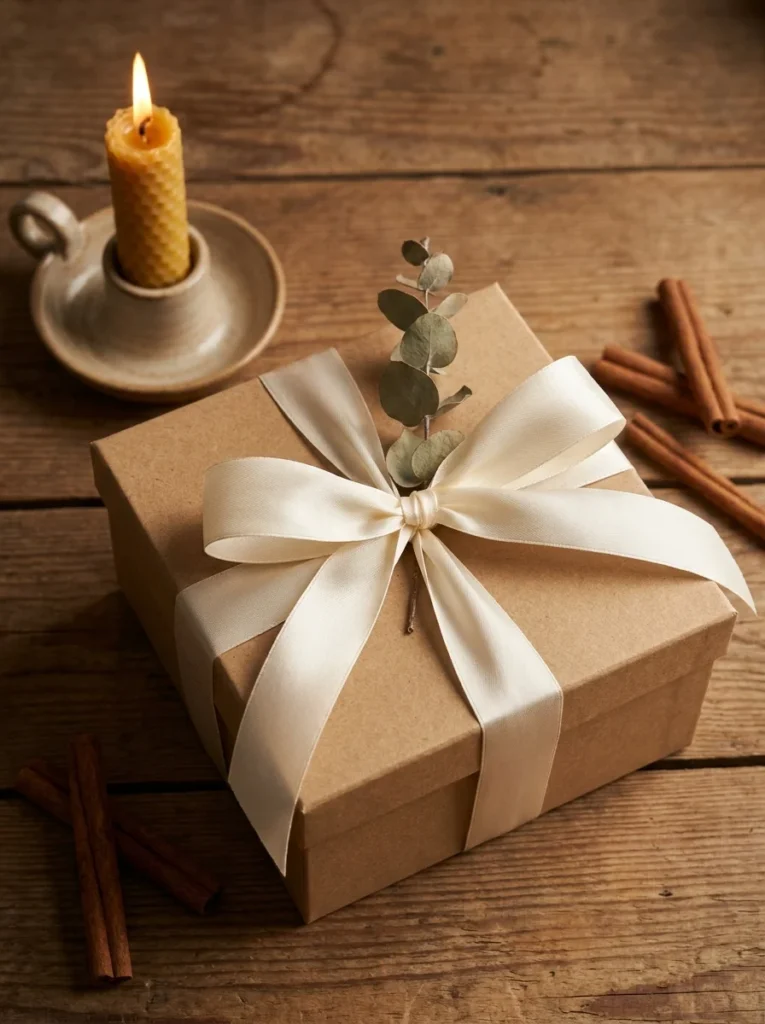
- Ribbon and dried flowers: Tie a length of satin or velvet ribbon around the closed box and tuck in a sprig of dried lavender, eucalyptus, or a small cinnamon stick under the bow
- Washi tape edges: Run a strip of patterned washi tape along the rim of the box for a quick, decorative border
- Stamped patterns: Use a rubber stamp and ink pad to add a simple repeat motif across plain paper before you even begin cutting
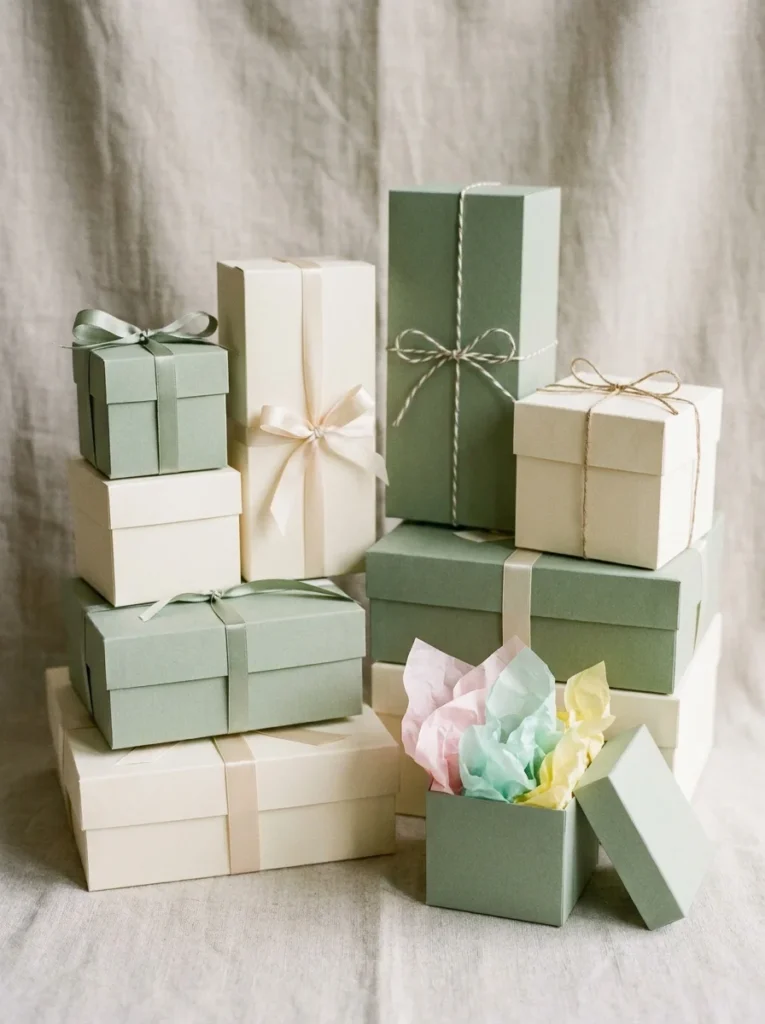
- Tissue paper lining: Tuck a sheet of coordinating tissue paper inside the box so it spills slightly over the edges when the lid is lifted
Small details like these take under five minutes and make an enormous difference to the final impression.
Tips for Getting a Perfect Result Every Time
Even experienced crafters have a few go-to tricks. These are the ones worth knowing from the start.
- Always score before you fold. No exceptions. Unscored folds on thick paper crack and look rough.
- Cut corners cleanly. Use a craft knife against a steel ruler rather than scissors for sharper edges.
- Make the lid slightly bigger. Even 3–4 mm of extra width prevents the lid from sticking or tearing.
- Test with scrap paper first if you are using an expensive or limited-edition decorative sheet — the practice fold costs nothing and saves a beautiful piece of paper.
- Use double-sided tape instead of liquid glue if you want instant bonding with no drying time.
Make It Work for Any Occasion
The same base technique works for everything. What changes is the paper, the palette, and the finishing detail.
- Birthdays: Bold, patterned paper with curling ribbon and a handwritten tag
- Weddings and baby showers: Soft blush or ivory cardstock with gold washi trim and a dried flower
- Christmas: Deep forest green or burgundy paper with twine and a sprig of holly
- Everyday gifting: Kraft paper with a personalised rubber stamp and simple jute twine
One skill, infinite applications.
Start Folding This Weekend
Handmade paper gift boxes are one of those crafts that feel disproportionately impressive for the time and money they actually require. Once you have made two or three, the process becomes second nature, and you will find yourself reaching for cardstock instead of a plastic gift bag every single time.
Save this guide, gather your materials, and make your first box this weekend. Start with a simple 30 x 30 cm square of kraft paper, and go from there. The person on the receiving end will notice, and they will remember.