

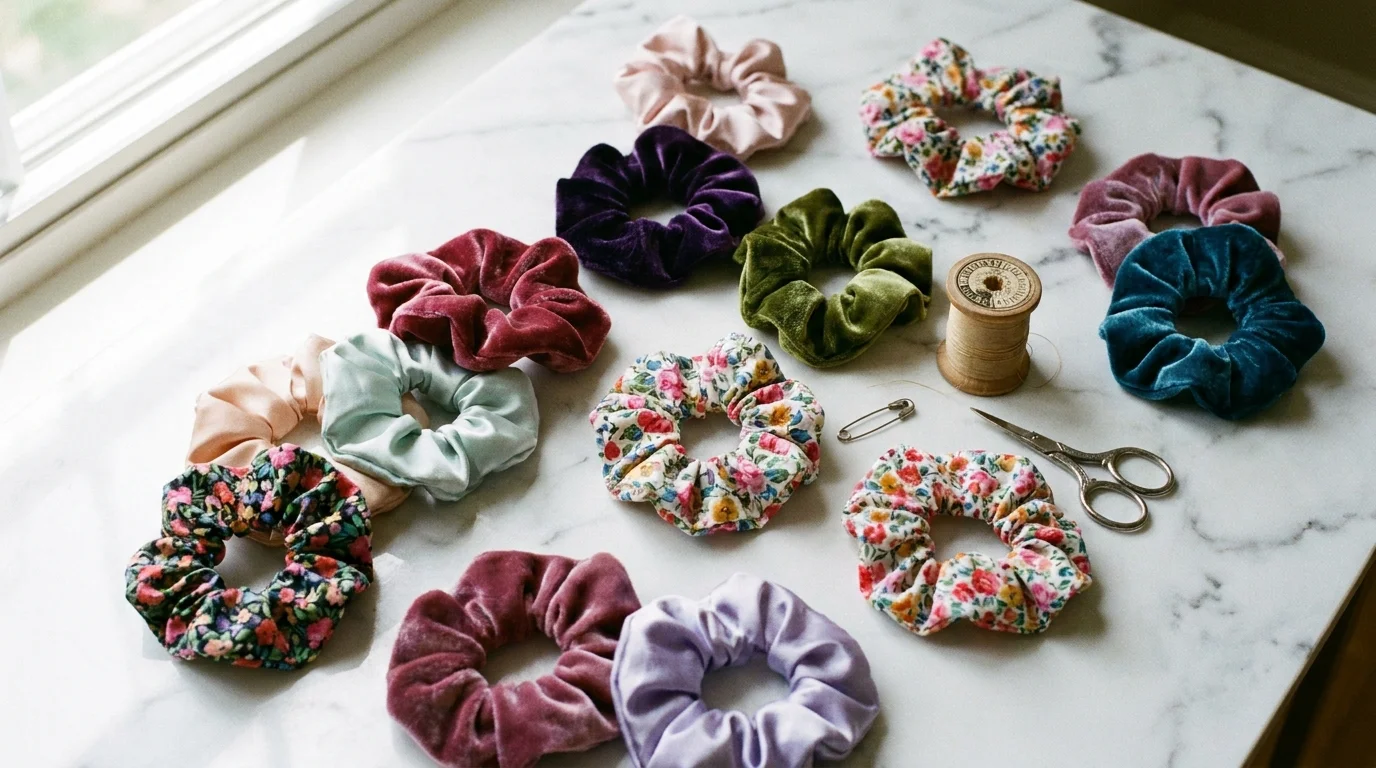
You don’t need years of sewing experience to make something you’ll actually wear. A fabric scrunchie takes less than 20 minutes, costs almost nothing, and looks like something you’d pay $15 for at a boutique. Whether you’re brand new to sewing or just looking for a quick win on a slow afternoon, this is the project for you.
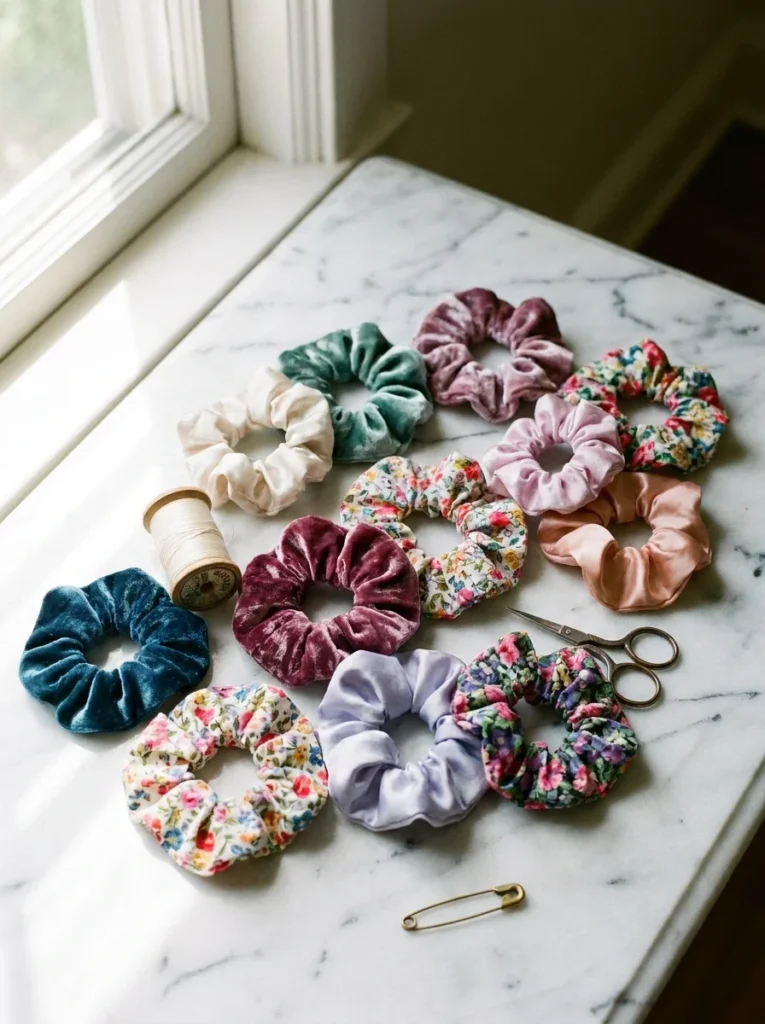
The best part? You probably already have everything you need sitting in a drawer somewhere. Let’s get into it.
What You’ll Need
No long shopping list here. Just a few basics:
- Fabric — about 3.5 inches wide and 22 inches long (one strip per scrunchie)
- Elastic — 1/4-inch wide, cut to 9 inches
- Thread — matching or contrasting, your call
- Scissors
- A safety pin — for threading the elastic
- A sewing machine (or needle and thread if you’re hand-sewing)
Fabric tip: Almost any fabric works, but some are more beginner-friendly than others. Cotton is the easiest to handle. Velvet looks luxurious but needs a slower needle speed. Satin is slippery — save that for your third or fourth scrunchie once you’ve got the basics down.
Step 1 — Cut and Fold Your Fabric
Cut your fabric strip to 3.5 inches wide by 22 inches long. If your fabric has a print, make sure the right side (the pretty side) is facing you before you fold.
Fold the strip in half lengthwise, so the long edges meet. The right side of the fabric should be on the inside — this is called sewing “right sides together.” Pin along the long open edge to hold it in place.
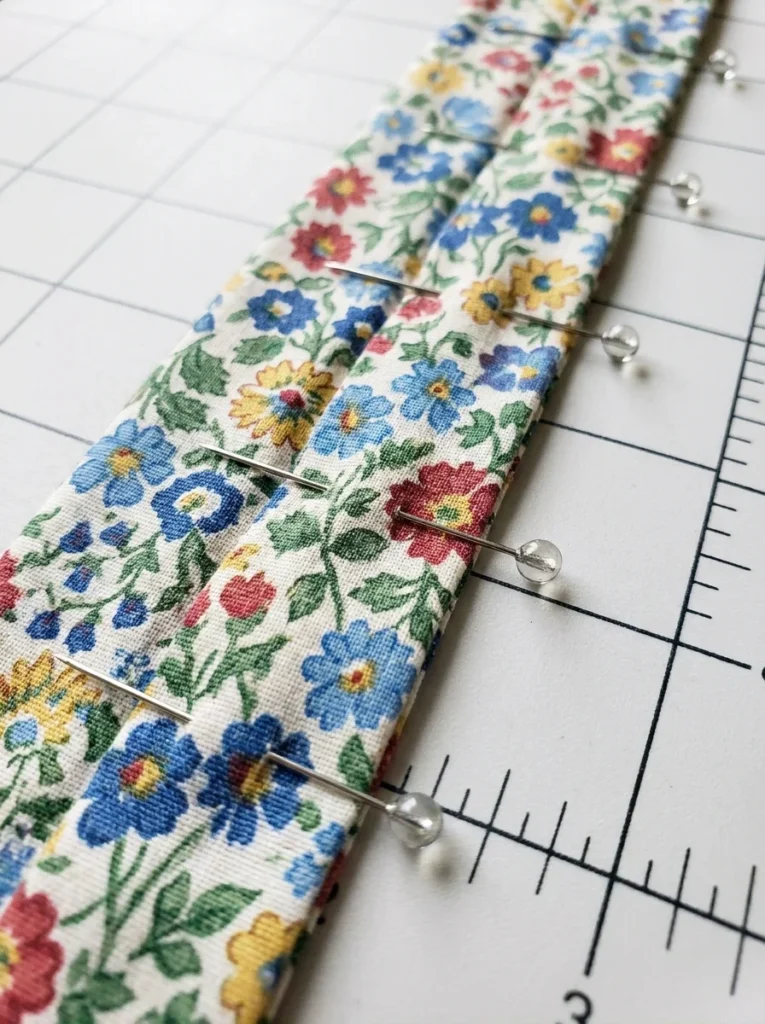
This folded strip is going to become a long fabric tube, and that tube becomes your scrunchie. Simple as that.
Step 2 — Sew the Long Edge
Sew a straight stitch along the long pinned edge, about 1/4 inch from the edge. This is your seam allowance — keep it consistent and your tube will come out the right size.
A few things to keep in mind here:
- Backstitch at the start and end of your seam to lock it in place
- Don’t sew the short ends closed — leave both ends open
- Sew slowly if you’re new to this — speed comes with practice, not pressure
Once you’re done stitching, you’ll have a long fabric tube. It’s still inside-out, and that’s exactly right.
Step 3 — Turn It Right-Side Out
This is the step everyone gets mildly frustrated by once, and then figures out forever.
Use a pencil, chopstick, or the blunt end of a knitting needle to push the fabric through itself, turning the tube right-side out. Start at one end and gently work the fabric through. Take your time — rushing this step tears seams.
Once it’s turned, give it a light press with an iron if you’re using cotton. It’ll look dramatically neater and be easier to work with.
Step 4 — Thread the Elastic
Attach your safety pin to one end of the 9-inch elastic. Push the safety pin into one open end of the fabric tube and work it all the way through to the other side.
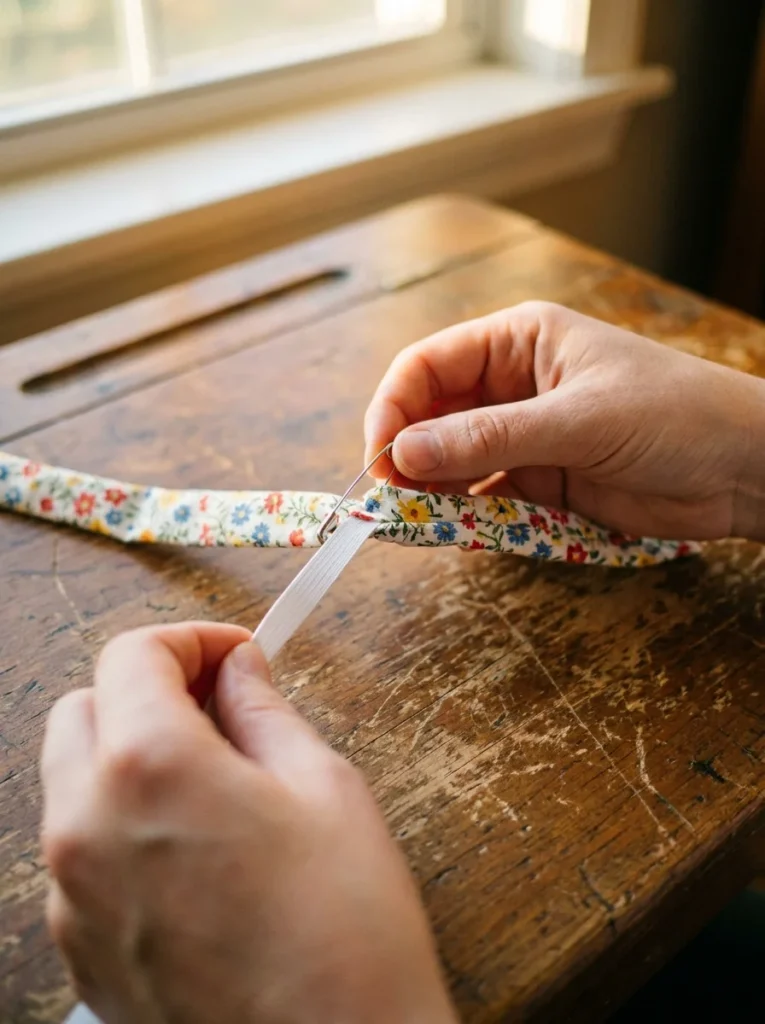
Don’t let go of the other end of the elastic while you’re threading. Pin it to the fabric at the opening with another safety pin so it doesn’t disappear inside the tube. It happens to everyone once. You only need it to happen once.
Once the elastic is through, overlap the two ends by about half an inch and sew them together with a few back-and-forth stitches. Pull gently to make sure the join holds.
Step 5 — Close the Scrunchie
Now you need to join the two open ends of the fabric tube into a loop.
Tuck one open end inside the other so the raw edges are hidden. Pin to hold. Sew across the opening with a straight stitch, securing both ends together.
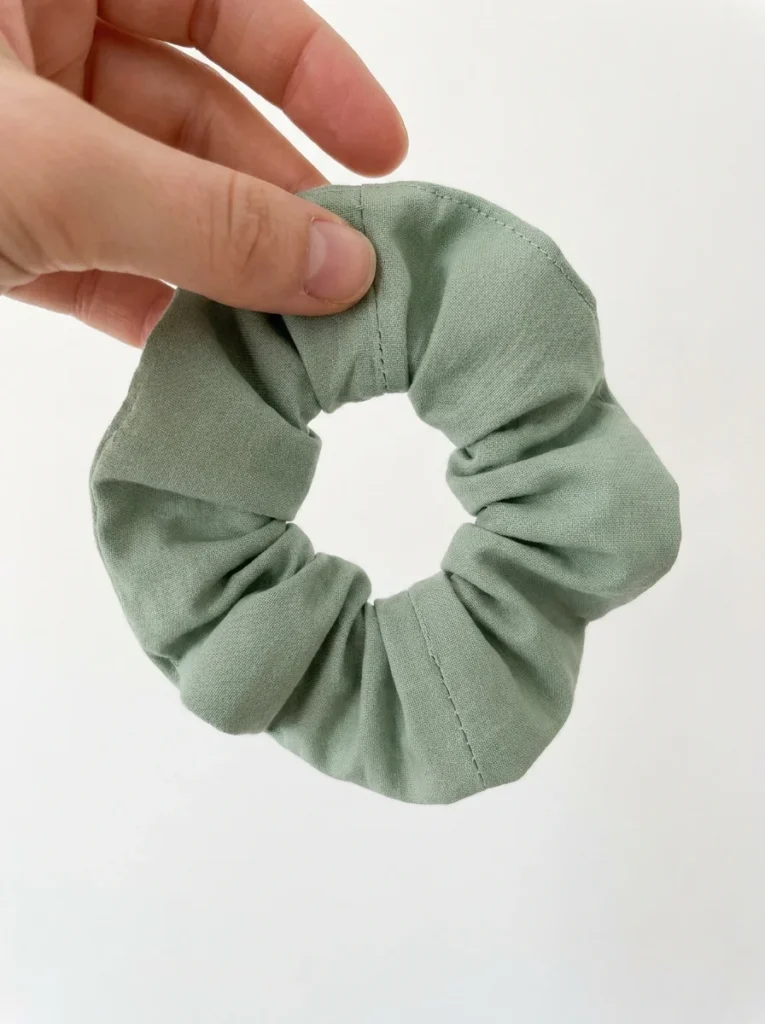
Give it a shake, fluff up the fabric around the elastic, and you’re done.
Tips for Making It Even Better
Once you’ve made your first one, try these small upgrades:
- Use velvet for a cozy winter scrunchie that looks expensive
- Match your thread to your fabric for a cleaner finish
- Make a slightly longer strip (up to 25 inches) for a fuller, puffier scrunchie
- Try printed satin for a special occasion version
- Sew a few in one sitting — once your machine is set up, making five takes barely longer than making one
Your Turn
That’s genuinely it. Twenty minutes, one fabric strip, and a little elastic — and you have something you made yourself, for almost nothing, that looks better than most store-bought options.
Save this for later and make one tonight. Then make one in every fabric you love. Gift them, wear them, stack them on your wrist. Once you start, you won’t stop at just one.
