

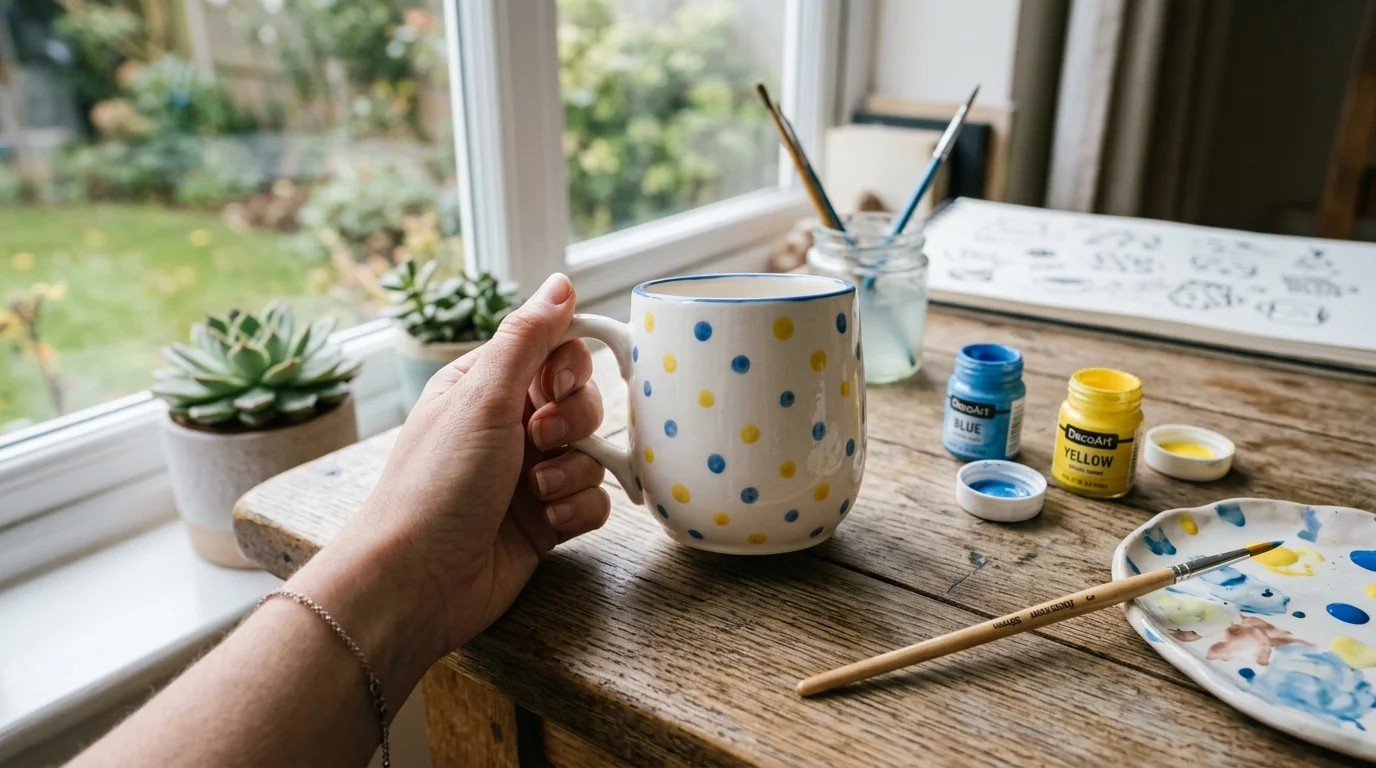
That plain white mug on your shelf? It’s about to become your favorite. Acrylic paint is cheap, easy to find, and turns a boring cup into something you actually love holding. The trick isn’t fancy skill. It’s knowing how to prep, paint, and seal so your design survives real life, wash after wash. Here’s exactly how to do it.
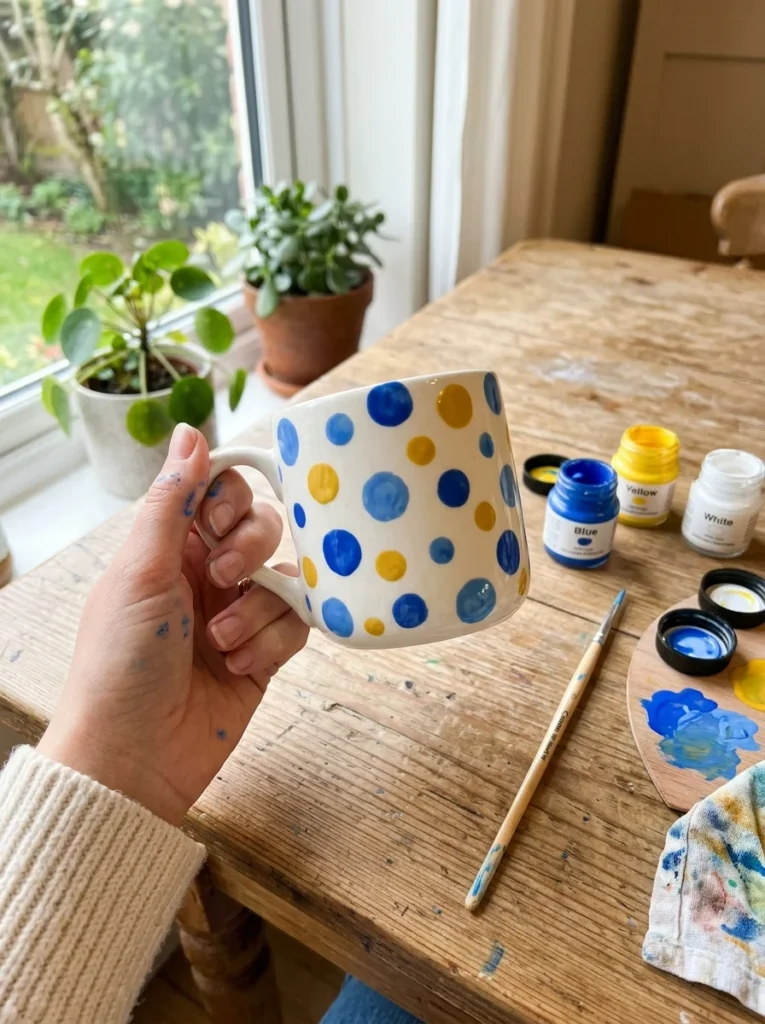
What You’ll Need
Grab these before you start. Most cost a few dollars, and you probably own half already.
- Plain ceramic mug (dollar-store mugs work great)
- Enamel or ceramic-grade acrylic paint (regular craft acrylic works too, with sealing)
- Thin and medium brushes, or a paint pen for detail
- Rubbing alcohol and cotton pads for cleaning
- Painter’s tape for clean lines
- An oven to bake and set the design
That’s it. No special studio, no expensive kit.
Step 1: Clean the Surface First
This step is small but decides everything. Skip it, and your paint peels within a week.
Wipe the whole mug down with rubbing alcohol. This removes oils, dust, and fingerprints you can’t see. Let it dry fully.
Don’t touch the painting area again with bare hands. Your skin leaves oil that ruins paint grip.
Step 2: Sketch Your Design Lightly
Plan before you paint. It saves a lot of do-overs.
Use a pencil to lightly sketch shapes on the mug. Dots, letters, simple flowers, stripes. Keep it easy for your first try.
Nervous about freehand? Two easy tricks:
- Tape a printed design inside the mug and trace it through the ceramic.
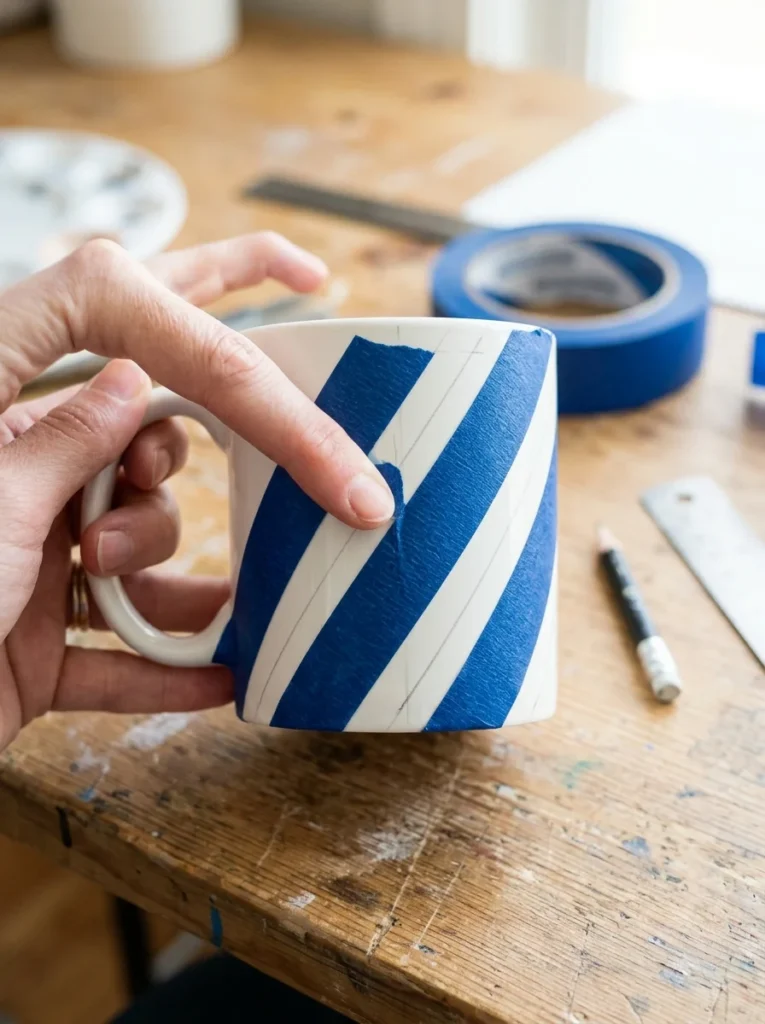
- Use painter’s tape to block off straight stripes or geometric shapes.
Simple beats detailed here. Chunky designs look intentional and hide shaky hands.
Step 3: Paint in Thin Layers
Here’s where most beginners go wrong. They glob on thick paint. It cracks and chips as it dries.
Do the opposite:
- Apply thin, even coats.
- Let each layer dry before adding the next.
- Build up color slowly with two or three light passes.
Thin layers bond better and last longer. They also look smoother.
Work one color at a time. Let it dry before painting a neighboring color, so shades don’t bleed into each other.
Made a mistake? No panic. Wet acrylic wipes right off with a cotton swab and a little rubbing alcohol. Fix it and keep going.
Step 4: Add Details and Fine Lines
Once your base shapes dry, bring in the small stuff. This is what makes a mug look finished.
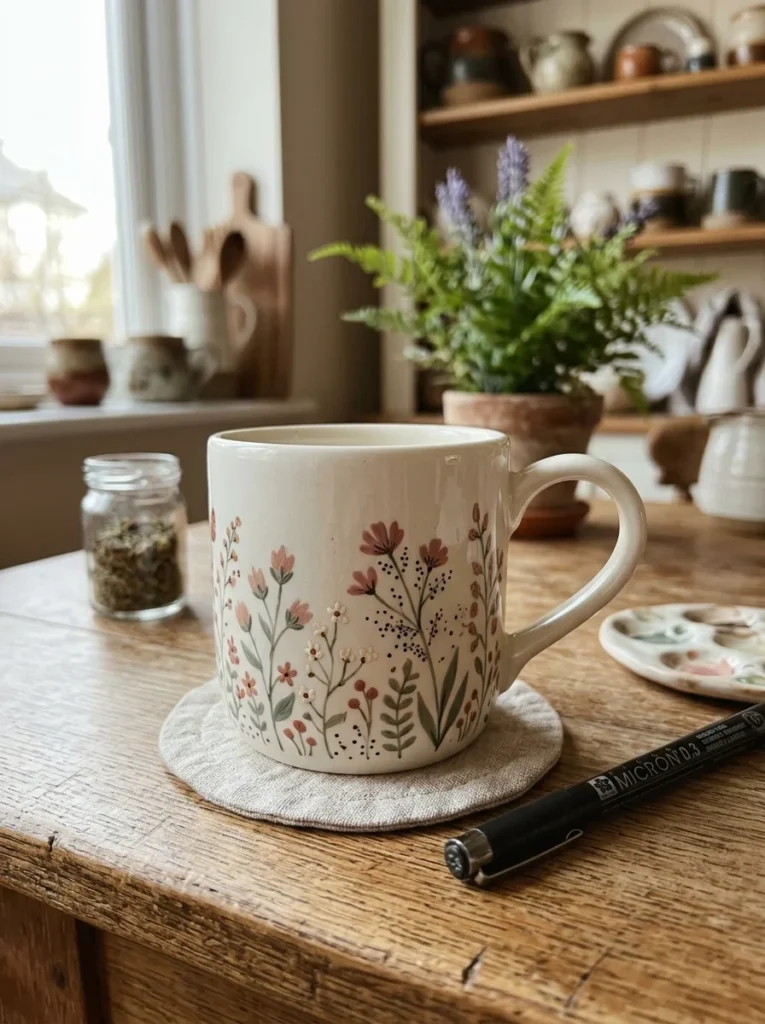
A paint pen gives clean, crisp lines with zero mess. Use it for:
- Outlines around shapes
- Tiny dots between flowers
- Names, initials, or short words
- Little stars or hearts to fill gaps
Steady your hand against the mug and go slow. Small dots and fine lines look expensive, even though they take seconds.
Step 5: Let It Dry Completely
Patience pays off here. Rushing the next step wastes all your work.
Let the finished mug air-dry for at least 24 hours. Longer is better. Fully cured paint sets much stronger in the oven.
Don’t touch or move the painted areas while they dry.
Step 6: Bake to Seal the Design
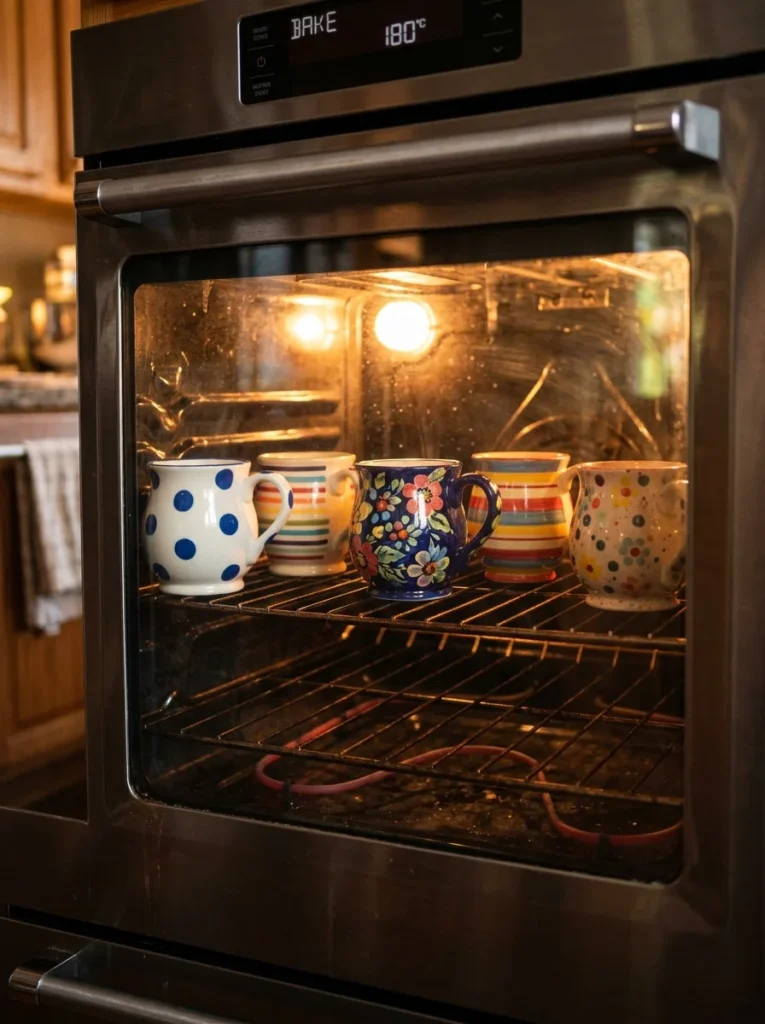
Baking is the secret to bright designs that actually last. It bonds the paint to the ceramic.
Here’s the simple method:
- Place the mug in a cold oven (never a hot one, or it may crack).
- Set the temperature to 350°F (175°C).
- Once it hits temperature, bake for 30 minutes.
- Turn the oven off and let the mug cool inside completely.
That slow heat-up and cool-down stops the ceramic from cracking. Check your paint’s label too, since baking times can vary slightly by brand.
Care Tips for Long-Lasting Mugs
You did the work. Now protect it.
- Hand-wash your painted mugs to keep colors bright.
- Avoid the dishwasher, which fades and lifts paint over time.
- Skip abrasive scrubbers on the design.
- Keep painted areas away from the drinking rim for safety.
Treat them gently and they’ll stay vivid for years.
Quick Troubleshooting
- Paint peeling? The surface wasn’t clean, or the layer was too thick.
- Colors dull? Add a thin coat of food-safe sealer after baking.
- Lines bleeding? Press tape edges down harder next time.
Every mistake here is fixable and cheap to redo.
Time to Paint Your Own
Painting mugs is one of the easiest, most budget-friendly crafts around. A dollar mug, a few paints, and one afternoon give you something you’ll use every single morning. Start simple with dots or stripes, prep and bake properly, and your bright designs will hold up beautifully.
Save this guide for your next craft day, grab a plain mug, and start painting. Your future coffee deserves it.
