

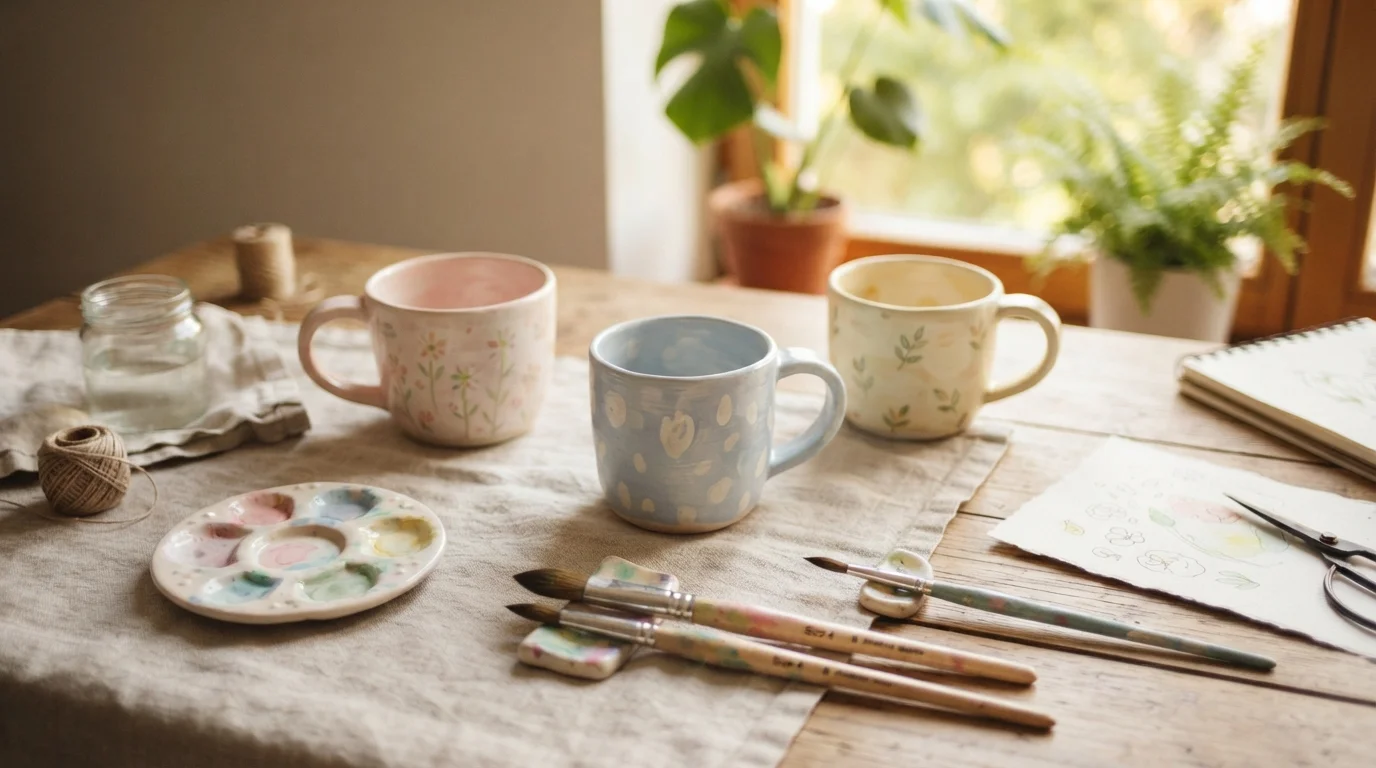
Ever spotted a hand-painted mug and thought, I could never make that? Good news: you totally can. A plain white mug plus a few dollars of paint equals a gift that looks like it came from a cute little shop. No art degree required. Just a steady afternoon and a willingness to make a happy mess.
Let’s turn that boring cupboard mug into something people will actually keep.
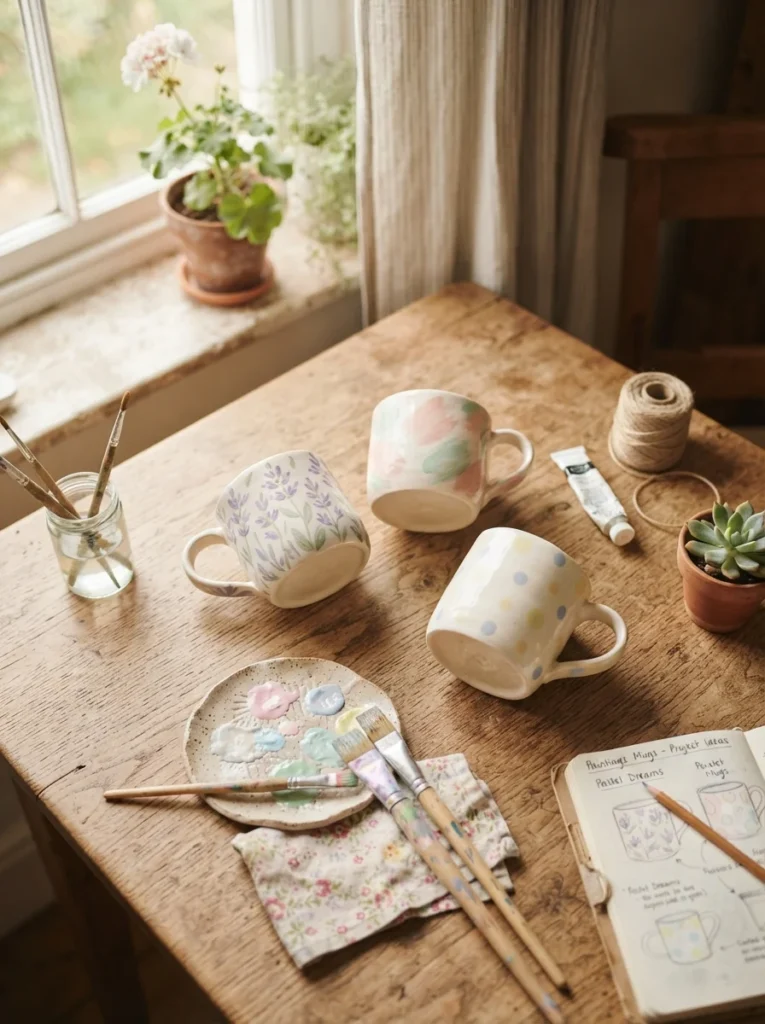
What You’ll Need
You don’t need a fancy kit. Most of this is cheap or already in your home.
- A plain ceramic mug — grab one from the dollar store or thrift shop
- Oven-bake ceramic paint or oil-based paint markers (these are the key to designs that last)
- A few small brushes — a basic kids’ set works fine
- Cotton swabs and a pencil with a fresh eraser (your free dotting tools)
- Rubbing alcohol and a paper towel for cleanup and fixing mistakes
- Painter’s tape if you want crisp straight lines
That’s it. One $5 paint pen can decorate several mugs, so your cost per gift stays tiny.
Step 1: Prep the Mug
Skip this and your paint won’t stick. It only takes a minute.
- Wipe the whole mug down with rubbing alcohol.
- Let it dry fully before you touch the surface again.
This removes oils and dust so the paint grabs on. Try not to handle the painting area with your fingers afterward.
Step 2: Plan Your Design
Sketch first. Trust me on this one.
Use a pencil to lightly draw your idea onto the mug. Pencil wipes away easily, so you can redo it as many times as you like.
Keep it simple for your first try:
- Polka dots — press a pencil eraser dipped in paint
- A single initial or short name
- Tiny hearts — two dots pulled down into a point
- Little flowers — five dots in a circle with a center dot
Simple shapes read as intentional and clean. Crowded designs are where things go sideways.
Step 3: Paint It
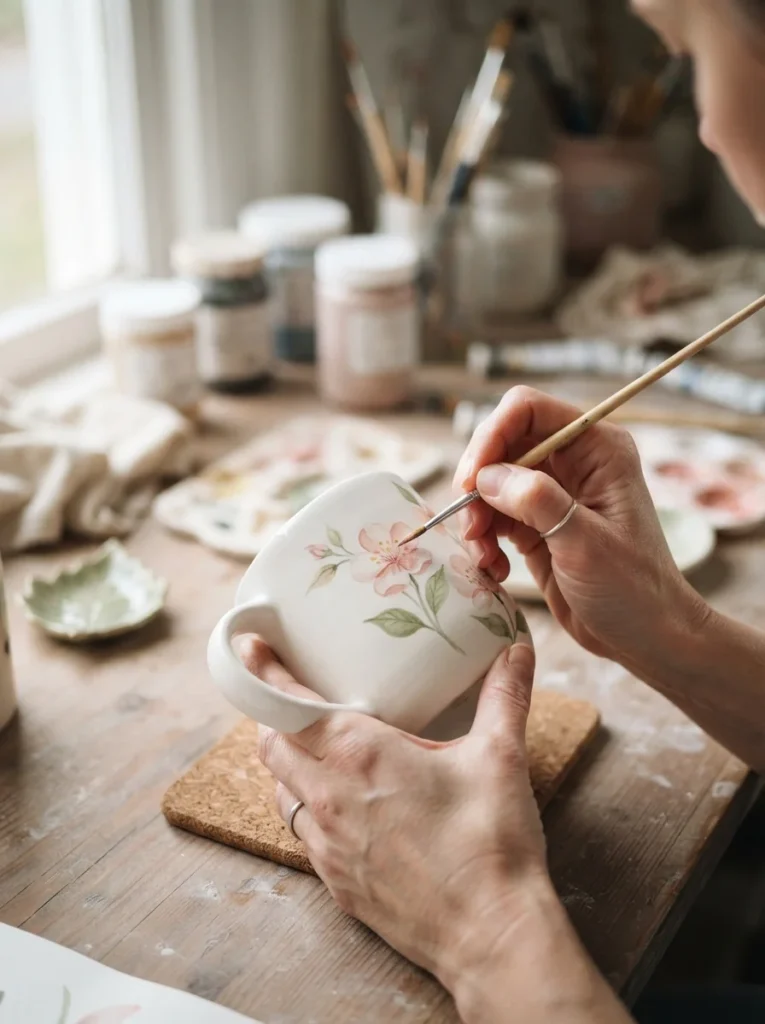
Now the fun part. Go slow and work in thin layers.
- Start with your base shapes and let each color dry before adding the next. This stops smearing.
- Build up rather than gluing on one thick blob. Thin layers cure better.
- Fix mistakes by wiping fresh paint with a cotton swab dipped in rubbing alcohol.
A few tips that make a big difference:
- Keep all paint below the rim where lips touch. That area stays plain for safety.
- Turn the mug slowly as you work so lines stay even.
- Add tiny details — dots, whiskers, leaves — last, once the base is dry.
If your hands shake, painter’s tape is your best friend. Tape off straight edges, paint between the tape, then peel it away for perfect lines.

Step 4: Let It Dry, Then Bake
This is the step that makes your design last through washing.
- Let the painted mug air dry for 24 hours. Don’t rush it.
- Place it in a cold oven, then set the temperature. Most ceramic paints cure around 300°F for 30 minutes — check your paint’s label.
- Leave the mug inside the oven to cool so it doesn’t crack from a sudden temperature change.
Putting it in a cold oven and cooling it slowly protects the ceramic. Sudden heat is the enemy.
Step 5: Care For Your Mug
A little care keeps your art looking fresh for years.
- Hand wash with a soft sponge. No harsh scrubbing.
- Skip the dishwasher — the heat and jets wear designs down fast.
- Avoid soaking it for hours.
Even baked paint lasts longest when you treat it gently.
Cute Ideas to Try Next
Once you’ve got one under your belt, mix it up:
- Rainbow gradient — bands of color faded together with a dry brush
- Galaxy mug — dark base, sponged clouds, splattered white stars
- Monogram — one bold initial inside a thin painted circle
- Cactus row — chunky green shapes in little pots along the base
Each one uses the same steps you just learned. Only the design changes.
Your Turn
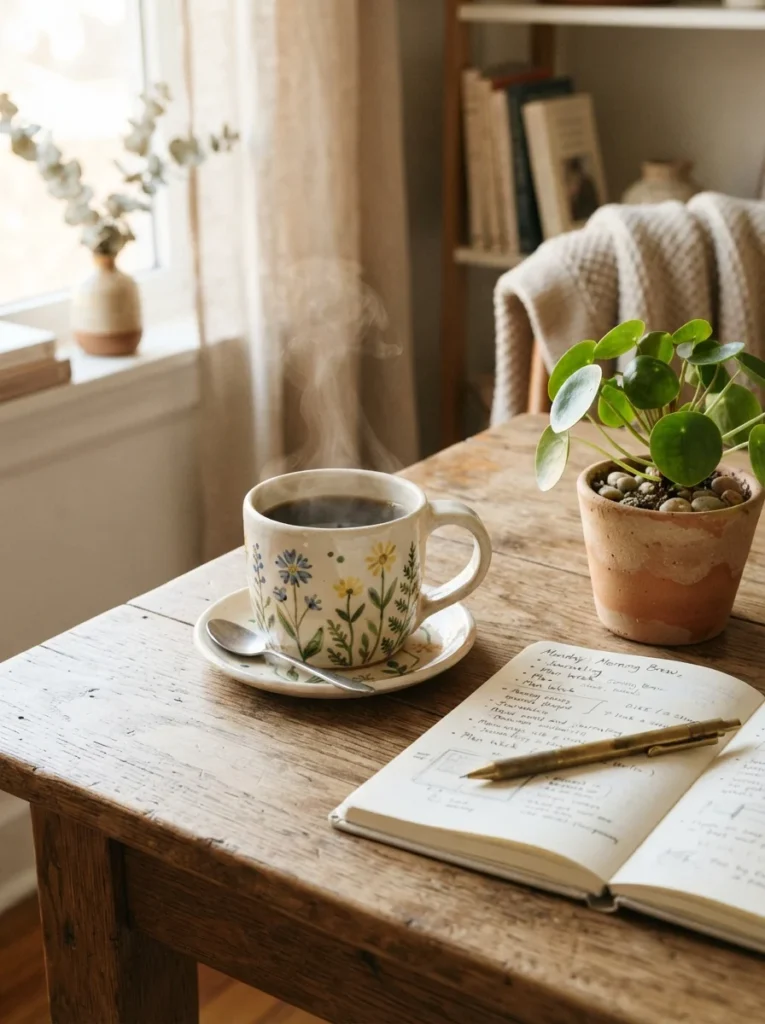
Painting a mug is one of those projects that feels fancy but is honestly simple. A cheap cup, a few colors, and an afternoon give you a handmade gift someone will reach for every morning.
Grab a plain mug, pick one easy design, and start today.
Save this for your next craft day — and paint one for someone you love!
