

Starting to sew can feel overwhelming — but it doesn’t have to be. The truth is, simple projects build the biggest skills. Every straight stitch you make teaches your hands something new. Every small win makes you want to keep going. Whether you just bought your first machine or you’re dusting off one from the back of a closet, the right starting project changes everything. It gives you something real to hold at the end. It keeps frustration low and motivation high. This list covers 24 beginner-friendly sewing projects — all low-cost, all achievable, and all designed to help you grow your skills without burning out.
1. No-Sew Felt Coasters (One Straight Stitch Away)
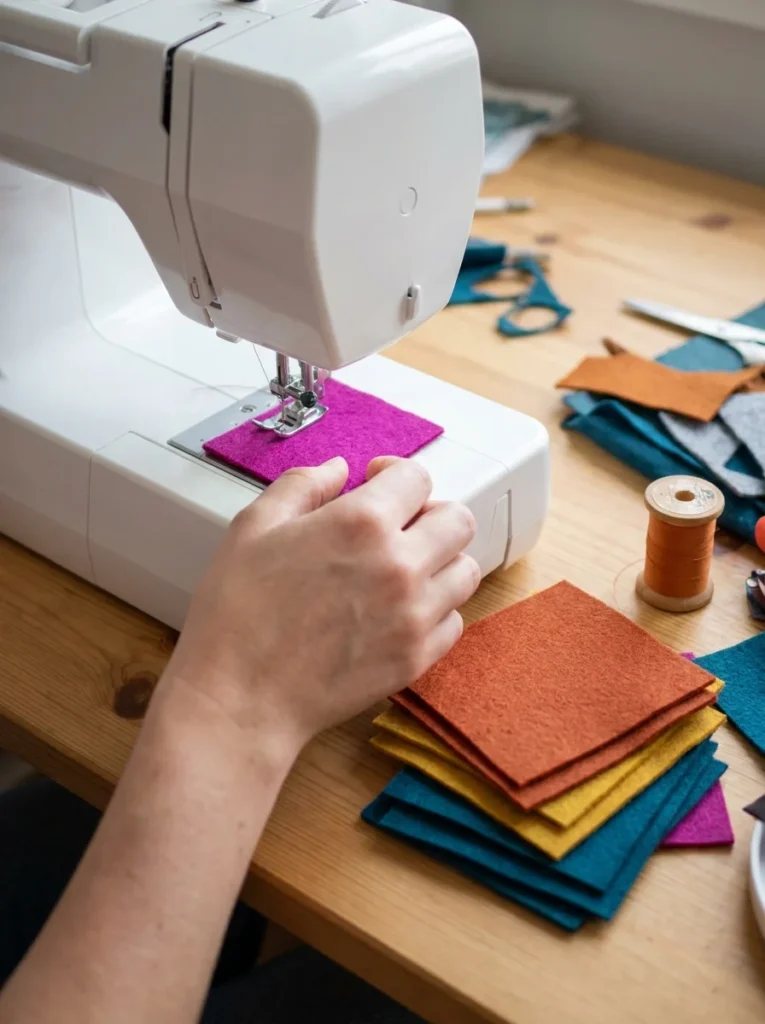
Felt coasters are the perfect first project. No hemming. No curved cuts. Just squares.
Start by cutting four equal squares from felt fabric. Felt doesn’t fray, which means no messy edges to deal with. Stack two squares together and sew around the edges with a basic straight stitch.
That’s it. You just made something useful.
The best part? Felt costs almost nothing. A craft store pack runs about $2–$3 and gives you enough material for a full set of coasters. You can cut them with basic scissors — no rotary cutter needed.
This project teaches you three things: how to feed fabric, how to keep your stitching straight, and how to finish a piece. Those three skills show up in almost everything else you’ll ever make.
Give the set to someone as a gift, or keep them for yourself. Either way, you’ll feel the satisfaction of finishing something real in under 30 minutes.
It’s small. It’s simple. And it works every single time.
2. Fabric Bookmarks That Actually Get Used
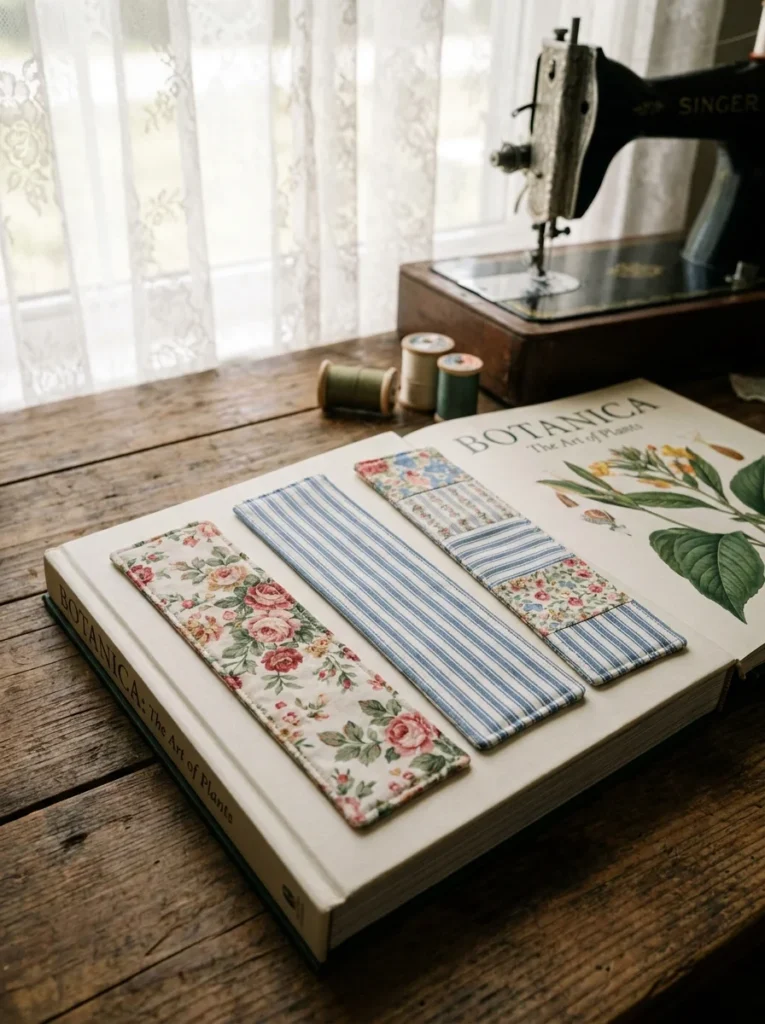
A fabric bookmark is long, narrow, and made with two straight seams. That makes it perfect for practice.
Cut a strip of cotton fabric about 6 inches long and 2 inches wide. Fold it in half lengthwise with the right sides facing each other. Sew along the long edge and one short end. Then flip it right-side out and press it flat with an iron.
This teaches you a skill beginners skip too often — sewing a seam, then flipping the piece. It’s called “turning a tube,” and it shows up in bag handles, belts, and pillow trim later on.
Use fabric scraps you already have. Scrap fabric costs nothing. Old shirts, retired pillowcases, or remnants from a fabric store bin all work perfectly.
Add a tassel by knotting some embroidery thread through the open end. You can finish a bookmark in about 20 minutes, which means you can make a handful in one sitting.
Sell them, gift them, or keep a stack on your desk. They’re small enough to feel achievable and useful enough to feel worth making.
3. A Simple Drawstring Bag
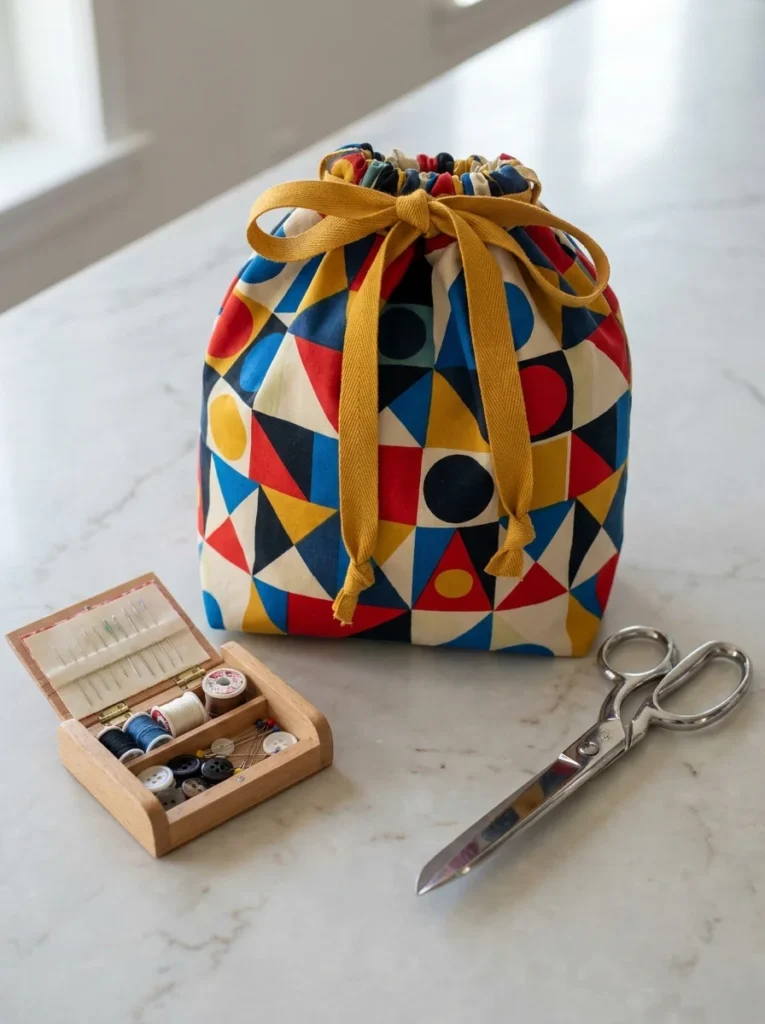
A drawstring bag is one of the most useful things a beginner can make.
Use it for gym clothes, lunch, library books, or a knitting project. The construction is just a rectangle folded in half with two side seams. The “hard” part — making the drawstring channel — is really just sewing a wider hem at the top.
Cut a rectangle of fabric roughly 14 x 17 inches. Fold it in half with right sides together. Sew both side seams, leaving a gap near the top on each side for the drawstring. Fold and sew the top hem. Thread ribbon or cord through with a safety pin. Done.
Cost breakdown: A yard of quilting cotton runs $3–$8. That gives you enough for 3–4 bags.
This project introduces you to:
- Sewing side seams
- Creating a casing for ribbon
- Backstitching at the start and end to lock your stitches
Once you’ve made one drawstring bag, you can make them in every size. They also sell well at craft fairs if that’s ever a goal.
4. Fabric Gift Wrap (The Furoshiki Method)
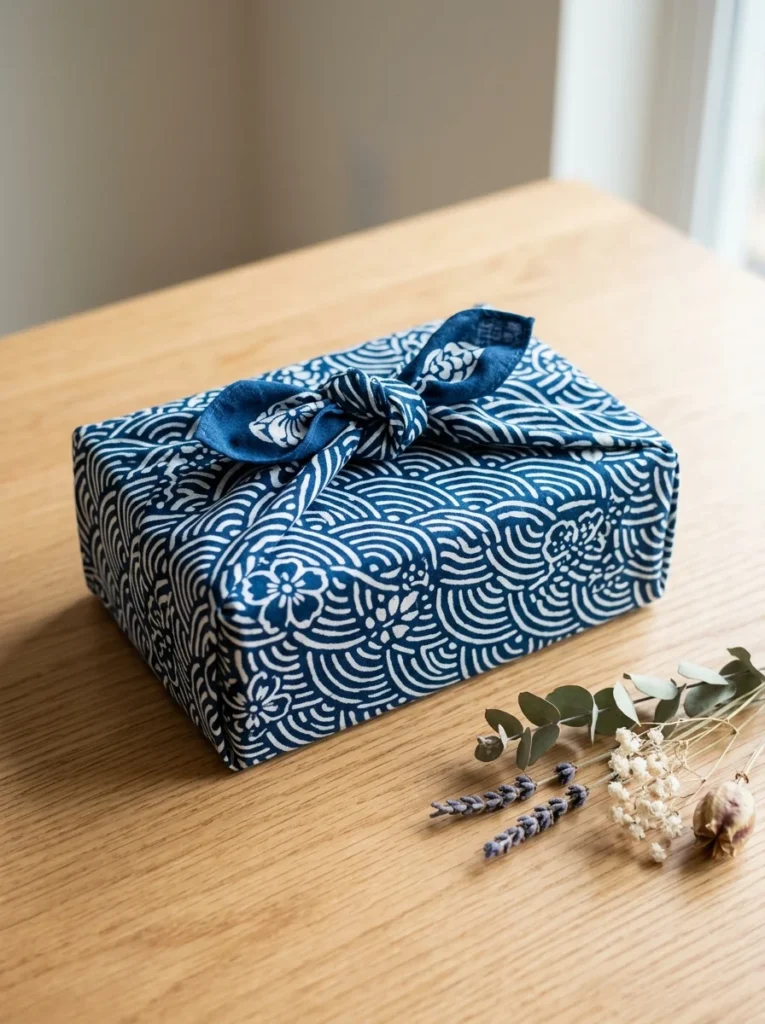
This one is almost entirely hand sewing — but it teaches a skill that matters forever.
Furoshiki is the Japanese art of wrapping with fabric squares. You just need to sew a clean hem around all four edges of a square piece of cloth. That’s the project.
Cut fabric into a square — anywhere from 18 to 28 inches works. Fold each edge under twice (about a quarter inch each time) and press with an iron. Then stitch around the whole perimeter with a straight stitch.
This teaches you to sew a clean, even hem. That skill shows up in napkins, table runners, scarves, and curtains.
Use a beautiful print and you end up with a reusable gift wrap that looks intentional and special. It’s also an eco-friendly swap for single-use wrapping paper.
Pick up cotton from a clearance bin for under $5 per square. The fabric folds around gifts differently than paper, so it works for odd-shaped presents too.
It’s genuinely useful, thoughtful as a gift, and finished in under an hour.
5. A Pillowcase With an Envelope Back
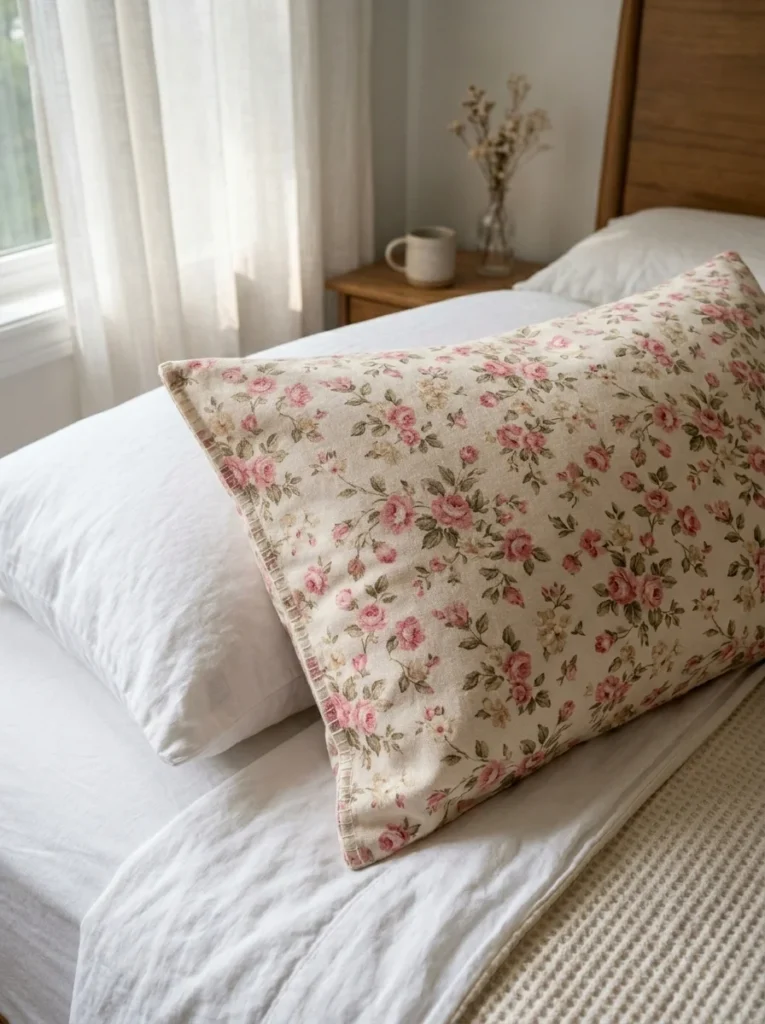
Pillowcases sound harder than they are. The envelope-back style has no zipper and no buttons — just an overlap of fabric that holds the pillow in.
You need one large piece of fabric for the front, and two overlapping pieces for the back. Sew them together around the perimeter. Flip it right-side out and you’re done.
This project teaches you to work with larger fabric pieces, which requires a little more patience at the machine. You’ll learn to pin fabric before sewing to keep layers from shifting. You’ll also practice sewing straight seams on a longer stretch of fabric.
Standard pillowcase fabric: a half-yard cut of quilting cotton is around $4–$6 and gives you more than enough. Use a print you love — this is something you’ll actually see every day.
The envelope-back pillowcase is a project that looks impressive but takes beginners about 45 minutes to an hour. Show it to someone and they’ll assume you’ve been sewing for years.
It’s one of the best beginner confidence projects out there.
6. Reusable Grocery Tote Bags
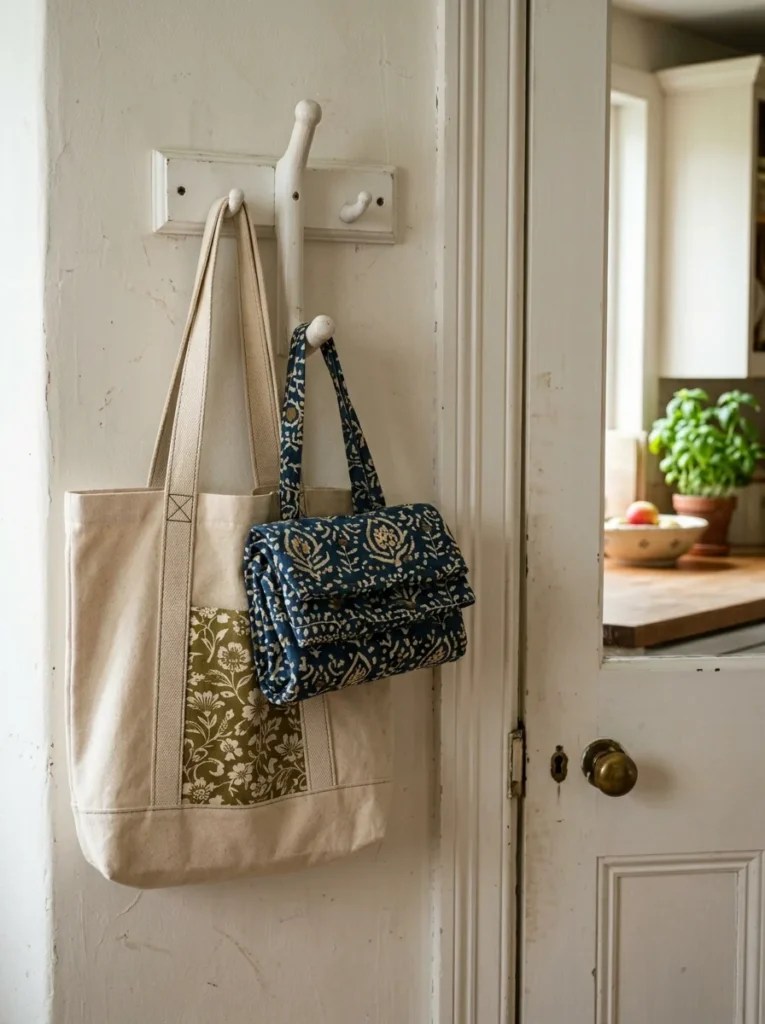
A fabric tote bag is just a bigger, sturdier version of a drawstring bag — without the drawstring.
Cut two rectangles of canvas or denim. Sew them together along three sides. Add fabric handles made from folded strips and you’ve got a usable, durable shopping bag.
Canvas fabric is strong, inexpensive, and easy to sew. A yard runs about $4–$7. One yard gives you two generous-sized tote bags.
This project levels up your skills in a few ways. You’ll learn to reinforce stress points — like the base of the handle — by sewing a box stitch or an X pattern. Those areas get the most pulling, so they need extra stitching. This is a skill used in bags, backpacks, and aprons.
You also learn to topstitch, which is sewing a visible line close to the edge of fabric for a clean, polished look.
Tote bags are useful, reduce plastic waste, and make excellent gifts. They also look professional when made with a good-quality fabric print. Once you’ve made one, you’ll make a dozen.
7. An Iron-On Patch You Actually Sew Down
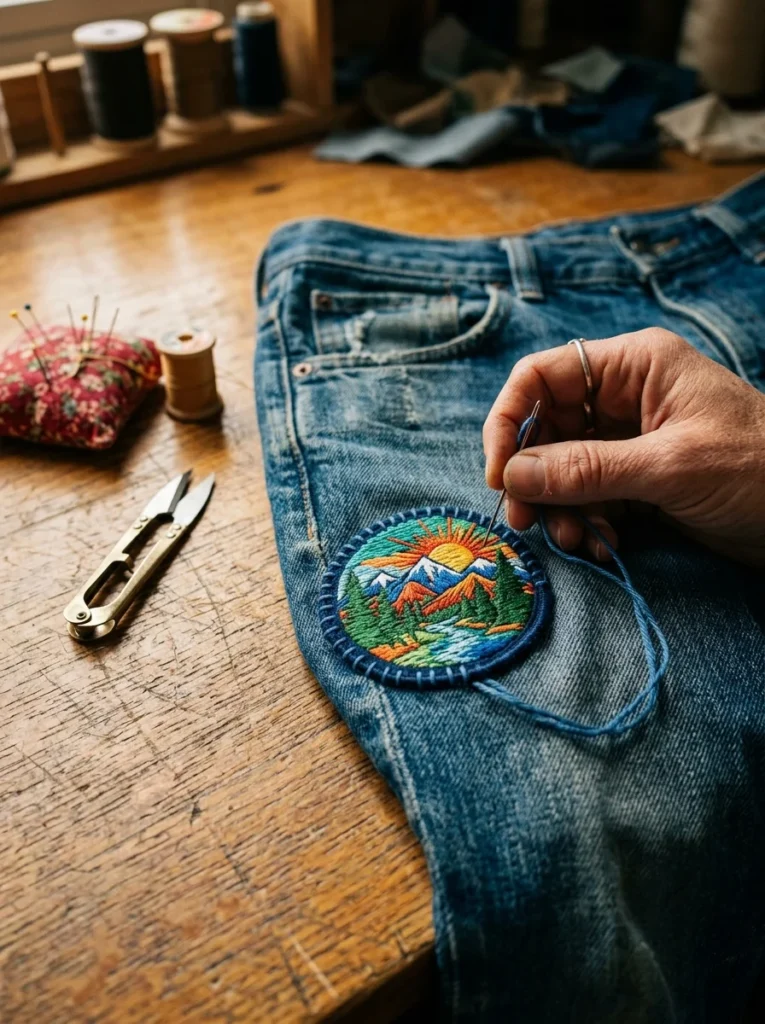
Iron-on patches are everywhere, but they fall off. The fix is simple: stitch around the edge after ironing.
This is hand sewing practice at its most useful. Thread a needle, knot the end, and stitch around the perimeter of the patch using a basic running stitch or blanket stitch.
The blanket stitch looks decorative and keeps edges flat. You loop the thread over the edge of the patch as you go, creating a visible but intentional border. It’s beginner-friendly and looks deliberate.
Pick up a pack of iron-on patches from a craft store for $2–$5. Apply them to jeans, jackets, tote bags, or backpacks.
This project teaches hand sewing needle control, which is different from machine sewing. You’ll develop a feel for even stitch spacing and thread tension.
It’s also low-stakes. If a stitch isn’t perfect, it’s barely noticeable — especially on a casual item like denim.
Once you’ve mastered the blanket stitch, you’ll use it to finish the edges of felt, attach appliqué, and decorate all kinds of fabric. It’s a surprisingly foundational skill.
8. Baby Burp Cloths From Old Flannel Shirts
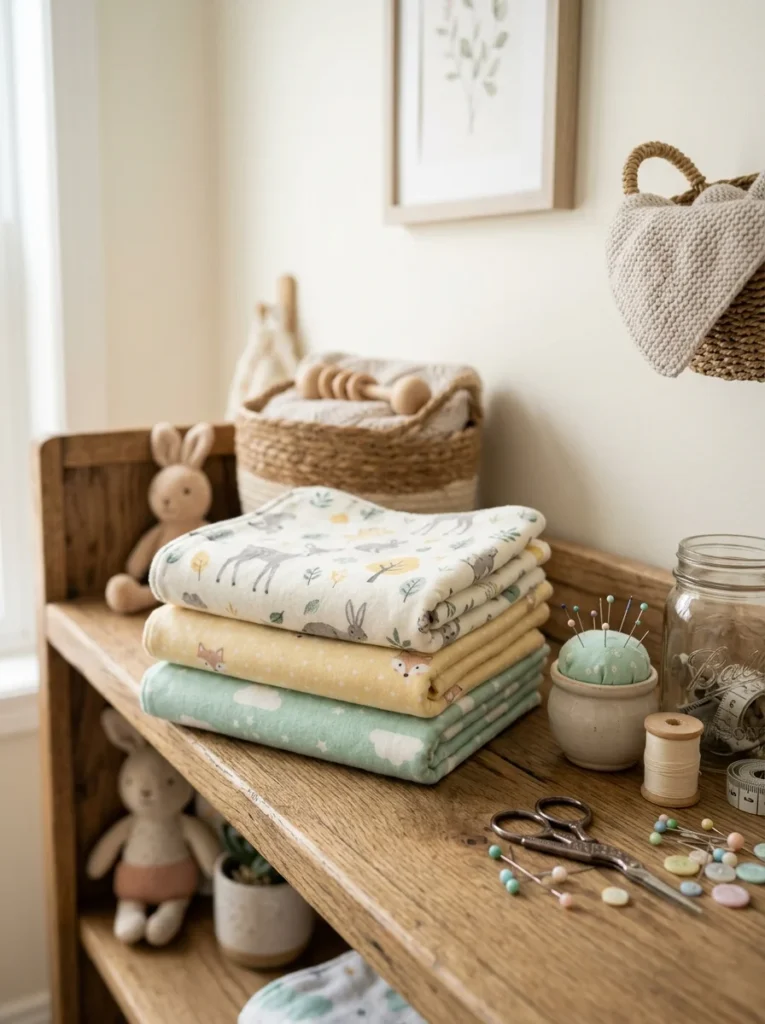
Flannel is one of the most forgiving fabrics a beginner can sew. It’s soft, doesn’t fray aggressively, and is widely available.
Burp cloths are rectangles — typically about 10 x 18 inches. Layer two pieces of flannel together, sew around the perimeter leaving a gap to flip, then turn right-side out, press, and topstitch.
Total cost: almost zero if you use flannel from an old shirt or thrifted flannel fabric. New flannel fabric runs about $3–$6 per yard and gives you several cloths.
This project is perfect for practicing flipping a sewn piece and closing a gap by hand with a ladder stitch — a nearly invisible hand stitch used to close openings in finished items.
Baby burp cloths are one of the most requested handmade baby gifts. If you have a friend expecting a baby, this is an affordable, genuinely useful present.
Make them in gender-neutral prints and give a set of six. They’re quick to batch-produce once you’ve made one. You can finish a full set in a single afternoon.
9. A Fabric Headband in 20 Minutes
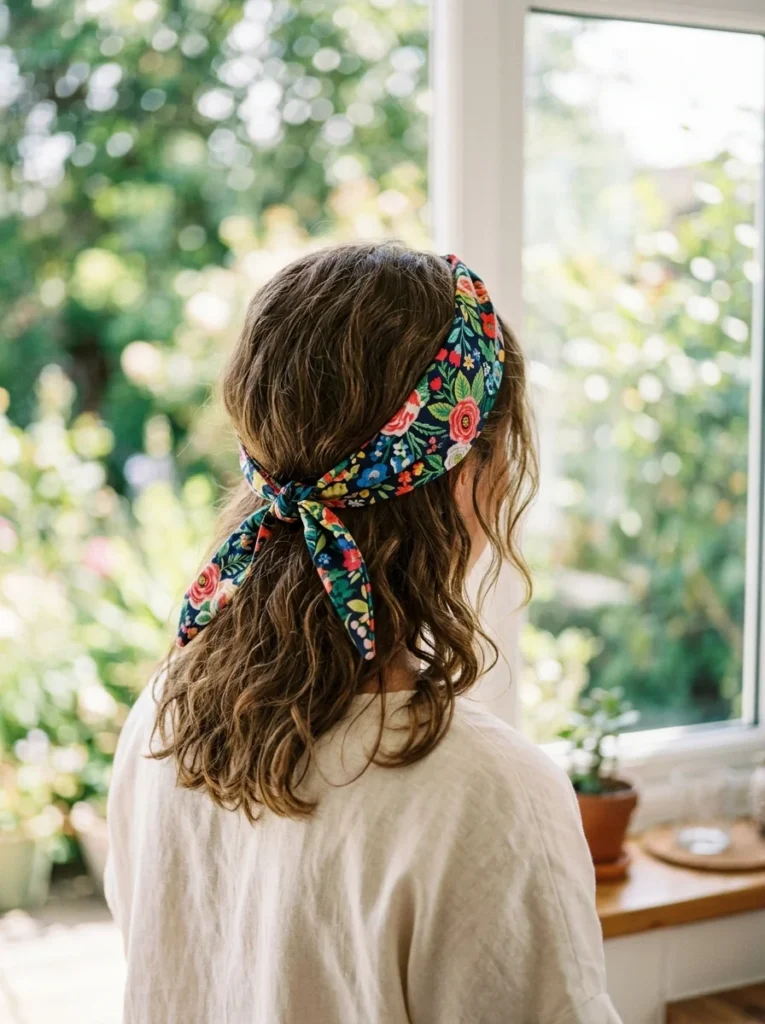
A knotted or twisted fabric headband is one of the fastest projects on this list.
Cut a strip of stretchy knit fabric — about 20 inches long and 4 inches wide. Fold it in half lengthwise, right sides together. Sew the long edge. Flip right-side out. Twist the tube once in the center, then bring the ends together to form a loop. Sew the ends together.
Done. Total time: about 20 minutes.
Stretchy jersey fabric (like old T-shirts) works best because it hugs the head comfortably without pins or elastic. You can also use cotton for a stiffer, more structured look.
Old T-shirts are the free version of this project. Cut strips from the body of the shirt, and you don’t even need to hem the edges — knit fabric doesn’t fray.
This project teaches you how to sew knit fabric, which behaves differently from woven cotton. You’ll learn to stretch slightly as you sew to keep the seam from popping when the fabric pulls.
Make a bunch for gifts, or sell them. They’re popular, and they cost almost nothing to produce.
10. A Simple Zippered Pouch
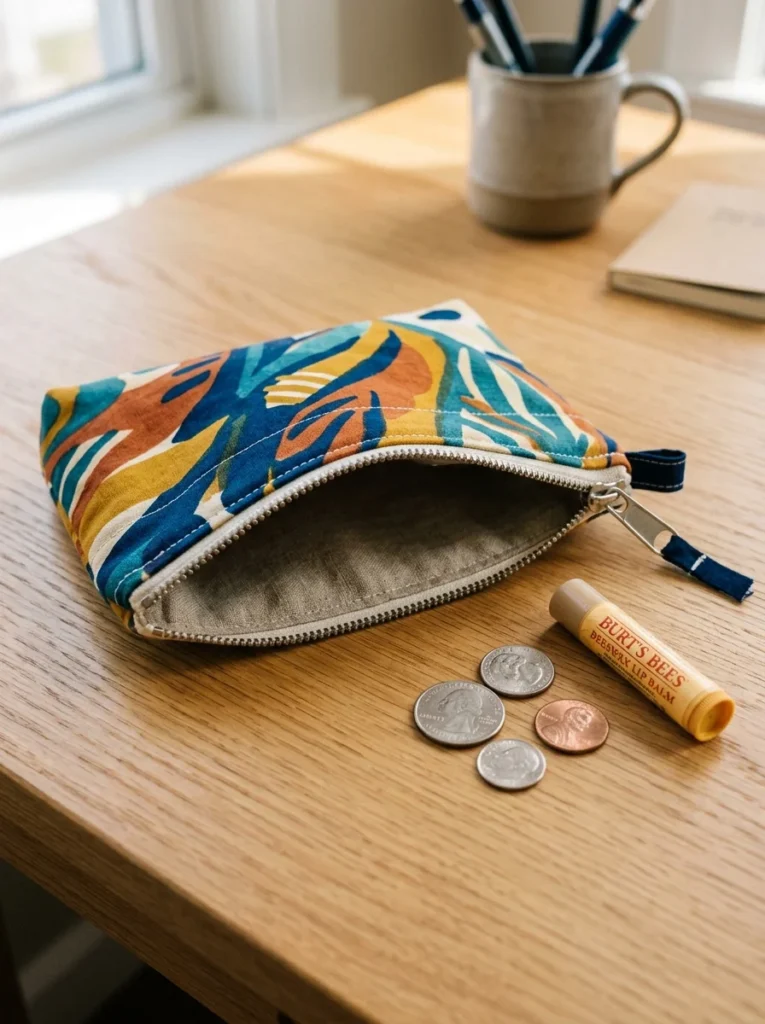
Adding a zipper sounds scary. It isn’t.
A simple flat zippered pouch — like a coin purse or pencil case — is one of the best ways to practice installing a zipper for the first time. You only need one short zipper, two rectangles of fabric, and a zipper foot (most machines include one).
The pouch is constructed by sandwiching the zipper between two fabric pieces, sewing along both edges of the zipper, then sewing the sides and bottom.
Zippers from a fabric store run about $1–$2 each. Or buy a pack of 10 on sale for under $6.
What this teaches you: how to sew close to a zipper pull without breaking a needle. You’ll learn to stop, move the pull past your presser foot, and keep going — a technique that feels fiddly the first time and automatic by the third.
A finished zippered pouch looks polished and professional. People always assume zippers are difficult, so showing off your first one always impresses.
Start with a 7-inch zipper. Keep the pouch small. Confidence comes from finishing, and this finishes fast.
11. Cloth Napkins for the Dinner Table
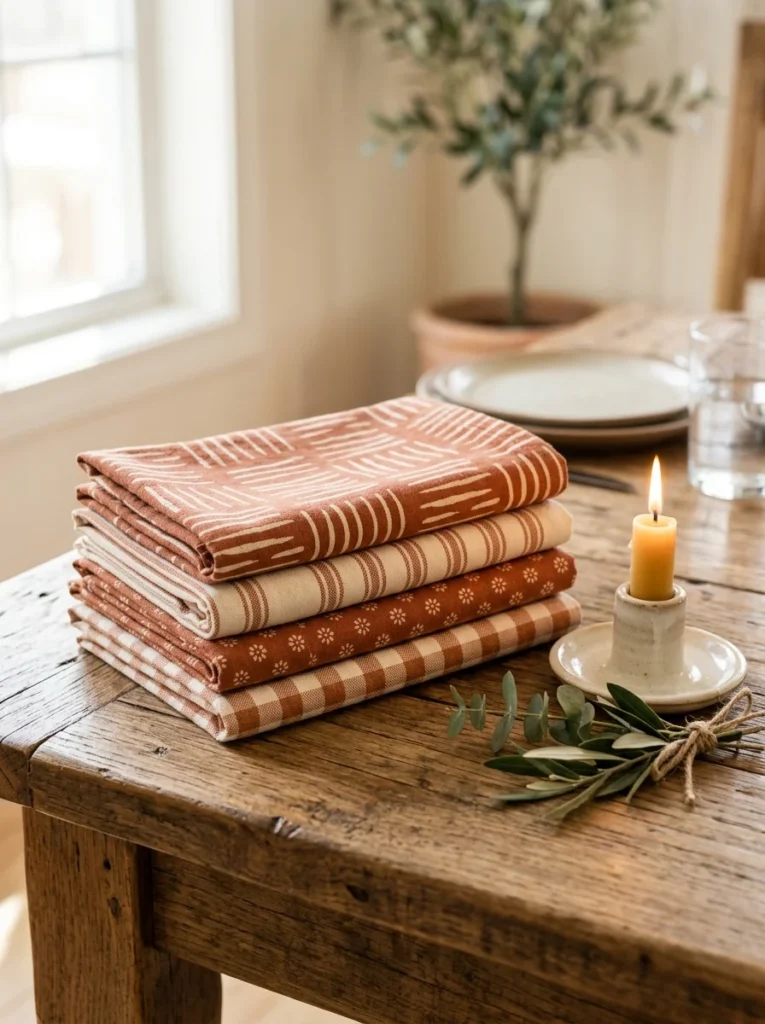
Cloth napkins are just hemmed squares. Four straight hems. That’s the whole project.
Cut squares of cotton fabric — about 16–18 inches each. Press under each edge twice and sew around the perimeter. The only skill involved is mitering the corners, which means folding them neatly so they lie flat instead of bunching up.
Mitered corners take a couple of minutes to learn and make any hemmed item look professional. Once you know this technique, you’ll use it on table runners, tea towels, curtain panels, and more.
Cost per napkin: about $1–$2 using quilting cotton from a fabric store. A half-yard of 44-inch fabric gives you four generous napkins.
Make a set of eight for everyday use. Make a fancier set in a holiday print as a gift. Mix and match prints for a casual, eclectic table look that feels intentional.
This project is meditative. The cuts are simple, the sewing is repetitive, and the result is something you’ll actually use at every meal.
12. A Stretchy Elastic Waistband Skirt
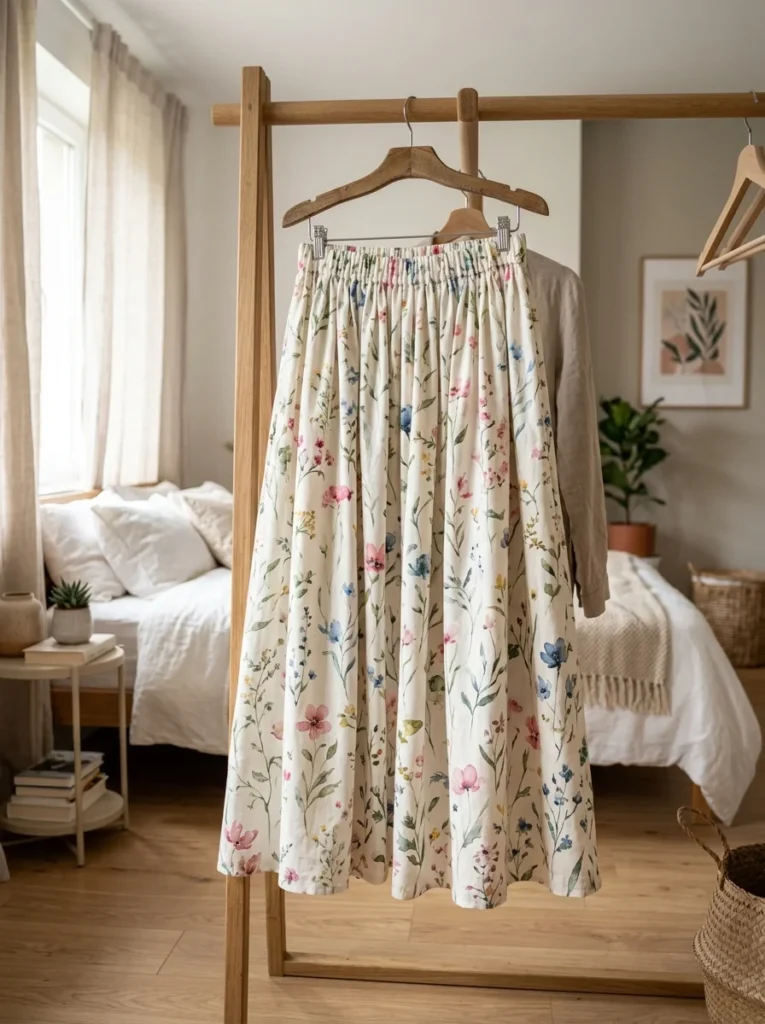
The elastic waistband skirt is one of the most loved beginner garments — and for good reason.
There’s no zipper, no buttonholes, and no complex shaping. Just a rectangle of fabric sewn into a tube, with a channel at the top for elastic. The fabric does the work of draping and looking beautiful.
Choose a fabric with some flow — rayon, linen, or a lightweight cotton. Cut a rectangle that’s 1.5 times your hip measurement for width, and as long as you want the skirt. Sew the side seam to form a tube. Fold and sew the waistband casing. Thread elastic through. Done.
One and a half yards of fabric is usually enough for a mid-length skirt, costing $6–$15 depending on the fabric.
This project introduces you to sewing garments — actual clothing — without the difficulty of fitting. The elastic handles sizing, so there’s room for error.
Wear it. Feel proud. Tell people you made it yourself.
13. A Quilted Mug Rug (Mini Quilt Practice)
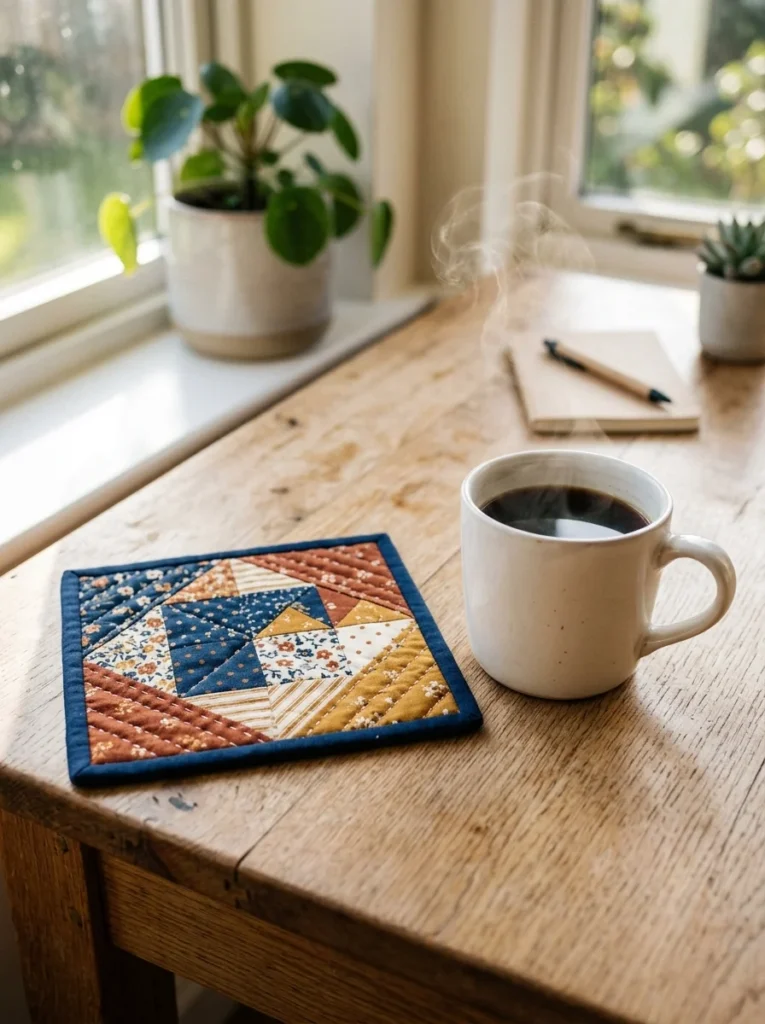
A mug rug is a small padded coaster for your coffee mug and a snack. It’s bigger than a regular coaster and small enough to finish quickly.
More importantly, it teaches you the basics of quilting in a low-commitment format.
Cut small squares or rectangles of cotton fabric and sew them together to make a patchwork top. Layer it over batting and a backing fabric. Sew around the perimeter, flip, and quilt by stitching through all three layers.
You’ll learn: seam matching (lining up your fabric squares so they meet neatly), quilt sandwiching (layering top, batting, and backing), and hand or machine quilting.
Batting remnants are inexpensive — often under $3 at a craft store for small amounts. Use fabric scraps you already own for the patchwork top.
A mug rug can be finished in 45–60 minutes. And once you’ve made one, you’ll understand how a full quilt works. It’s essentially the same process, just scaled up.
14. A Reversible Place Mat
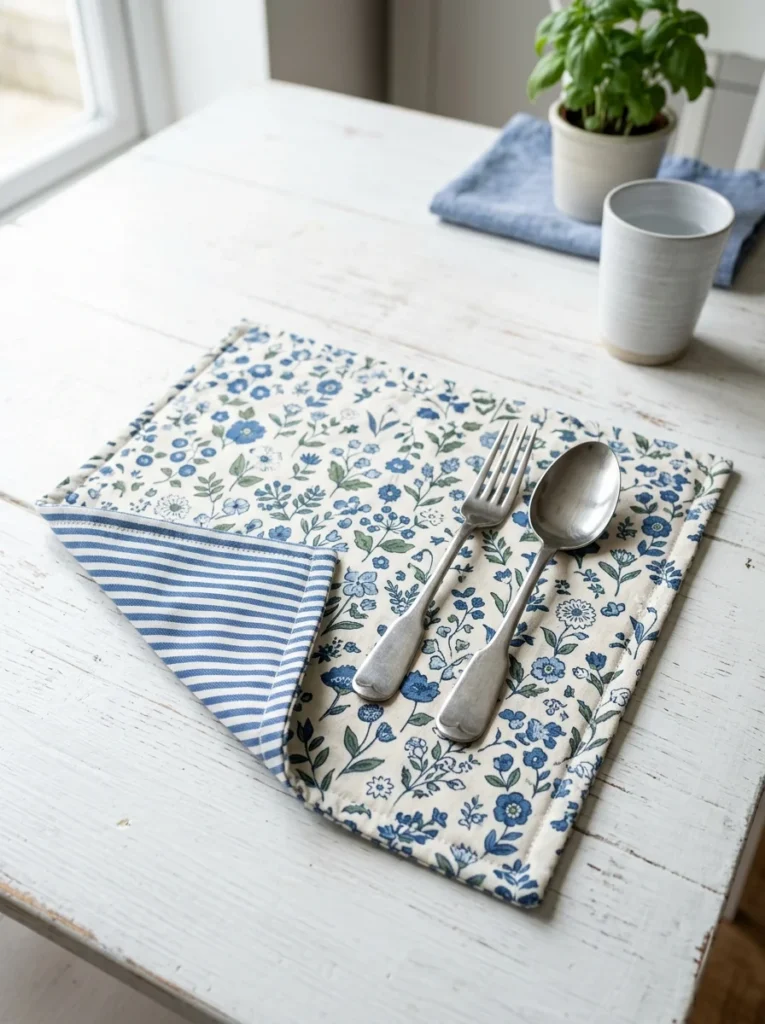
A place mat is two rectangles of fabric sewn together and flipped right-side out — like a very flat pillow.
The “reversible” part just means you use two coordinating fabrics, so you get two looks in one. Flip the mat over for a completely different table setting.
Cut two pieces of fabric at 14 x 18 inches. Place them right sides together and sew around the perimeter, leaving a gap. Flip through the gap, press flat, and topstitch around the entire edge to close the gap and give it a polished finish.
This teaches topstitching — sewing a visible line very close to the edge of fabric. Topstitching is everywhere in finished sewing: pockets, collars, bag straps, hems.
Buy place mat-sized cuts at a fabric store or use leftover yardage. Cost: usually under $5 for a set of four.
Make a set of four matching reversible mats as a gift. Wrap them in a ribbon and they look like something from a boutique home shop. No one needs to know they took you 20 minutes each.
15. A No-Pattern Tote Bag Liner
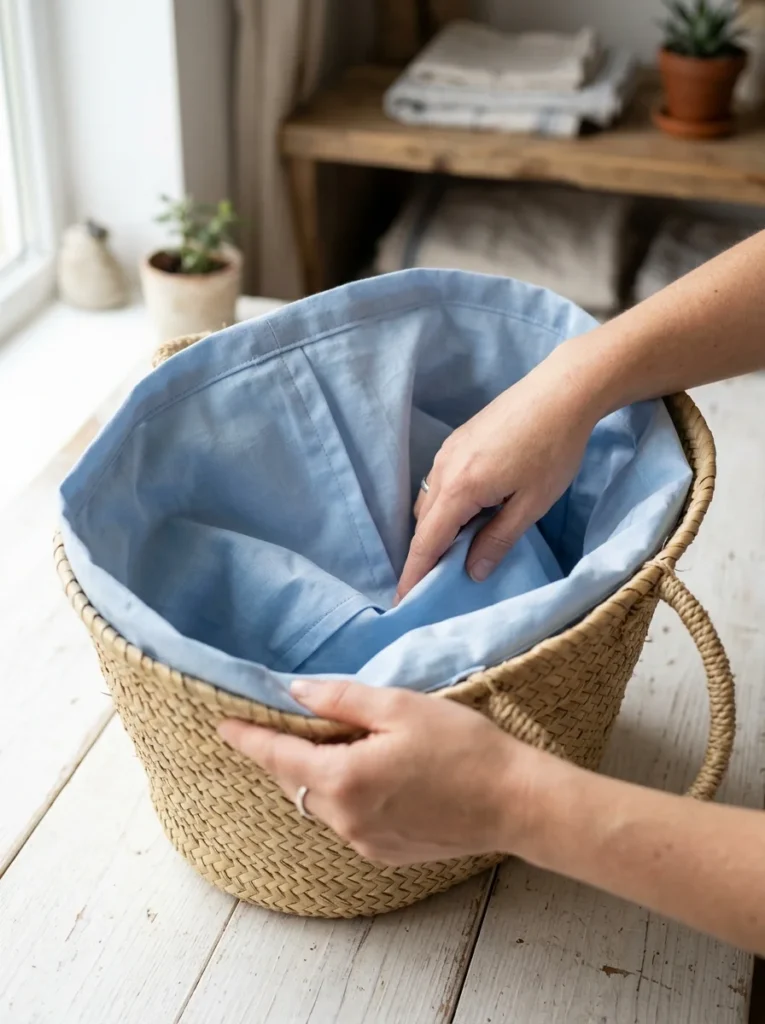
Woven straw bags and baskets are beautiful but let everything fall through the gaps. A fabric liner fixes that.
Measure the inside of your bag — the height, width, and depth. Sew a simple box shape using those measurements. Fold the top edge down to create a clean lip that hangs over the basket’s rim.
No pattern. No zipper. Just measuring and sewing straight seams.
This project teaches you to sew to measurements rather than following a template. That’s a transferable skill. You’re essentially scaling a project to fit a real object — the same thing you’ll do when hemming curtains or making cushion covers later.
Use a solid-colored canvas or a pretty cotton print. Canvas provides sturdiness. Cotton print adds personality.
Cost: usually one yard or less of fabric, which runs $4–$8.
Your bag becomes more functional. Your belongings stop sinking to the bottom. And you learn to work from measurements — a habit that every sewer needs.
16. A Scrunchie — Classic, Fast, and Still Very Useful
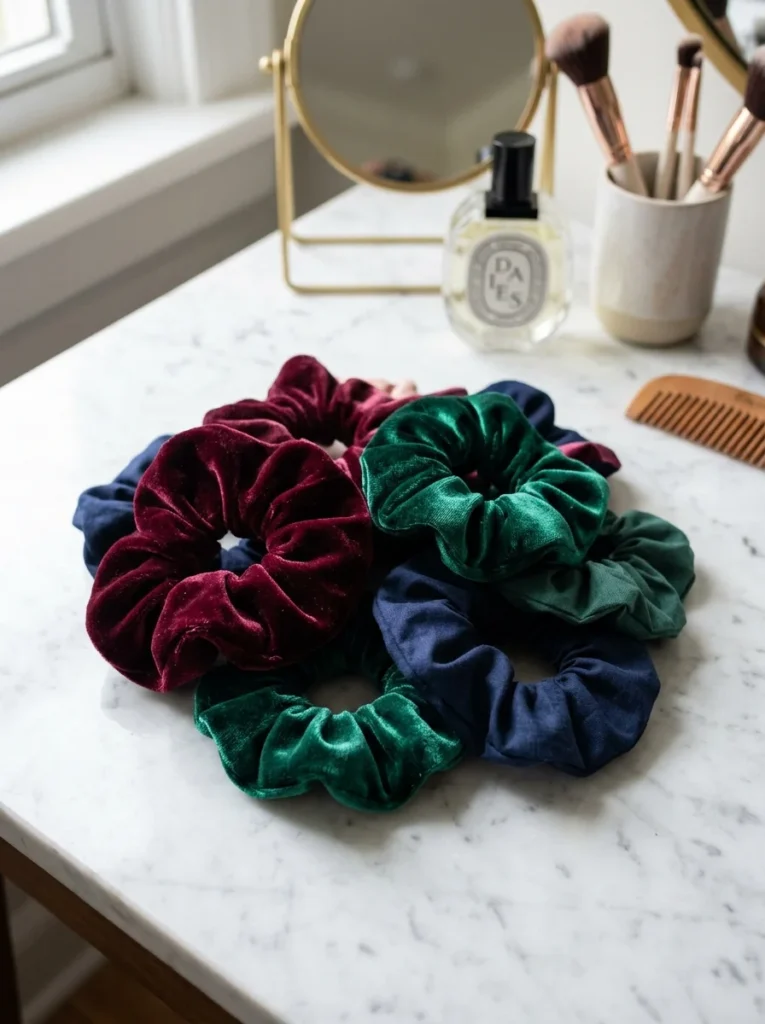
Scrunchies are absurdly quick to make. And they still sell. And people still want them.
Cut a strip of fabric about 22 inches long and 3.5 inches wide. Fold it in half lengthwise, right sides together. Sew the long edge to make a tube. Flip right-side out. Thread elastic through. Sew the ends of the elastic together. Close the opening.
Total time: 15 minutes or less.
Fabric scraps from other projects work perfectly. A scrunchie uses such a small amount of fabric that you can make dozens from leftover cuts that were otherwise going to be thrown out.
Velvet scrunchies feel luxurious and look expensive despite costing almost nothing to make. Satin scrunchies are gentle on hair. Cotton ones are casual and washable.
This project teaches you to thread elastic with a safety pin and manage working inside a small tube — skills used in waistbands, cuffs, and hat brims.
Batch-produce a set of 10 in different fabrics for a gift set, or list them at a craft market for $3–$6 each.
17. A Fabric-Covered Notebook
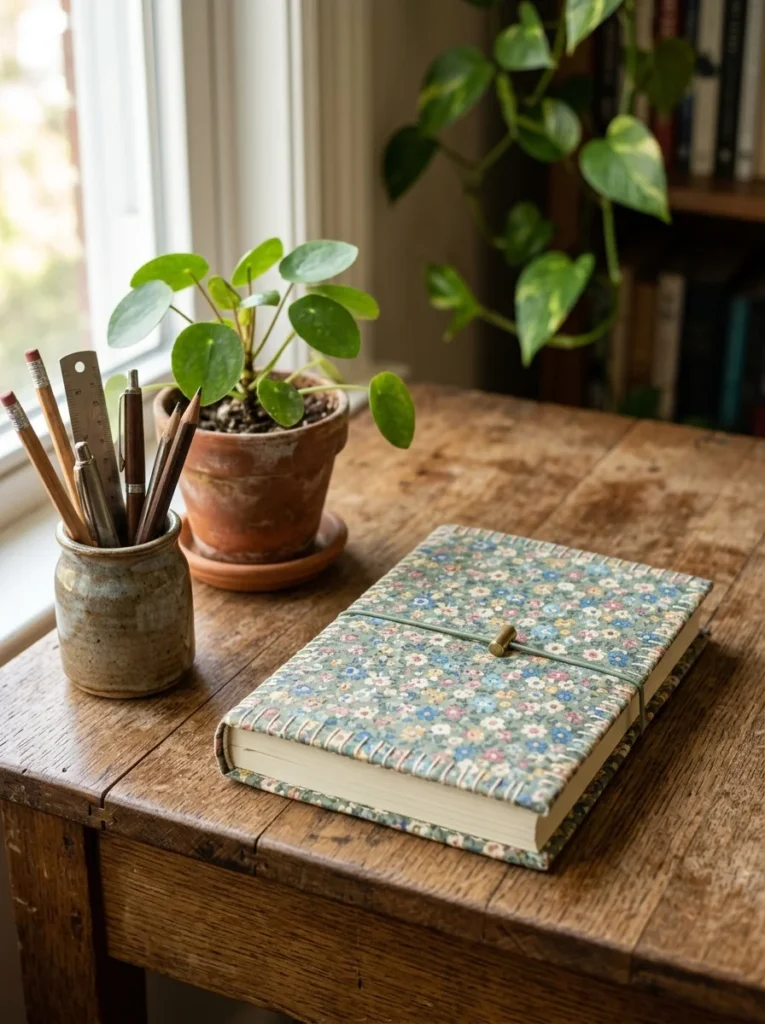
A fabric-covered notebook is a hand-sewing project that requires no machine at all.
Cut a piece of fabric large enough to wrap around your notebook with extra on all sides. Fold and glue or stitch the corners. Use a slip-stitch along the inside edge to secure the fabric to the cover.
The real skill here is the slip stitch — a nearly invisible hand stitch used to close seams and attach fabric to another surface without the thread showing. You’ll use this technique to finish pillowcases, close plush toys, and hem clothing.
Materials: one fat quarter of cotton fabric (usually $2–$4) and a basic needle and thread.
Fabric-covered notebooks make excellent handmade gifts for teachers, friends, and family. Pair it with a nice pen. Add an initial or a small embroidered detail if you want to level up.
This is also a portable project. You don’t need a machine. Sit on the couch, take it to a park, or work on it while watching a show. Not every sewing project needs to be done at a table.
18. A Beeswax Wrap Holder Pouch
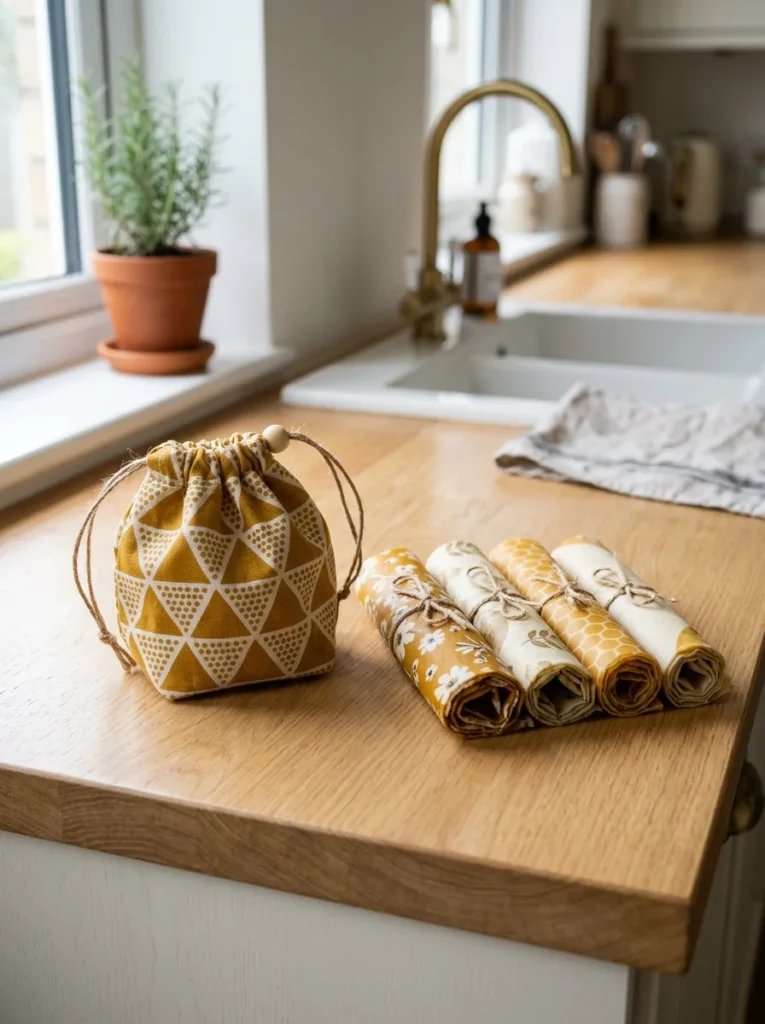
Beeswax wraps are reusable food wrap alternatives — and they need somewhere to live. A simple fabric roll-up pouch keeps them organized and tidy in a kitchen drawer.
Cut a rectangle of cotton — about 12 x 14 inches. Hem all four edges. Add a ribbon or fabric tie in the center of one long edge. Roll up your beeswax wraps, place them on the fabric, roll the pouch around them, and tie.
This is an entirely hemmed project — just four straight hems. It’s excellent practice for consistency and corner neatness, since you’ll sew the same motion eight times (two turns of two folds on each edge).
Budget: one fat quarter of cotton plus ribbon scraps. Under $5 total.
This one works as a housewarming gift paired with the wraps themselves. It looks thoughtful, intentional, and useful — the combination that makes handmade gifts feel special instead of obligatory.
Clean, contained, practical. Everything a great beginner project should be.
Conclusion
You don’t need an expensive machine, a dedicated sewing room, or years of experience to make something you’re genuinely proud of. You need one project, one afternoon, and a willingness to try. Every item on this list was chosen because it teaches a real skill, costs almost nothing to make, and gives you something useful at the end. Start with the one that excites you most. Finish it. Then make another. That cycle — try, finish, try again — is exactly how confidence gets built. Not through reading more or planning more, but through doing. Pick up your scissors. Thread your needle. Make the first cut. The rest follows from there.
