

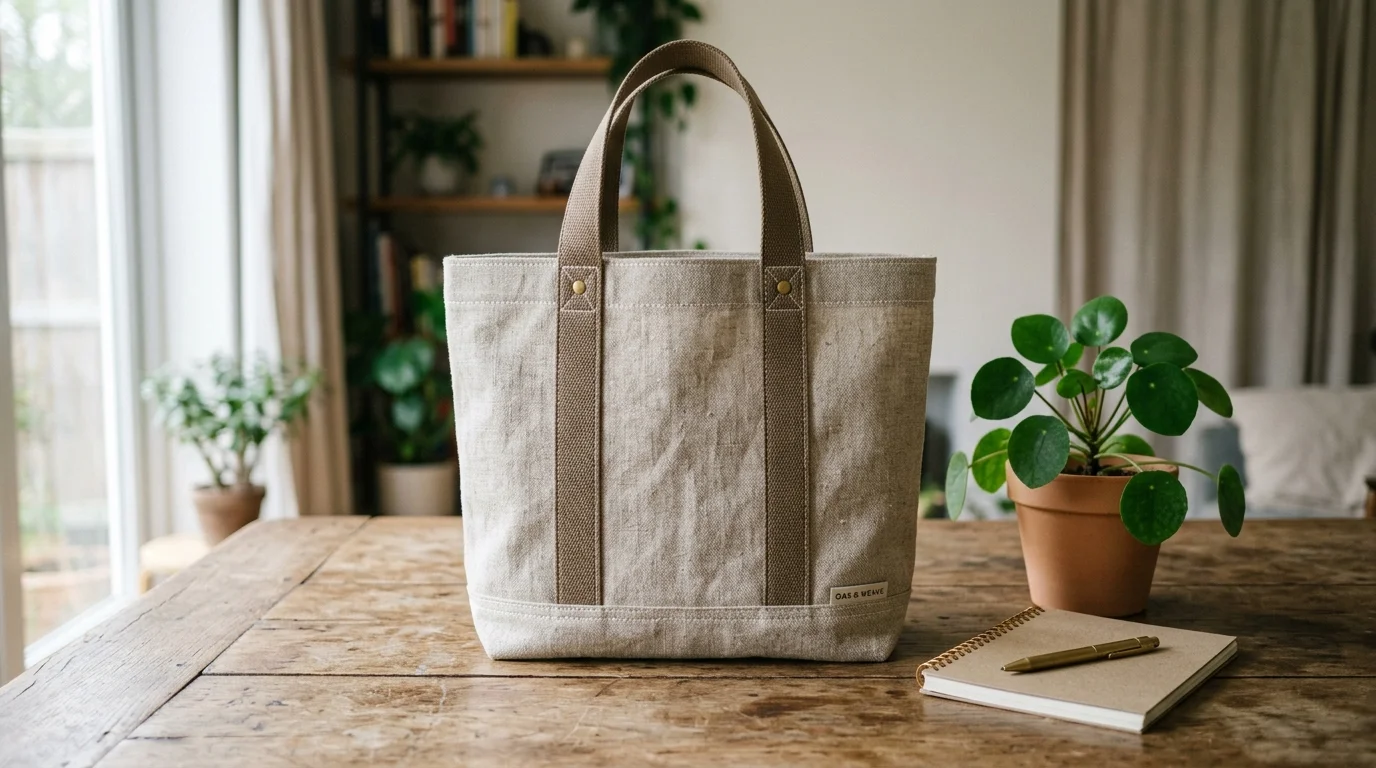
A flimsy tote bag falls apart in a month. A well-made one lasts for years, holds your groceries without stretching out, and looks like something you’d actually pay for in a boutique. The good news? You don’t need fancy equipment or years of sewing experience to make one. You just need the right fabric, a few simple techniques, and a little patience.
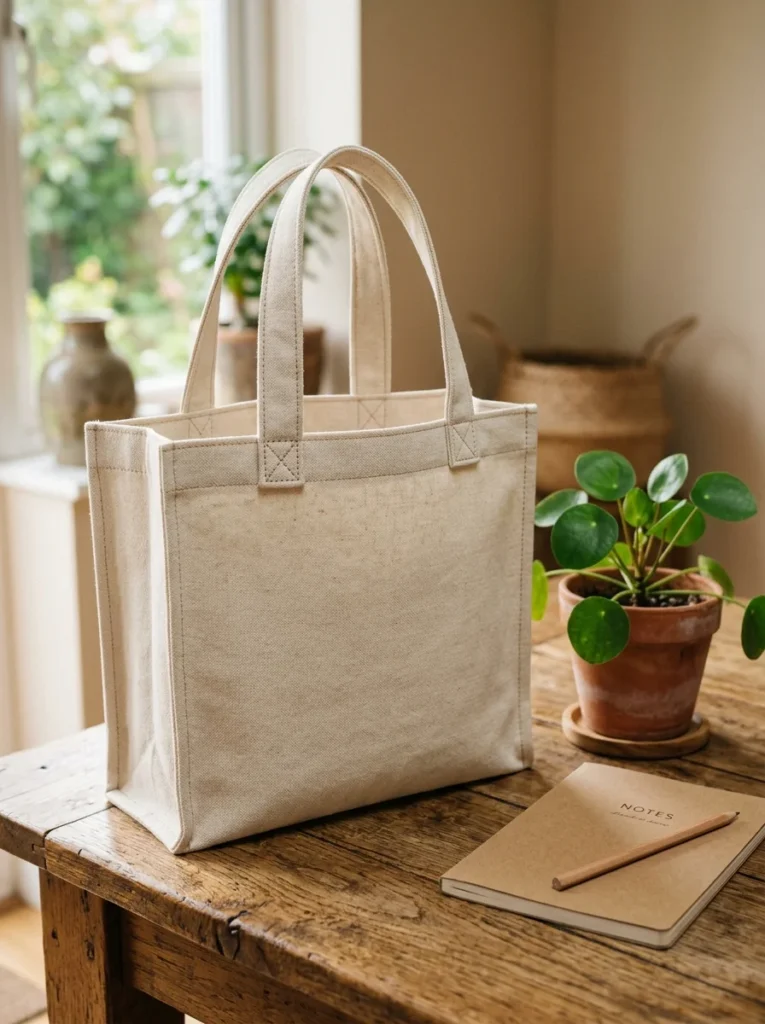
This guide walks you through building a tote bag that’s strong enough for everyday use and stylish enough to carry anywhere. Let’s get into it.
Pick the Right Fabric First
Your fabric choice makes or breaks this project. Skip anything thin or stretchy.
Good options include:
- Canvas – heavy, durable, holds its shape
- Denim – great for a casual, lived-in look
- Cotton duck cloth – sturdy but still easy to sew
- Home decor fabric – often thicker than quilting cotton
Avoid quilting cotton on its own. It’s too lightweight and will sag once you load it up with stuff.
Budget tip: Old jeans, canvas drop cloths, or thrifted curtains work great here. You don’t need to buy new fabric for a sturdy bag.
Cut Your Pieces With Purpose
Once you’ve picked your fabric, it’s time to cut.
You’ll need:
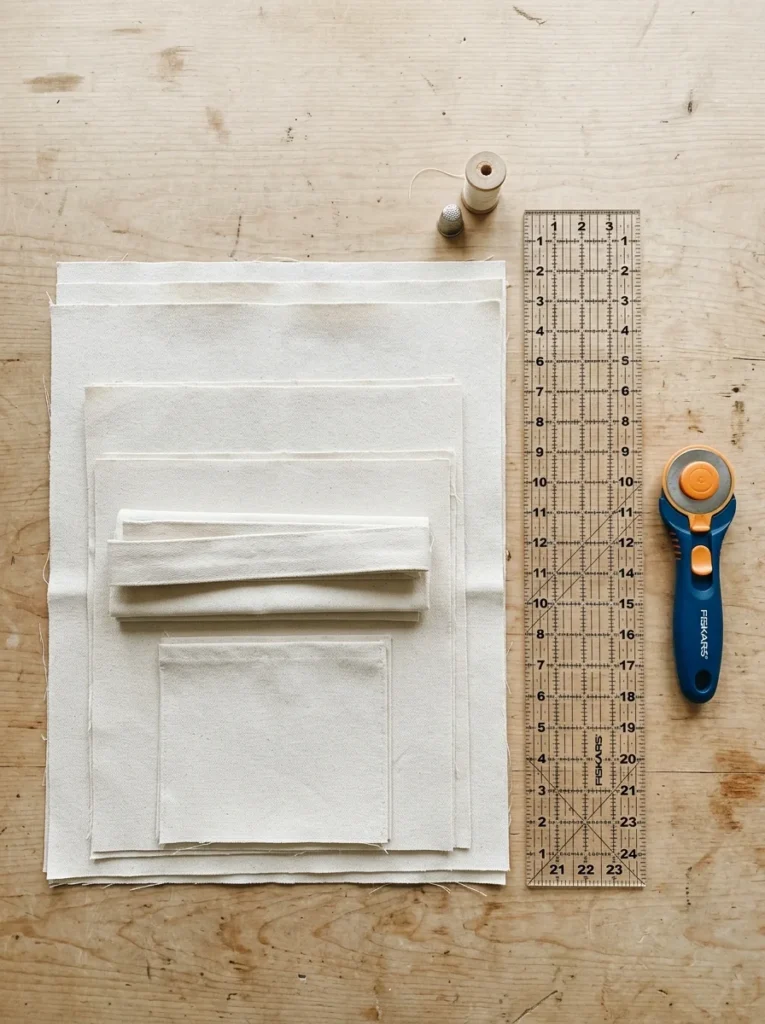
- Two body pieces (front and back), roughly 15″ x 16″
- Two strap pieces, about 4″ x 24″ each
- A lining piece in matching dimensions, if you’re adding one
Cutting accurately matters more than people think. Crooked edges lead to a lopsided bag later.
Quick tip: Use a rotary cutter and ruler instead of scissors. It keeps your lines straighter and saves time.
Reinforce the Bottom for Strength
This is the step most beginners skip, and it’s the reason so many homemade totes stretch out or rip at the seams.
Before sewing your bag together, add a layer of reinforcement to the bottom panel. You can use:
- A scrap of canvas
- Fusible interfacing
- An extra layer of the same fabric
Sew it onto the inside bottom of your bag before assembling the rest. This single step is what gives your tote that “this could survive a grocery run” sturdiness.
If you want extra structure, slide a thin piece of cardboard or plastic canvas into the bottom once it’s finished. It’s optional, but it helps the bag hold its shape standing up.
Sew the Sides and Create Boxed Corners
Now it’s time to bring the bag to life.
- Place your two body pieces right sides together.
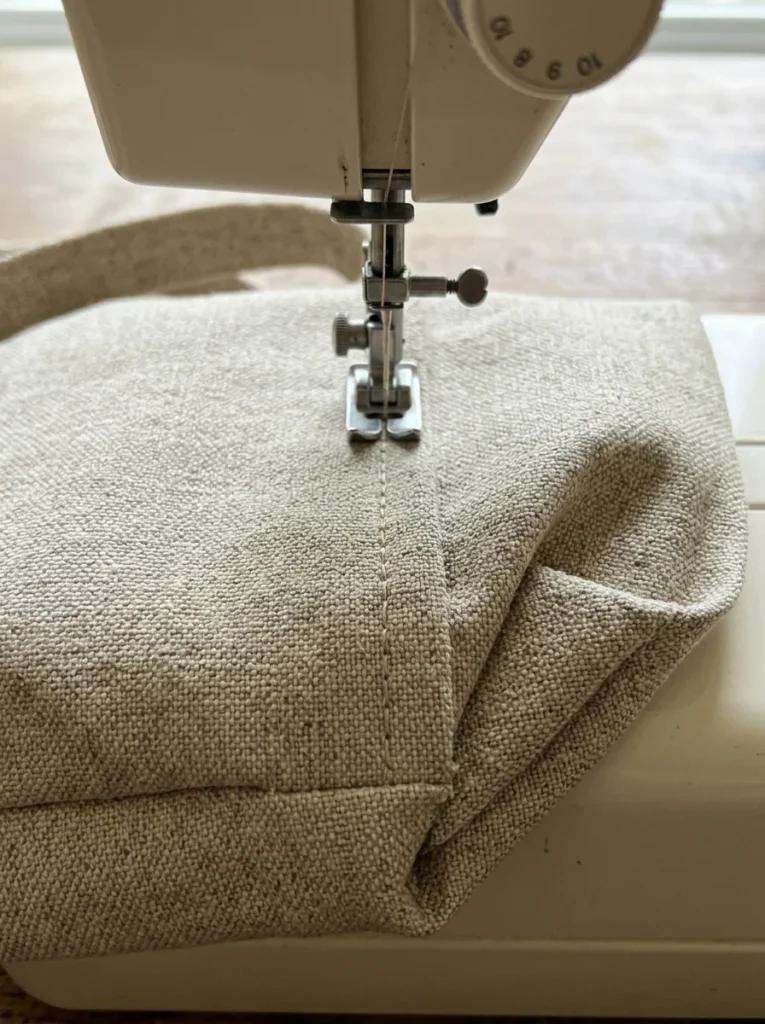
- Sew down both sides and across the bottom.
- To create flat, boxed corners, pinch each bottom corner into a triangle and sew straight across.
This boxed-corner trick is what gives totes that structured, professional look instead of a flat pillowcase shape.
Tip: Go over high-stress seams twice with your machine. Tote bags carry weight, and double stitching prevents blowouts later.
Add Straps That Won’t Snap
Weak straps are the number one reason tote bags fail.
To make sturdy straps:
- Cut strap fabric wider than you think you need, then fold and topstitch for thickness.
- Add a strip of interfacing inside each strap for extra support.
- Stitch a box pattern where the straps attach to the bag body. This spreads out the weight instead of concentrating stress on one line of thread.
If you’re using cotton webbing instead of fabric straps, even better. It’s nearly impossible to rip, and it gives the bag a slightly more polished, store-bought feel.
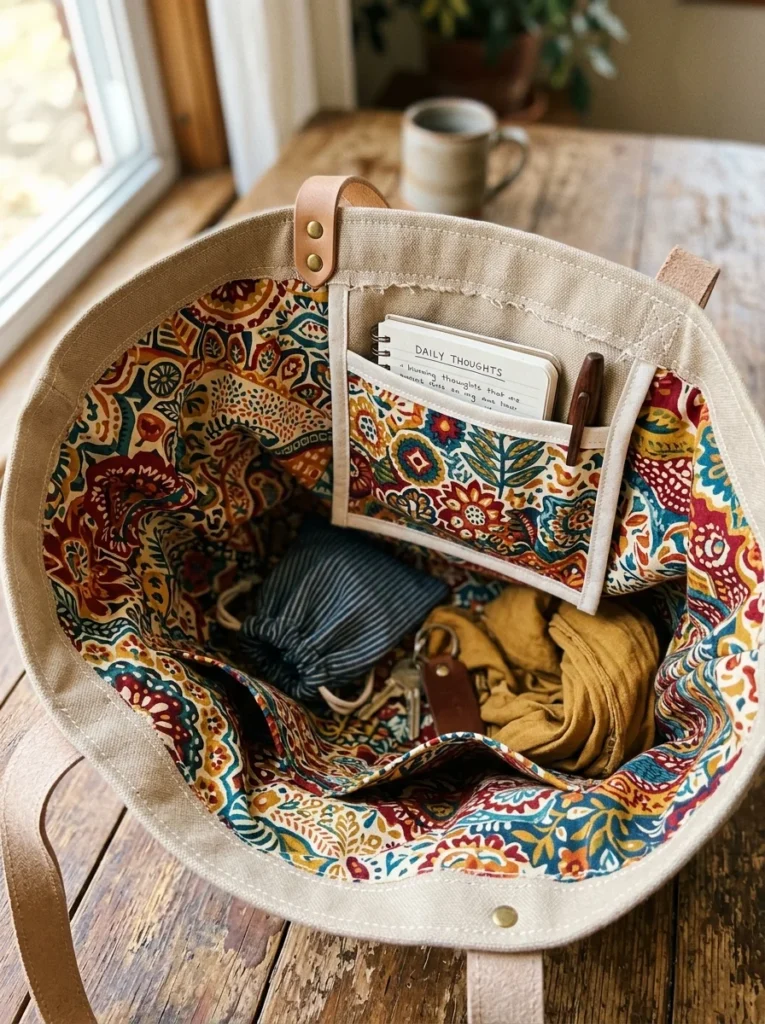
Finish With a Lining (Optional, But Worth It)
A lining isn’t required, but it upgrades your tote instantly.
Benefits include:
- Hides raw seams for a cleaner finish
- Adds another layer of durability
- Lets you add a pocket for your phone or keys
Sew your lining pieces the same way you sewed the outer bag, then slide it inside and stitch around the top opening to join them together.
Press, Topstitch, and Admire Your Work
Before you call it done:
- Press every seam. It instantly makes your project look more professional.
- Topstitch around the top edge of the bag for a clean, finished line.
- Trim any loose threads.
These small finishing touches are what separate a “homemade” look from a “handmade-on-purpose” look.
You’re Ready to Sew Your Own
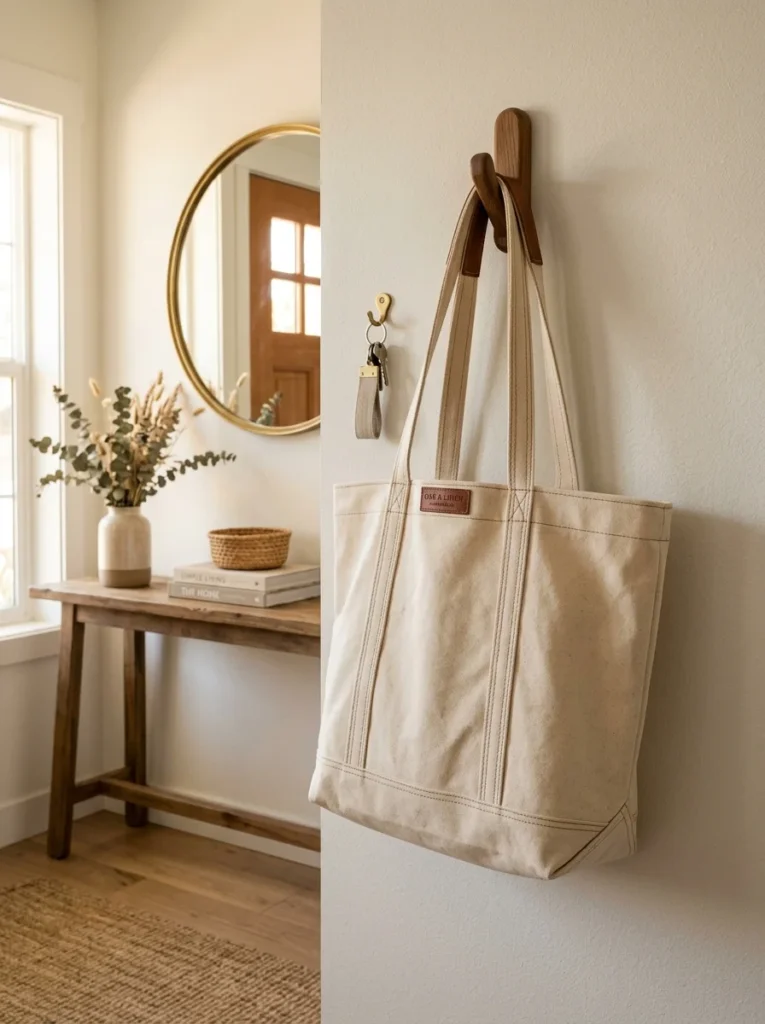
A great tote bag isn’t about fancy fabric or expensive tools. It’s about smart construction: sturdy fabric, reinforced corners, strong straps, and clean finishing. Once you’ve made one, you’ll never want to buy a flimsy store-bought tote again.
Save this guide for your next sewing weekend, and don’t be surprised when everyone starts asking where you got your bag.
