

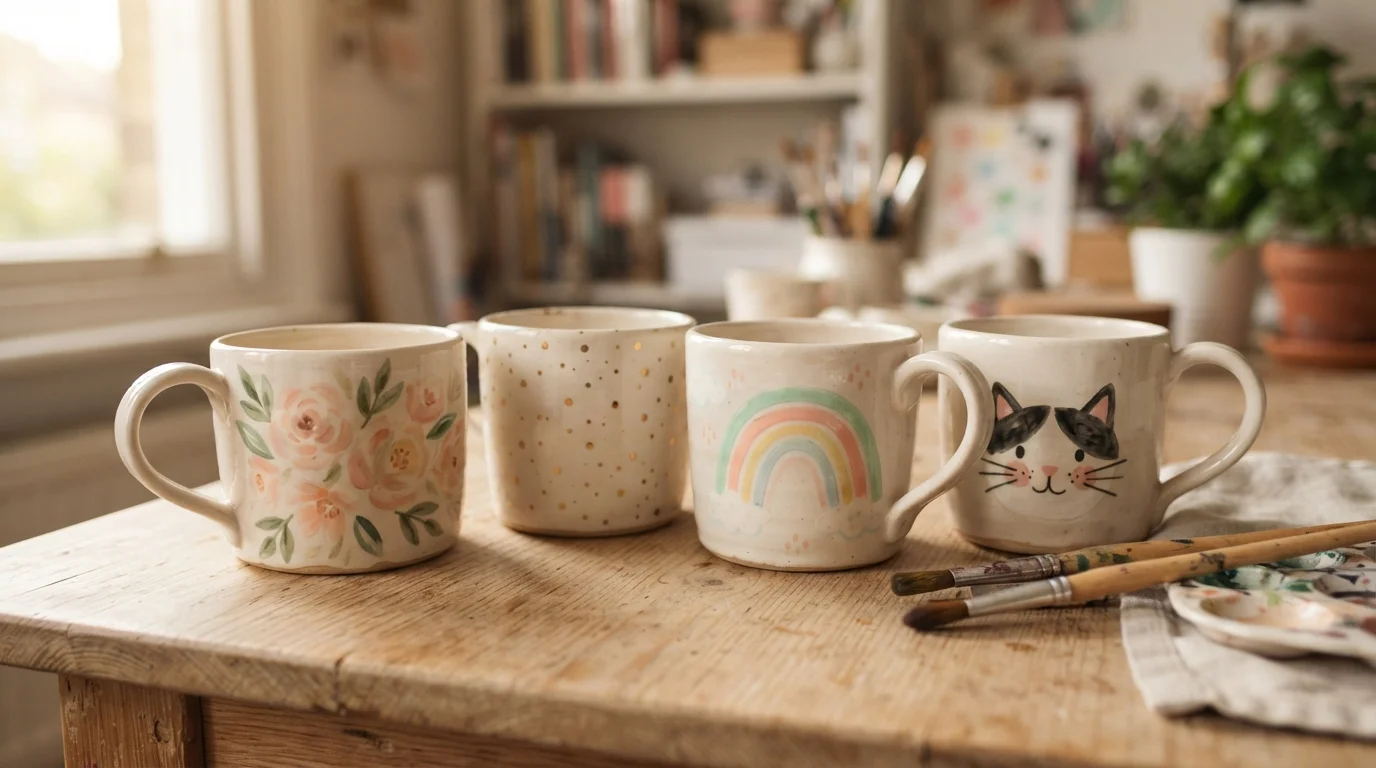
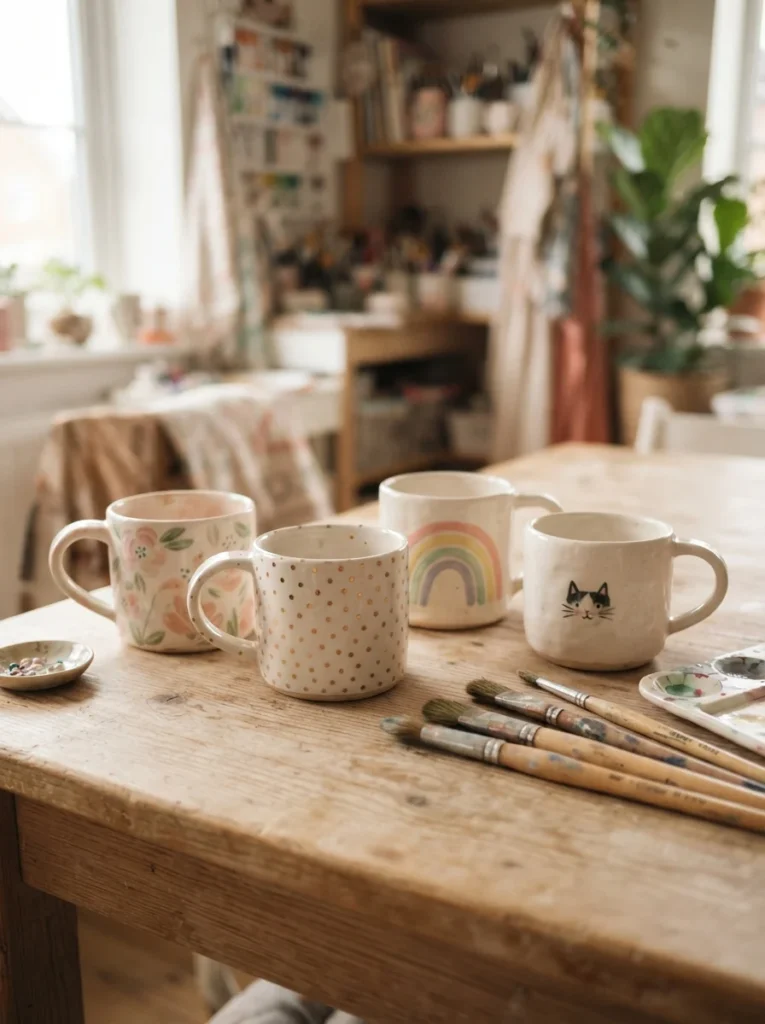
A plain white mug sitting in the cupboard is a tiny blank canvas waiting for you. With a few pots of ceramic paint and a steady afternoon, you can turn a $2 thrift-store cup into a handmade gift someone actually keeps. Painted mugs work for birthdays, teacher thank-yous, holidays, or a “thinking of you” surprise. They feel personal because your hands made them. And they cost far less than store-bought presents. This guide walks you through 22 mug painting ideas that are simple, affordable, and beginner-friendly. Most need nothing more than paint markers, a cheap brush, and an oven. Pick one design, grab a mug, and start small.
1. Cheerful Polka Dot Pattern
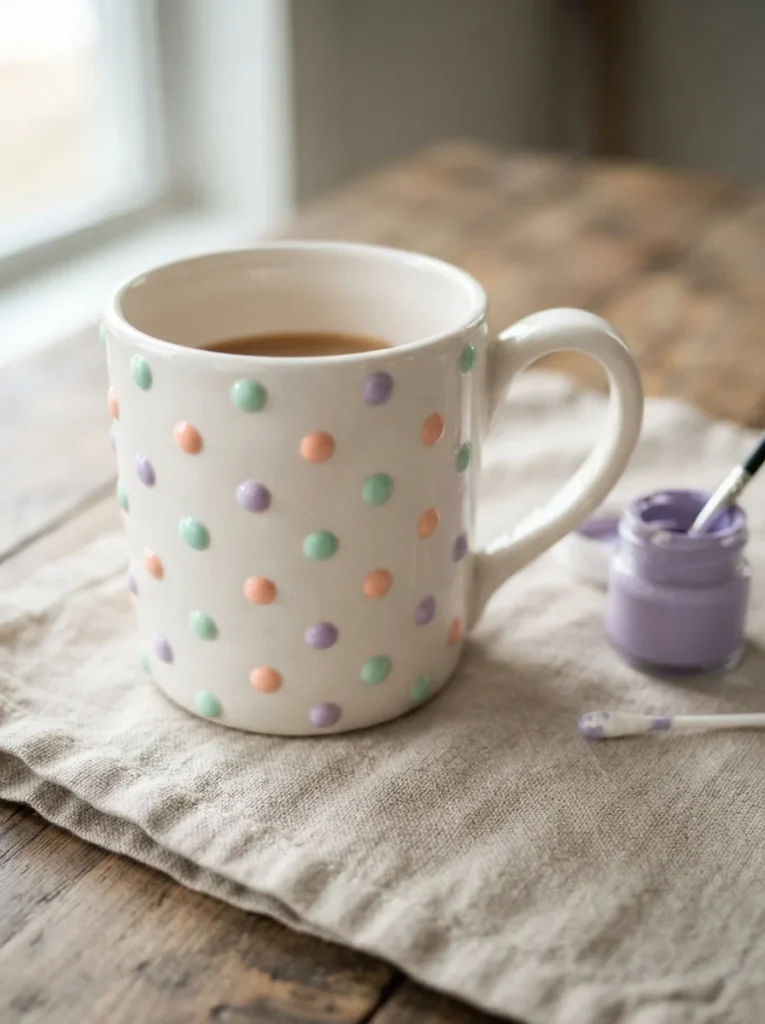
Dots are the easiest place to start. You do not draw a single line. You just press and lift.
Grab the flat end of a pencil eraser for perfect circles. Dip it in ceramic paint, then stamp it onto the mug. Space the dots in neat rows, or scatter them for a relaxed look.
Try three colors that sit next to each other, like mint, peach, and soft yellow. This keeps the mug calm instead of loud.
Budget tip: cotton swabs, pencil erasers, and the eraser end of a chopstick all make free dotting tools. No fancy stamps required.
Let each color dry before adding the next so they do not smear.
Once the paint is done, follow the paint’s baking instructions, usually around 300°F for 30 minutes. This sets the design so it survives gentle washing.
Keep dots below the lip where the mouth touches. That area is safest left plain.
A polka dot mug takes under an hour and suits almost anyone on your gift list.
2. Hand-Lettered Name Mug
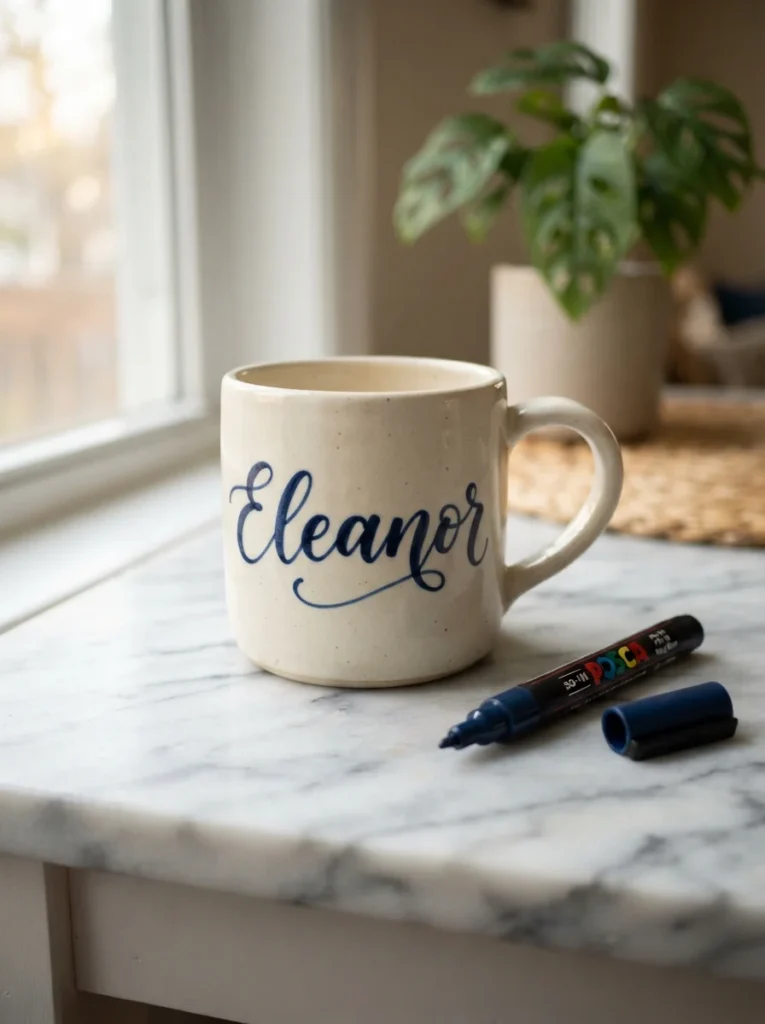
A name makes any mug feel like it belongs to one person. This is the gift that says “I made this just for you.”
Use an oil-based paint marker with a fine tip. These give you control and stay put once baked. Pencil in the name first with a washable marker so you can fix mistakes.
Go slow. Short, calm strokes beat rushed ones. If your handwriting is shaky, print the name in a font you like, then copy the shape.
Budget tip: one paint pen covers many mugs, so a single $5 marker becomes several gifts.
Add a tiny heart or star after the name for a friendly touch.
Wipe off pencil lines with a damp cloth before baking. Then set the paint in the oven per the pen’s directions.
Keep lettering on the outside body of the mug, away from the drinking rim.
This design shines for teachers, coworkers, and new babies. A name in soft script feels thoughtful and takes barely twenty minutes once you practice the strokes.
3. Dreamy Watercolor Wash
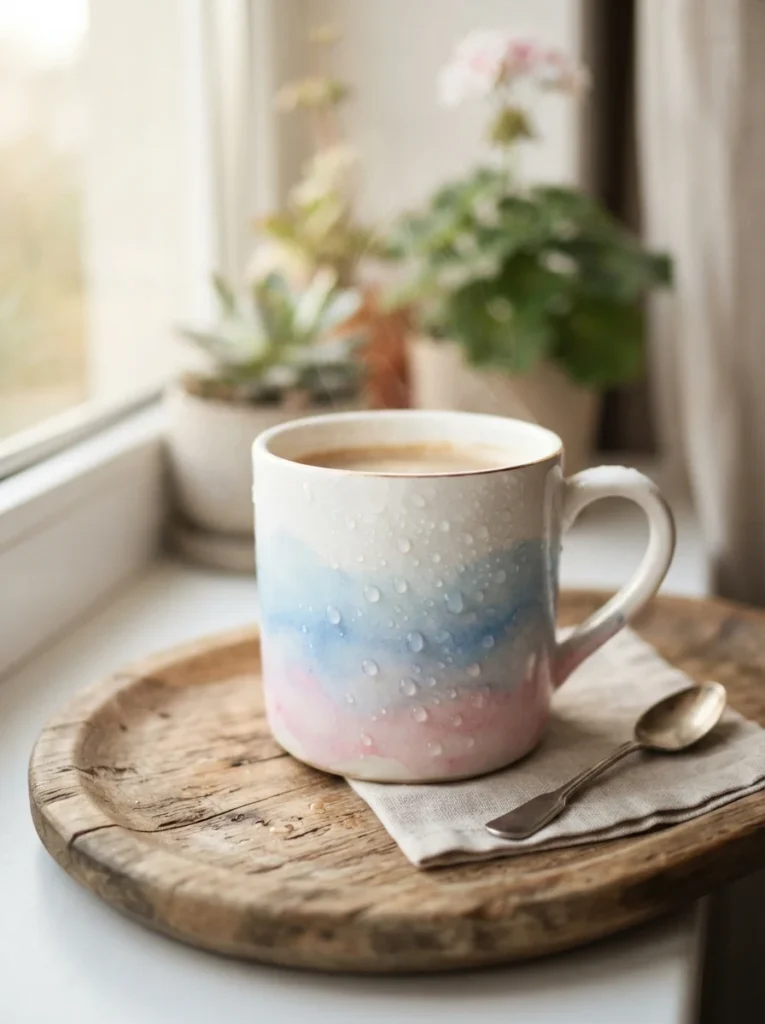
This look feels like painting on paper, only softer and more forgiving. It hides mistakes well, which makes it great for beginners.
Water down your ceramic paint slightly so it flows. Load a soft, wide brush and sweep it across the mug in loose strokes. Let colors bleed into each other for that dreamy fade.
Pick two shades that live near each other on the color wheel, like blue into teal, or pink into peach. This keeps the wash gentle instead of muddy.
Budget tip: a basic children’s brush set works fine here. You do not need artist-grade tools for a soft blur.
Dab a paper towel over wet spots to lift color and create highlights.
Because the effect is loose, no two mugs come out the same. That makes each one feel special.
Let it dry fully, then bake to set. Watered paint can take a bit longer to cure, so give it time.
A watercolor wash suits anyone who loves calm, pretty things. It reads as artistic even when your skills are brand new.
4. Botanical Floral Design
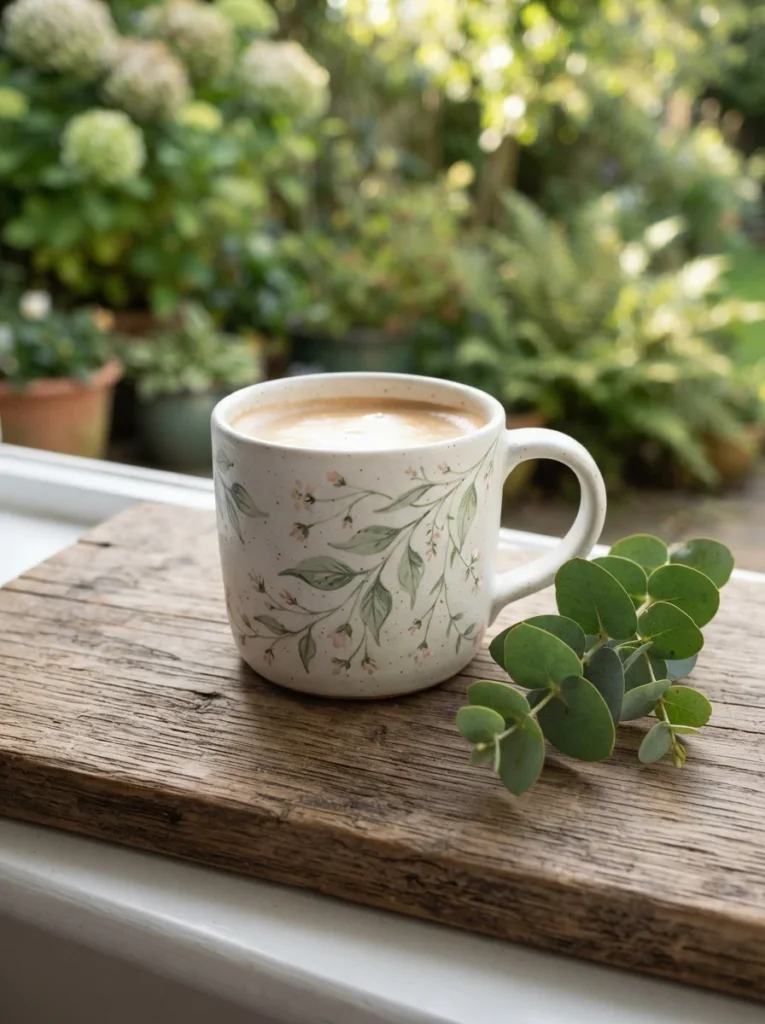
Florals feel classic and warm. You do not need to be an artist to paint them well.
Start with simple five-dot flowers. Make five dots in a circle, then a dot in the center. That is a whole blossom in seconds.
Add thin green leaves with a small brush. Group a few flowers on one side of the mug rather than covering the whole thing. Empty space looks tidy.
Stick to two or three flower colors so it stays soft. Blush, cream, and sage make a gentle combo.
Budget tip: copy a flower shape from a napkin or a fabric scrap you already own. Free inspiration is everywhere at home.
Vary the flower sizes so the cluster feels natural, not stamped.
Let each layer dry before adding leaves on top. Then bake to lock it in.
Keep the design on the mug body, not the rim.
A floral mug fits birthdays, Mother’s Day, and get-well gifts. It looks like it came from a shop, but it carries your personal touch instead.
5. Modern Geometric Triangles
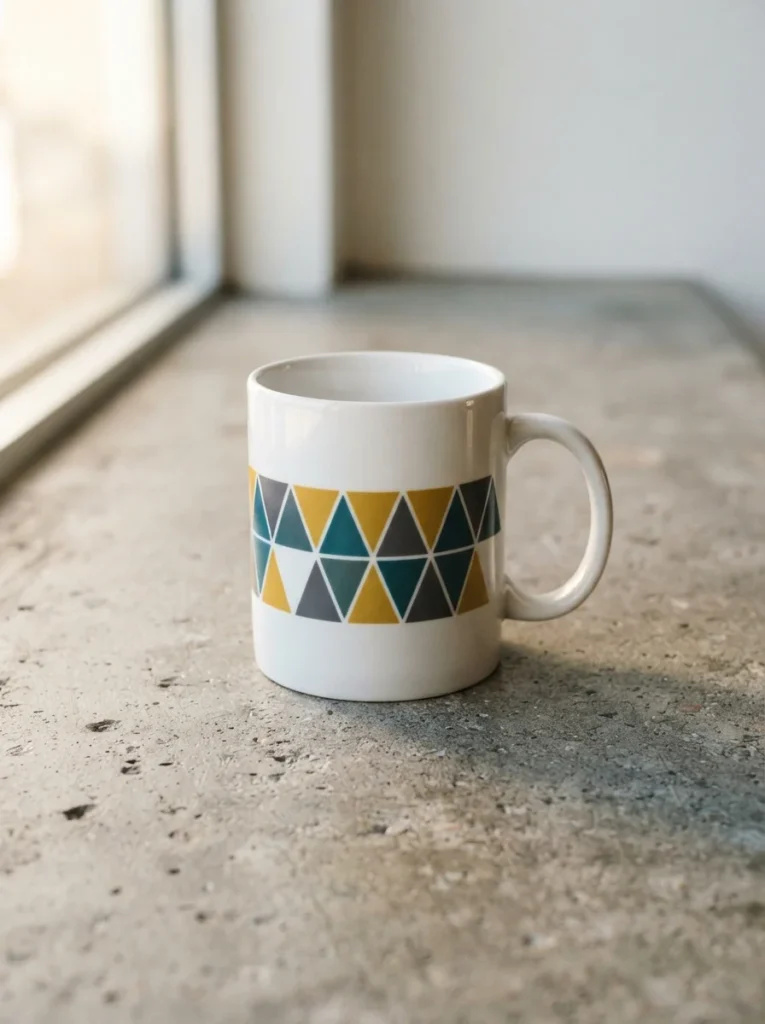
Sharp shapes give a mug a clean, current feel. Perfect for someone who likes tidy, modern things.
The secret is painter’s tape. Stick strips onto the mug to mask off straight edges. Paint between the tape, peel it away, and you get crisp lines with zero shaky hands.
Build triangles by taping a zigzag, then filling alternating sections. Use two or three colors that contrast, like mustard, teal, and grey.
Budget tip: a single roll of painter’s tape costs a couple of dollars and lasts through dozens of mugs. It is the cheapest way to look professional.
Press the tape edges down firmly so paint does not sneak underneath.
Let each color dry before removing tape. Rushing here causes smudges.
Keep the pattern in a band around the middle. A full-coverage geometric print can feel busy.
Once dry, bake to set the design.
This style suits offices, students, and anyone with a minimalist home. It takes patience with the tape, but the finished look feels sharp and grown-up.
6. Starry Galaxy Mug

A galaxy mug looks impressive but hides a friendly secret: the messier your dabbing, the better it turns out.
Start with a dark base coat in navy or black. Let it dry. Then sponge on patches of purple, pink, and blue in soft clouds. Blur the edges with a dry sponge.
Flick tiny white dots on top for stars. Dip an old toothbrush in white paint and drag your thumb across the bristles. The splatter lands like a night sky.
Budget tip: a kitchen sponge cut into small pieces makes the perfect galaxy dabber for free.
Layer the colors while slightly wet so they melt together.
Add a few larger white dots for bright stars, then bake to set.
Keep the drinking rim plain and simple.
Because splatter is random, mistakes just look like more stars. That takes the pressure off.
This mug wows teens, space fans, and dreamers. It feels like a lot of effort, but the technique forgives almost everything. Give it a full afternoon, mostly for drying time between layers.
7. Simple Line Art Face
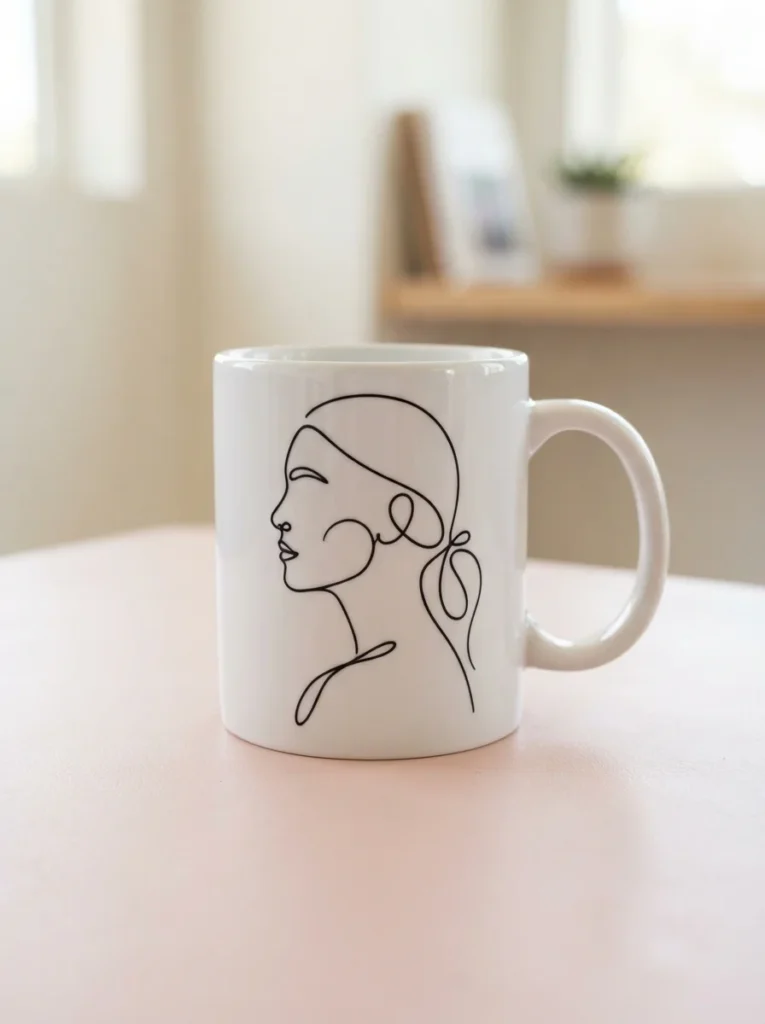
Line art looks artsy and takes one steady color. No shading, no filling in.
Use a fine black paint marker. Draw a face, a leaf, or an abstract shape in one continuous line. The trick is to never lift the pen if you can help it.
Practice on paper first until the shape feels easy. Then copy it onto the mug.
Keep it small and place it off-center for a modern gallery feel. One little drawing beats a crowded scene.
Budget tip: you only pay for one paint pen. That single tool makes a whole batch of matching gifts.
If your line wobbles, wipe it off with rubbing alcohol before baking and try again.
Let the ink dry, then set it in the oven per the pen’s directions.
Skip the rim and keep art on the body.
This style fits people who love clean, minimalist decor. A single-line face or plant looks thoughtful and calm. It is honestly one of the fastest designs here, and it always reads as intentional.
8. Sunset Rainbow Gradient
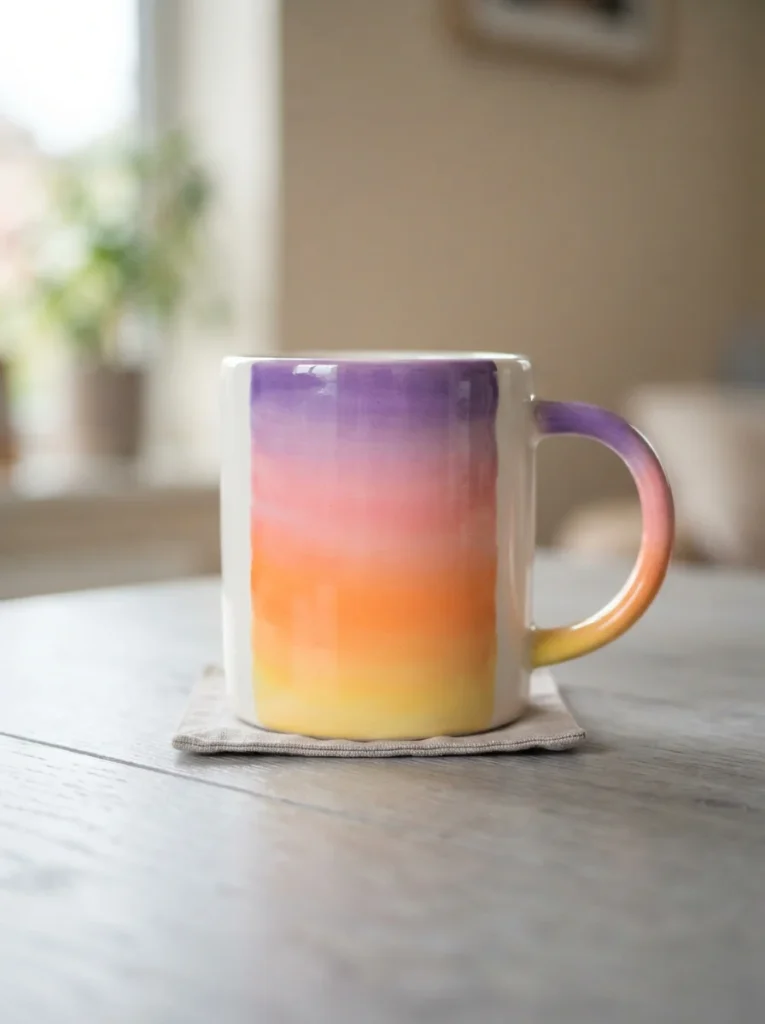
A gradient feels cheerful and takes almost no drawing skill. You just guide colors into each other.
Paint bands of color around the mug, going from warm to cool. Yellow at the bottom, then orange, pink, and violet as you move up.
While the paint is wet, drag a dry brush along each seam to soften the line between colors. This melts them into a smooth fade.
Pick either a full rainbow or a two-color blend for a subtler look. Both work.
Budget tip: mix your own middle shades from a few base colors instead of buying every hue. Red plus yellow gives orange, and so on.
Work fast so the paint stays wet enough to blend.
Let it fully dry before baking to set.
Keep the top rim clear of paint.
The soft transition hides brush marks, so beginners get lovely results.
A rainbow mug suits kids, Pride gifts, and anyone who likes a pop of color on a grey morning. It feels joyful and takes maybe thirty minutes of active work plus drying time.
9. Cute Animal Faces
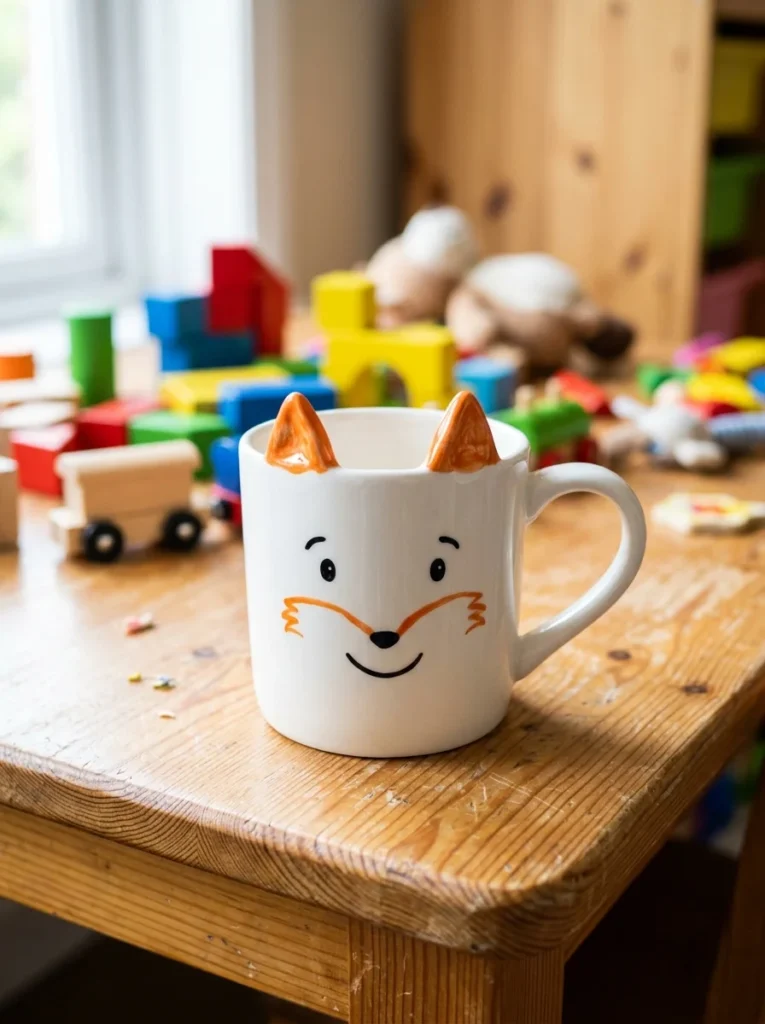
Animal mugs make people smile instantly. They are perfect for kids and anyone young at heart.
Keep the shapes round and simple. Two dot eyes, a small nose, and a curved smile turn a plain mug into a friendly critter.
Try a bear, a fox, a cat, or a panda. Paint pointed ears rising just above the rim for a fun 3D touch.
Use the mug’s own white as the animal’s face, then add just the features. Less painting, more charm.
Budget tip: search for a simple coloring-book animal, print it small, and copy the shapes. Free, kid-friendly templates are all over the internet.
Let the base color dry before adding tiny eyes and whiskers.
Fine details go on last with a small brush or paint pen.
Bake to set once everything is dry.
These mugs are a hit as birthday gifts for children and playful adults alike. A cat mug with ears above the rim always gets a laugh. Keep the features bold so they read clearly from across the table.
10. Marbled Swirl Effect
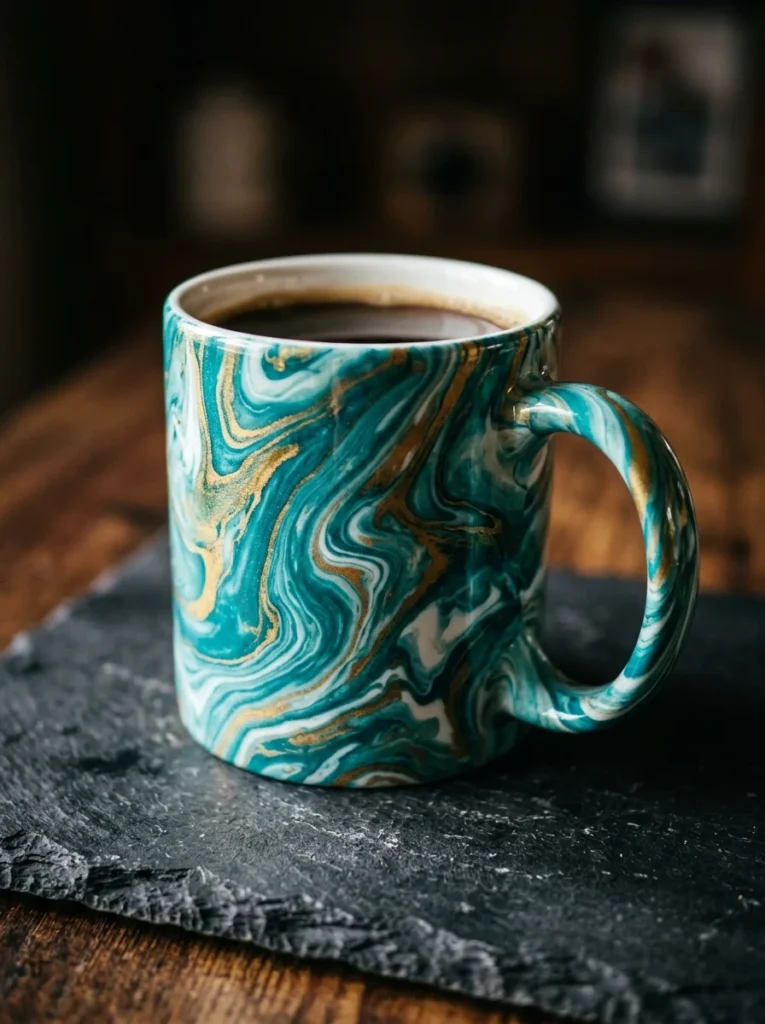
Marbling looks fancy but relies on a fun, hands-off trick. You dip instead of paint.
Fill a bucket with warm water. Drip nail polish or marbling paint onto the surface. Swirl it gently with a toothpick. Then dip the mug in and roll it slowly through the floating color.
The paint wraps around and clings in swirls. Every mug comes out one of a kind.
Pick two or three colors that suit each other, like teal, gold, and white.
Budget tip: leftover nail polish from your drawer works great for this. No need to buy special supplies if you have polish already.
Work quickly before the polish film hardens on the water.
Let the mug dry fully. Because dip-marbling uses polish, keep the pattern low and away from the drinking edge, and treat these as decor or occasional-use pieces.
The random swirls hide any unevenness, so beginners get gorgeous results.
Marble mugs feel luxe and modern. They make lovely gifts for someone with stylish taste. The dipping part takes minutes, though setup and drying stretch the project a little.
11. Sweet Heart Pattern

Hearts say love without a single word. This is the go-to for Valentine’s Day and anniversaries.
Painting a heart is easier than it looks. Make two dots side by side, then pull them down into a point. That is a heart in three quick moves.
Scatter small hearts all over, or line them in a neat row near the top. Both look sweet.
Mix red, pink, and a soft coral for depth. Or keep it all one color for a calmer feel.
Budget tip: a cotton swab makes the two top bumps of the heart easily, so you barely need a brush.
Space the hearts evenly so the pattern feels tidy.
Let the paint dry, then bake to set the design.
Keep hearts on the body, below the lip.
Add one bigger heart with a name inside for a personal gift.
Heart mugs suit partners, best friends, and family. They are simple enough for a last-minute present yet feel heartfelt. Give yourself half an hour, and you have a cozy handmade gift ready to wrap.
12. Hidden Message Inside the Rim
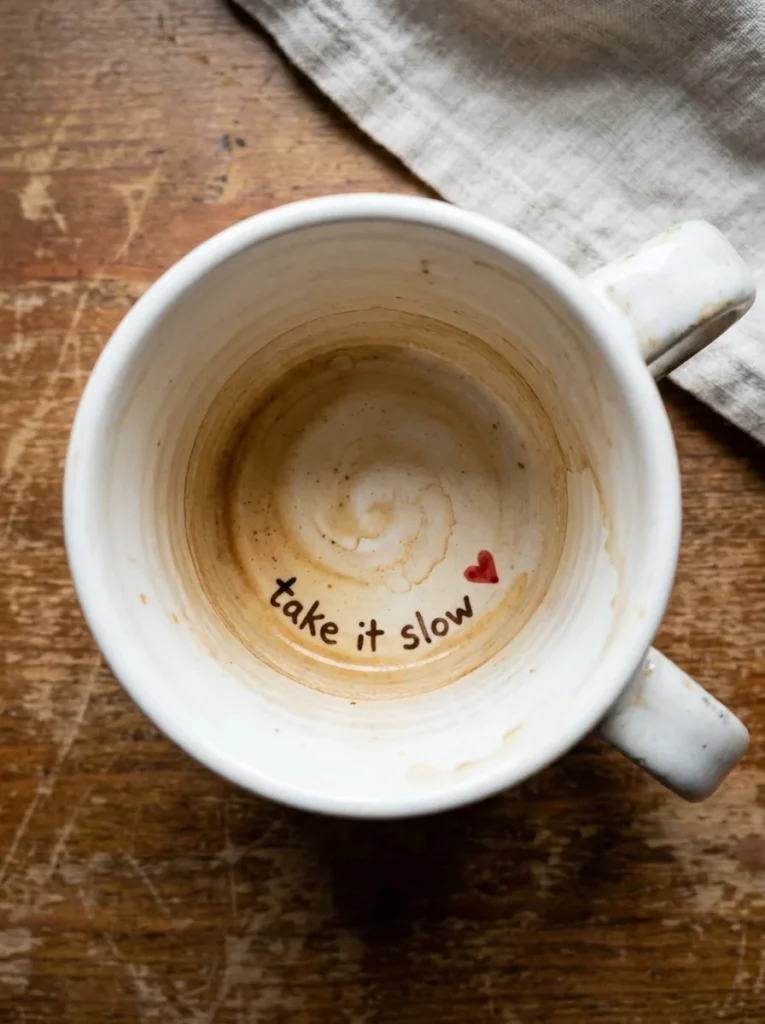
This idea has a surprise. The design hides inside, so it only shows when the mug is nearly empty.
Paint a tiny drawing low on the inner wall, near the bottom. A small heart, a sun, or a short word appears as the drinker finishes their coffee.
Because lips touch the upper rim, keep your painting well down inside and use paint rated food-safe once cured. Better yet, place the art on the lower inner wall, not where a mouth reaches.
Keep it small and simple. A little smiley or “hi” works perfectly.
Budget tip: this uses barely any paint, so it is nearly free if you already have supplies.
Let the paint dry fully before baking, since the inside cures a little slower.
Pair the hidden message with a plain painted outside for contrast.
This mug delights people who love a small daily surprise. Imagine finishing your morning drink and finding a tiny “you got this” at the bottom. It turns an ordinary cup into a quiet source of cheer, and it takes only minutes to make.
13. Zodiac Constellation Mug

A star-sign mug feels personal and a little magical. It suits anyone who loves astrology.
Start with a dark base in charcoal or deep blue. Let it dry.
Look up the person’s zodiac constellation. Paint small white dots for each star, then connect them with thin lines. Add a scatter of tiny background stars for depth.
Keep the constellation on one side so it stands out.
Budget tip: print the star map from a free online search and use it as your guide. No guessing needed.
Use a fine brush or white paint pen for crisp dots.
Let the base dry completely before adding stars, or the white will muddy.
Bake to set once everything is dry, and keep the rim plain.
You can add the sign’s name in small script below the stars.
A zodiac mug makes a thoughtful birthday gift, since it ties to the person’s own sign. It looks detailed but really just needs patient dotting. Set aside an hour, mostly for the base coat to dry before the stars go on.
14. Cactus and Succulent Design
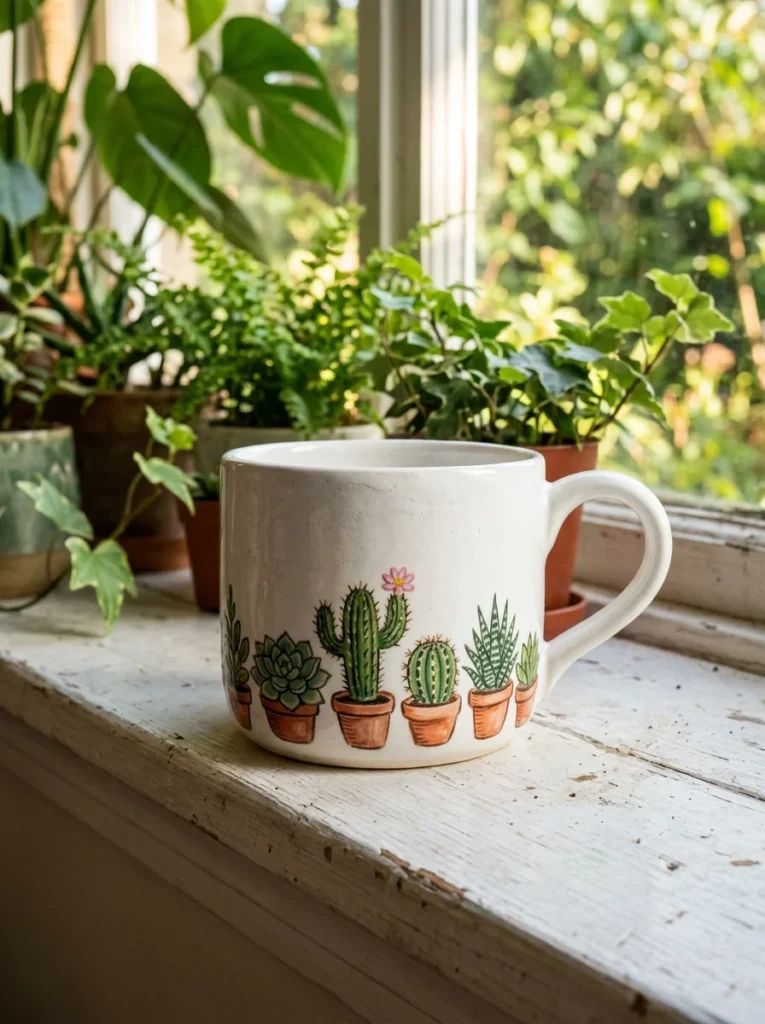
Cacti are trendy, cute, and forgiving to paint. Their chunky shapes hide any wobble.
Paint simple rounded cactus shapes in green along the lower part of the mug. Add little terracotta pots beneath them.
Dot on tiny spines with a fine brush. Top one cactus with a small pink flower for a pop of color.
Space a few plants in a row like a windowsill garden. This looks charming and stays easy.
Budget tip: you only need green, orange, and one flower color. A tiny paint set covers the whole design.
Let the green dry before adding pots and spines on top.
Keep details small so they read clearly.
Bake to set once dry, and keep art below the rim.
A cactus mug suits plant lovers and anyone who kills real plants but wants the look. These desert buddies never need watering.
The blocky shapes make this a great choice for shaky hands. Give it about forty minutes with drying time, and you have a cheerful, low-stress gift.
15. Coffee Quote Mug
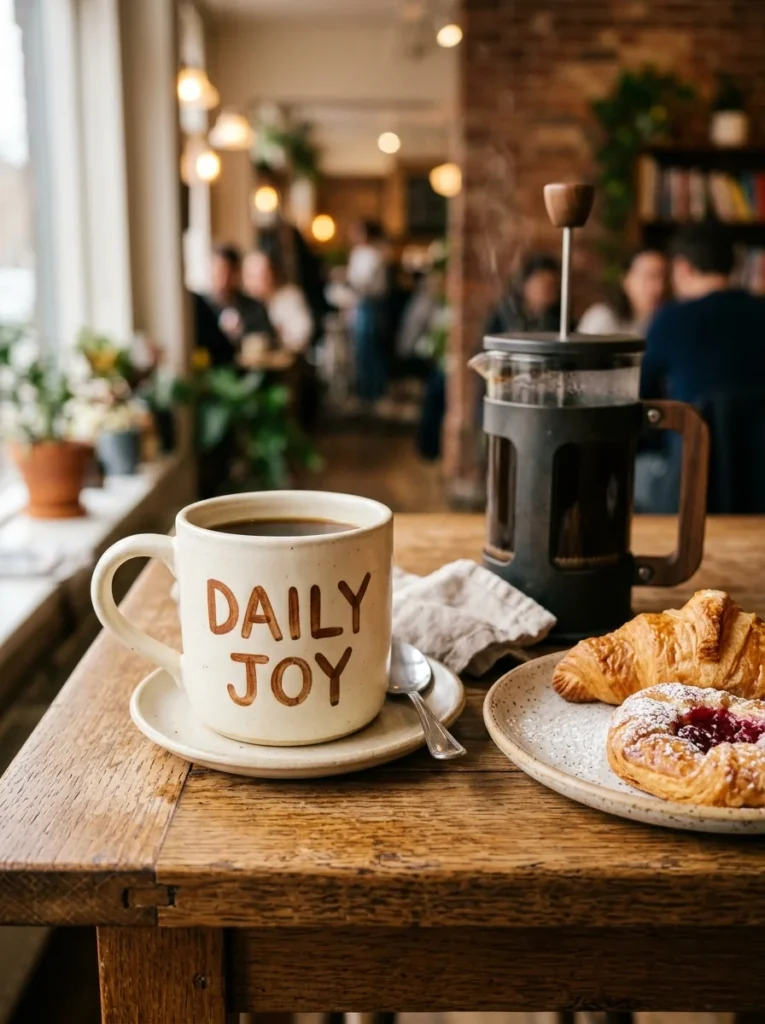
A quote mug speaks for you. The right few words turn a plain cup into a daily lift.
Pick a short, punchy phrase. “Rise and grind” or “But first, coffee” works. Shorter is easier to paint and read.
Sketch the words in pencil first to plan spacing. Center them or stack them in a fun layout.
Use a paint pen for clean letters. Block capitals are easier than script for beginners.
Budget tip: one paint marker handles the whole quote, keeping costs tiny.
Wipe pencil lines away with a damp cloth before baking.
Let the letters dry, then bake to set.
Keep text on the mug body, not the rim.
Add a small doodle beneath the words, like a coffee cup or a sun.
Quote mugs make great gifts for coworkers, coffee lovers, and busy parents. Match the phrase to the person for extra meaning. A gym fan gets a workout line. A book lover gets a reading one. This one takes twenty minutes once you settle on the words.
Conclusion
Painting mugs turns a cheap, plain cup into a gift that feels warm and personal. Every idea here works with a few dollars of supplies and an afternoon of your time. You do not need art training. Dots, tape, sponges, and simple shapes carry most of these designs. Start with one easy project, like polka dots or an ombre dip, and build confidence from there.
Remember the basics: keep paint below the drinking rim, let each layer dry, and bake to set so your work lasts. Match the design to the person, and your handmade mug becomes something they reach for every morning. Grab a plain mug today, pick your favorite idea, and paint one. Your first gift is only an afternoon away.
