

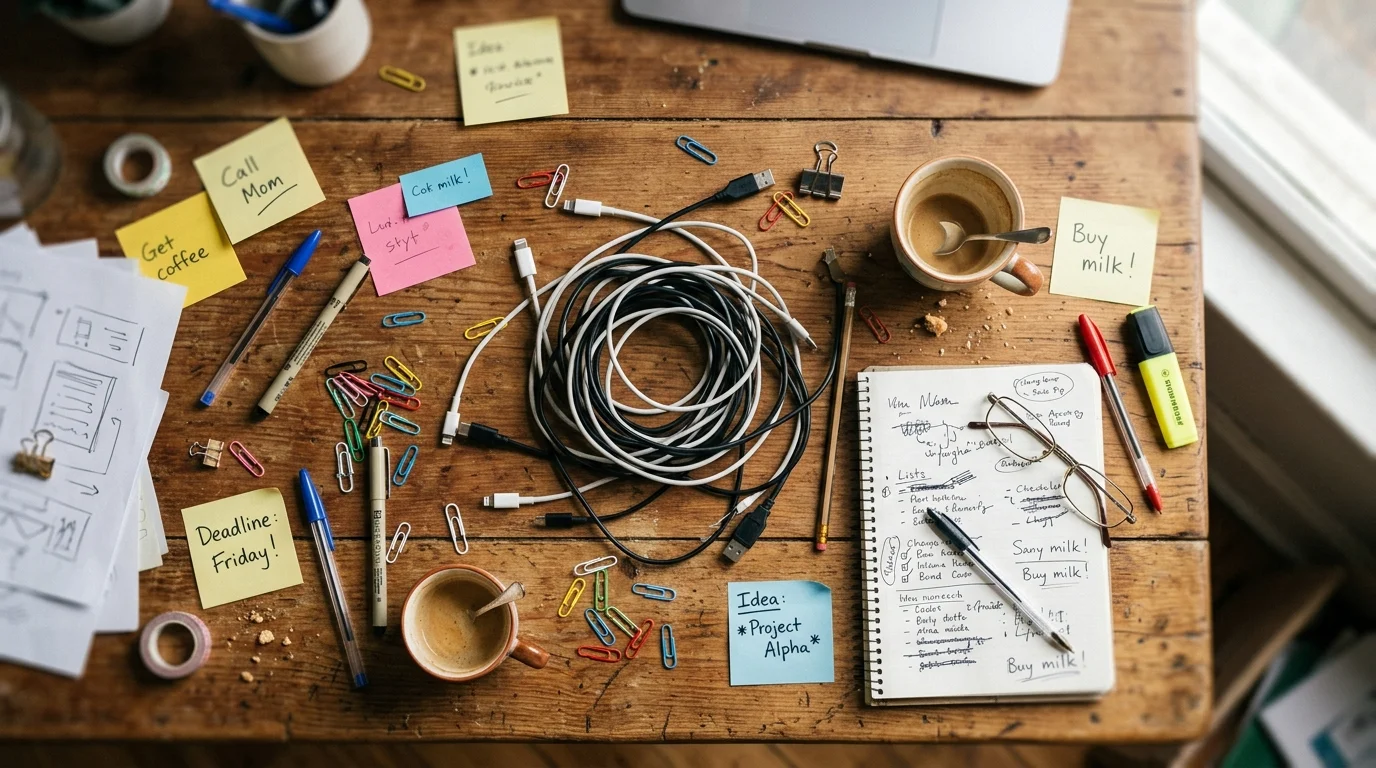
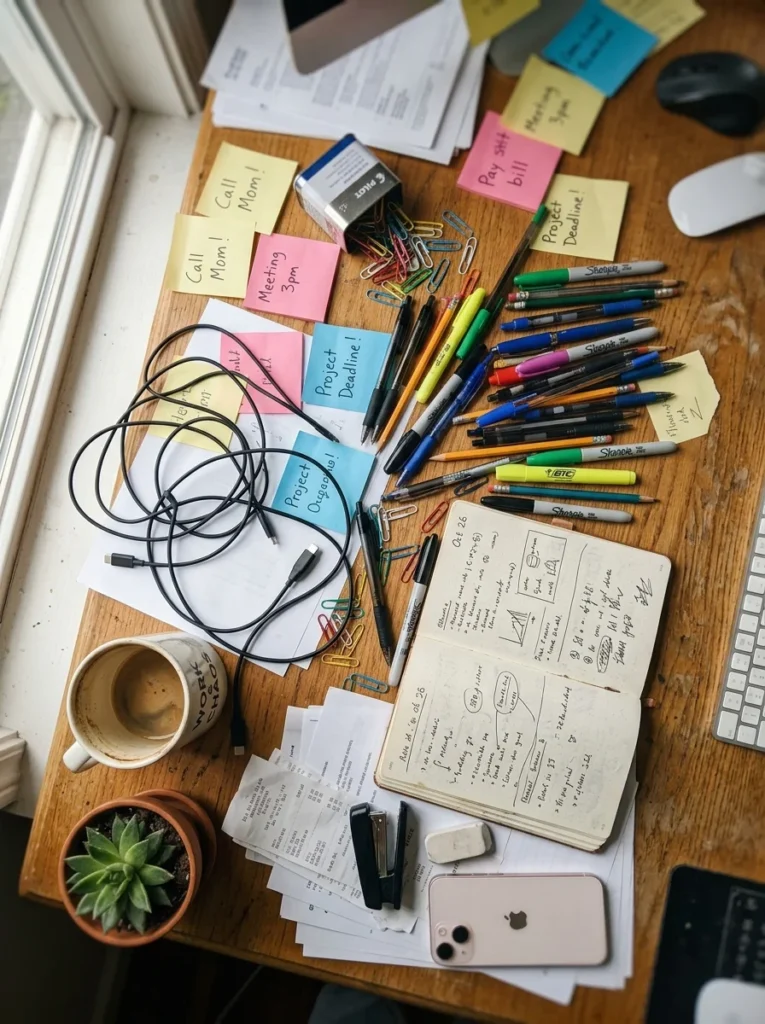
Your desk is drowning in pens, sticky notes, and tangled chargers. Sound familiar? Before you buy yet another plastic organizer, look at the recycling pile. That stack of empty boxes is about to become the tidiest thing on your desk.
This project costs almost nothing. You probably have everything you need already. In about an hour, you can turn a plain box into a custom organizer that fits your stuff perfectly.
Let’s build it.
What You’ll Need
No fancy tools here. Gather these simple supplies:
- A sturdy cardboard box (a shoebox or a small shipping box works great)
- Scissors or a craft knife
- A ruler and a pencil
- Glue or strong tape
- Optional: kraft paper, fabric, or contact paper to cover it
That’s it. Most of this is sitting in a drawer right now.
If you want a stronger organizer, save a thick box. The cardboard from appliance or moving boxes holds up best over time.
Step 1: Measure and Plan Your Sections
Start by thinking about what you actually want to store. Pens? Sticky notes? Your phone? Each thing gets its own little home.
Grab your messy desk items and group them. Tall things like pens need a deep section. Flat things like notepads need a wide, shallow one.
Now measure your box. Use the ruler to mark out where each divider will go. A pencil makes this easy to redo if you change your mind.
Quick tip: Leave a little extra room in each section. A snug fit is nice, but you want to slide things in and out without a fight.
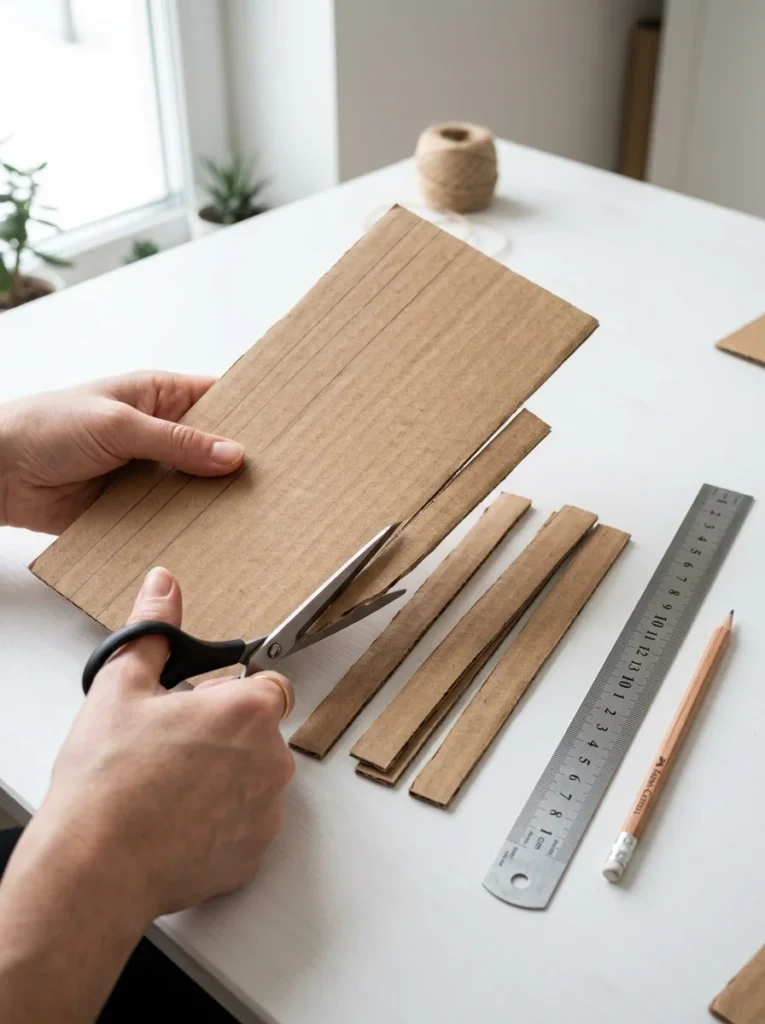
Step 2: Cut Your Base and Dividers
Cut the box down to the height you want. For a desktop organizer, three to four inches tall usually works.
Then cut long strips of cardboard for the dividers. Make them the same height as your box walls.
Here’s a clever trick:
- Cut small notches halfway down each strip
- Slot the strips together to form a grid
- Drop the grid right into the box
No glue needed if the fit is tight. But a dab of glue at the base keeps everything steady for the long haul.
Step 3: Build a Phone or Tablet Slot
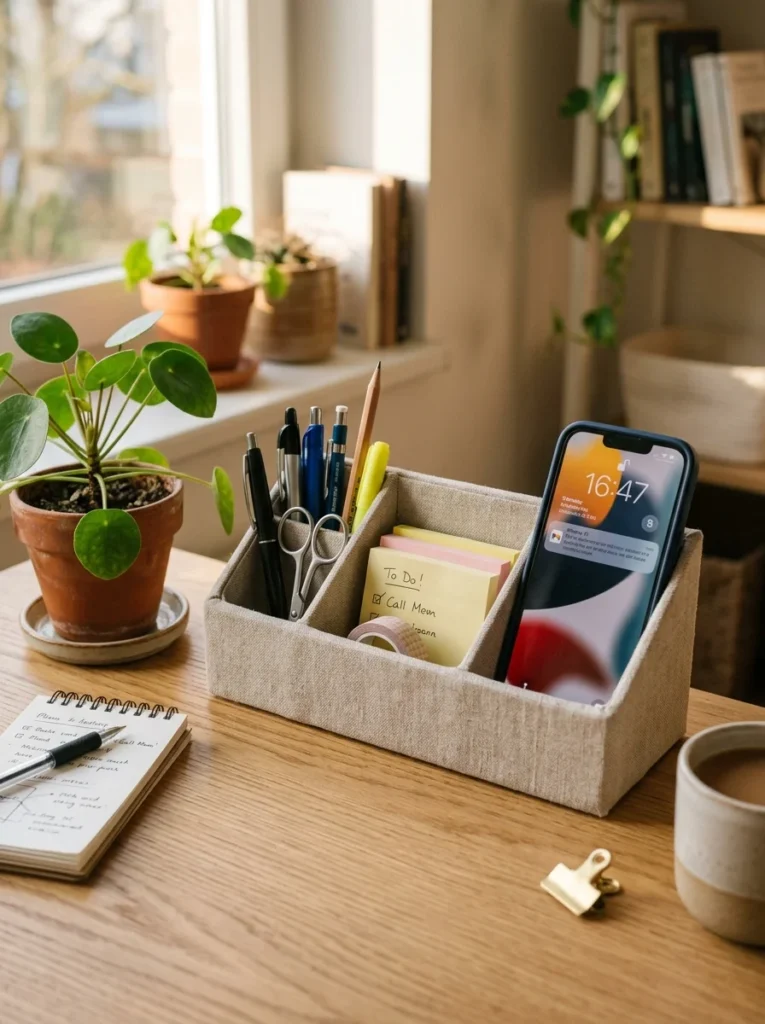
Want a spot to prop up your phone while you work? Easy.
- Cut a small rectangle of cardboard
- Fold it into a shallow tray with a slight backward lean
- Add a little lip at the front so the phone doesn’t slide off
- Glue it into one corner of your organizer
Now your phone stands up at a nice angle. You can watch videos or check messages without it getting lost in the clutter.
This one small addition makes the whole organizer feel custom-made.
Step 4: Reinforce the Weak Spots
Cardboard bends over time, especially if you fill it with heavy stuff. A few quick fixes keep it solid:
- Double up the bottom. Glue a second layer of cardboard to the base.
- Tape the inside corners. This stops the walls from sagging.
- Glue layers for dividers. Two glued sheets are way stronger than one.
These tiny steps mean your organizer lasts months, not days.
Step 5: Make It Pretty
Plain brown looks rustic and clean. But if you want it to match your space, dress it up.
Easy ways to finish it:
- Wrap it in kraft paper for a natural, minimalist look
- Cover it in fabric scraps or an old pillowcase for softness
- Use contact paper in a fun pattern for instant color
- Paint it a single shade to match your desk
Tuck the edges of your paper or fabric inside the box for a clean finish. Glue them down tight so nothing peels.
Smart Tips for an Even Better Organizer
A few extra ideas to make yours shine:
- Make a matching set. Build two or three in different sizes and line them up.
- Label your sections. A small paper tag helps you keep the habit.
- Add a cable holder. Punch holes in the back wall and thread chargers through so they stay put.
- Keep it away from drinks. Cardboard and spilled coffee are not friends.
Mix and match these based on your desk. The whole point is that it fits your mess, not someone else’s.
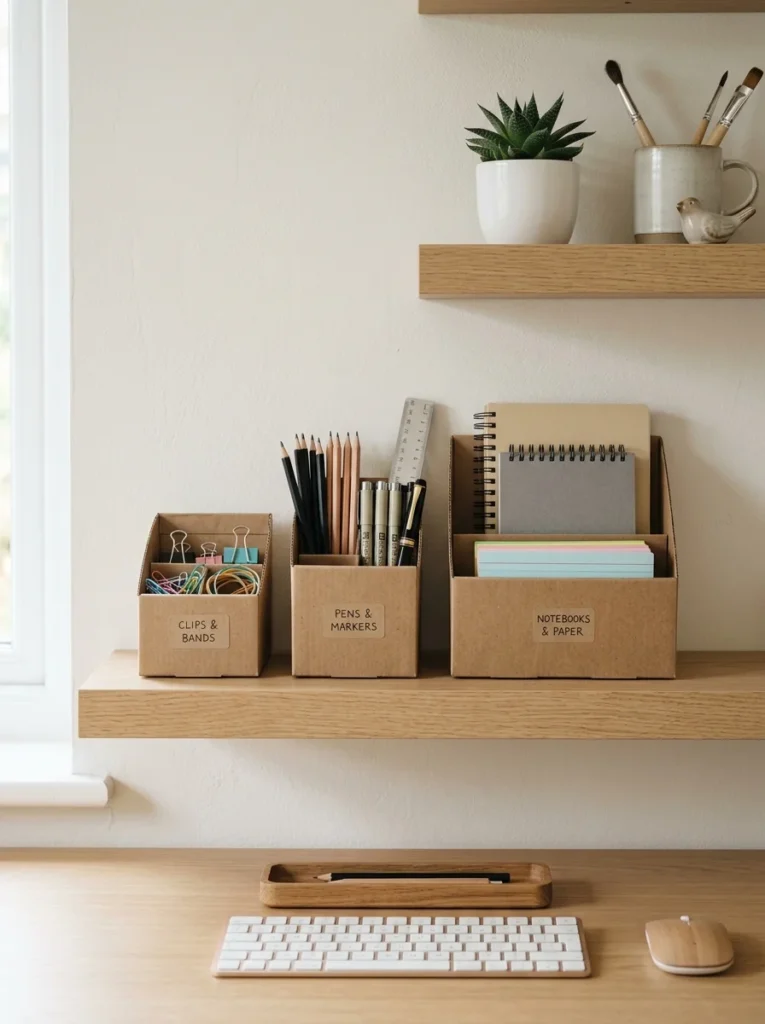
Your Tidy Desk Starts Today
A neat desk feels good. It clears your head and makes work easier. And the best part? You built this one yourself, for free, from a box you would have tossed.
So before you flatten that next delivery box, give it a second life. Grab your scissors, pick a box, and start cutting. Your future, clutter-free self will thank you.
Save this guide for later and try it this weekend!
