

You finally found the perfect pattern. You print it out, sit down with your yarn and hook, and then stare at it like it is written in another language. “Ch 3, dc in next st, sk 2, sc in blo” what does any of that even mean?
Here is the good news: crochet patterns are not as complicated as they look. Once you crack the code, every pattern you ever pick up will suddenly make complete sense. This guide walks you through exactly how to read one step by step, no stress.
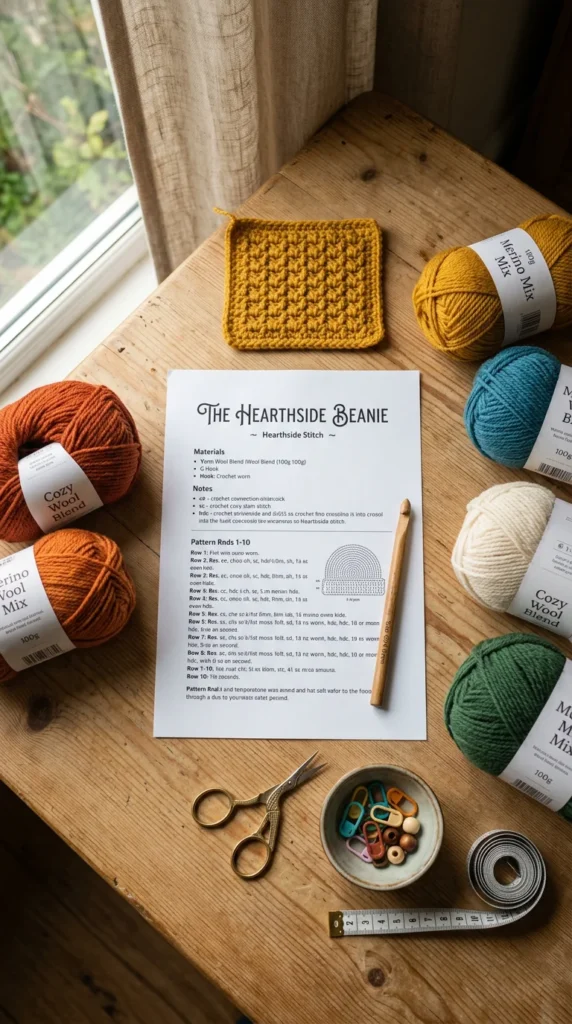
Start With the Pattern Header — It Tells You Everything
Before you look at a single instruction, read the header information at the top of the pattern. This section holds the answers to questions you did not even know to ask yet.
Look for:
- Yarn weight the thickness of yarn the designer used (e.g., worsted, bulky, DK)
- Hook size the recommended size, usually listed in mm (e.g., 5mm, 6mm)
- Gauge how many stitches equal a certain measurement (e.g., 14 sc = 4 inches)
- Finished size what the completed project should measure
- Skill level beginner, easy, intermediate, or advanced
Do not skip the gauge section. Even if it feels like a boring formality, gauge determines whether your finished project comes out the right size. Always make a small gauge swatch before starting anything wearable or sized.
Decode the Abbreviations
Crochet patterns use shorthand to save space. The good news is that most patterns include an abbreviations key a list that tells you what every acronym means.
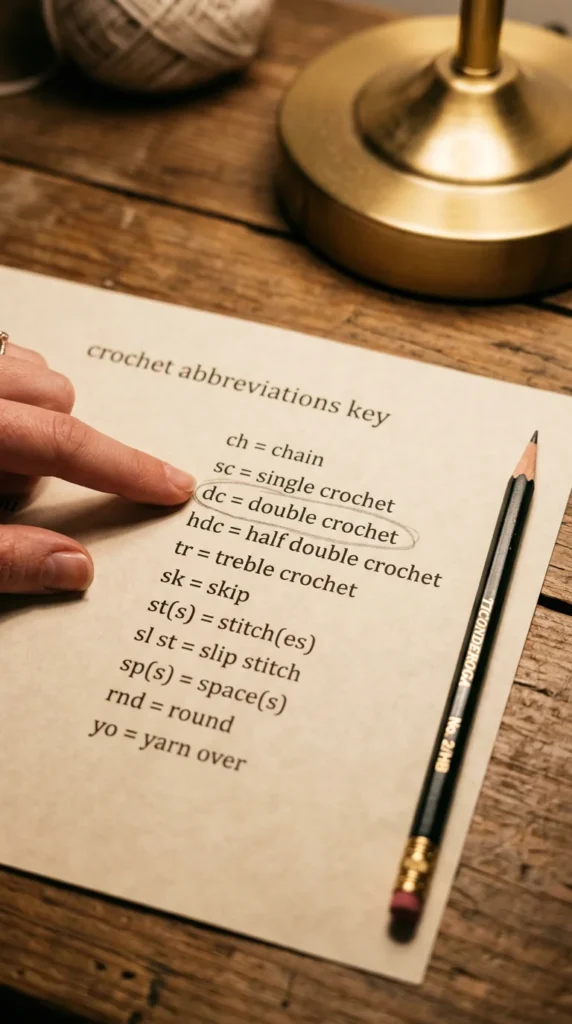
Here are the most common ones you will see:
- ch: chain
- sc: single crochet
- dc: double crochet
- hdc: half double crochet
- sl st: slip stitch
- sk: skip
- st: stitch
- rep: repeat
- blo / flo: back loop only / front loop only
- * or [ ] marks a section that gets repeated
Keep a printed cheat sheet beside you while you work. After a few projects, you will have memorized the most common ones without even trying.
Understand How Repeats Work
Repeats are the part of crochet patterns that trip most beginners up. They look confusing, but the logic is simple once you see it.
When a pattern says:
*Dc in next 3 sts, ch 1, skip 1 st. Repeat from * across.
It means you do that exact sequence dc 3 times, chain 1, skip 1 over and over across your entire row until you reach the end.
Square brackets work the same way: [dc, ch 1, dc] in next st means you do all three of those things in the same stitch.
Tip: Use a pencil to lightly mark repeat sections on a printed pattern. Bracket them visually so you can see where the repeat starts and ends at a glance.
Work One Row at a Time
This sounds obvious, but it saves a lot of confusion: only read one row or round at a time.
Do not read ahead. Do not try to understand the whole pattern before you start. Just find Row 1, do exactly what it says, then move to Row 2.
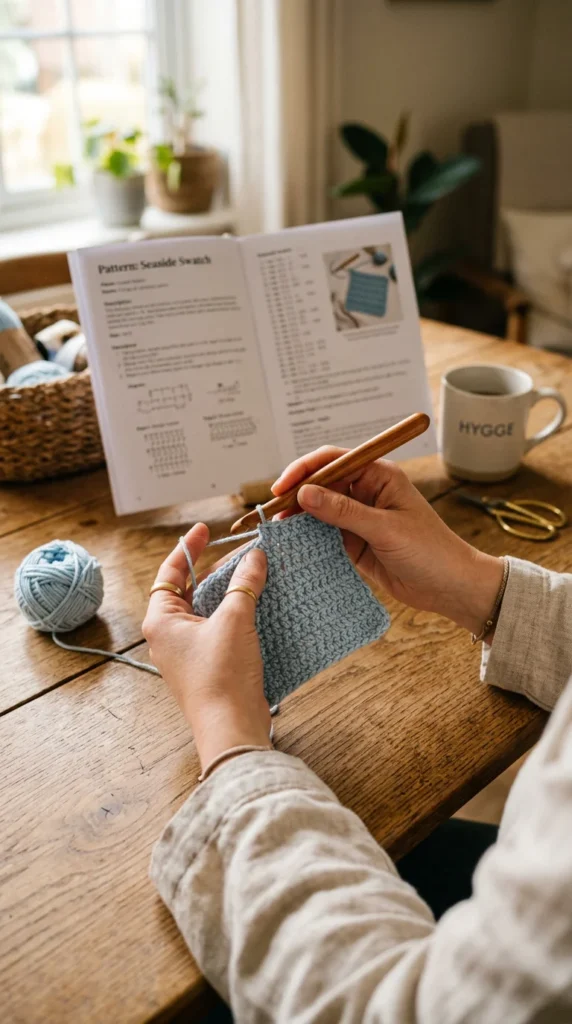
A simple workflow that helps:
- Read the row through once before you work it
- Work the row, counting stitches as you go
- Count your total stitches at the end of the row
- Check that count matches what the pattern says
- Only then move to the next row
Stitch markers are your best friend here. Place one at the beginning of each row so you always know where you started.
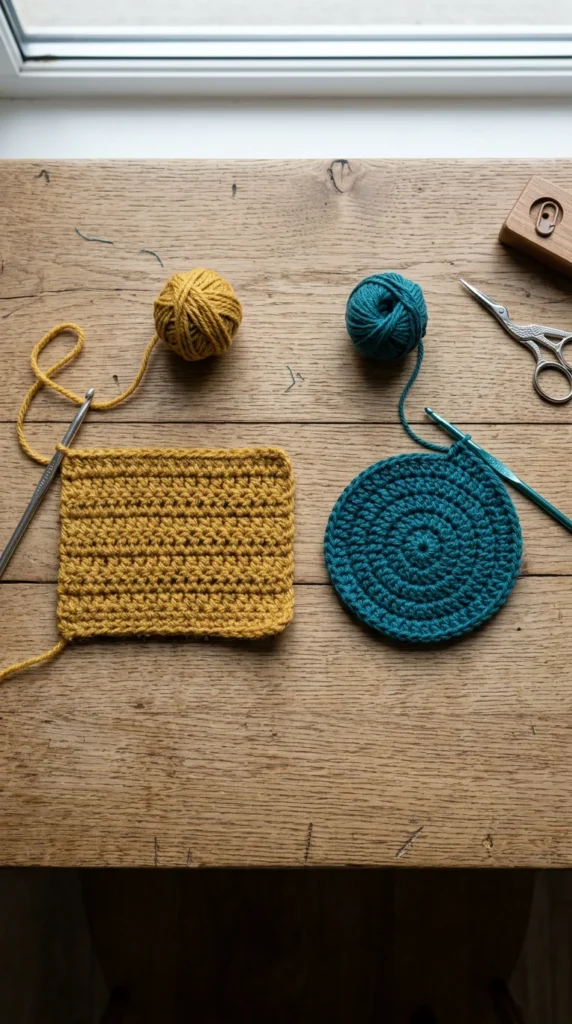
Know the Difference Between Rows and Rounds
Flat pieces (like dishcloths or blankets) are usually worked in rows you crochet back and forth, turning your work at the end of each row.
Circular pieces (like hats, baskets, or amigurumi) are worked in rounds you work continuously in a spiral or join each round with a slip stitch.
Patterns will always tell you which one applies. Look for the word “turn” at the end of a row instruction (rows) or “join with sl st” (joined rounds) or simply “continue in round” (spiral rounds).
Save This for Your Next Project
Reading a crochet pattern is a skill and like any skill, it gets easier every single time you do it. Your first pattern might take twice as long because you are looking things up constantly. Your fifth pattern will feel completely natural.
Start with a simple, short free pattern. Read the header, decode the abbreviations, take it one row at a time, and count your stitches often. That process is all it takes.
Save this guide and pull it up every time you start something new. Before long, you will be the person other beginners ask for help. If you are just getting started, check out these easy crochet stitches for beginners to build your foundation. You might also enjoy trying how to crochet a granny square as your first real pattern project. And when you are ready for more, browse these easy crochet for beginners projects to keep the momentum going.