

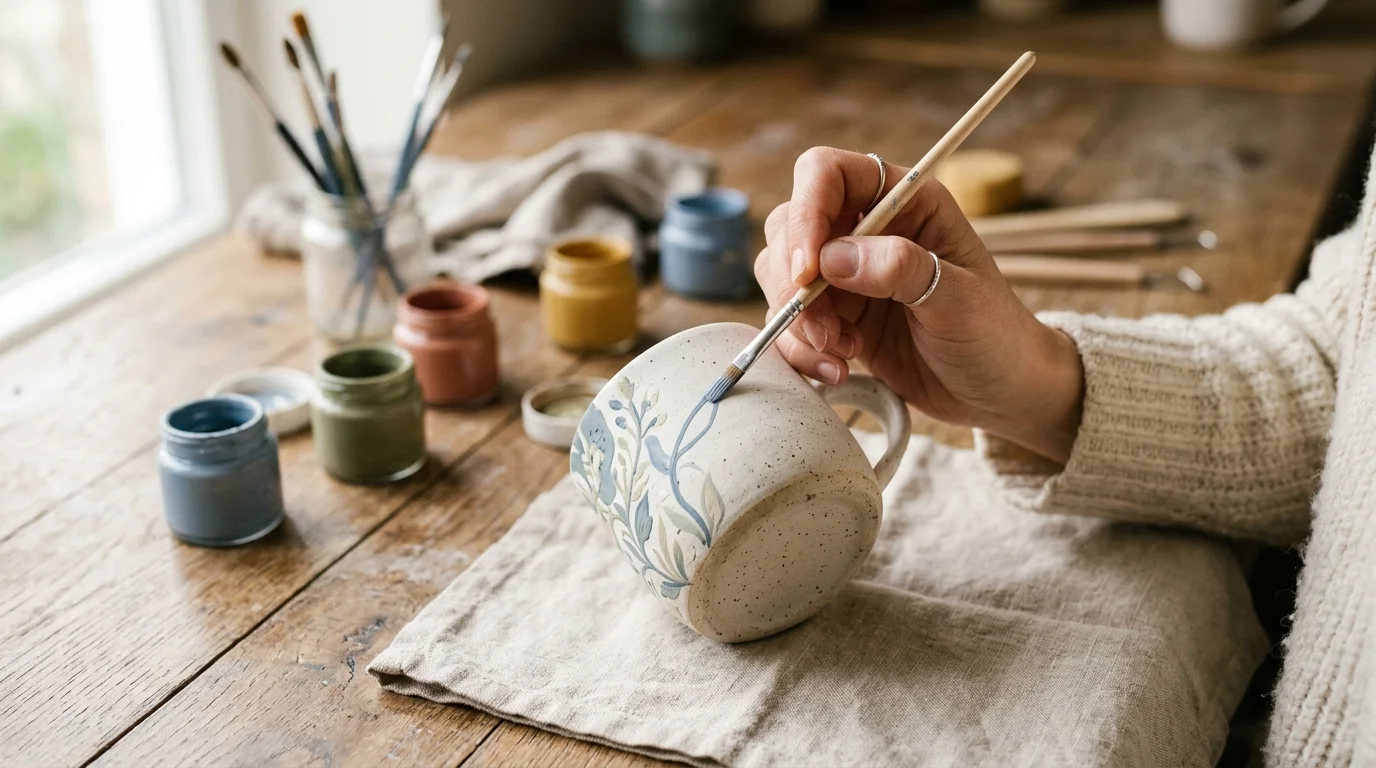
You don’t need an art degree to make your pottery look like it came from a boutique studio. The secret isn’t talent — it’s knowing a handful of simple tricks that make basic designs look intentional instead of accidental.
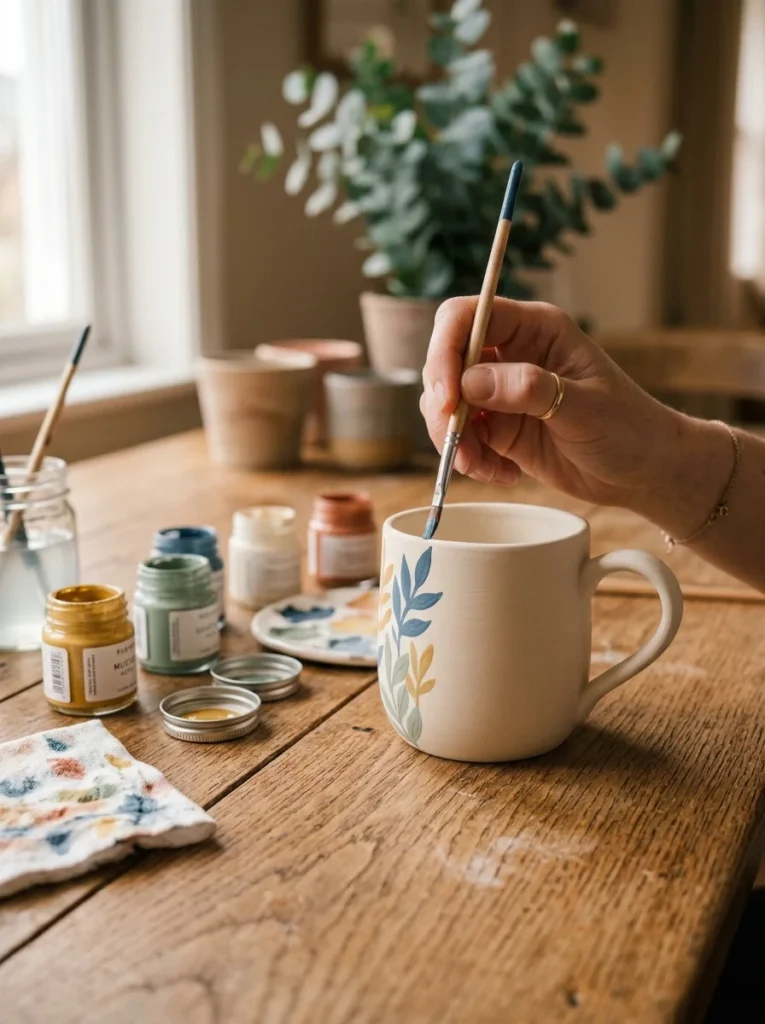
Grab your brushes. We’re turning plain pottery into something you’d actually want to display.
Start with the Right Surface
Good painting starts before you even pick up a brush.
- Clean your piece first. Wipe off any dust or clay residue with a slightly damp cloth.
- Let it dry completely. Painting on a damp surface causes smudging and uneven color.
- Sand rough spots. A light sanding with fine-grit paper smooths bumps so your lines glide instead of catching.
If you’re using bisque-fired pottery, this step matters even more. Bisque is porous, so it soaks up paint fast. A smooth, clean surface gives you more control before the clay starts drinking your color unevenly.
Budget tip: No sandpaper on hand? A clean, dry sponge works in a pinch for light smoothing.
Pick a Palette Before You Pick a Brush
Professional-looking pottery almost always shares one trait: a limited color palette. Beginners often reach for every color in the box. Don’t.
Try this instead:
- Choose 2–3 colors max for your first piece.
- Stick to colors that already pair well — sage and cream, terracotta and white, navy and gold.
- Add one accent color only if you’re feeling confident.
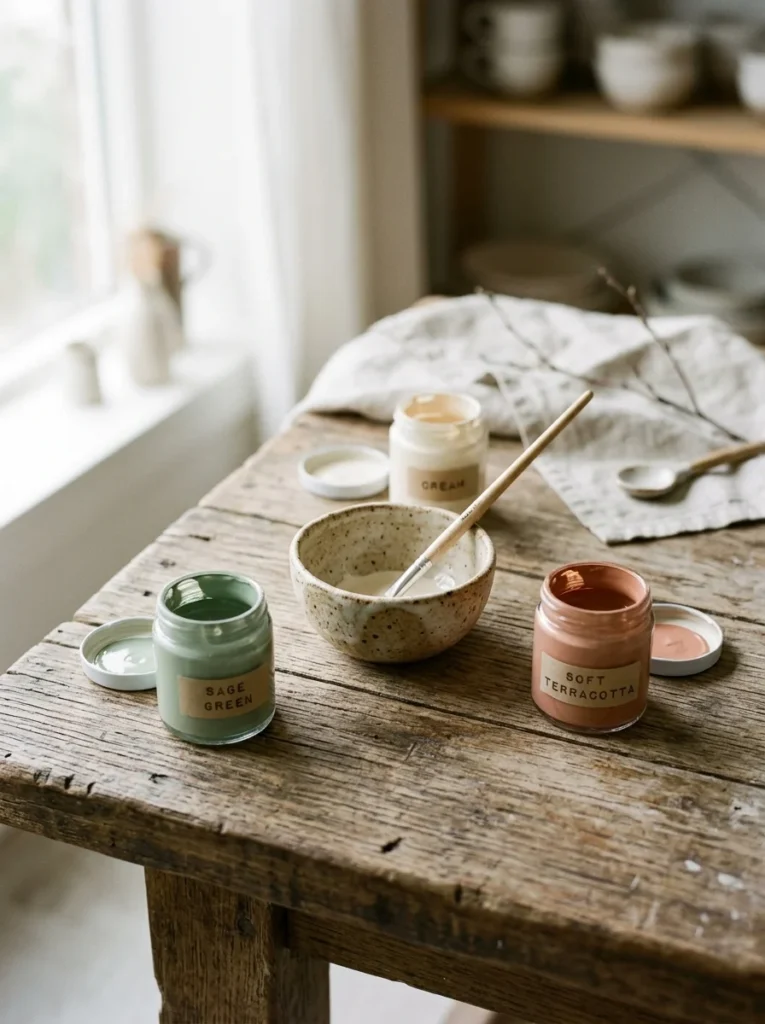
A tight color scheme does the heavy lifting for you. It instantly makes a simple design look curated rather than random.
Master These Three Beginner-Friendly Patterns
You don’t need to freehand a mural. Simple, repeatable patterns look polished every time.
1. Dots and Polka Patterns
Dip the rounded end of a paintbrush into paint and stamp it onto your pottery. Keep spacing even for a clean, modern look.
2. Thin Stripes
Use painter’s tape to mark straight lines before painting. Peel the tape off once the paint is dry for crisp edges every time.
3. Organic Wavy Lines
Loosen your wrist and let one continuous line flow around the piece. Imperfect waves read as “handmade chic,” not messy.
Practical tip: Practice your pattern on paper first. Five minutes of practice saves you from starting over on the actual piece.
Build Your Design in Layers
Professional-looking pottery rarely happens in one pass. Layering is the trick most beginners skip.
- Base coat first. Apply one solid color and let it dry fully.
- Add your pattern second. This keeps lines crisp instead of muddy.
- Finish with tiny details last. A few small dots, dashes, or a thin gold line can elevate a basic design instantly.
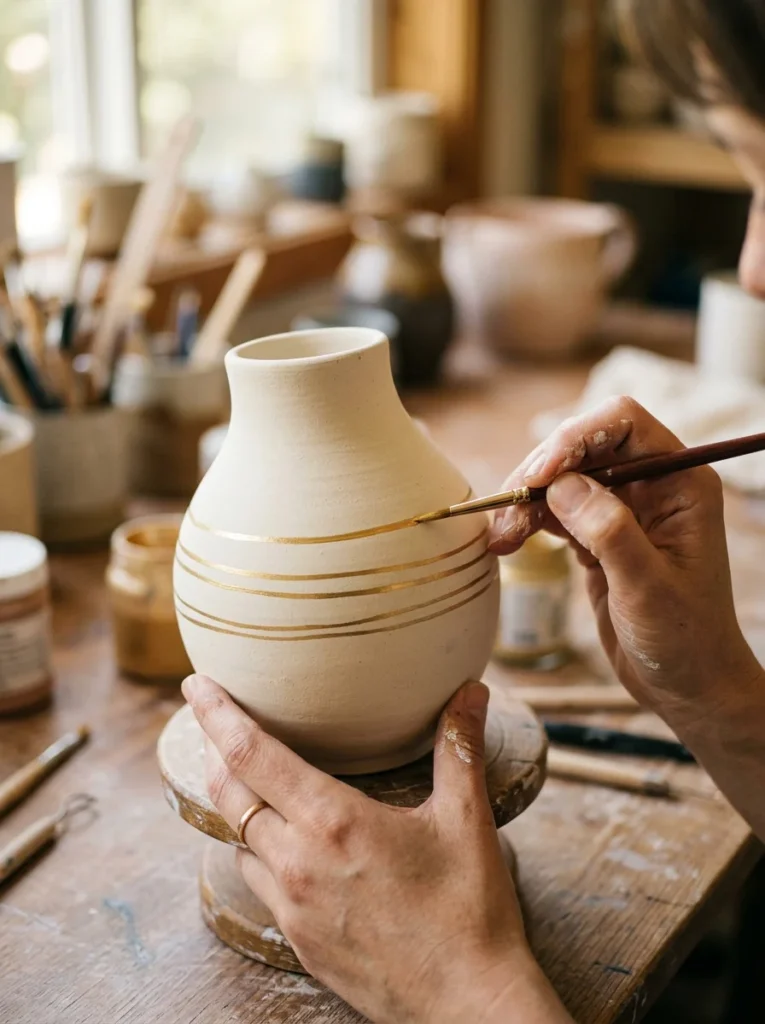
Going slow here matters. Rushing between layers is the number one reason designs look smudged instead of sharp.
Use Tools You Already Own
You don’t need expensive brushes to get clean results.
- Cotton swabs work great for small dots and soft blending.
- Toothpicks are perfect for fine detail lines or tiny dashes.
- Sponges cut into shapes can stamp simple leaves, hearts, or geometric patterns.
- Painter’s tape creates sharp stripes, chevrons, or geometric blocks.
This is where budget-friendly really shines. A five-dollar set of acrylic paints and a few household tools can produce results that look store-bought.
Seal It Like a Pro
This step is easy to skip, but it’s what separates amateur-looking pottery from finished, professional pieces.
- Let your design dry for at least 24 hours.
- Apply a clear sealant made for ceramics or acrylic paint.
- Use thin, even coats — two light layers beat one thick, drippy one.
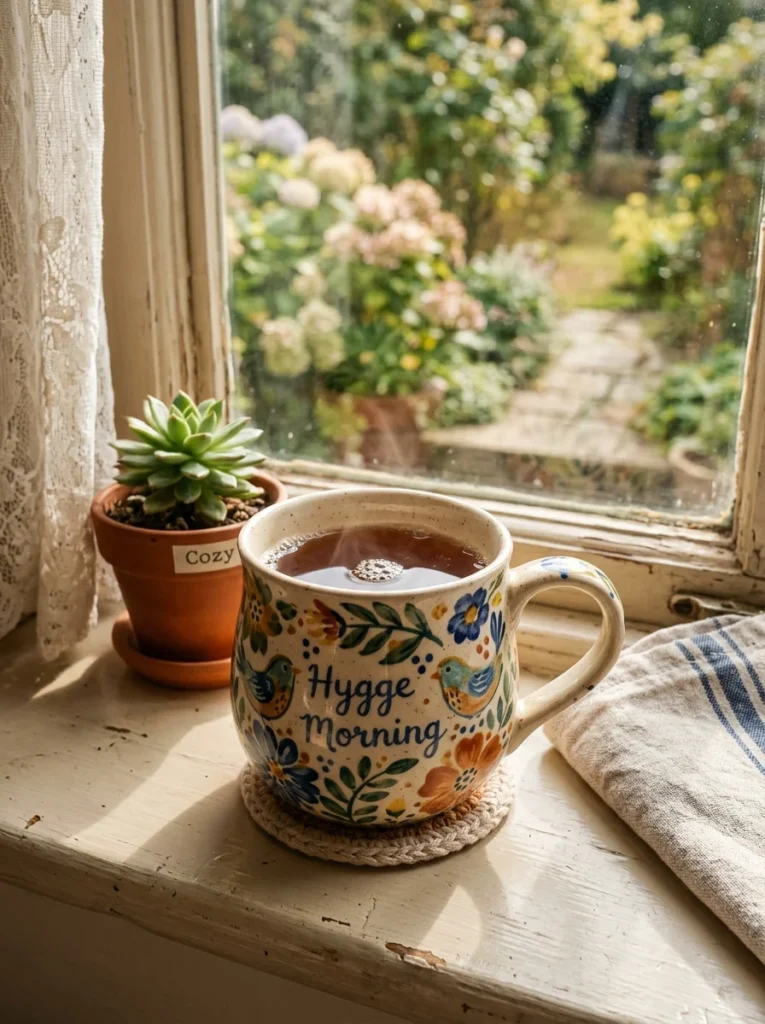
Sealant gives your piece a smooth, glossy finish and protects your design from chipping. Skip this step, and even your best painting can wear off within weeks.
Small Mistakes, Easy Fixes
Don’t panic if something goes wrong mid-project. Most mistakes are fixable.
- Smudged line? Wipe it off immediately with a damp cotton swab before it dries.
- Crooked stripe? Let it dry, then paint a thin line of your base color over it and start again.
- Too much white space? Add a few small dots or a thin border around the edge to balance it out.
Painting pottery isn’t about getting it perfect on the first try. It’s about knowing how to recover when it isn’t.
Your Turn to Paint
A clean surface, a tight color palette, simple repeatable patterns, and a good sealant — that’s really all it takes to make your pottery look like it belongs in a shop window. You already have most of what you need sitting in a craft drawer somewhere.
Pick one pattern from this list, grab two or three paint colors, and try it on your next piece. Save this guide for later so it’s ready the next time you sit down with a blank mug and a paintbrush.
