

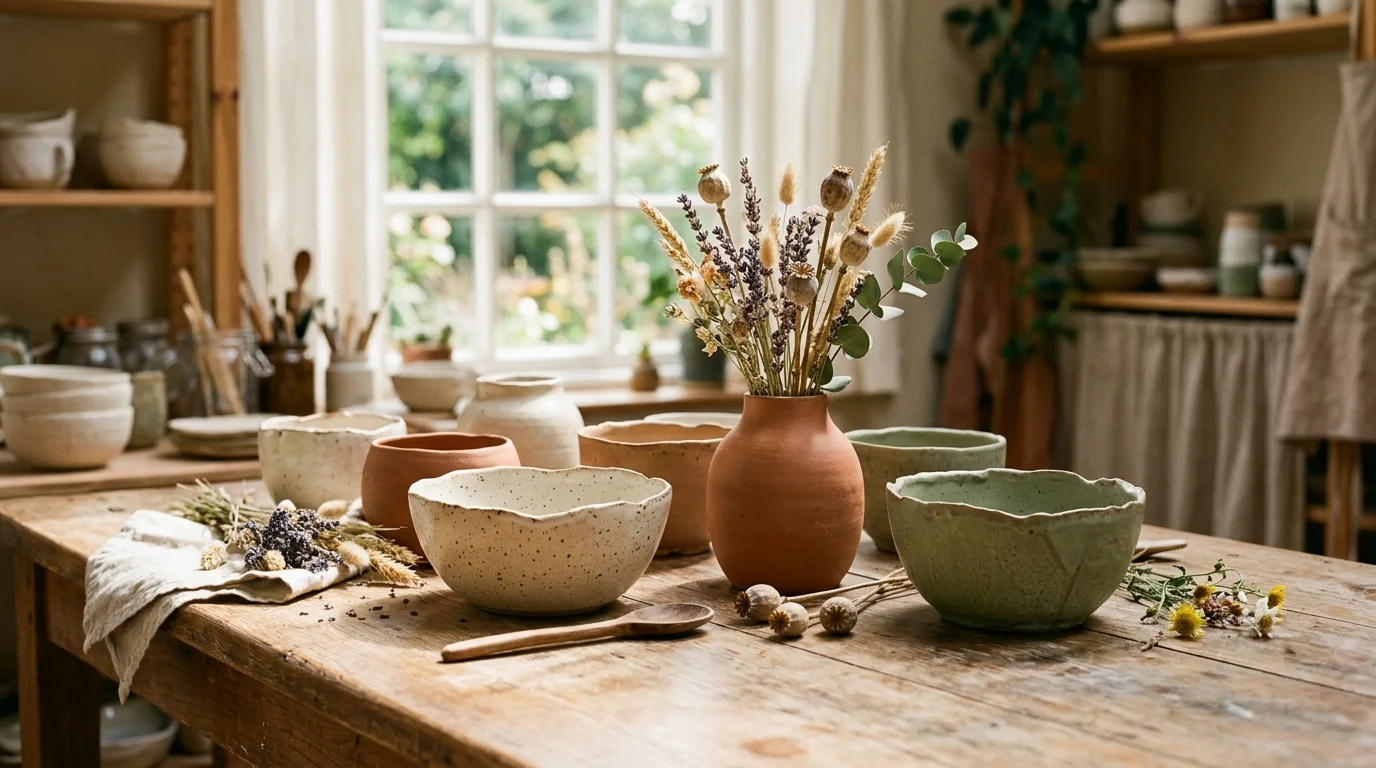
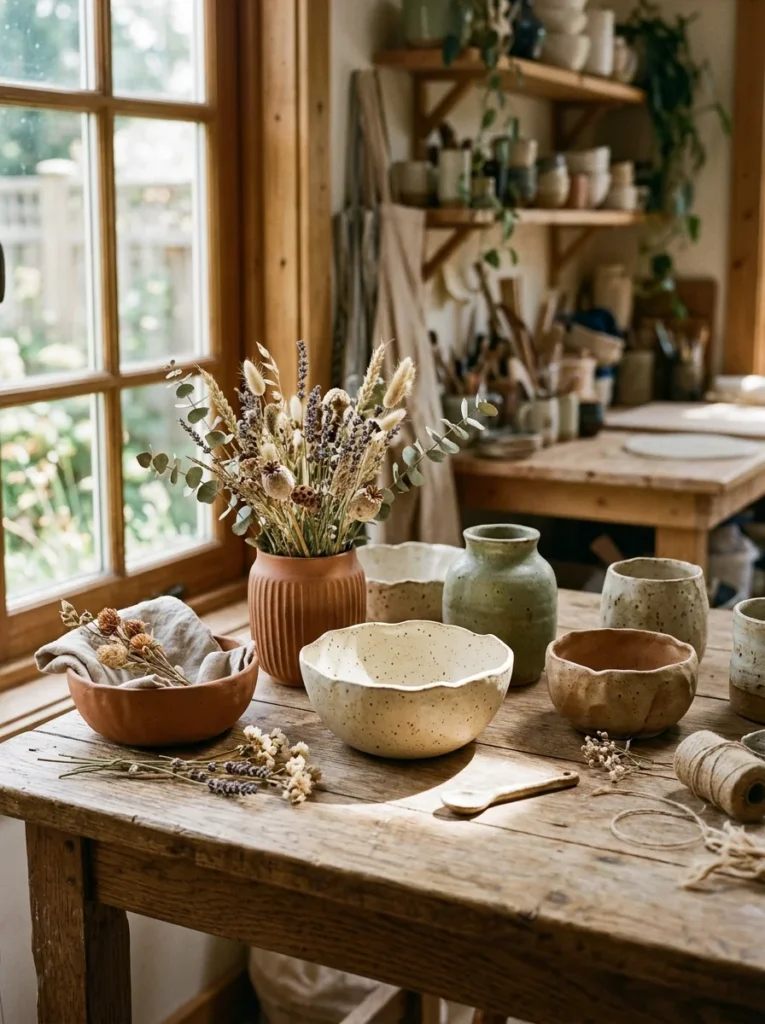
Handmade pottery has a way of making a home feel lived-in and personal. There’s something about a slightly wobbly bowl or a hand-pinched mug that store-bought ceramics just can’t match. If you’re searching for ways to bring that soft, organic, dreamy look into your space, you’re in the right place.
Whether you’re a beginner with a bag of air-dry clay or someone who’s been throwing pots for years, these ideas will help you create pieces with real character. We’ll walk through textures, glazes, shapes, and finishing touches that give pottery its cozy, handcrafted charm. No fancy equipment required for most of these — just clay, a little patience, and a willingness to embrace imperfection.
1. Embrace Wobbly, Uneven Rims
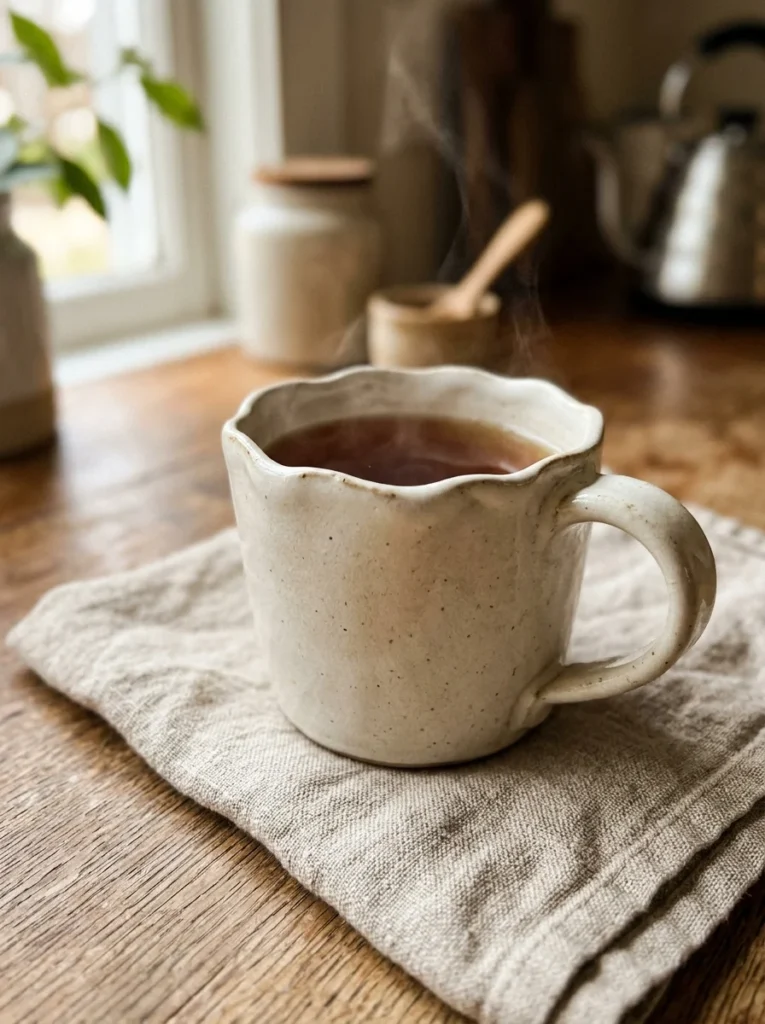
Perfect circles are overrated. Uneven rims are one of the easiest ways to get that dreamy, handmade look without any special skill. If you’re working with a pottery wheel, just stop trimming the edge once it has a natural wave. Hand-building? Even better. Pinch pots naturally come out lopsided. Don’t fight it. This look works on mugs, bowls, and plates alike.
Budget tip: air-dry clay from a craft store works fine for practice pieces. You don’t need a kiln to start. Just shape a small pinch pot, let the edge ripple where your fingers pressed in, and let it dry. For wheel-thrown pieces, try pressing gently on one side near the end of trimming. It only takes a few seconds. The slight asymmetry catches light differently than a machine-made piece. People notice that warmth even if they can’t explain why. Keep a few rims more wavy than others across a set. Total uniformity kills the charm. A mismatched set of three or four mugs, each with its own gentle wave, looks more collected and intentional than five identical store-bought ones ever could.
2. Try a Speckled Clay Body
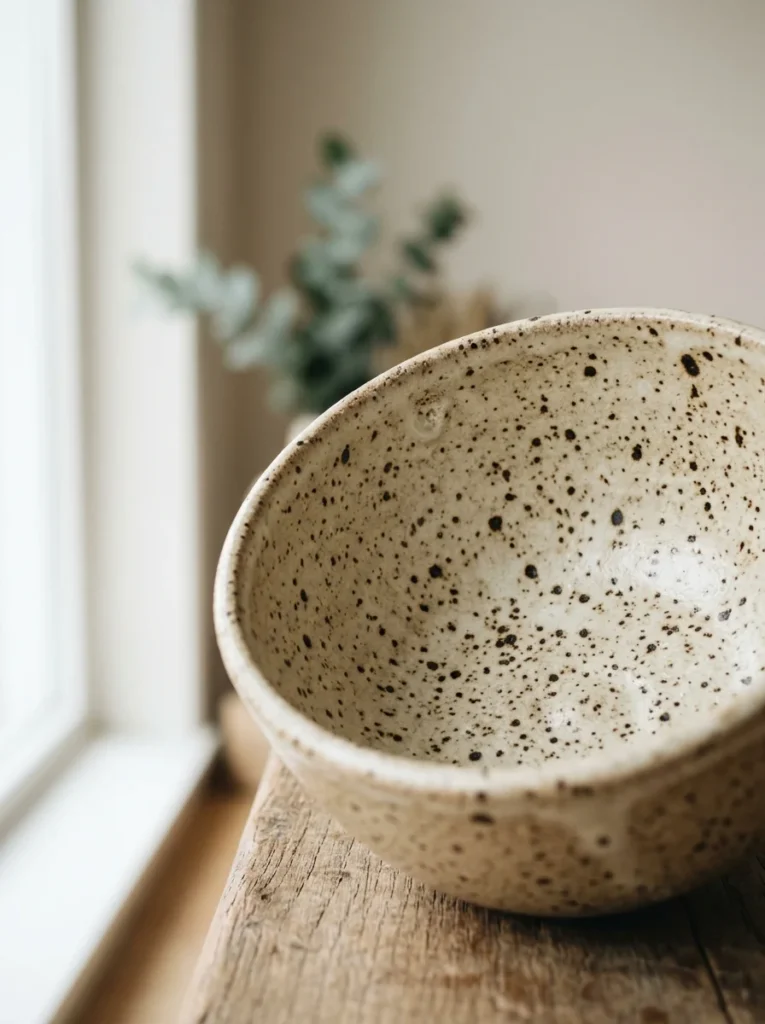
Speckled clay gives pottery an earthy, freckled look that feels straight out of a countryside cottage. The speckles come from iron particles in certain clay bodies, and they show through light glazes beautifully. If you’re buying clay, look for one labeled “speckled” or “iron-spotted” at your local supplier.
Budget tip: some pottery studios sell reclaimed speckled clay scraps cheap, since other potters trim it away. Ask around. If you can’t access speckled clay, you can fake the look on regular clay. Mix a tiny bit of manganese dioxide or iron oxide powder into your glaze before applying it. Brush it on thin so the specks stay random instead of clumping. Let your glaze pool slightly thinner near the rim so the speckles peek through there especially. This works on bowls, plates, and vases. The effect feels rustic and grounded, like something pulled from a farmhouse shelf. Pair speckled pieces with plain cream or white ones on a shelf for contrast. The mix of plain and freckled textures next to each other reads as curated rather than random, even though it took almost no extra effort to pull together.
3. Add Hand-Carved Texture Lines
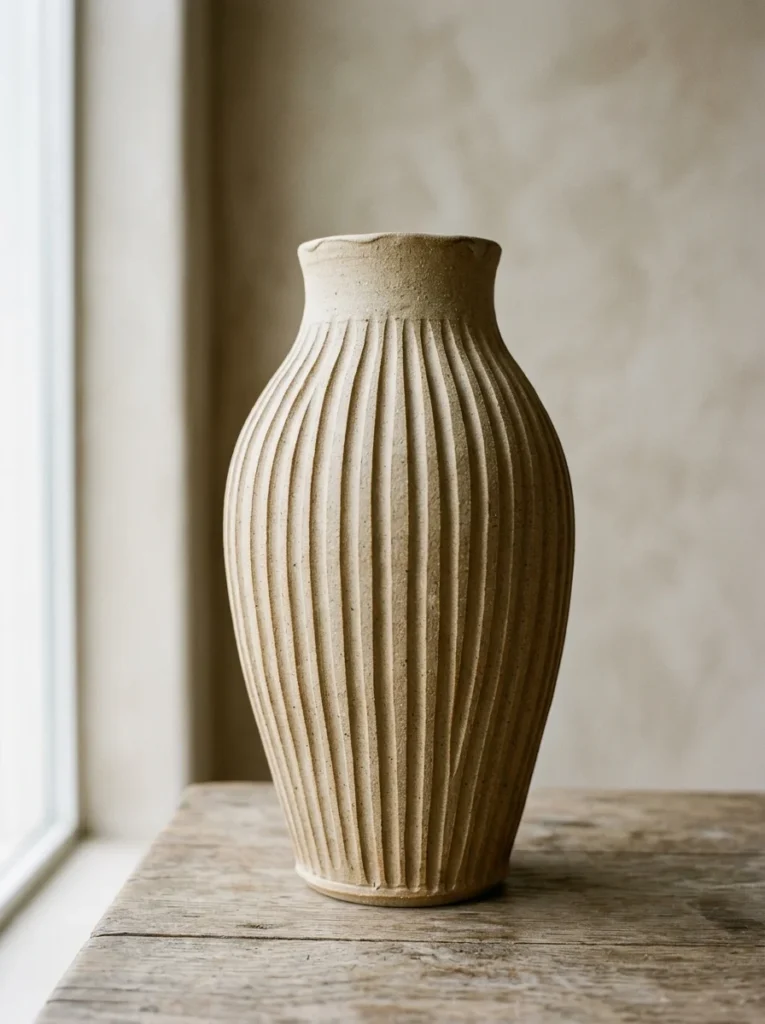
Carving simple lines into wet clay turns a plain pot into something tactile and interesting. You don’t need carving tools. A toothpick, a fork tine, or even a fingernail works fine. Budget tip: skip buying carving kits when you’re starting out. Household items do the job. Try vertical grooves running top to bottom on a vase. Or horizontal rings spaced unevenly around a mug. The key is keeping the lines a little imperfect. Perfectly even spacing looks machine-made. Slightly irregular spacing looks handmade and warm.
Carve when the clay is still soft but not too wet, what potters call “leather-hard.” If it’s too wet, the lines smear. Too dry, and the clay cracks. Test on a scrap piece first if you’re unsure. Once carved, you can leave the texture bare for a raw, earthy finish, or glaze over it lightly so the glaze pools in the grooves and highlights the pattern. That pooling effect is a classic dreamy pottery trait. It happens naturally, so don’t overthink the technique. Just carve, glaze thin, and let the kiln do the rest of the work for you.
4. Use a Matte Cream Glaze Base
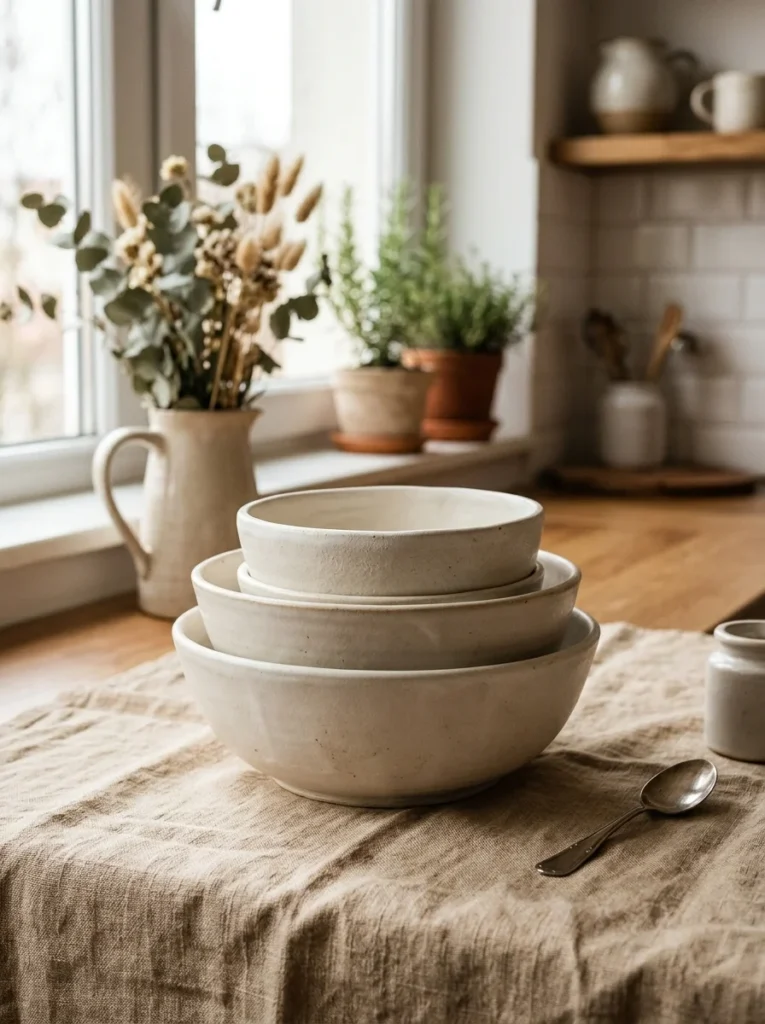
Matte cream glazes are the backbone of the soft, dreamy pottery aesthetic everyone loves on social media. The chalky, non-shiny finish feels gentle and warm instead of cold and glossy. Most pottery suppliers sell pre-mixed matte glazes labeled “cream,” “buttercream,” or “vanilla.” Budget tip: buy glaze in small test jars before committing to a full pint. Many suppliers offer 4-ounce samples for a few dollars. Test on scrap clay first since matte glazes can react differently depending on your clay body and firing temperature.
Apply two thin coats rather than one thick one. Thick application can cause pooling or uneven texture in the wrong spots. Let each coat dry slightly before adding the next. If you’re new to glazing, dip small bisque-fired pieces like spoon rests or trinket dishes first. They’re cheaper to practice on than a big vase. Cream glazes pair beautifully with raw, unglazed bottoms or carved texture, since the contrast between matte and rough clay adds visual interest. This base glaze works as a foundation for almost every other technique on this list, so it’s worth mastering early in your pottery journey.
5. Create Organic, Asymmetrical Vases
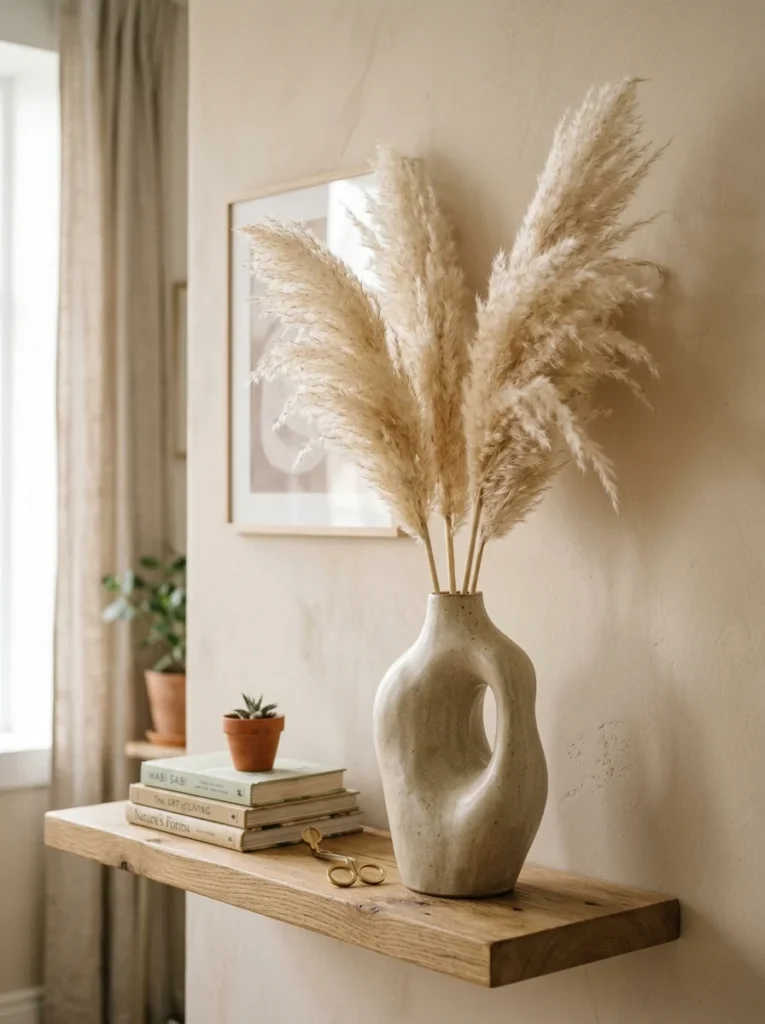
Forget symmetrical vases. Organic shapes that lean, curve, or bulge unevenly look more like something nature made than a factory. Hand-building with coils or slabs gives you the most control over this kind of irregular shape. Start with a flat base, then build up coils of clay, smoothing them as you go but leaving slight bulges here and there. Budget tip: you can shape a similar look using a balloon as a mold. Cover a small balloon in clay slabs, let it firm up, then pop the balloon once the clay holds its shape.
This trick works great for beginners with no wheel access. Lean the neck of the vase slightly to one side instead of keeping it perfectly centered. That small tilt is what makes it feel organic rather than lopsided by accident. Add a slightly pinched lip at the top opening for character. These vases look best holding dried flowers, pampas grass, or single stems rather than big bouquets, since the simple shape needs breathing room. Display one on a windowsill where light can show off its curves and shadows throughout the day.
6. Try Sgraffito for Delicate Patterns
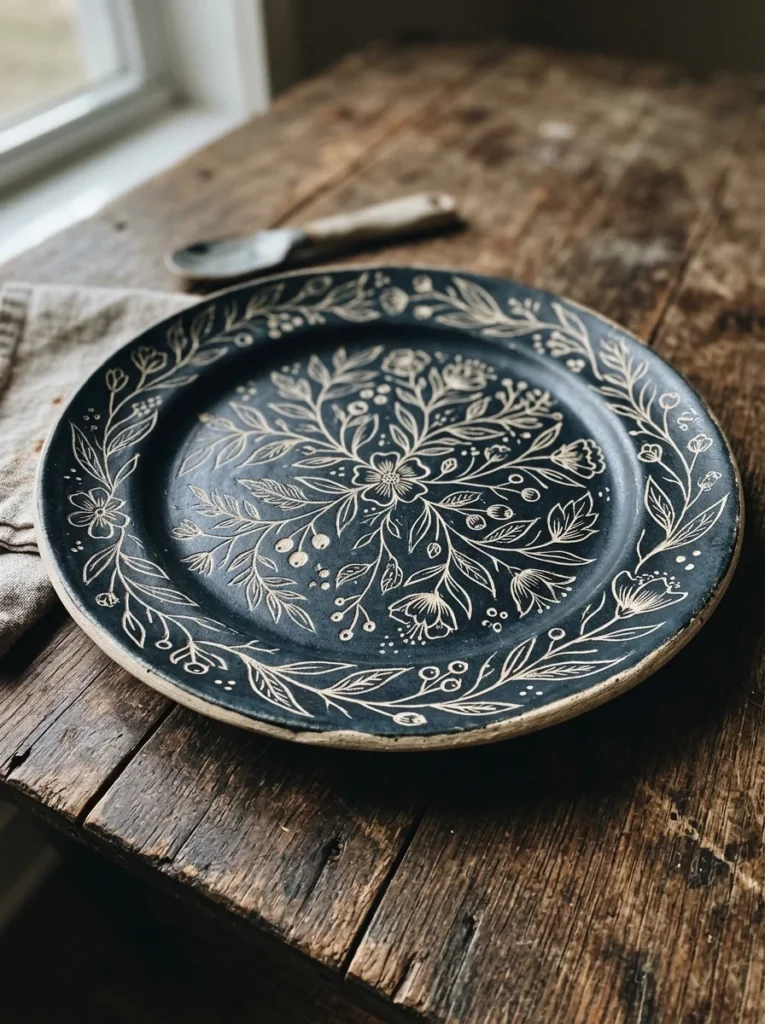
Sgraffito sounds fancy but it’s a simple scratch technique. You apply a layer of colored slip or glaze, then scratch through it with a sharp tool to reveal the lighter clay underneath. The result is delicate, line-drawn patterns that feel hand-illustrated. Budget tip: a bobby pin or sewing needle works as well as a real sgraffito tool. No need to buy specialty equipment for your first few attempts. Try simple botanical shapes like leaves, wavy lines, or small dots. Avoid complicated designs at first since the scratching takes a steady hand.
Apply your slip layer when the clay is still slightly damp, called “leather-hard,” so the slip sticks without cracking. Scratch your design before the slip dries completely. Practice on a tile or scrap piece before trying it on a finished bowl or mug. This technique looks gorgeous on the inside of shallow bowls, where the pattern shows every time someone uses it. Keep your lines loose and a little wobbly rather than perfectly straight. That slight imperfection is what makes sgraffito feel handmade instead of printed.
7. Make Tiny Pinch Pot Trinket Dishes
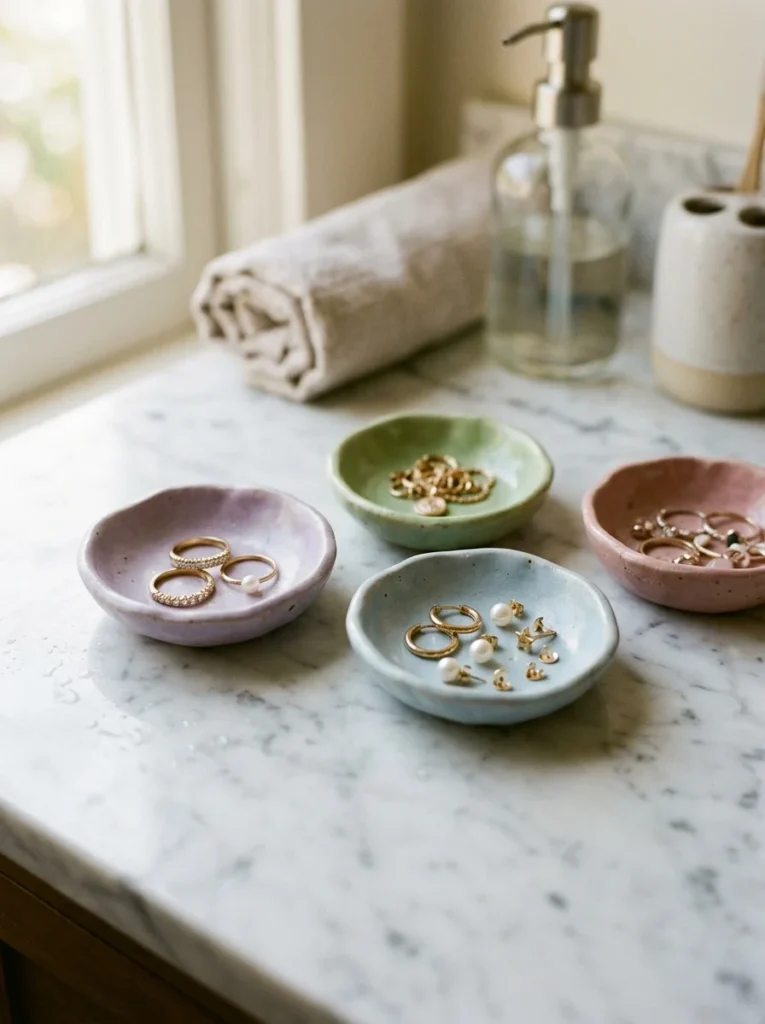
Pinch pots are the easiest project for total beginners, and trinket dishes are the most useful result. Take a ball of clay, push your thumb into the center, and pinch the walls thin while rotating it in your palm. No wheel, no tools, just your hands. Budget tip: a single bag of air-dry clay can make five or six small trinket dishes, costing just a few dollars each. Keep the dish small, about the size of your palm. Leave the edges slightly uneven rather than smoothing them flat.
That texture is part of the charm. Once dry or fired, glaze the inside in a soft pastel color and leave the outside raw for contrast. These dishes work perfectly for holding rings, earrings, or hair pins on a bathroom counter or bedside table. They also make easy gifts since they’re quick to make and cost almost nothing in materials. Make a small batch of three or four with slightly different shapes. Gift one, keep one, and you’ve got a useful little collection going with barely any effort or pottery experience required.
8. Add a Soft Blush Pink Glaze
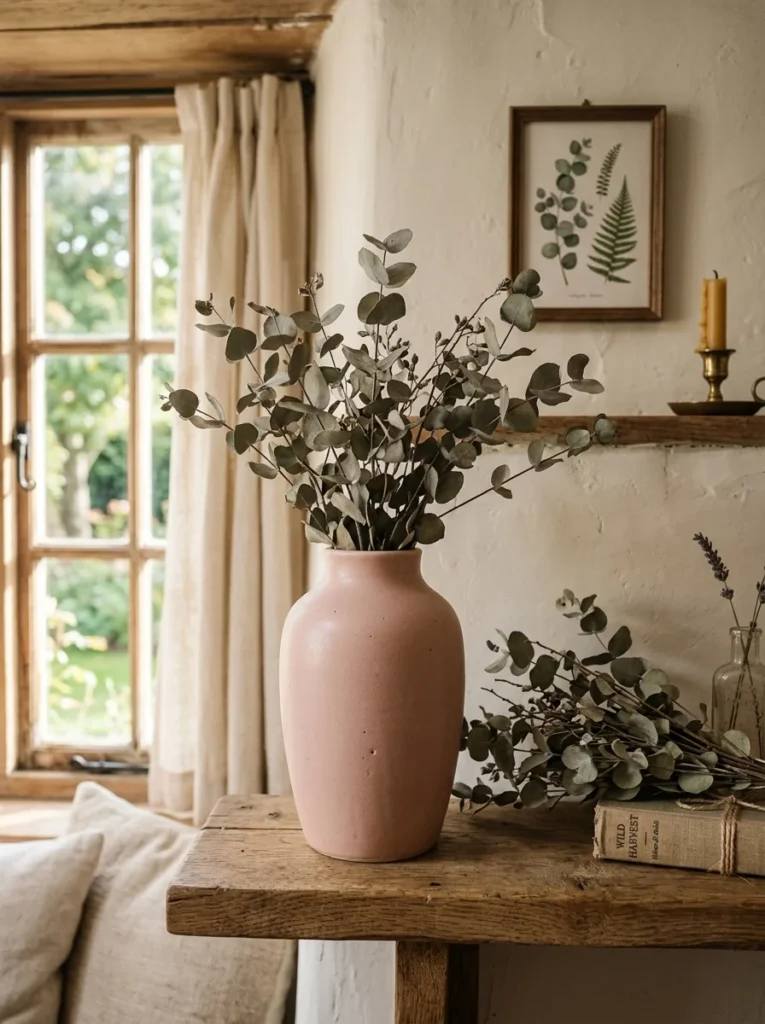
Blush pink glazes bring a soft, romantic feel to pottery without looking childish, as long as you keep the shade dusty rather than bright. Look for glazes labeled “rose,” “dusty pink,” or “blush” rather than “hot pink” or “bubblegum.” The dustier the tone, the dreamier the result. Budget tip: mix a small amount of red iron oxide into a white or cream base glaze to create your own custom blush tone at home, saving money over buying a premixed specialty glaze.
Test on scraps first since the ratio affects intensity a lot. Apply this glaze on simple, soft shapes like rounded vases or shallow bowls. The color does the visual work, so the form should stay calm and uncomplicated. Avoid pairing blush with too many other bright colors on the same piece. Let it stand alone or pair only with cream and white. This glaze photographs beautifully in natural light, which is part of why it shows up so often in cozy home styling. A single blush vase on an otherwise neutral shelf adds warmth without overwhelming the space around it.
9. Build a Textured Coil Bowl
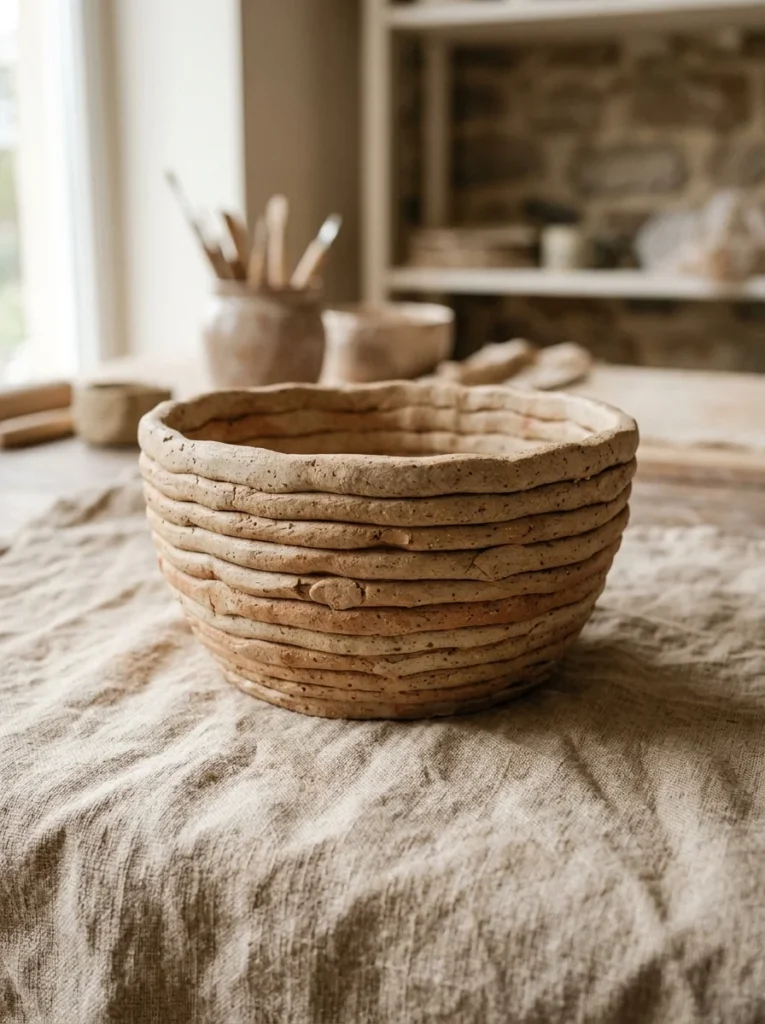
Coil building is one of the oldest pottery techniques, and leaving the coils visible gives bowls a rustic, woven-basket kind of texture. Roll ropes of clay between your palms, then stack and press them in a spiral to build up the walls of a bowl. Budget tip: this technique uses very little specialized knowledge, so a beginner can make a decent coil bowl on their first try with nothing but clay and their hands. Instead of smoothing the coils flat like traditional pottery, leave the ridges visible on the outside.
Smooth only the inside so the bowl is still functional for holding things. The contrast between the rough outer texture and smooth inner surface feels intentional and adds visual depth. Keep your coils slightly uneven in thickness rather than perfectly uniform. That irregularity reads as handmade rather than mass-produced. Glaze lightly, letting color settle into the grooves between coils for extra dimension. These bowls work well as centerpieces holding fruit, dried botanicals, or simply sitting empty on a table where their texture can shine on its own.
10. Try Raw, Unglazed Bisque Finishes
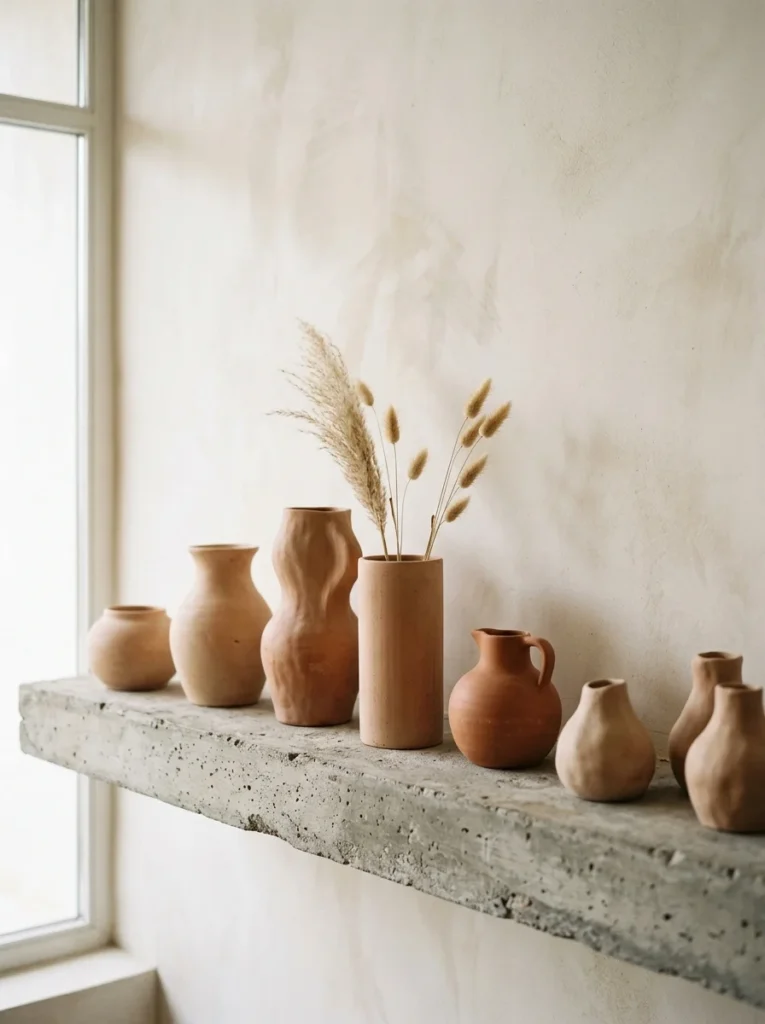
Sometimes the most dreamy finish is no glaze at all. Raw bisque clay, fired but left unglazed, has a chalky, matte surface that feels grounded and earthy. This works especially well with terracotta or buff-colored clay bodies. Budget tip: skipping glaze entirely saves money on materials and a second firing in some cases, making this one of the most affordable finishes on this list. The clay’s natural color does all the visual work, so focus on shape and texture instead.
Add fingerprints, light texture, or simple carved lines since there’s no glaze to hide imperfections. Everything shows, so embrace it rather than trying to make things too smooth. These pieces pair beautifully with plants, since the porous surface actually helps wick moisture away from soil in planters. Use raw bisque pots for succulents or small houseplants on a sunny windowsill. Group a few different raw clay pieces together in varying heights for a still-life look. The muted, sandy tones blend into almost any home palette, especially warm neutral or boho-style interiors that lean into natural textures.
11. Make Ribbed Texture Mugs
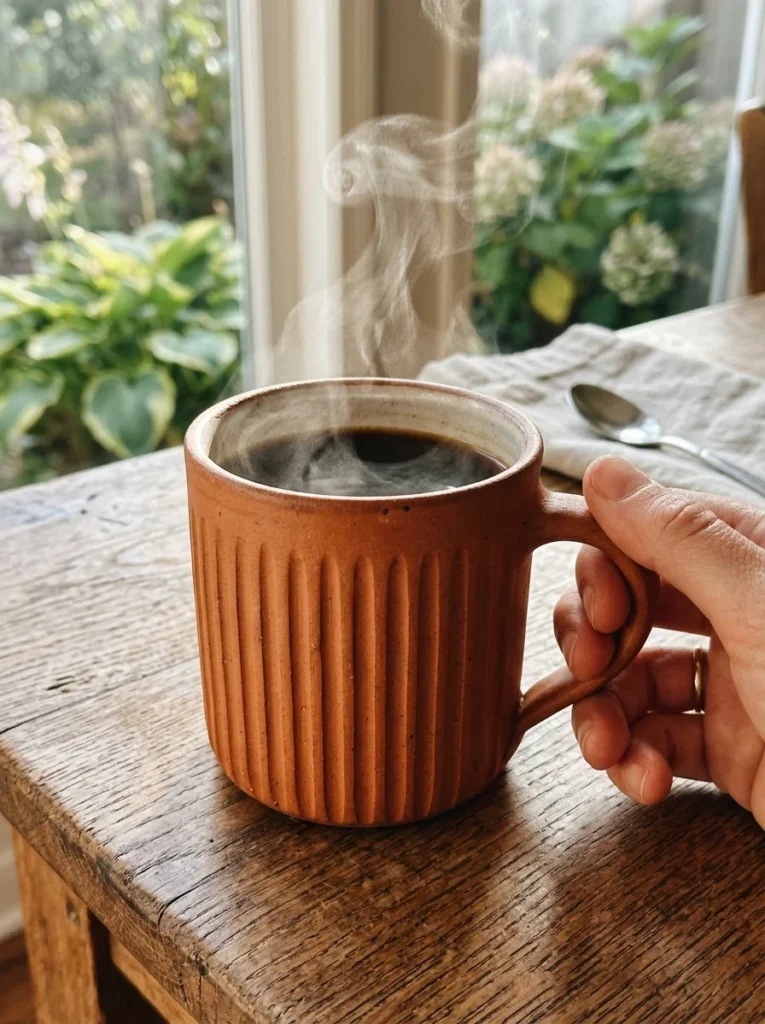
Ribbed texture on mugs adds a tactile element you can feel every time you take a sip. On a pottery wheel, this is done by pressing a rib tool or even just your fingers into the clay as it spins, creating shallow vertical grooves. Budget tip: no wheel? Press a fork or comb gently into hand-built clay walls before they firm up. It creates a similar ribbed effect without any equipment investment. Keep the ribs shallow rather than deep. Deep grooves can make a mug uncomfortable to hold or hard to clean later.
Space them slightly unevenly rather than measuring exact intervals. This keeps the handmade feeling intact instead of looking machine-stamped. Glaze in a warm terracotta, rust, or honey tone to highlight the texture, since the glaze pools slightly differently in the grooves versus the raised ridges. That subtle color variation is what makes ribbed mugs feel special in photos and in hand. Make a set of four with slightly different rib spacing on each one. A matching but not identical set looks more curated and handmade than a perfectly uniform one ever would.
12. Design Botanical Stamped Patterns
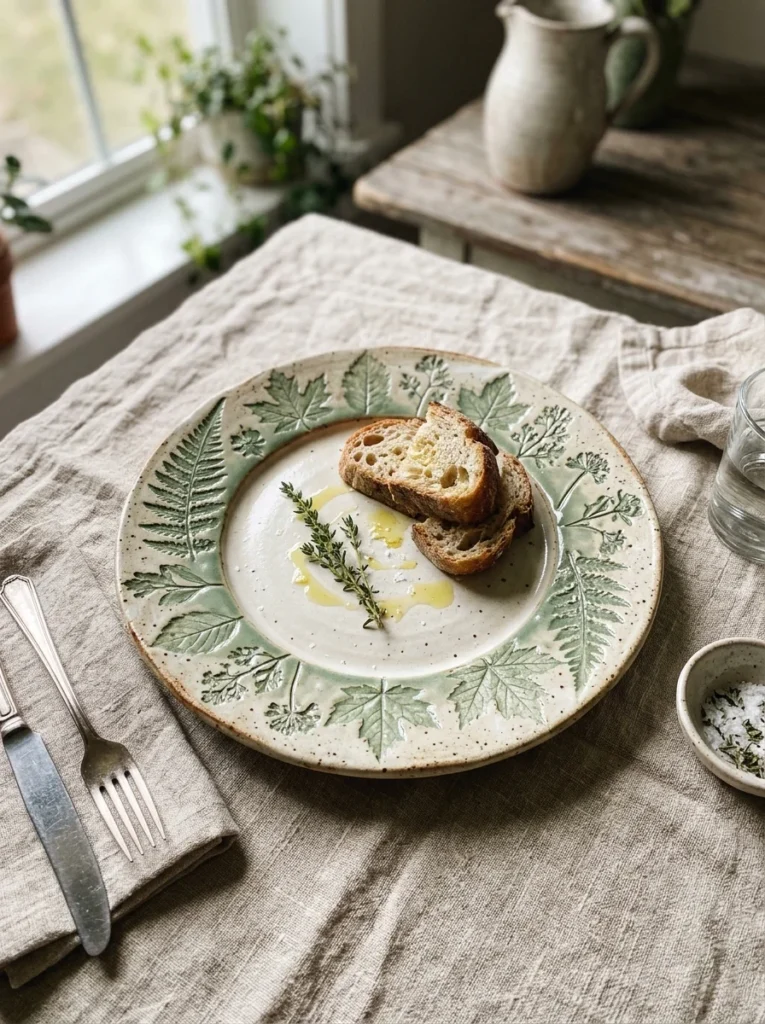
Pressing real leaves, flowers, or herbs into wet clay leaves behind delicate, natural imprints. Botanical stamping is one of the simplest ways to add detail without any drawing skill required. Walk outside, grab a few fern fronds, small leaves, or flat flowers, and press them gently into a slab of clay. Budget tip: this technique costs nothing beyond the clay itself, since your stamps come straight from the backyard or a nearby park.
Roll your clay into a flat slab first, then lay the leaf on top and roll over it again with a rolling pin to press the imprint deep enough to show. Peel the leaf away carefully once pressed. Cut your slab into the plate or dish shape after stamping, not before, so the pattern doesn’t distort. Glaze in a single thin color like sage green or pale blue so the glaze pools into the impressed lines and highlights every vein and edge. This technique works wonderfully on flat plates, trays, or wall-hanging tiles where the detail can be seen clearly from above or straight on.
13. Craft Minimalist Bud Vases
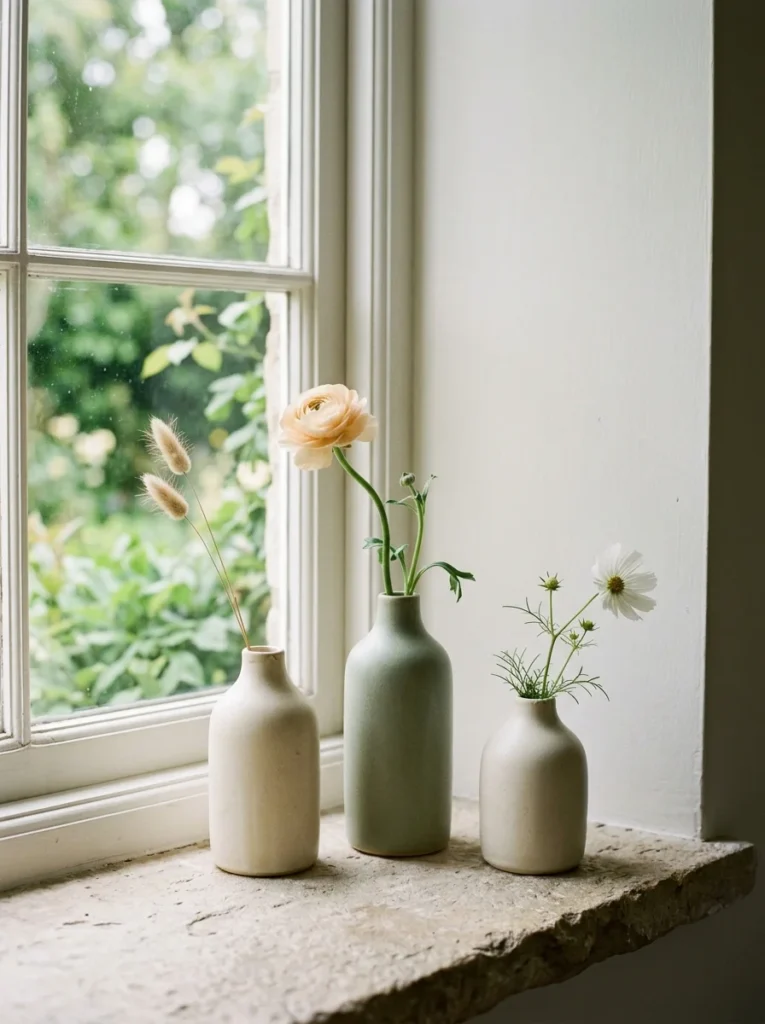
Bud vases are small, simple, and perfect for beginners since they require very little clay and almost no complicated shaping. A bud vase just needs a narrow opening and a body that holds a small amount of water for a single stem. Budget tip: these use so little clay that you can make five or six from material that would barely cover one larger vase, making them one of the most cost-effective projects on this list. Keep the silhouette simple.
A slightly bulging middle with a narrow neck works well and is easy to shape by hand or on a small wheel. Vary the height across a set so they don’t look identical when grouped together. Glaze each one a different soft tone, like cream, sage, and dusty blue, so the group reads as a curated collection rather than a matched set. Display three or four together on a windowsill or shelf, each holding a single flower stem. This minimalist styling trick is popular precisely because it requires so little from both the maker and the displayer.
14. Try a Two-Tone Dip Glaze
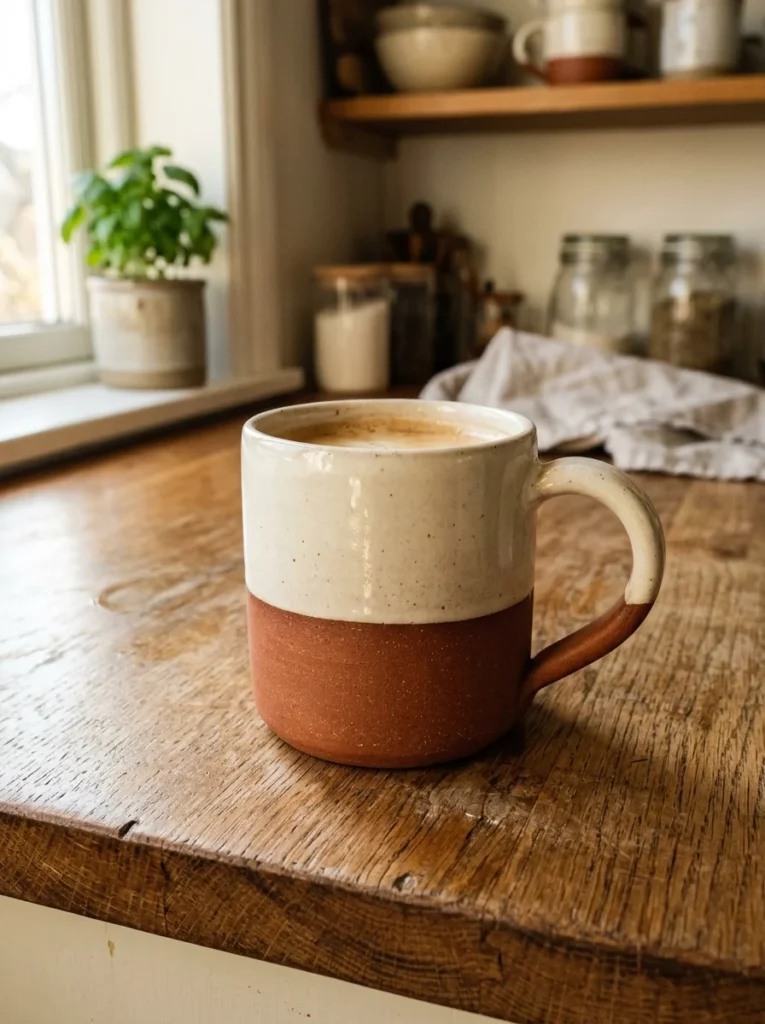
Dip glazing in two tones creates a clean color break that looks intentional and modern while still feeling handmade. The technique is simple: glaze the whole piece in one color, let it dry, then dip just the bottom half into a second color. Budget tip: you only need two glaze colors to pull this off, and many studios let you use community glaze buckets for a small per-piece fee instead of buying full containers yourself. Pick two colors that contrast gently, like cream and terracotta, or sage and white.
Avoid high-contrast combinations like black and white if you want the dreamy, soft aesthetic. Dip at a slight angle instead of perfectly straight across for a more organic dividing line. A totally straight line can look stiff and overly precise. Let the first glaze layer dry completely before dipping the second color, or they’ll blur together in the kiln. This technique works beautifully on mugs, cups, and small bowls where the color break sits right at eye level. It’s a simple way to make basic shapes feel more designed.
15. Create Nubby Textured Planters
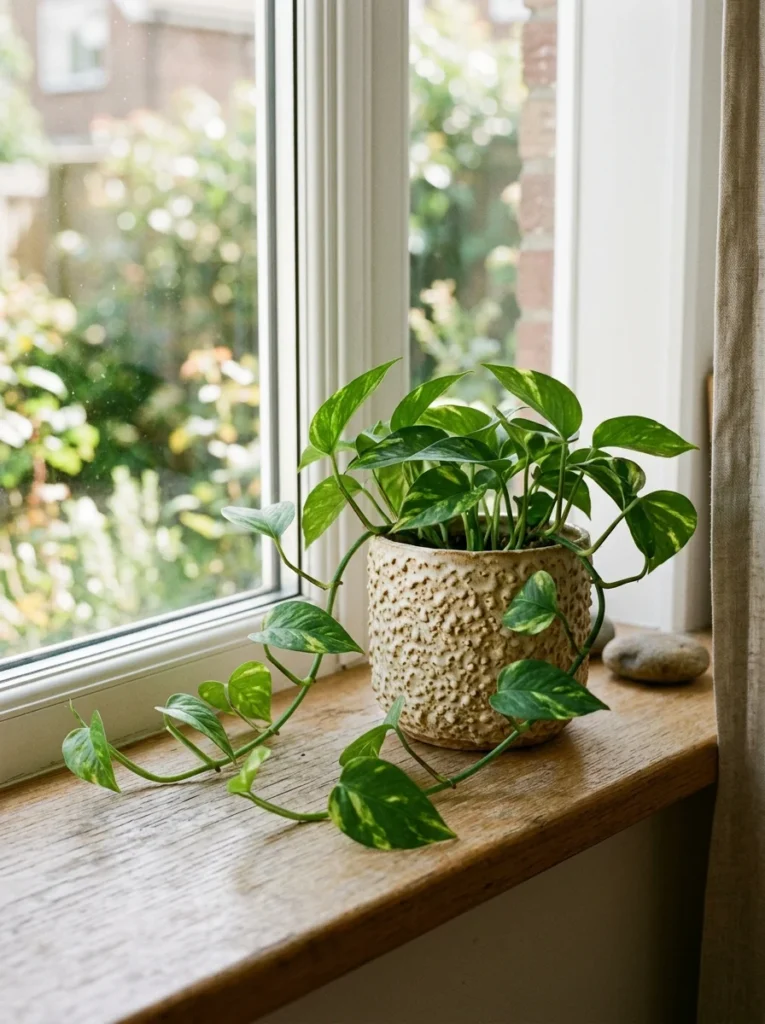
Nubby texture, those small bumpy clay nubs you press onto a surface, gives planters a tactile, almost knitted look. Roll tiny balls of clay, about pea-sized, and press them onto the wet surface of your planter in rows or random clusters. Budget tip: this uses scrap clay trimmings you’d otherwise throw away, so it costs nothing extra beyond what you’re already using for the planter itself. Press each nub firmly enough that it won’t fall off during drying or firing, but don’t flatten it completely.
You want a rounded bump, not a smear. Cover the surface partially rather than completely for the most interesting look, leaving some smooth clay visible between clusters of nubs. Glaze in a single light color so the texture, not the color, becomes the main visual feature. The glaze will naturally pool slightly around each nub, creating subtle shadows that highlight the bumpy surface. These planters look great holding small trailing plants like pothos or string of pearls, where the simple plant shape doesn’t compete with the busy texture of the pot itself.
16. Make a Speckled Stoneware Mug Set
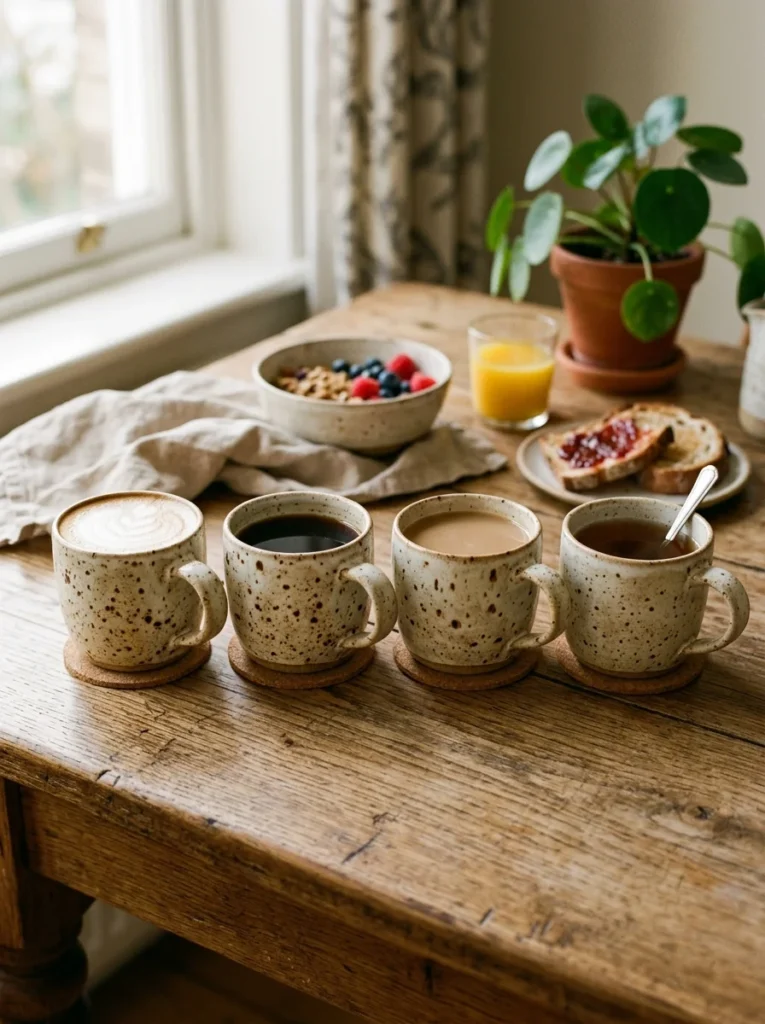
A matching mug set doesn’t have to mean identical mugs. Speckled stoneware sets feel cohesive through color and texture while still allowing slight differences in shape and handle style. Use the same speckled clay body and the same glaze across all four mugs for visual unity. Budget tip: buying clay and glaze in bulk for a set of four costs less per mug than buying materials separately for each one, so batch production saves money.
Vary the handle shape slightly between mugs, some curved, some more angular, so the set feels handmade rather than mass-produced. Keep the body shape consistent so they still look like they belong together. Fire all four in the same kiln batch if possible, since glaze can shift slightly between firings depending on kiln temperature and placement. This keeps the speckle pattern and glaze tone consistent across the whole set. Display the mugs on open shelving rather than tucked in a cabinet, so the speckled texture and warm tones add visual interest to your kitchen even when they’re not in use.
17. Try Wabi-Sabi Inspired Imperfect Bowls
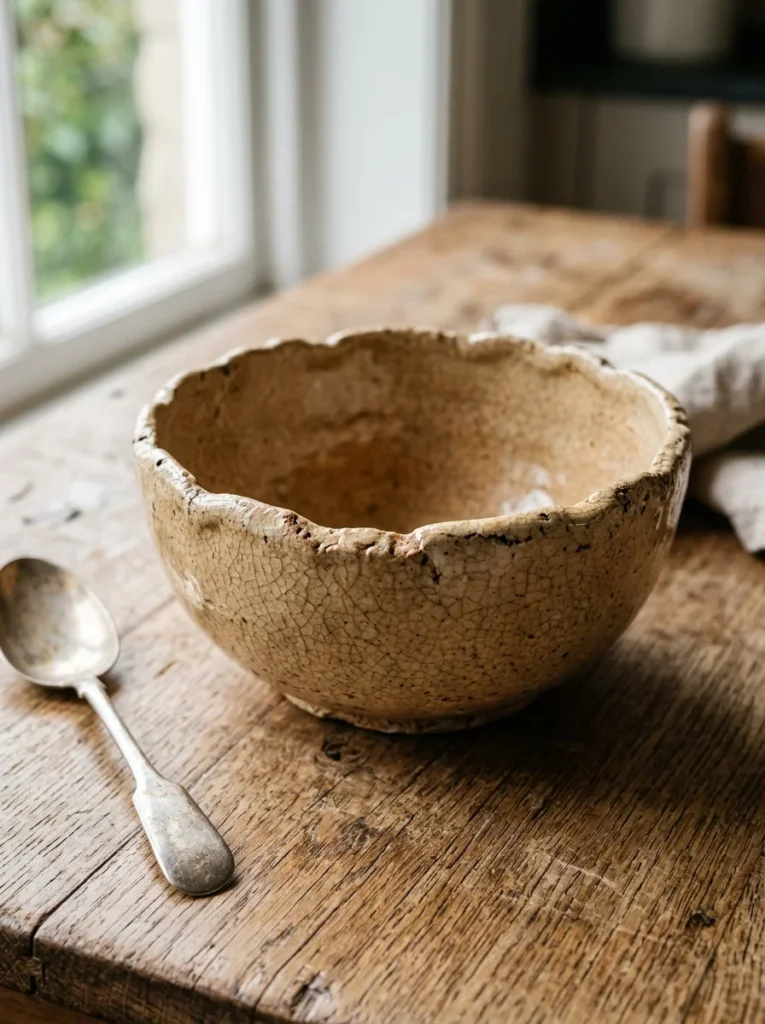
Wabi-sabi, the Japanese appreciation for imperfection, is basically the philosophy behind this entire dreamy pottery look. Cracks, asymmetry, and uneven glaze are treated as beauty rather than flaws to fix. Budget tip: this approach actually saves you stress and money since you’re not striving for flawless results that require expensive tools or years of practice to achieve. Let a bowl’s rim stay slightly uneven. Let the glaze crackle naturally if your glaze type does that at certain temperatures, since crackle glazes are widely available and often inexpensive.
Don’t sand away every small bump or fingerprint left in the clay. These marks tell the story of how the piece was made by hand. If a piece comes out of the kiln slightly warped or lopsided, consider keeping it instead of starting over. Sometimes the “mistake” piece becomes the most loved item on the shelf. This mindset shift is free and available to every potter regardless of skill level or budget. It just requires letting go of the idea that handmade pottery should look machine-made and perfect.
Conclusion
Handmade pottery doesn’t require a fully equipped studio or years of training to look beautiful. Small techniques, like leaving a rim slightly uneven, pressing a leaf into wet clay, or mixing your own blush glaze, add up to that soft, dreamy aesthetic so many people search for.
Start with one or two ideas from this list using clay and tools you likely already have. Build a small collection over time rather than rushing to finish everything at once. The slight imperfections, the wobbles, the speckles, and the hand-carved lines are exactly what make these pieces feel personal and worth keeping on display.
