

You do not need a pottery wheel. You do not need a studio. You do not even need a lot of money. All you need is a block of clay, a flat surface, and about an hour of free time, and you can make something genuinely beautiful with your hands.
Clay crafting is one of those rare hobbies that feels calming to do and looks impressive when finished. Whether you want to make a tiny ring dish, a set of wall ornaments, or a cute little planter, this guide walks you through every step from picking your clay to finishing your piece.
Step 1: Choose the Right Clay for Beginners
The type of clay you start with makes a big difference in your experience. Here are the two most beginner-friendly options:
- Air-dry clay — No oven needed. It hardens on its own within 24–48 hours. Available at most craft stores for around $5. Perfect for bowls, tiles, figurines, and decorative pieces.
- Polymer clay — Needs to be baked in a regular home oven at low temperature (around 130°C / 265°F). Stays flexible until baked. Great for jewelry, keychains, and small detailed items.
Start with air-dry clay if this is your first time. It is more forgiving, easier to handle, and requires zero equipment beyond your hands.
Avoid modeling clay (the kind sold in kids’ craft sets) for home décor projects, it does not dry hard and cannot be painted properly.
Step 2: Gather Your Basic Supplies
You do not need a lot. Here is your beginner starter list:
- A block of air-dry clay
- A rolling pin (or a smooth glass bottle)
- A craft knife or blunt butter knife
- A few cookie cutters (optional but helpful)
- A toothpick or skewer for detail work
- Acrylic paint and a small brush
- Matte varnish or Mod Podge to seal the finished piece
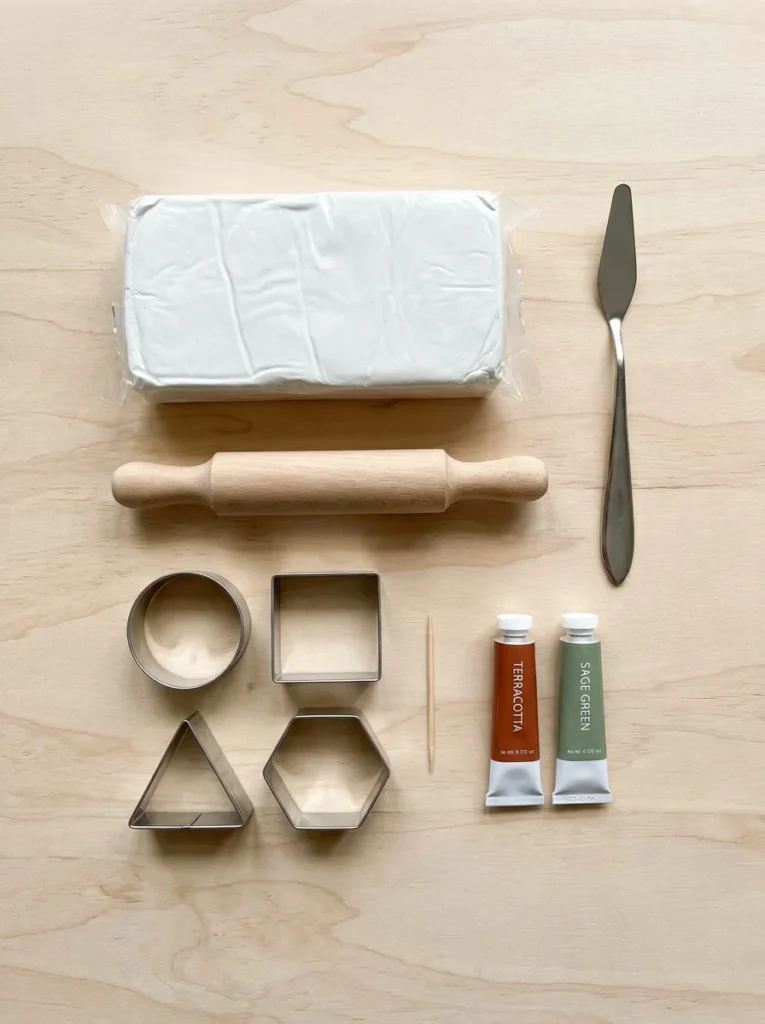
That is genuinely all you need. Most of these items can be found at a dollar store or discount craft retailer. Your total starting budget can easily stay under $15.
Step 3: Prepare and Shape Your Clay
Before you start shaping, knead your clay for two to three minutes. This warms it up, removes air bubbles, and makes it much easier to work with.
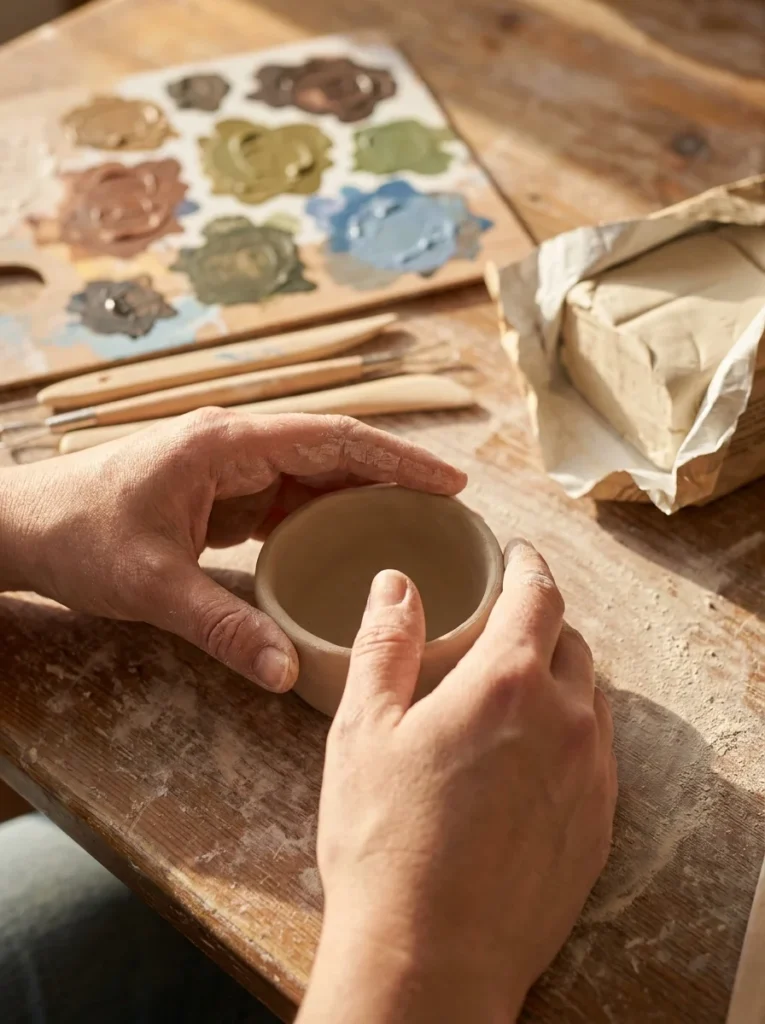
To make a simple ring dish, a great first project:
- Roll the clay into a smooth ball about the size of a golf ball.
- Flatten it with your rolling pin to about 5mm thickness.
- Cut a circle or oval shape using a cookie cutter or freehand with your knife.
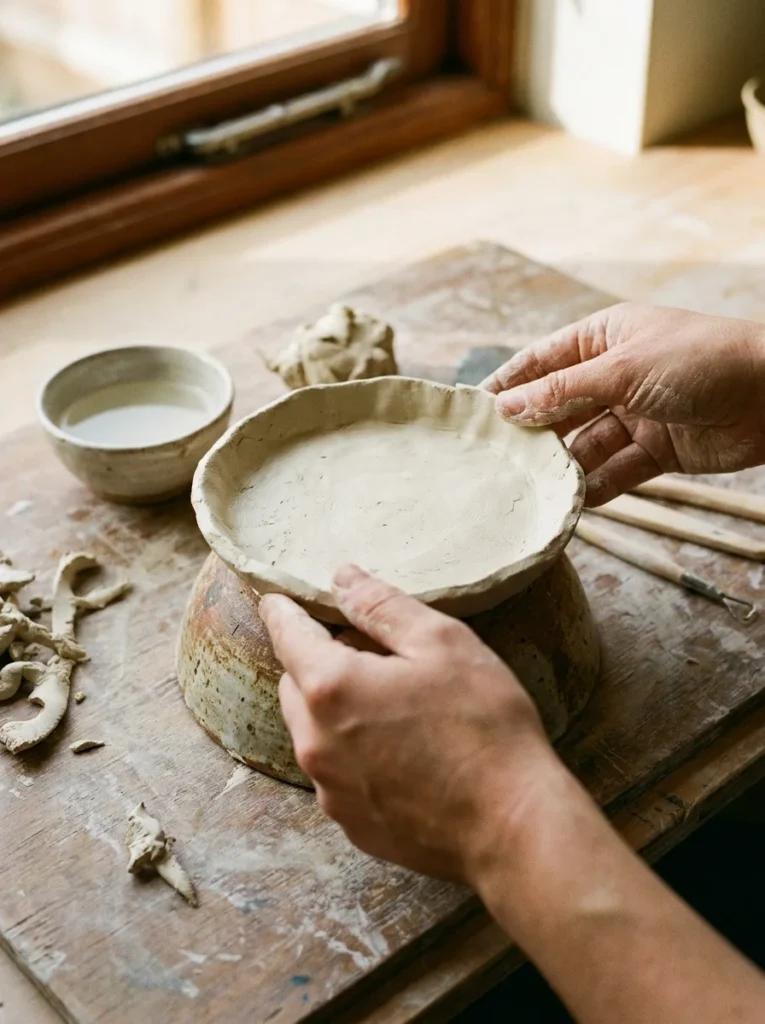
- Gently press the edges upward with your fingers to create a shallow bowl shape.
- Drape it over a small existing bowl lined with plastic wrap so it holds the curved form while drying.
Keep a small bowl of water nearby. If the clay starts to crack while you work, dip your fingertip in water and smooth over the crack. Water is your best tool for fixing mistakes with air-dry clay.
Step 4: Let It Dry Properly
This step is where most beginners go wrong by rushing.
- Dry your piece flat on a smooth, non-stick surface like baking paper or a ceramic tile.
- Allow at least 24 hours before handling. Thicker pieces may need 48 hours.
- Do not place your clay near a heater or in direct sunlight to speed up drying, this causes cracking.
- If your piece warps slightly while drying, gently press it flat during the first few hours before it fully hardens.
Patience here pays off. A properly dried piece will sand, paint, and seal beautifully.
Step 5: Paint, Detail, and Seal
Once fully dry, the fun part begins.
- Sand lightly with fine-grit sandpaper (around 220 grit) to smooth any rough patches.
- Paint with acrylic paint, one base coat, let it dry, then add details or a second color.
- For a polished finish, use a fine dry brush dipped in a slightly lighter shade and drag it across the surface to highlight raised texture.
- Seal with matte varnish once the paint is completely dry. This protects the piece from moisture and gives it a finished, professional look.
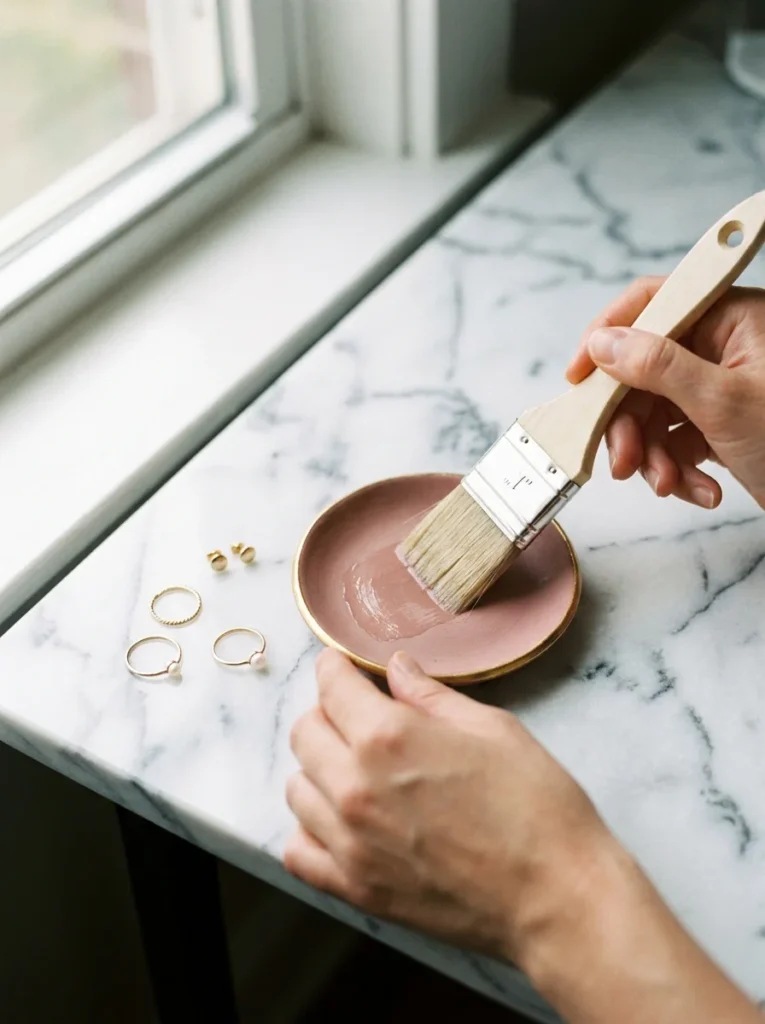
Two coats of varnish are better than one. Let the first coat dry fully before applying the second.
Simple Project Ideas to Try First
Once you are comfortable with the basics, try these quick beginner projects:
- Pinch pot planter, press your thumb into a clay ball and pinch outward
- Stamped wall tile, press a leaf or lace into flat clay before drying
- Clay bookmarks, thin, narrow strips with a hole punched at the top
- Pebble paperweights, smooth rounded clay shapes painted in earthy tones
- Gift tags, small shapes with a hole for twine, pressed with small stamps
Each of these takes under an hour to shape and uses very little clay.
One Last Thing Before You Start
Clay crafting rewards patience more than skill. Your first piece will not be perfect, and that is completely fine. The slight imperfections in handmade clay pieces are exactly what makes them charming. No machine made that. You did.
Save this guide, grab a block of clay this weekend, and make your first piece. Start with the ring dish. Follow the steps. See what it feels like to hold something you built entirely from scratch with your own hands, because once you do, you will want to make ten more.