

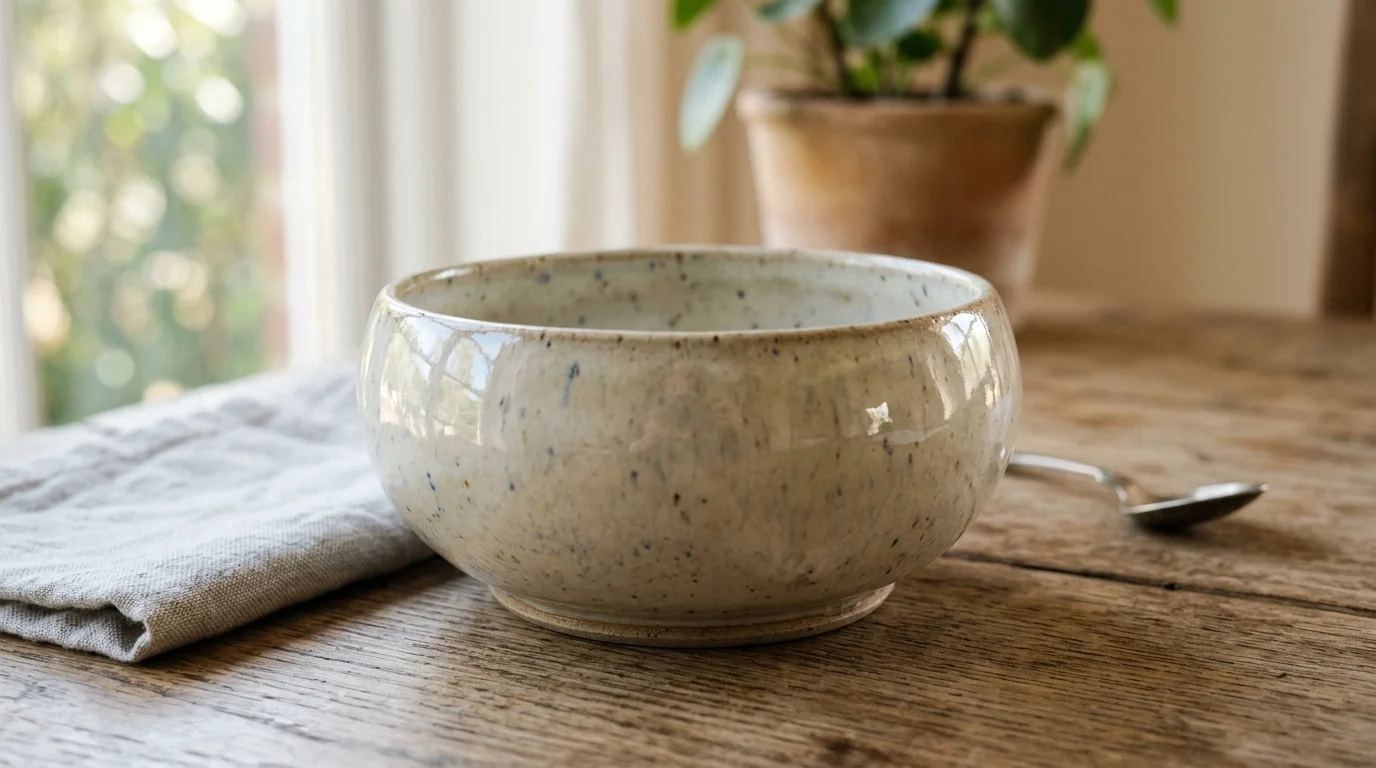
There’s a moment every potter waits for: opening the kiln to find a glossy, glass-smooth surface where dull gray clay used to be. That shine doesn’t happen by accident. It comes from understanding a few simple rules about glaze application, layering, and firing. Get it right, and even your wobbliest first bowl can look like it belongs in a boutique shop.
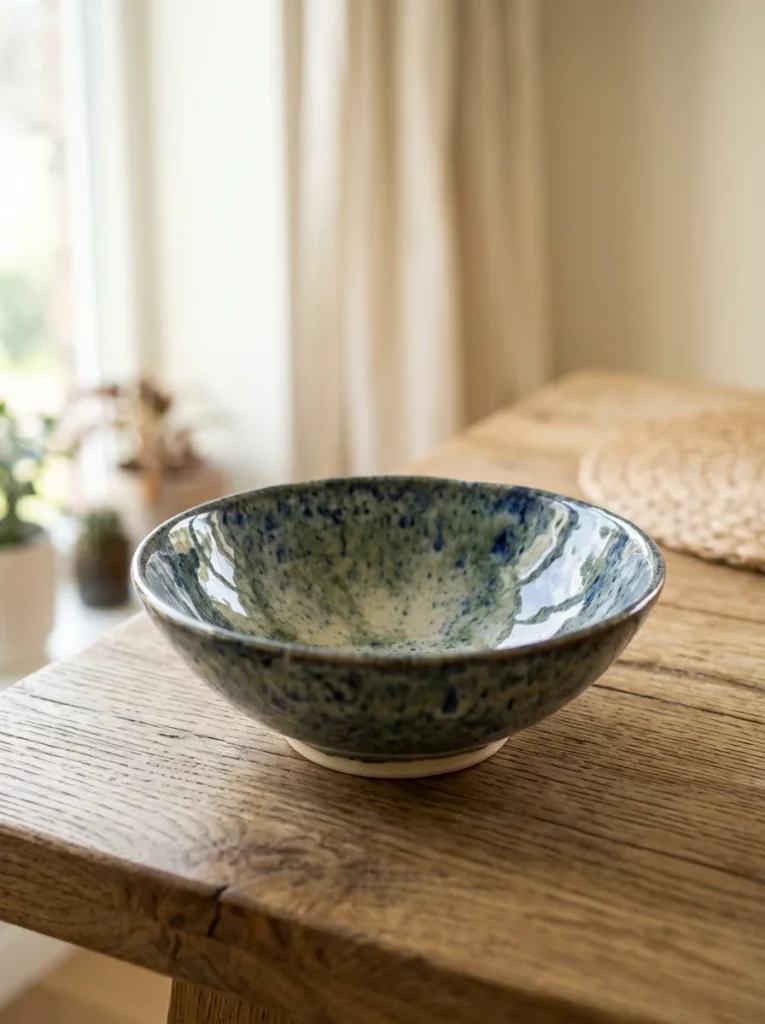
If you’ve ever pulled a piece from the kiln and wondered why it came out chalky, patchy, or dull instead of smooth and shiny, this guide walks through exactly what changes that.
Start With Bisque-Fired Clay
Glaze only sticks properly to bisque-fired clay, not raw greenware. Bisque firing hardens the clay just enough to handle safely while staying porous enough to soak up glaze.
- Skip glazing greenware. It crumbles and ruins your glaze batch.
- Always let bisque pieces cool completely before glazing.
- Wipe off any dust with a slightly damp sponge first. Dust under glaze causes bumps.
A clean, fully bisqued surface is the real starting point for that smooth shine everyone wants.
Choose the Right Glaze for Shine
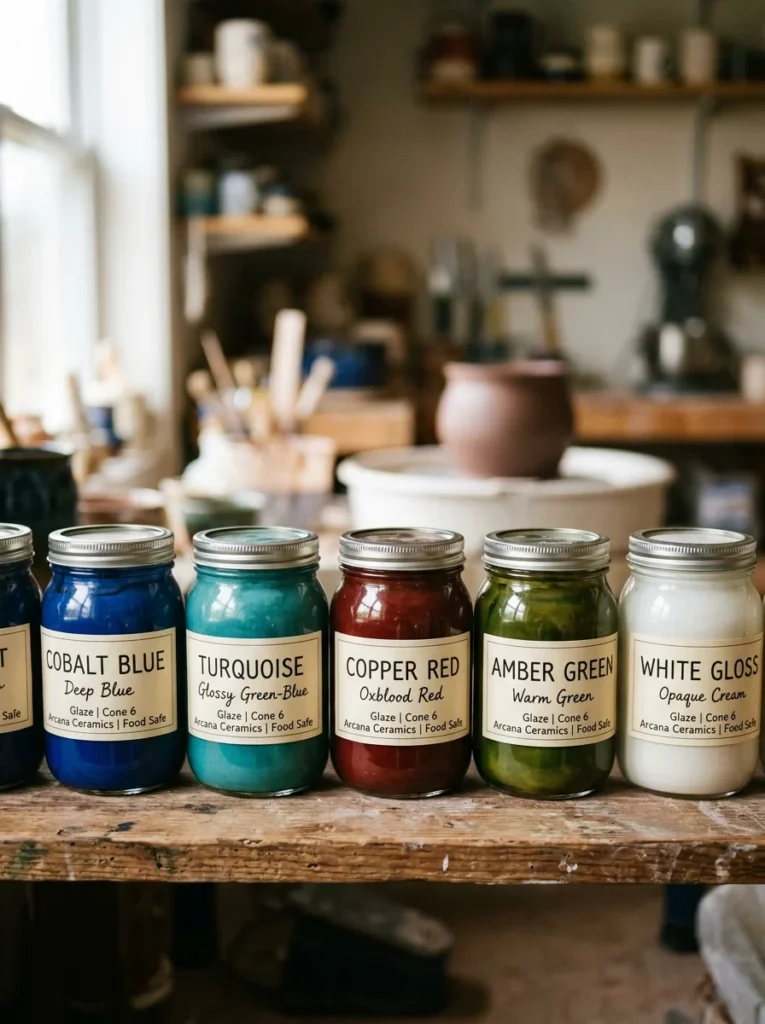
Not every glaze produces a glassy finish. Glossy glazes contain more silica, which melts into a smooth, reflective surface during firing.
- Look for labels like “gloss,” “clear,” or “shiny” on the jar.
- Matte glazes will never give you shine, no matter how many coats you add.
- Clear gloss glaze over colored slip is a budget-friendly way to add shine without buying expensive specialty colors.
If your goal is smooth and shiny, this is the single most important choice you’ll make.
Apply Glaze in Thin, Even Coats
Thick glaze causes drips, crawling, and uneven texture. Thin, even layers are the real secret behind a flawless finish.
- Dip, pour, or brush, but always apply two to three thin coats rather than one thick one.
- Let each coat dry to a matte, chalky finish before adding the next.
- Rotate the piece as you work so no spot gets skipped or doubled up.
Budget tip: a cheap foam brush works just as well as expensive glaze brushes for small pieces. Save the good brushes for detailed work.
If you’re dipping, count your seconds. Most glazes need only 2–3 seconds of submersion. Longer dips mean thicker, drippier coats.
Wipe the Foot Before Firing
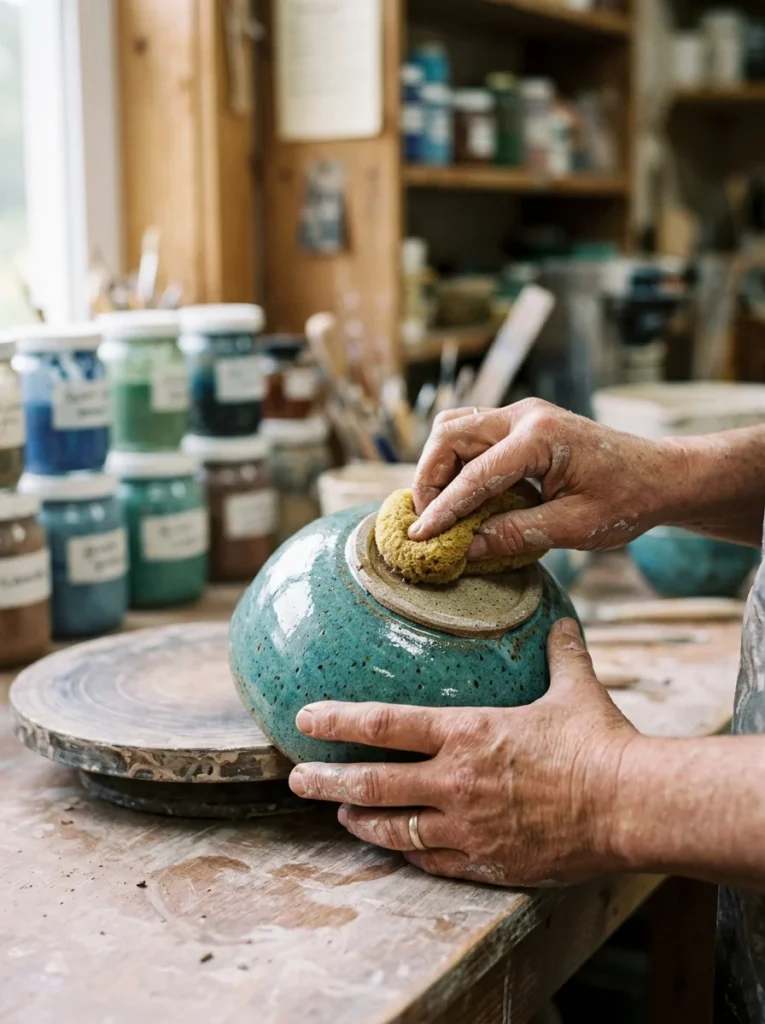
The bottom of your piece, called the foot, needs to stay glaze-free. Glaze melts in the kiln, and if it touches the shelf, your piece fuses permanently in place.
- Run a damp sponge around the base edge after glazing.
- Check for any drips that ran down from the sides.
- Place pieces on a kiln shelf with enough space between them so drips don’t touch neighbors.
This step feels small, but skipping it is one of the most common beginner mistakes in the whole glazing process.
Fire at the Correct Temperature
Glaze needs the right kiln temperature to fully melt into that glassy surface. Too cool, and the glaze stays dull or grainy. Too hot, and it runs right off the piece.
- Check the glaze label for its recommended cone temperature.
- Match your clay body’s firing range to the glaze’s range. Mismatched ranges cause cracking or pooling.
- If you’re using a community studio kiln, ask the staff which cone they fire to before buying glaze.
A simple cone temperature chart taped inside your studio cabinet saves a lot of guesswork over time.
Cool the Kiln Slowly
Rushing the cooling process is one of the fastest ways to ruin a shiny finish. Fast cooling can cause glaze crazing, those tiny spiderweb cracks across the surface.
- Let the kiln cool naturally with the lid shut for several hours.
- Avoid opening the lid early just to peek. Trapped heat needs to release gradually.
- Crazing isn’t always a flaw. Some potters love the look, but it won’t give you that clean glassy shine.
Patience here is free, and it’s the difference between a dull finish and a true high-gloss surface.
Buff and Inspect the Final Piece
Once your piece cools completely, give it a final check.
- Run your fingers along the surface to feel for any rough or sharp glaze spots near the bottom.
- A light buff with fine sandpaper smooths any sharp bits on the unglazed foot.
- Hold the piece up to light to spot any dull patches that might need a touch-up coat next time.
This last step is quick, but it’s what separates a polished, finished piece from one that still feels unfinished in your hands.
Final Thoughts
A smooth, shiny glaze finish comes down to a few repeatable habits: clean bisque, the right glaze type, thin even coats, a wiped foot, correct firing temperature, and a slow cool-down. None of it requires expensive equipment. It just takes a little patience and practice piece by piece.
Try this process on your next mug or bowl, and watch the difference a few small adjustments make. Save this guide for your next studio session!
