

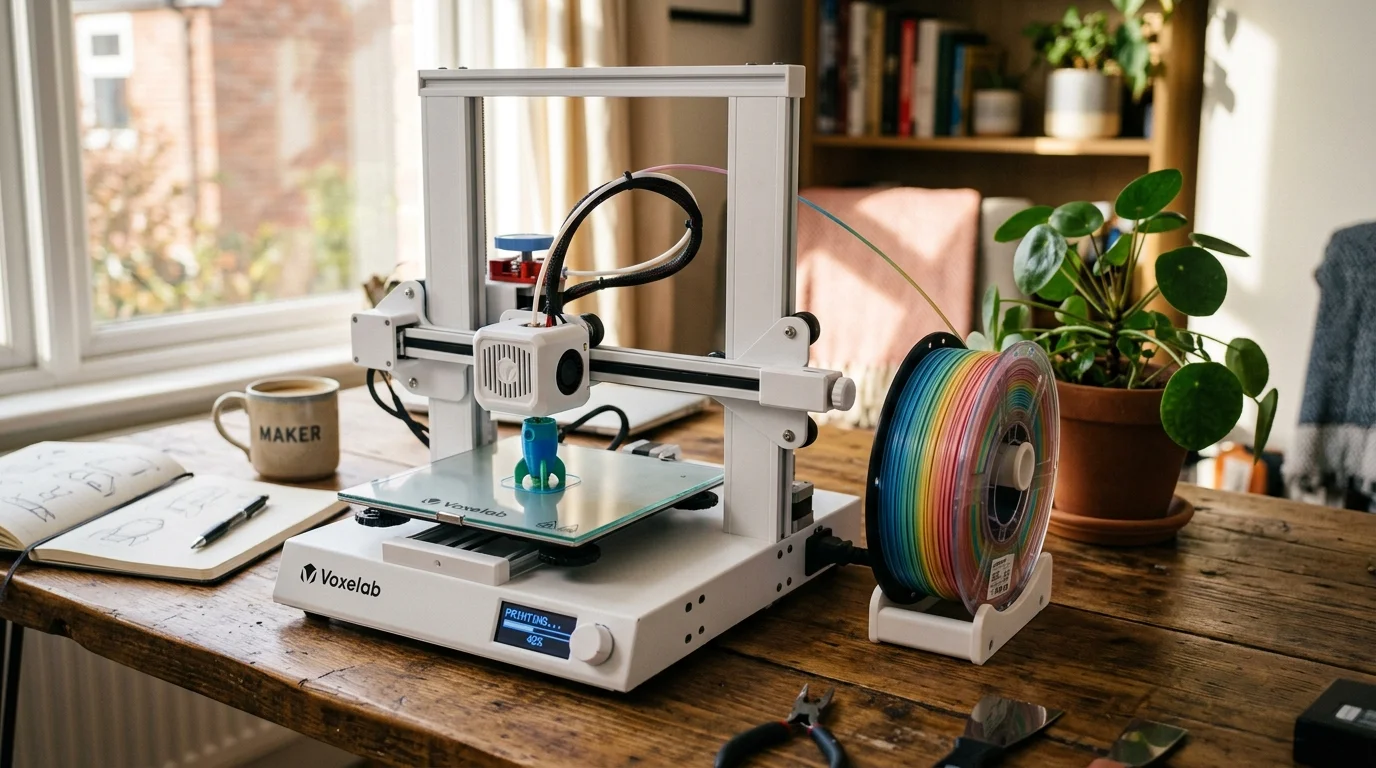
So you finally bought a 3D printer. It’s sitting on your desk, blinking at you, and you have no idea what to do next. Good news: you don’t need an engineering degree or a garage full of tools to start printing real, useful objects today. You just need a few simple steps and a little patience.
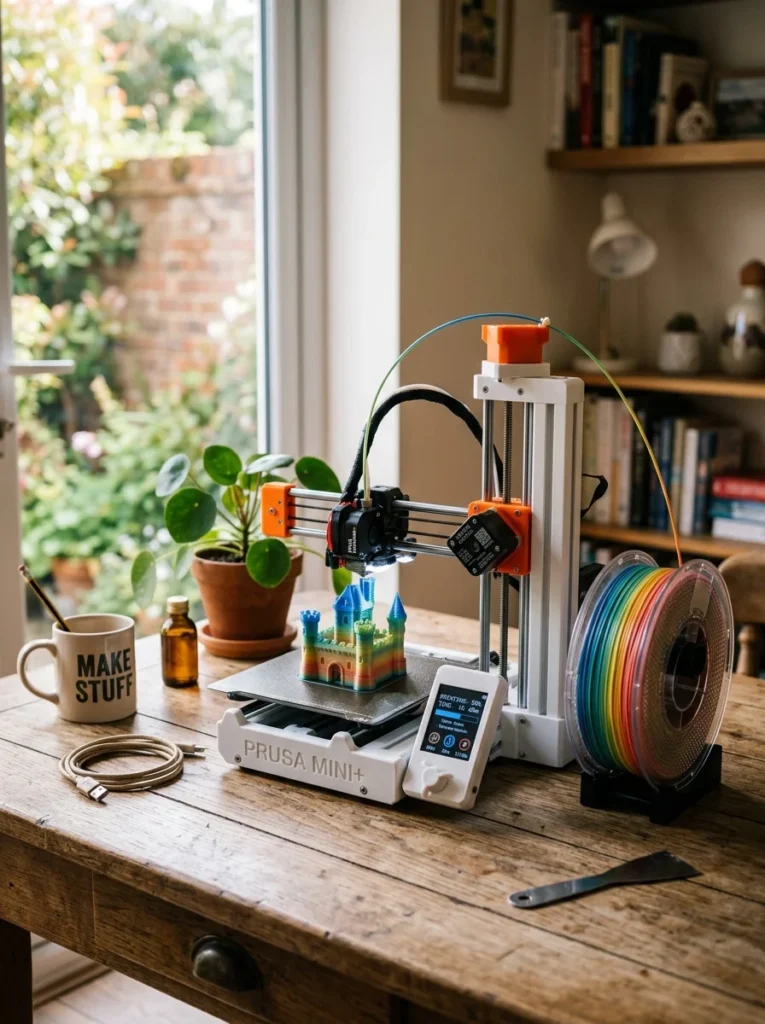
This guide walks you through everything from setup to your very first successful print. No jargon. No overwhelm. Just clear steps you can follow today.
Step 1: Get to Know Your Printer
Before printing anything, spend ten minutes just looking at your machine. Every printer has the same basic parts:
- Print bed – the flat surface where your object builds up
- Extruder/nozzle – melts and pushes out the filament
- Filament spool holder – holds your roll of plastic material
- Control screen or app – where you start and monitor prints
Open the manual or search your printer’s model name online for a quick setup video. Most printers today come mostly assembled, so this step is shorter than people expect.
Beginner tip: Don’t skip the bed leveling step. A level bed is the single biggest reason first prints succeed or fail.
Step 2: Choose the Right Filament
Filament is the plastic material your printer melts and shapes. As a beginner, stick with one type until you’re comfortable:
- PLA – easiest to print, low odor, great for beginners
- PETG – slightly trickier, more durable, good for outdoor or functional parts
- ABS – stronger but needs higher heat and ventilation, skip this one for now
Start with PLA. It forgives small mistakes and works with almost every basic printer setting.
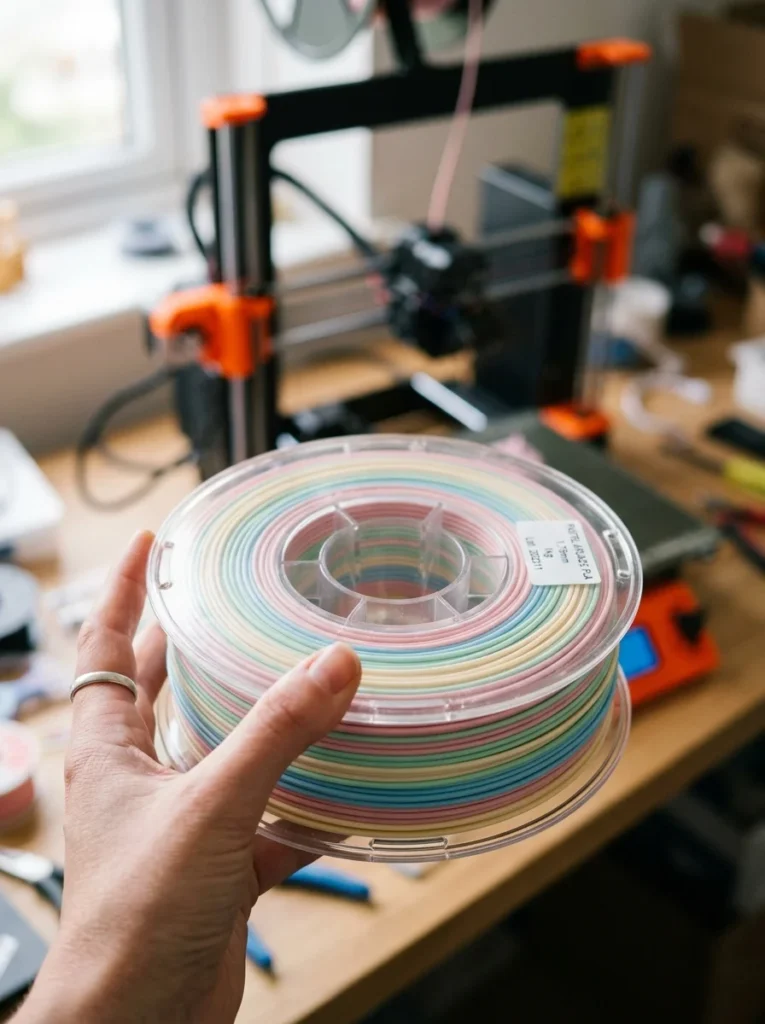
Budget tip: A 1kg spool usually costs less than $20 and prints dozens of small objects.
Step 3: Find or Design Your First Model
You don’t need to design anything yourself to start. Free model libraries make this easy:
- Printables
- Thingiverse
- MakerWorld
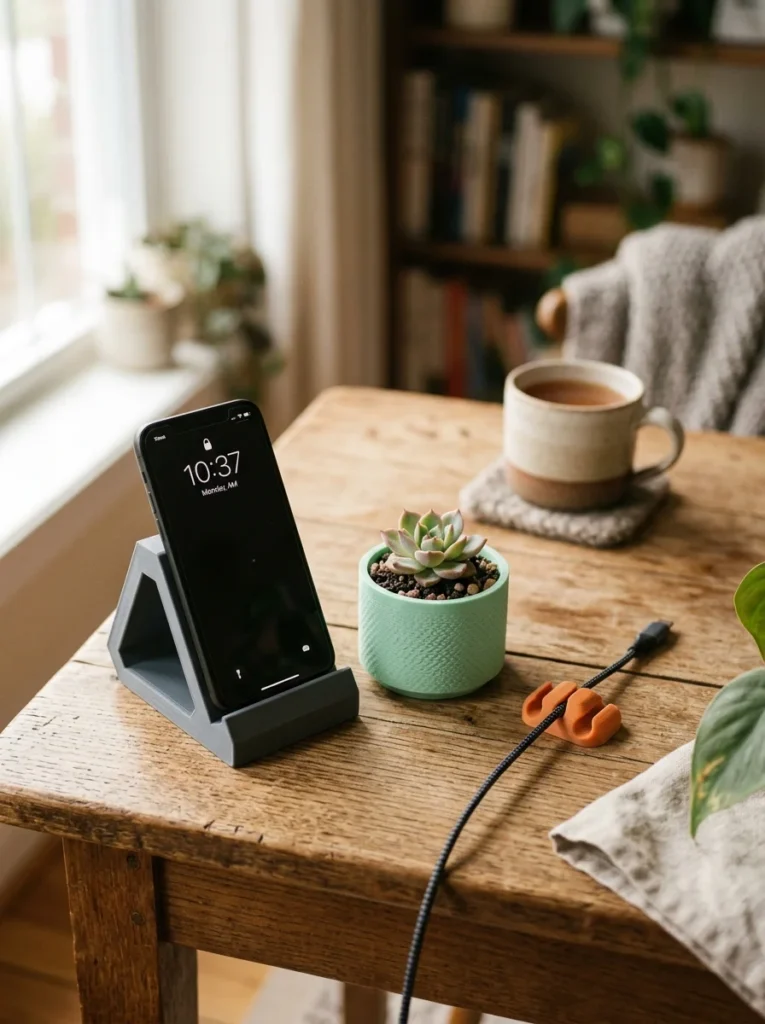
Search for something small and simple: a phone stand, a keychain, or a basic box. Avoid anything with tiny details or moving parts for your first attempt.
If you want to try designing, Tinkercad is free and works right in your browser. Basic shapes like cubes and cylinders are enough to make something useful, like a simple drawer divider or a cable clip.
Beginner tip: Look for models labeled “beginner-friendly” or “no supports needed.” These print faster and fail less often.
Step 4: Slice Your File
Once you have a model, it needs to go through slicing software before your printer can read it. Slicing turns a 3D shape into instructions, layer by layer.
Popular free slicers include:
- Cura
- PrusaSlicer
- Bambu Studio
Open your downloaded file in the slicer, choose your filament type, and stick with the default settings for your first print. Don’t touch advanced options yet.
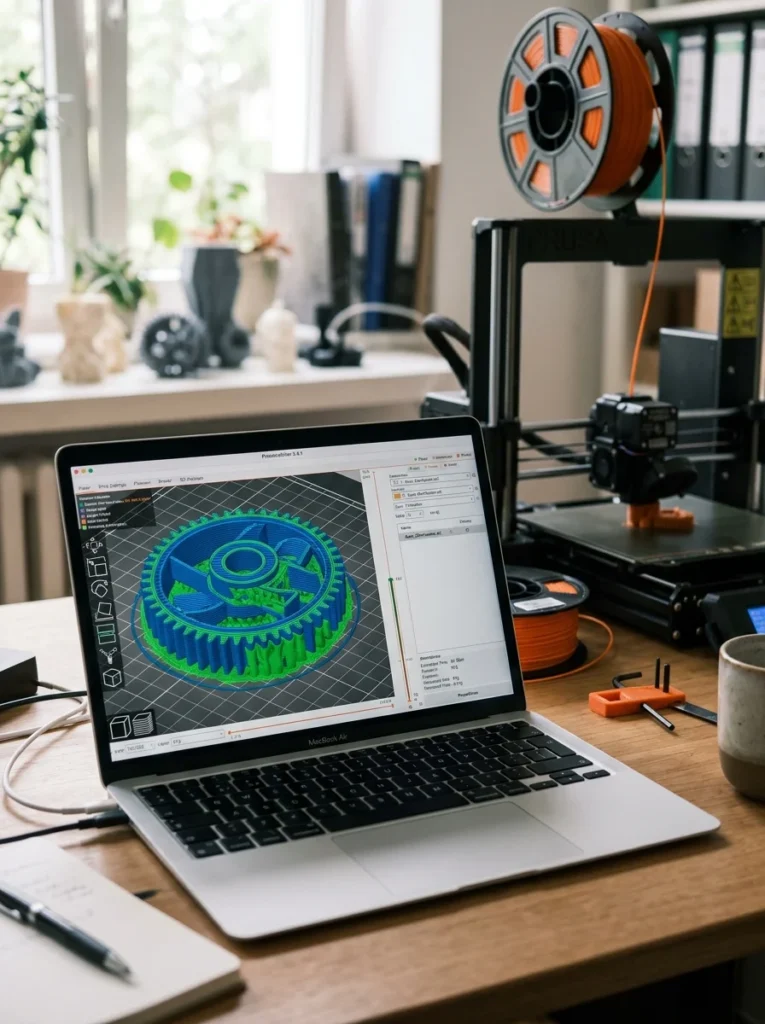
Export the sliced file, usually as a .gcode file, and transfer it to your printer using a USB drive or Wi-Fi, depending on your model.
Step 5: Start Your First Print
Time for the exciting part. Load your filament according to your printer’s instructions, usually a simple feed-and-click process. Then:
- Select your file on the printer screen
- Press start
- Watch the first few layers closely
The first layer matters most. If it looks messy, stringy, or doesn’t stick to the bed, stop the print and re-level the bed before trying again.
Tip: Clean your print bed with a bit of rubbing alcohol before each print. Oil from fingerprints can stop filament from sticking properly.
Step 6: Remove and Clean Up Your Print
Once your printer finishes, let the bed cool for a few minutes. Cooling helps most prints pop off the bed easily, without forcing anything.
Use a plastic scraper, not metal, to gently lift the object off if it doesn’t release on its own.
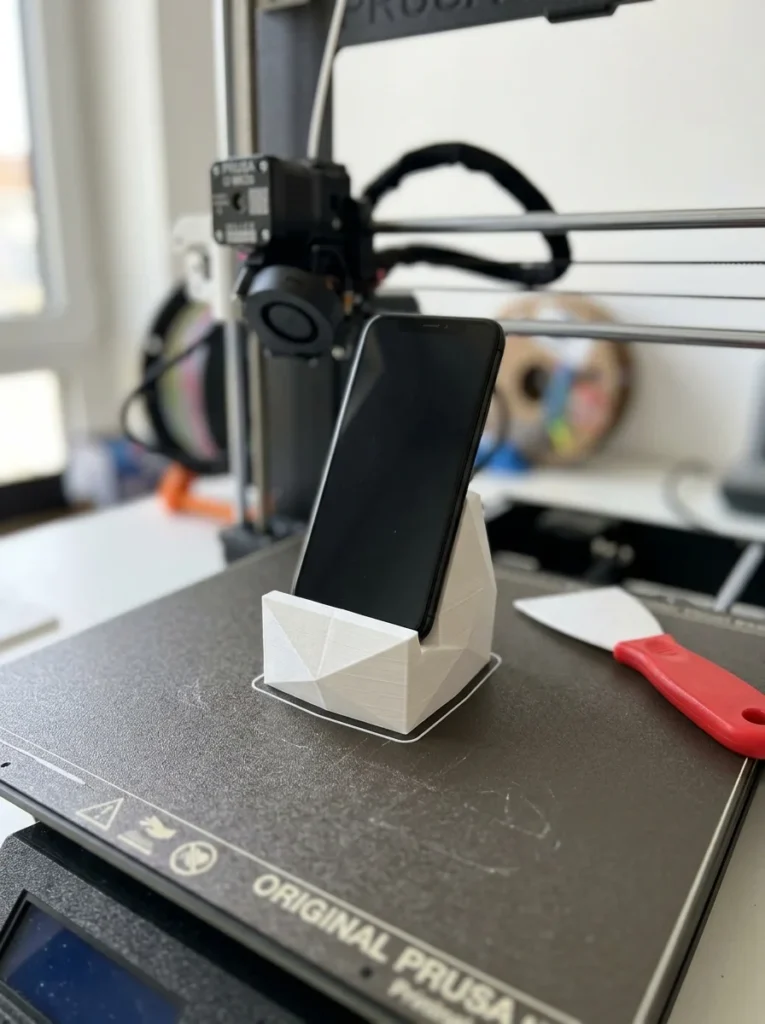
Trim off any small strings of plastic with scissors or a hobby knife. This step, called finishing, makes your print look clean and ready to use right away.
Step 7: Build From There
Once your first print works, you’ll want to try more. A few easy next projects:
- Cable clips for your desk
- A small planter for herbs
- Replacement knobs for broken appliances
- Drawer dividers sized to your own space
Each new print teaches you something new about settings, filament, and design without much risk if something goes wrong.
Your Next Step Starts Now
3D printing looks complicated from the outside, but the actual process breaks down into simple, repeatable steps. Level your bed, pick PLA, grab a beginner-friendly model, and hit print. That’s really all it takes to get started today.
Save this guide for later so you can come back to it the next time you’re ready to start a new project!
