

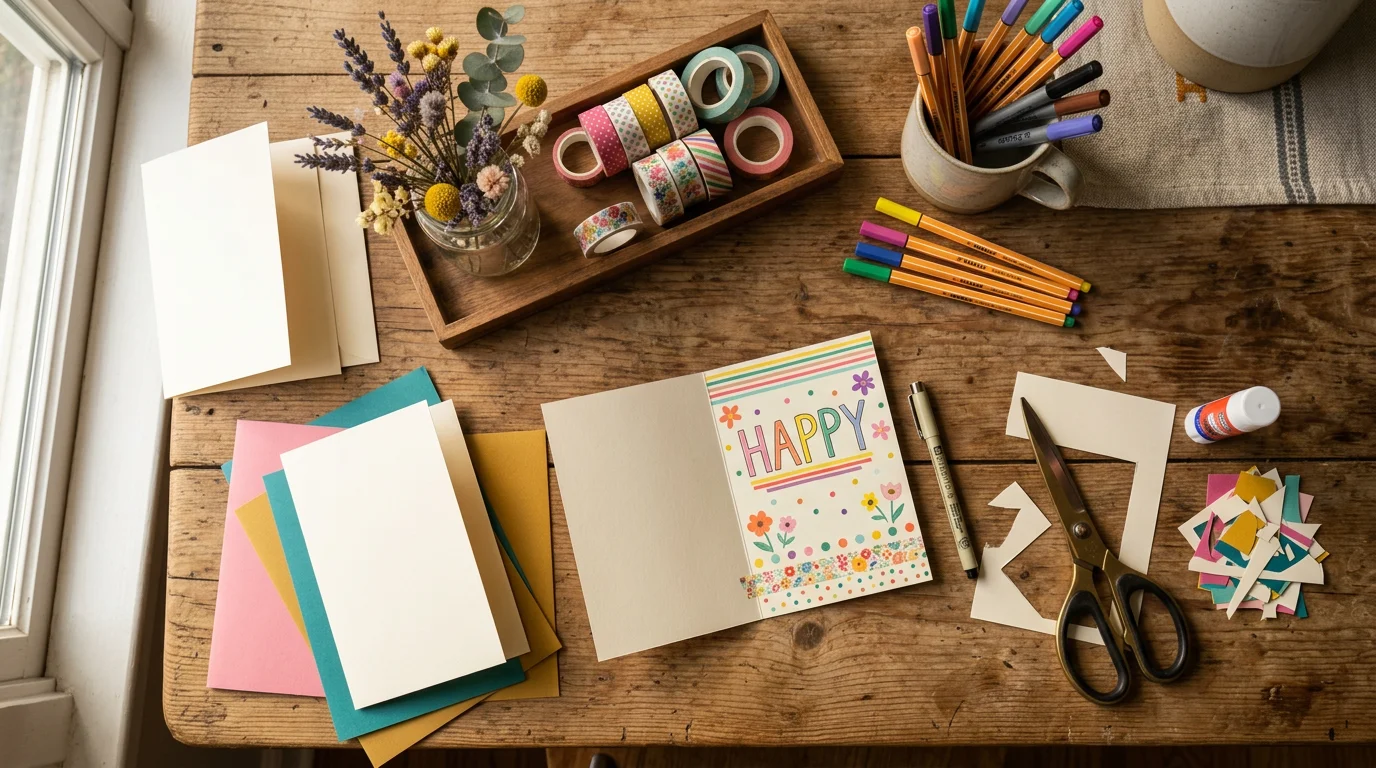
There is something a store-bought card can never do. It can’t show the person that you sat down, thought about them, and made something with your own hands. A handmade card does exactly that. And here’s the secret nobody tells you: it doesn’t take talent. It takes a few simple supplies, a little patience, and a couple of smart tricks.
You can make a card that looks like it came from a boutique shop. Even if the last thing you drew was a stick figure in third grade. Let me show you how.
Start With the Right Paper
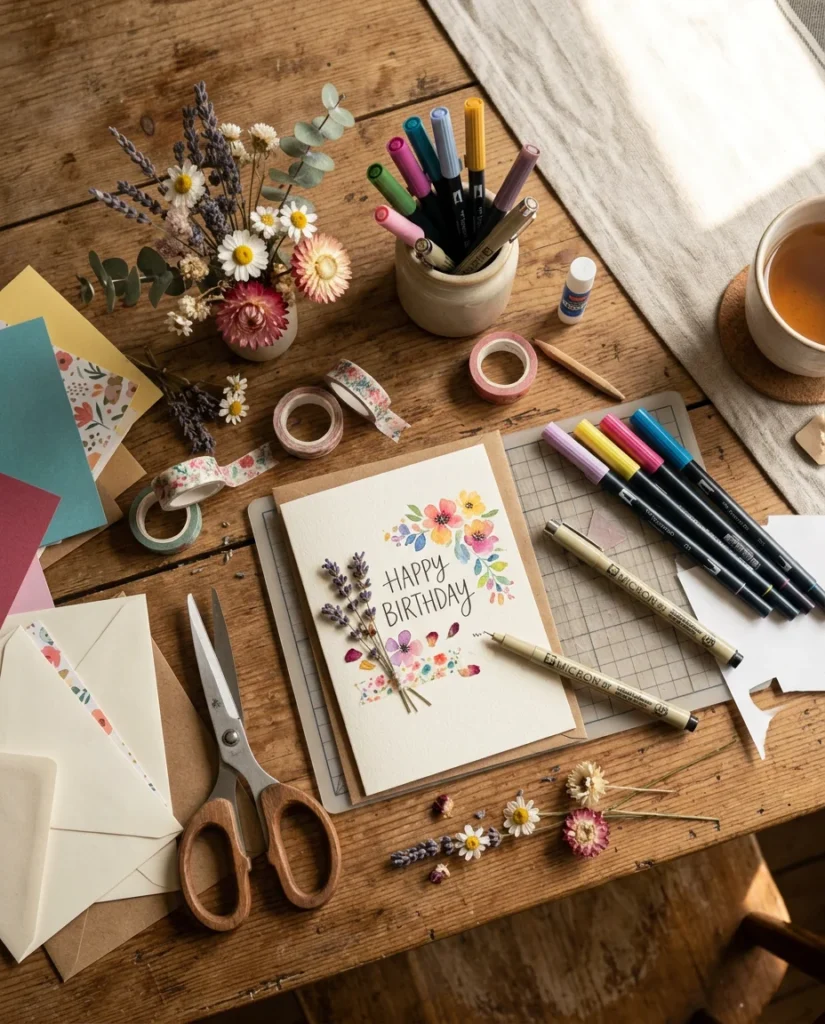
Everything begins with good paper. This is the one place worth a tiny splurge.
Thin printer paper folds badly and feels flimsy. Cardstock, on the other hand, holds a crisp fold and feels solid in the hand. That weight alone makes a card look expensive.
Here’s what to grab:
- Cardstock in a neutral color (white, cream, or kraft brown)
- A bone folder or the edge of a ruler for sharp creases
- A sharp pair of scissors or a craft knife
Fold your card in half and press the crease firmly. A clean, sharp fold is the difference between “homemade” and “handmade.” Take your time here. It sets the tone for everything else.
Pick One Simple Focal Point
The biggest mistake beginners make? Trying to do too much.
A beautiful card usually has one clear star. One balloon. One flower. One bold word. Everything else supports it.
Think of the front like a tiny poster. Your eye should land on something right away, then rest.
A few focal point ideas that always work:
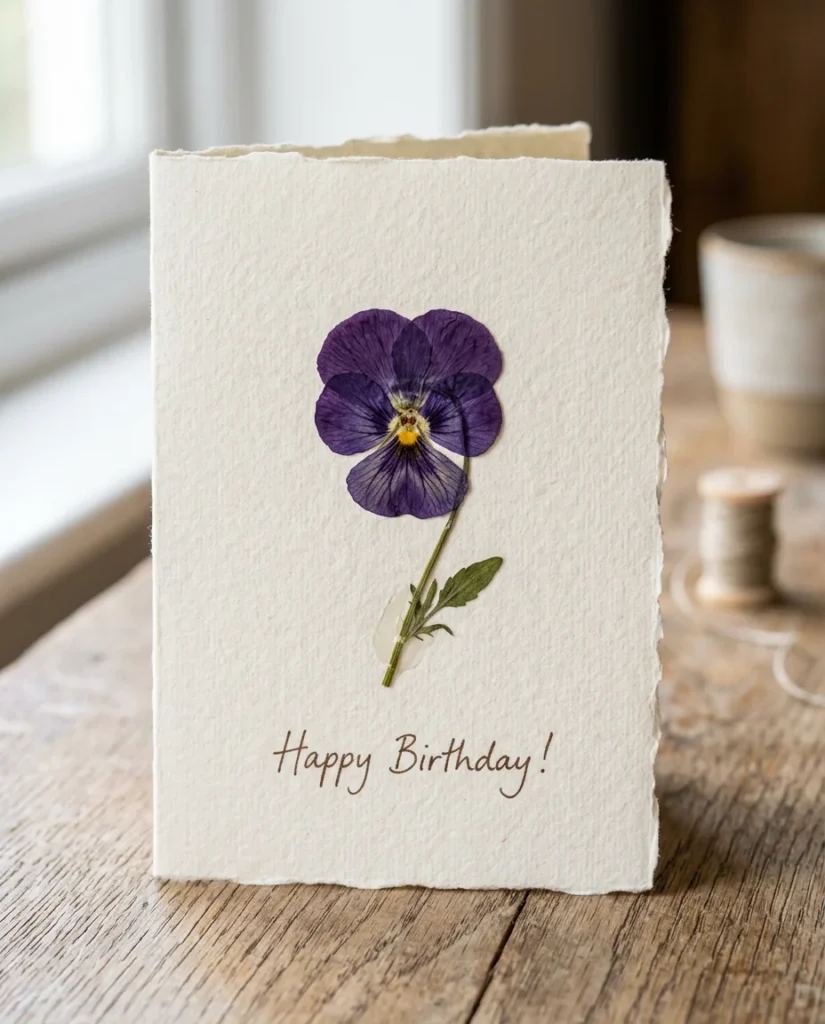
- A single pressed flower in the center
- The person’s age as a big, hand-drawn number
- One balloon with a thin string trailing down
- A small painted heart with a gold outline
Keep the background calm so your focal point stands out.
Add Texture for a Boutique Feel
Flat cards look fine. Cards you can feel look special.
Texture is the trick real card makers use to make things look high-end. And most of it costs almost nothing.
Easy ways to add texture:
- Glue on a small button, a bit of twine, or a scrap of fabric
- Layer a smaller piece of patterned paper on top of the base
- Use foam dots behind a shape so it pops off the page
- Add a few stitches of colorful thread through punched holes
Even one raised element changes how the whole card feels. People instinctively want to touch it. That reaction is exactly what you want.
Handle the Lettering Like a Pro
Your handwriting is fine. The problem is usually rushing.
Slow down and letter your message with care. It transforms the card instantly.
Try these tips:
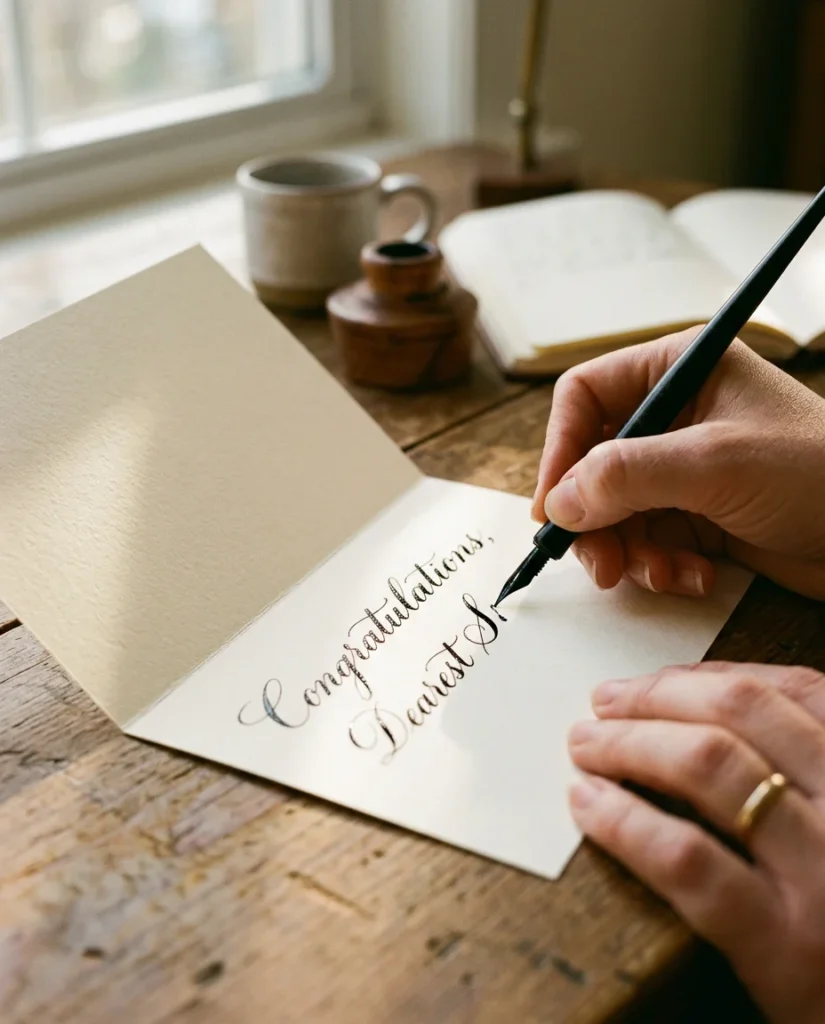
- Pencil your words lightly first, then trace over them in pen
- Mix print and cursive for a menu-board look
- Make the first letter bigger for a fancy touch
- Use a white gel pen on dark paper for contrast that pops
If you want something foolproof, keep the message short. A simple “Happy Birthday” done neatly beats a long note done messily.
Bring It Together With Color
Color ties the whole card into one look. The easy rule: stick to two or three shades.
Pick one main color and one accent. Let the paper be your third “color.”
Some combos that always look polished:
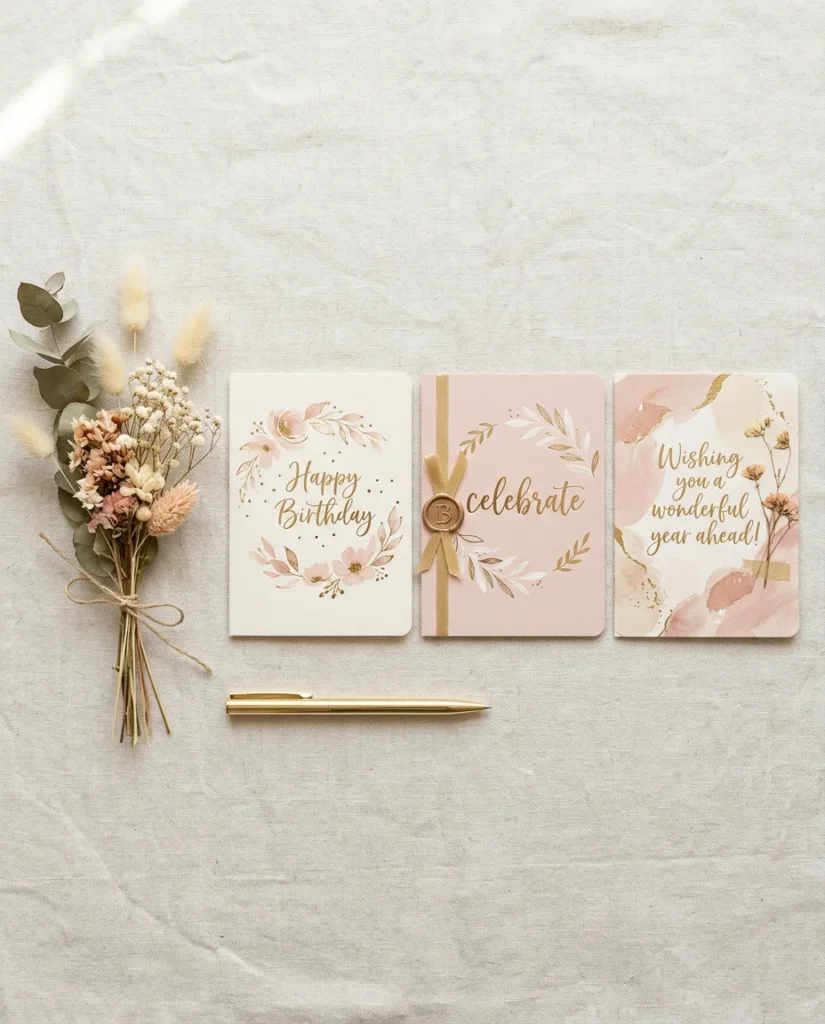
- Blush pink with soft gold
- Kraft brown with deep navy
- Cream with sage green
- Black with a single bright pop like coral
Match your pen, your focal point, and any add-ons to this small palette. That restraint is what makes designer cards feel calm and expensive instead of busy.
A Few Final Touches
Small details separate a nice card from a stunning one.
Before you call it done:
- Round the corners with scissors for a soft, pro finish
- Add a tiny drawn border to frame the whole front
- Sign the back like an artist signing a piece
- Slip it in a plain envelope with a small wax-style seal
These take seconds but make the card feel complete and intentional.
Your Card Is Ready to Give
That’s it. Good paper, one focal point, a bit of texture, careful lettering, and a tight color palette. Follow those five things and your card will look handmade in the best possible way.
The person opening it will notice. Handmade always feels different, because it is different. You put yourself into it.
So grab your scissors, clear a little table space, and make one today. Save this guide for the next birthday on your calendar — future you will be glad you did.
