

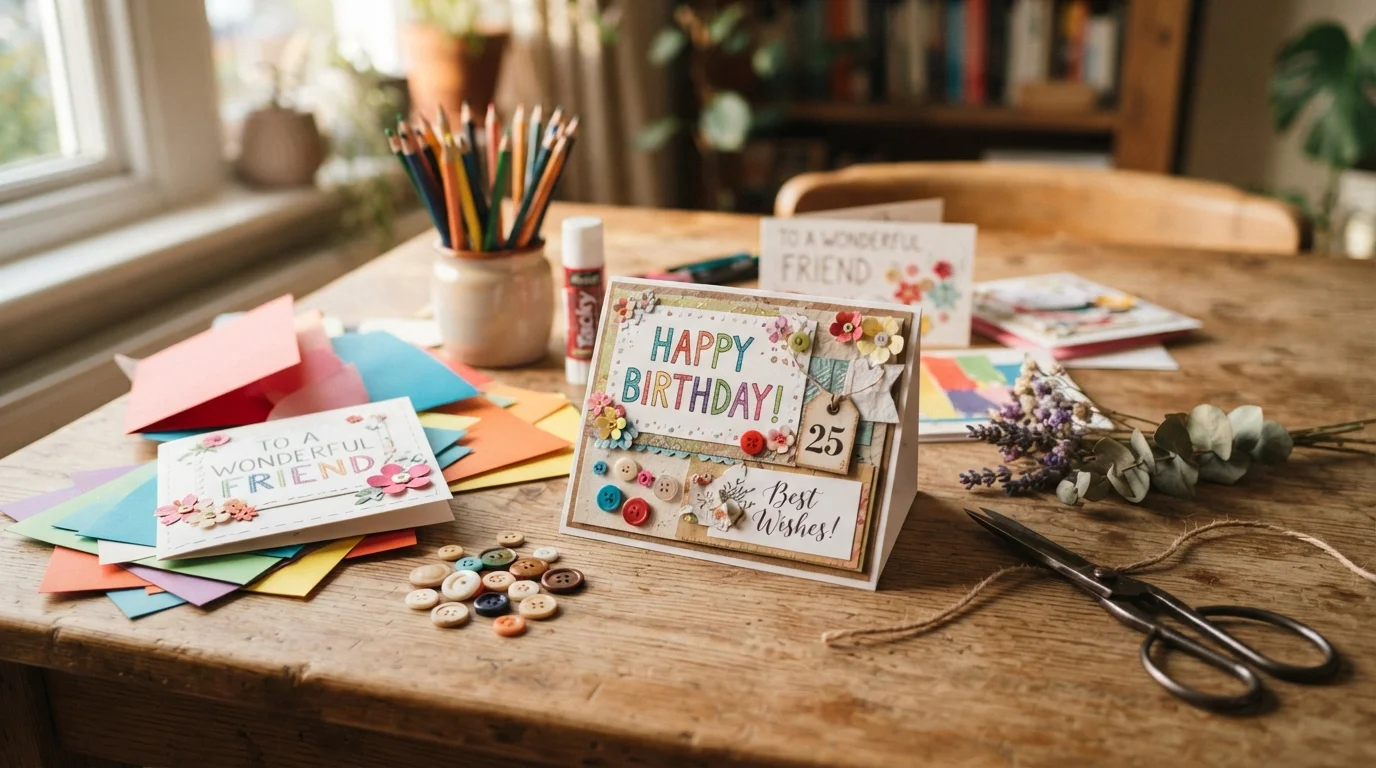
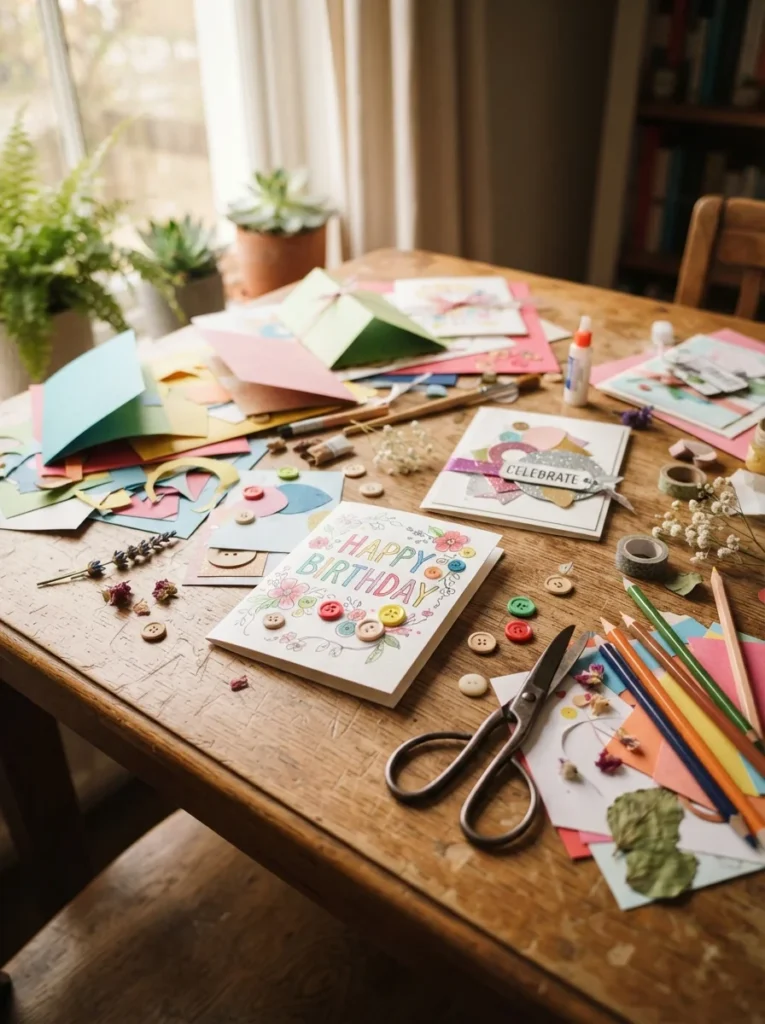
Making a birthday card by hand says more than any store-bought one ever could. It shows you spent real time thinking about someone. And the best part? You do not need fancy supplies or art skills. Paper, glue, and a few things already in your drawer can turn into something people keep for years. Below are 24 simple card ideas anyone can try. Each one is cheap, quick, and easy to make your own. Pick one that matches the person, grab your scissors, and start folding.
1. Pop-Up Balloon Card
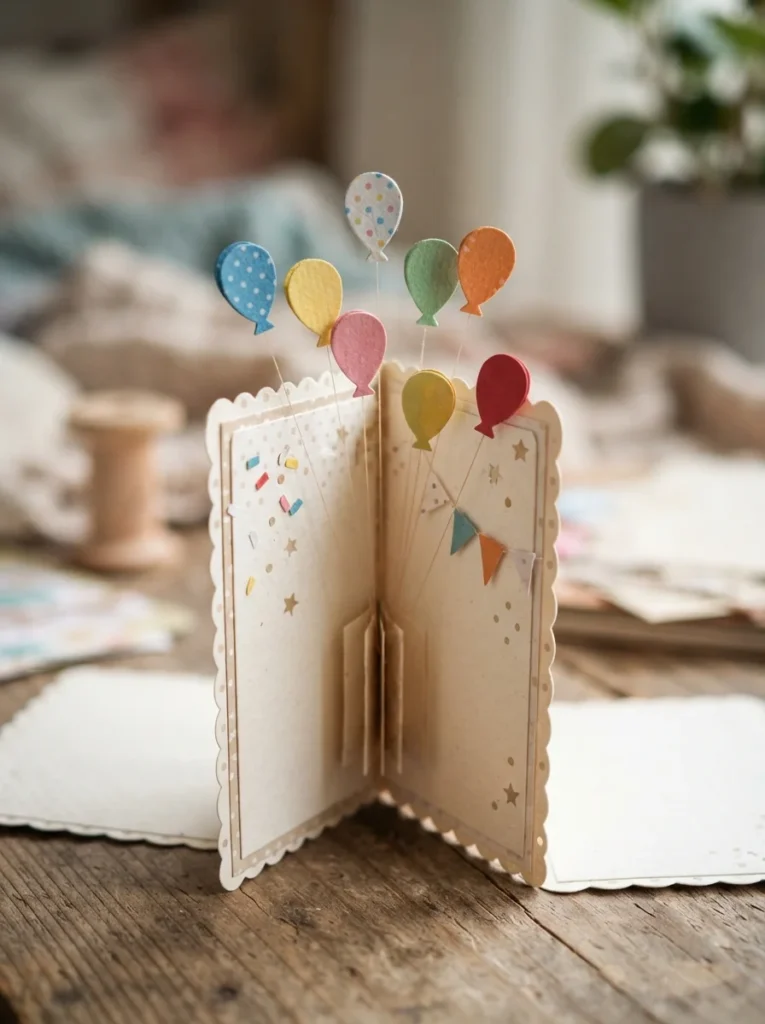
A pop-up balloon card looks tricky but takes ten minutes. Fold a sheet of cardstock in half. Cut small paper balloons from scraps in different colors.
Glue a thin folded paper strip behind each balloon. This makes them spring forward when the card opens. Attach the strips to the inside fold at slightly different heights.
Add thread strings with a fine pen. Draw a little basket or hands at the bottom if you like.
Budget tip:
- Old magazines and cereal boxes work great for the balloon shapes. You get free color and free sturdiness.
- Try mixing sizes. Big balloons in front, smaller ones behind, for a layered look.
- For a kid’s birthday, use bright primary colors. For an adult, stick to two soft tones like blush and gold.
- The pop-up effect surprises people every time. That small moment of movement makes the card feel alive.
- Keep the front simple. A single balloon and the person’s name is enough. Let the inside do the heavy lifting.
- Total cost stays under a dollar if you reuse paper you already have at home.
2. Watercolor Wash Card
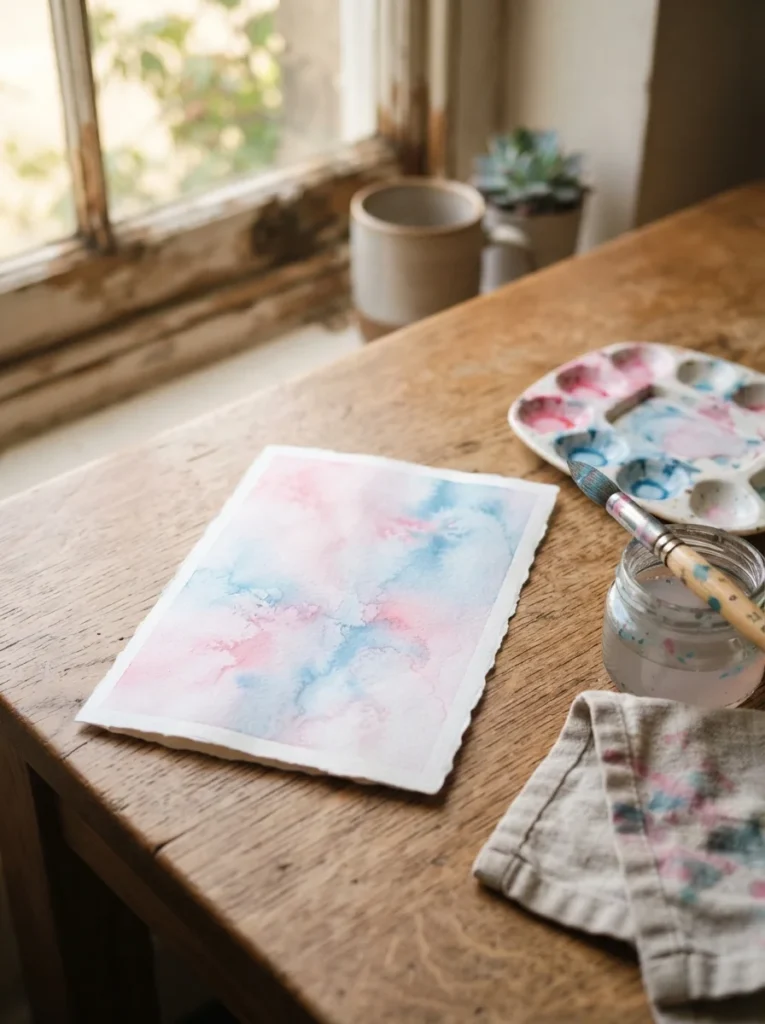
A watercolor wash turns plain paper into something soft and dreamy. You do not need to paint anything specific. The color itself is the art.
Wet a piece of thick paper with a clean brush. Then drop in two or three colors and let them blend on their own.
Tilt the paper gently. Watch the colors move and mix. Every card comes out different, which is the fun part.
Let it dry flat. Then fold it or glue it onto a folded base card.
Budget tip:
- No watercolor set? Mix a drop of food coloring with water. It works surprisingly well on paper.
- Cheap printer paper buckles when wet, so grab a few sheets of cardstock instead. Even one pad lasts for dozens of cards.
- Once dry, add a short handwritten message in white or gold pen. The contrast pops against the color.
- Soft pastels suit calm people. Bold sunset tones suit someone lively.
- This one is perfect if you feel nervous about drawing. There are no mistakes with a wash. It always looks good.
3. Pressed Flower Card
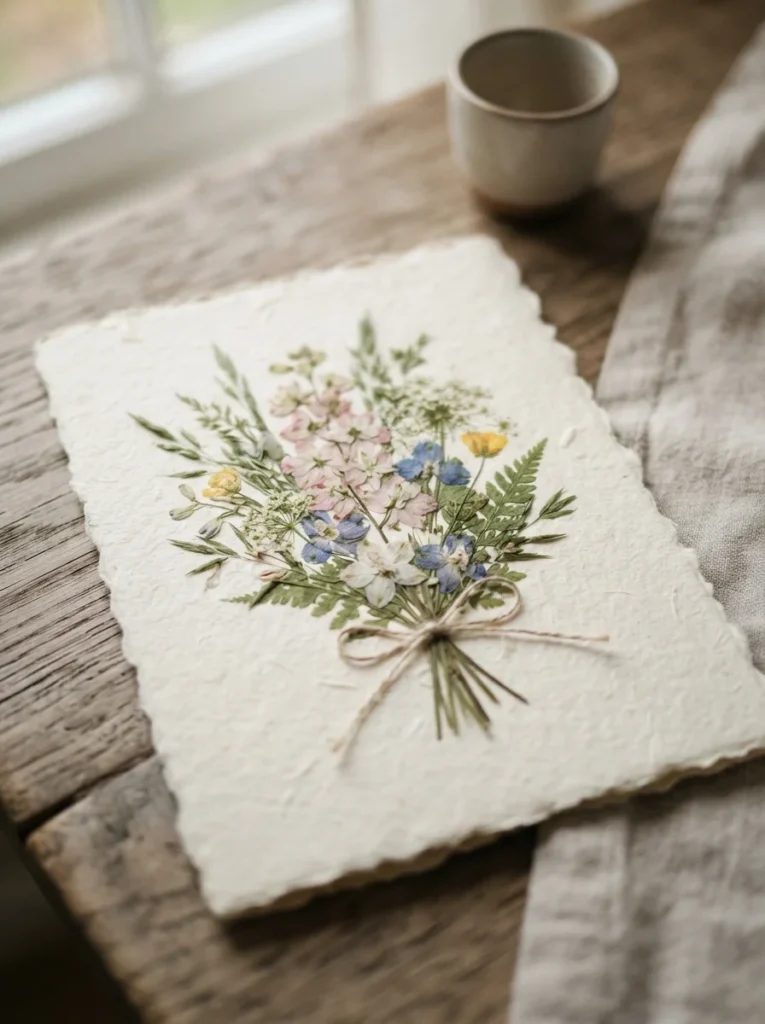
Pressed flowers give a card a natural, timeless feel. This one takes a little planning but almost no money.
Pick small flat flowers like pansies, daisies, or clover. Place them between two sheets of paper inside a heavy book.
Wait about a week. The flowers come out flat and dry, ready to use.
Arrange them on the front of a folded card. Play with the layout before gluing anything down.
Use a thin layer of white glue or a glue stick. Press each flower gently so it stays flat.
Budget tip:
- Flowers from your own garden or a walk cost nothing. Even weeds can look beautiful once pressed.
- Add a few dried leaves for a fuller look. Green stems make nice frames along the edges.
- Seal the flowers with a light coat of clear tape or glue if you want them to last longer.
- This card feels personal because you gathered the pieces yourself. It carries a bit of a real day in it.
- Keep the design open and airy. A few flowers say more than a crowded page.
4. Confetti Shaker Card
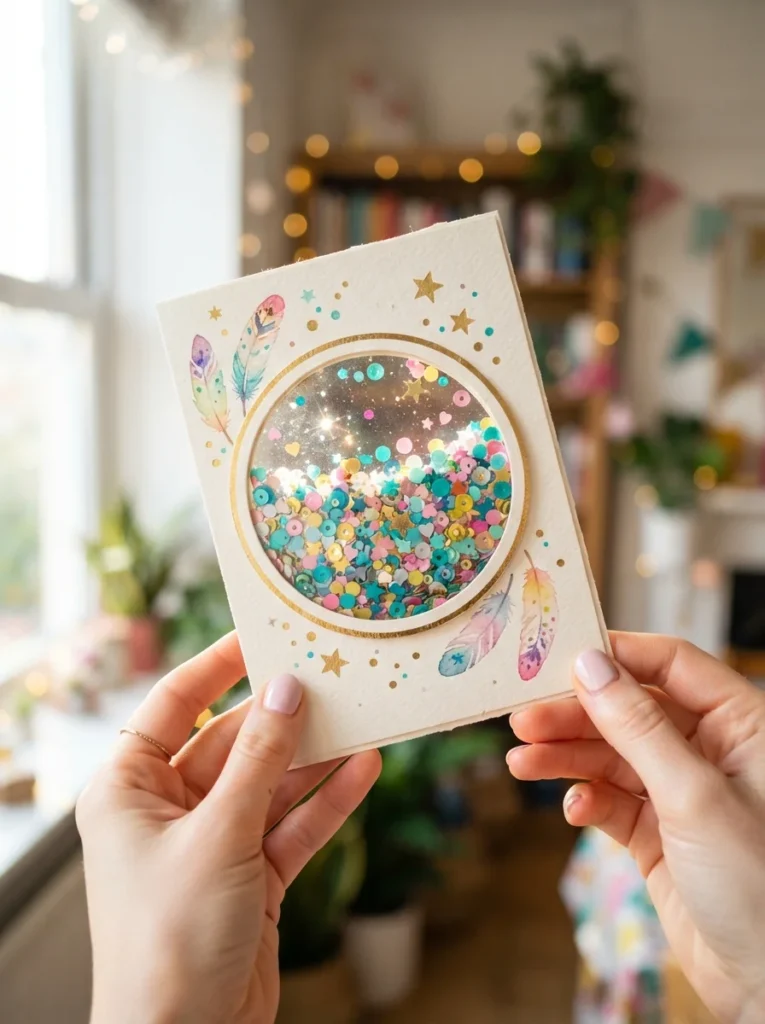
A shaker card hides a little surprise inside a clear window. Tilt it, and confetti dances around. Kids and adults both love it.
Cut a shape out of the card front. A circle, heart, or star works well.
Tape clear plastic behind the hole from the inside. A piece from old packaging is perfect.
Build a small foam or cardboard frame around the window. This creates a shallow pocket.
Drop in confetti, sequins, or tiny paper punches. Do not overfill it. Leave room to move.
Seal the back layer over the pocket. Now everything stays trapped but visible.
Budget tip:
- Make confetti by punching holes in scrap paper. A regular hole punch gives you free filler in any color.
- Old plastic from a snack box or bottle label works as the clear window. No need to buy sheets.
- Match the confetti color to the person’s favorite shade for a thoughtful touch.
- Write the birthday message around the window so the eye moves to the moving parts.
- It feels interactive, almost like a tiny toy. That playful motion sets it apart from a flat card.
5. Fingerprint Balloon Card
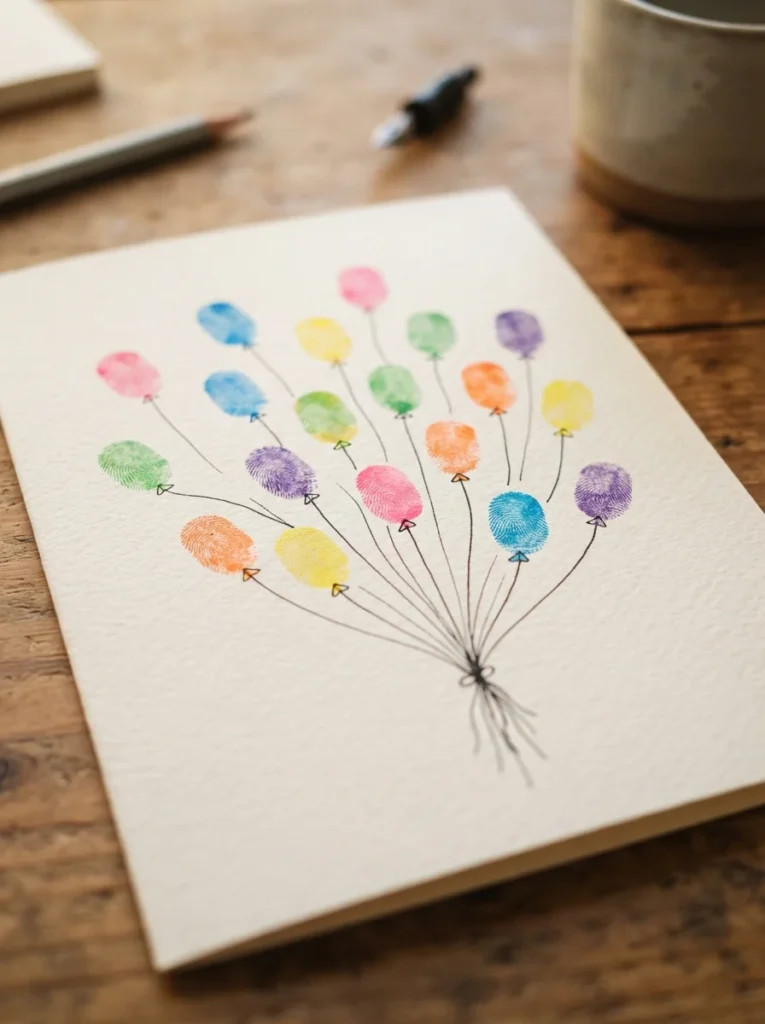
Fingerprint art is the easiest card idea here. It works for any age and needs almost nothing.
Press a fingertip onto an ink pad or a dab of paint. Then stamp it onto the card.
Each print becomes a little balloon. Draw thin strings underneath with a pen.
Cluster a few together for a bunch of balloons floating up one corner.
Budget tip:
- No ink pad? Press your finger onto a marker tip or a bit of paint on a plate. Both work fine.
- Kids love making these themselves. It turns card-making into a fun activity, not a chore.
- Use different colors for a rainbow effect. Or keep it to one shade for a cleaner look.
- Add tiny drawn details like a basket or a knot at the bottom of each balloon.
- Fingerprints also make cute animals, hearts, or flowers. The same trick covers many card themes.
- This idea shines for group cards too. Everyone adds a print and signs their name beside it.
- The result feels warm and personal. Real fingerprints carry a charm no printed design can copy.
6. Origami Cake Card
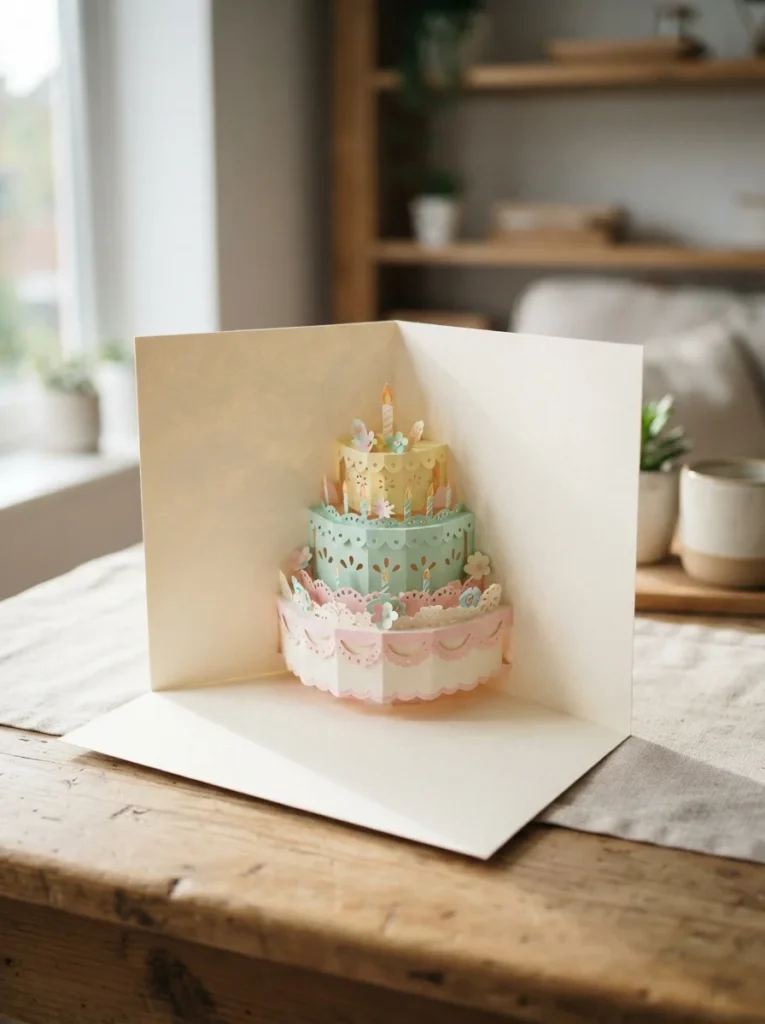
A tiny folded paper cake adds a sweet 3D touch. It looks like real effort but follows simple folds.
Cut two or three paper strips in different widths. Fold each into a flat box shape to form cake layers.
Stack them from widest at the bottom to smallest on top. Glue the layers together.
Add a thin paper candle with a small flame shape on top. A dot of yellow makes the flame glow.
Attach the whole cake to the inside of a folded card. It stands out when the card opens.
Budget tip:
- Scrap paper and old gift wrap give you free layers with fun patterns already on them.
- Draw little frosting drips along each layer with a white pen. Small dots become sprinkles.
- Keep folds sharp by pressing each crease with your thumbnail. Clean edges make it look neat.
- Match the paper colors to the party theme if there is one.
- This card works well flat too. Glue the cake to the front for a simpler version.
- The folded shape gives it a handmade, gift-like feel that people notice right away.
7. Photo Collage Card
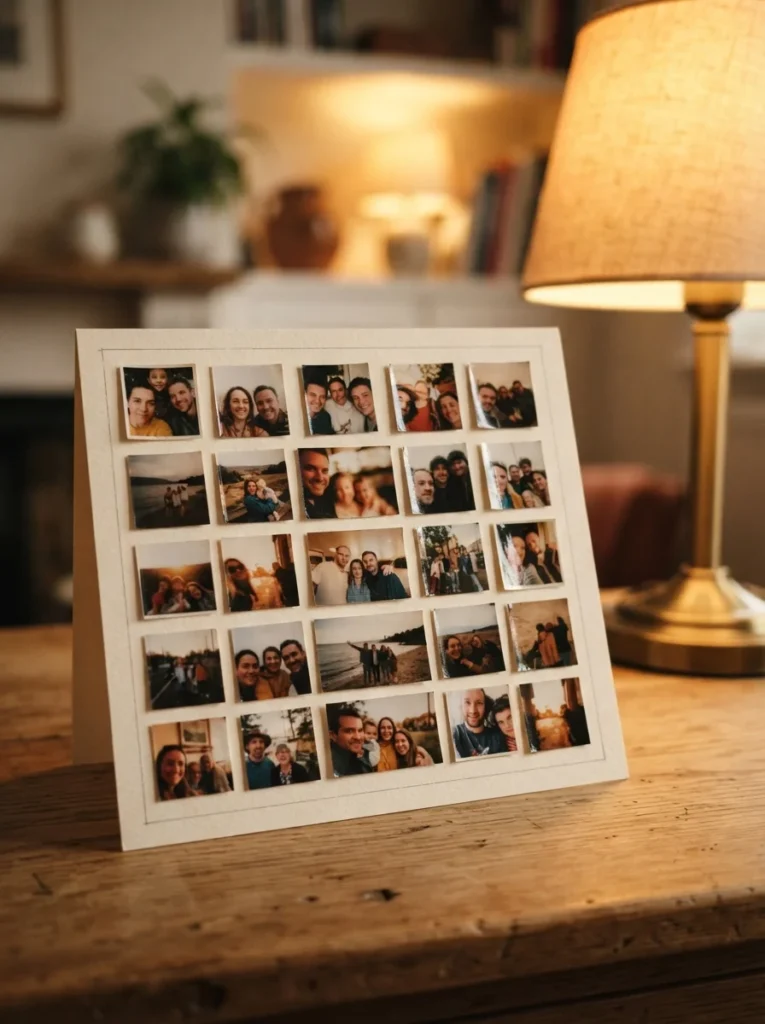
A photo collage card turns memories into the main gift. This one hits hard for close friends and family.
Print a few small photos of you and the birthday person. Phone photos printed small work perfectly.
Trim them into squares or circles. Arrange them on the card front before gluing.
Overlap the edges slightly for a scrapbook feel. Leave a little white space so it does not look crowded.
Glue each photo down flat. Press firmly so corners do not lift later.
Budget tip:
- Print photos cheaply at a pharmacy kiosk, or use an old printer at home. Even black-and-white looks classic.
- Add tiny drawn hearts or stars between the photos. A short caption under one adds a nice touch.
- Pick photos that tell a story. First trip, silly moments, or old memories mean the most.
- Inside, write about one of the pictured moments. That connection makes the card unforgettable.
- Frame the collage with washi tape or a drawn border to pull it together.
- This card costs little but feels priceless. Shared memories always beat anything from a store shelf.
8. Scratch-Off Card
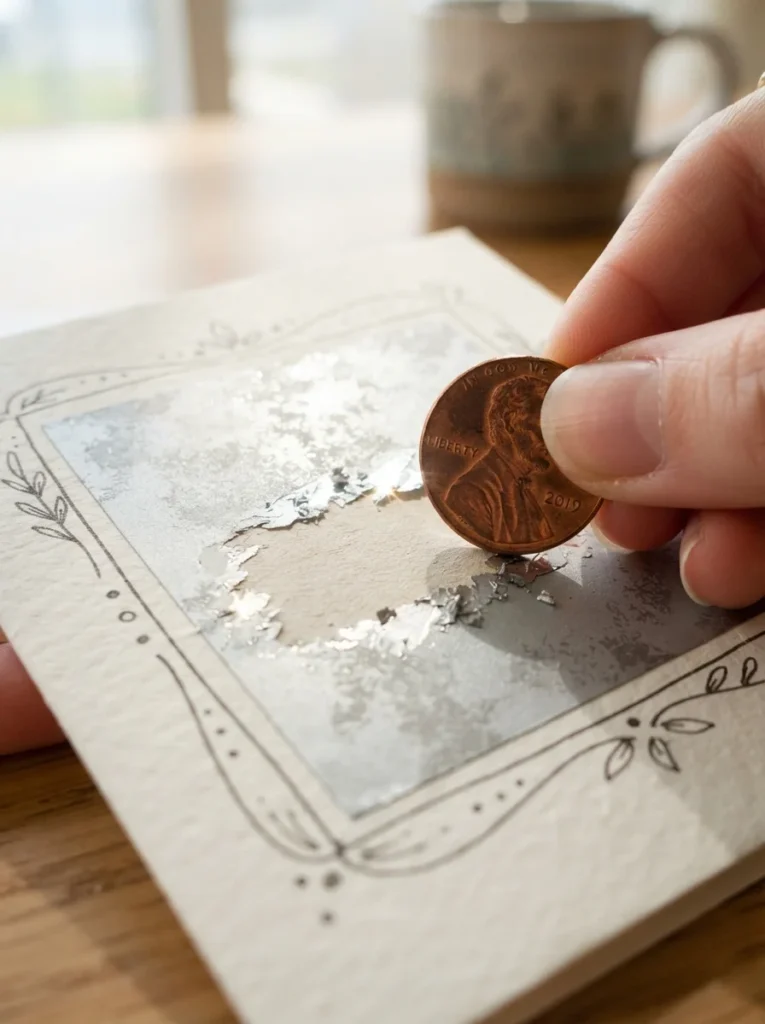
A scratch-off card hides a message under a coating you rub away. It feels like a lottery ticket, but personal.
Write your secret message on the card. Cover it with a piece of clear tape.
Mix a little dish soap into silver or metallic paint. About two parts paint, one part soap.
Paint this mix over the taped area. Let it dry fully.
Once dry, it scratches off with a coin, right over the tape, keeping your message safe underneath.
Budget tip:
- Metallic paint is cheap and lasts for many cards. One small bottle covers dozens of scratch panels.
- Hide a birthday wish, an inside joke, or a small gift reveal underneath.
- Draw a fun label near the panel, like a little arrow pointing to it. This invites the person to scratch.
- Test the mix on scrap paper first. If it does not scratch, add a touch more soap.
- Keep the panel small so it dries quickly and scratches cleanly.
- The reveal moment makes people smile. That bit of mystery turns a simple card into a small game.
9. Washi Tape Stripe Card
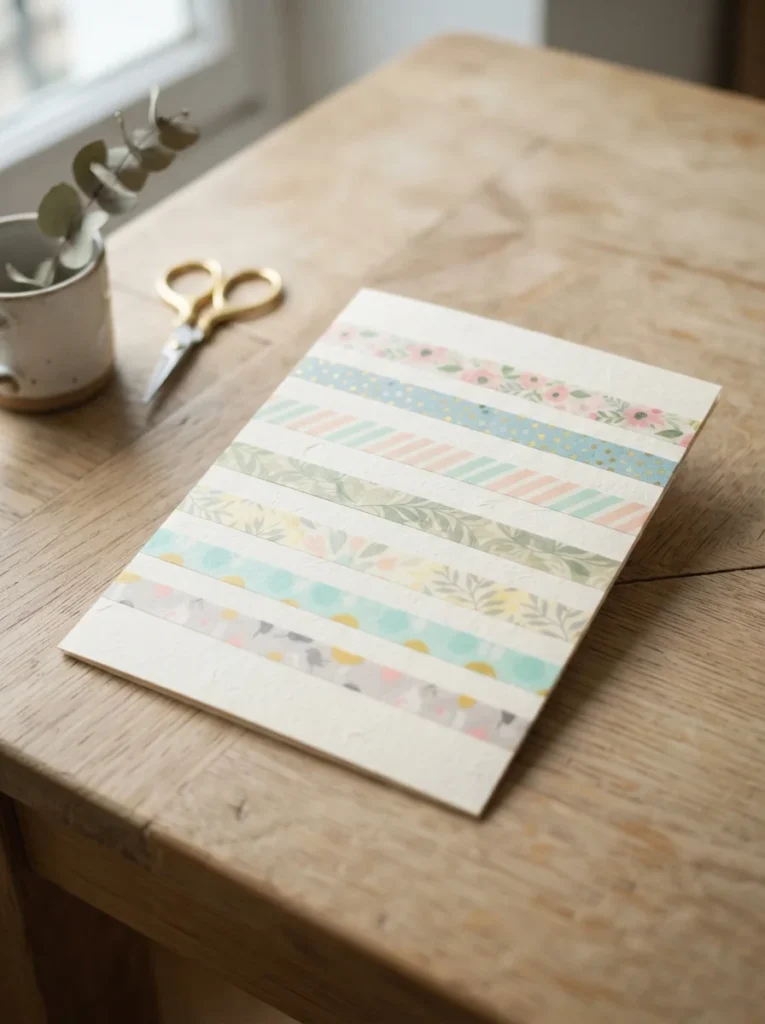
Washi tape makes clean, colorful cards in seconds. No drawing skill needed at all.
Lay strips of patterned tape across a plain card. Keep them straight and parallel for a modern look.
Trim the edges with scissors so the tape sits flush with the card sides.
Mix patterns and solids together. Two or three colors keep it balanced, not busy.
Leave a white gap in the middle for the birthday message.
Budget tip:
- One roll of washi tape lasts through many cards. Buy a small pack of mixed rolls and you are set for months.
- Try diagonal stripes for a different feel. Or make a small triangle flag banner across the top.
- Peel and reposition the tape if you place it wrong. It lifts easily without tearing the paper.
- Add a few pen dots or tiny stars between the stripes for detail.
- This idea suits people who want something quick but still cute. It always looks put together.
- Layer a small paper shape on top, like a balloon or heart, to anchor the design.
- Clean lines and pretty patterns do all the work here. Simple, fast, and cheap.
10. Button Balloon Card
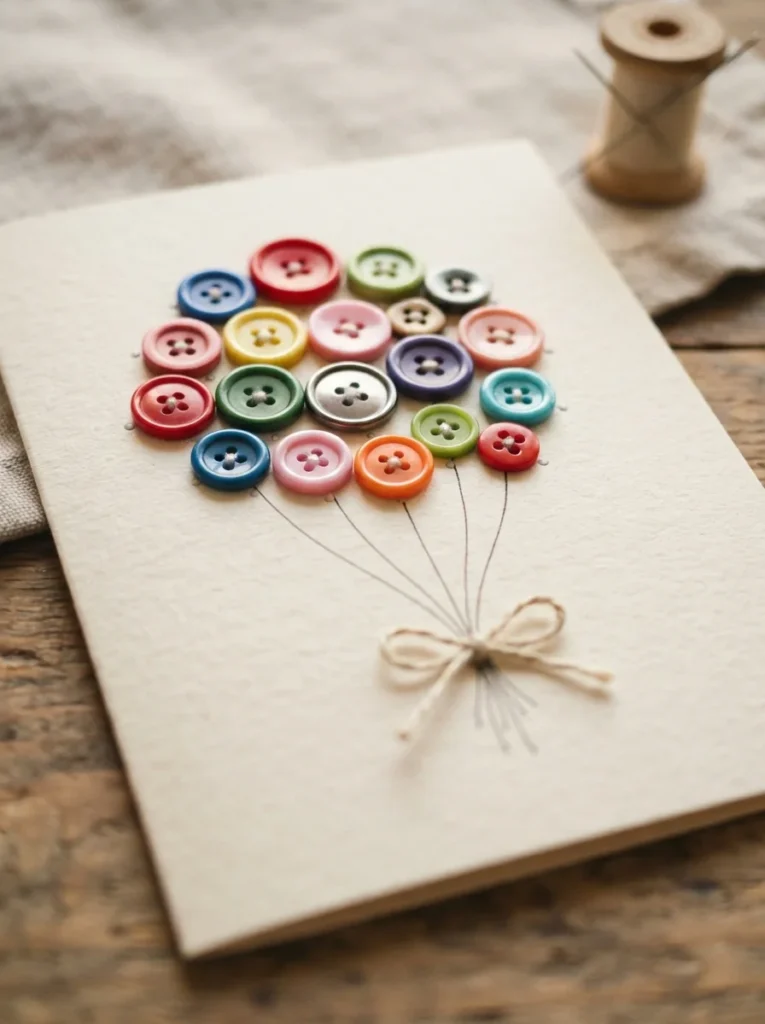
Buttons add texture and a little pop of dimension. This card turns a spare button jar into art.
Glue small buttons onto the card in a cluster. Each one becomes a balloon.
Draw thin strings from each button down to one point, like a held bunch.
Mix button sizes and colors for a lively look. Or match colors for something calmer.
Use strong craft glue so the buttons stay put. Press each one down for a few seconds.
Budget tip:
- Old shirts and thrift-store finds give you free buttons in every color. Check that junk drawer too.
- Buttons also work as flower centers, wheels, or tiny faces. The same jar covers many designs.
- Add drawn details around them. A little basket under the button balloons finishes the scene.
- Keep the layout tidy. A few well-placed buttons beat a crowded pile.
- For a raised card front, this texture feels great in the hand. People want to touch it.
- Let the buttons dry fully before mailing or gifting. Loose ones ruin the effect.
- This card feels crafty and warm. Reused buttons carry a bit of old charm with them.
11. Cardboard Cutout Card
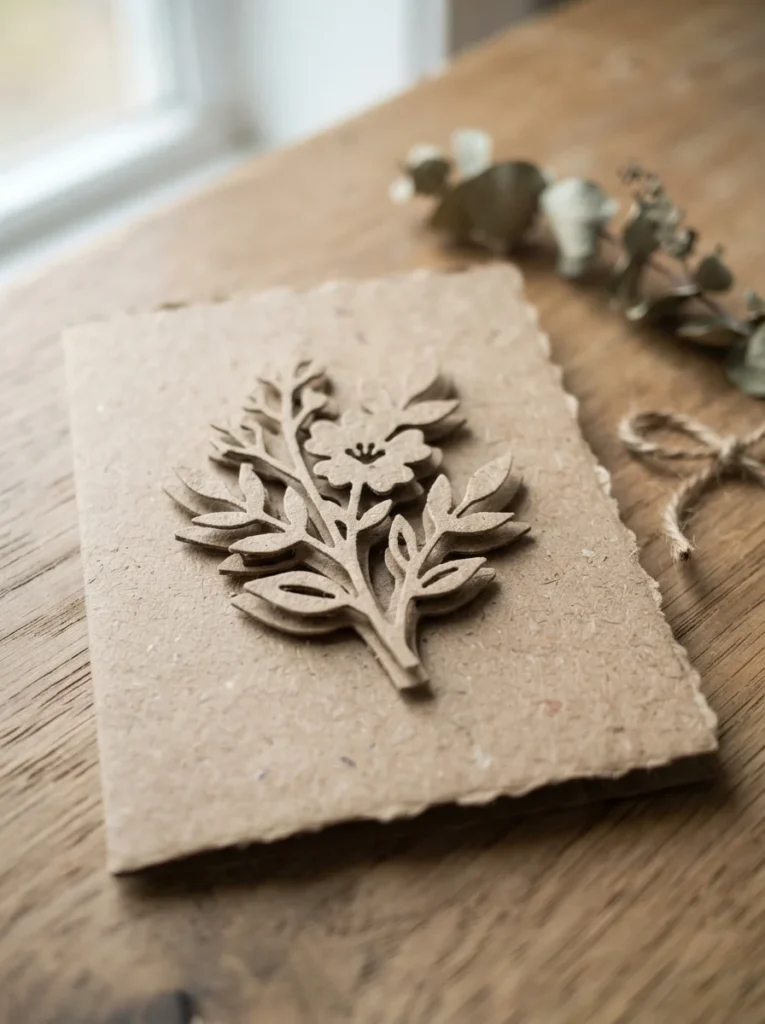
Cardboard makes surprisingly stylish cards. It costs nothing and feels sturdy and modern.
Cut a card base from a clean cardboard box. Fold it in half for a rustic kraft look.
Cut a shape from more cardboard. A number, letter, or simple icon works well.
Glue the shape onto the front, slightly raised on foam bits for a 3D effect.
Leave the natural brown color, or paint the cutout in one bold shade.
Budget tip:
- Delivery boxes give you endless free material. You likely have some in the recycling right now.
- The rough kraft texture pairs nicely with clean white or gold accents.
- Cut the birthday person’s age as a big number on the front. Simple and clear.
- Add a small painted or drawn detail to break up the brown. A dot of color goes far.
- Cardboard holds up well in the mail too. It does not bend or crush easily.
- Keep cuts clean with a sharp blade and a ruler. Neat edges make it look intentional.
- This card feels earthy and handmade. That natural, recycled vibe suits people who like simple, honest things.
12. Recycled Magazine Card
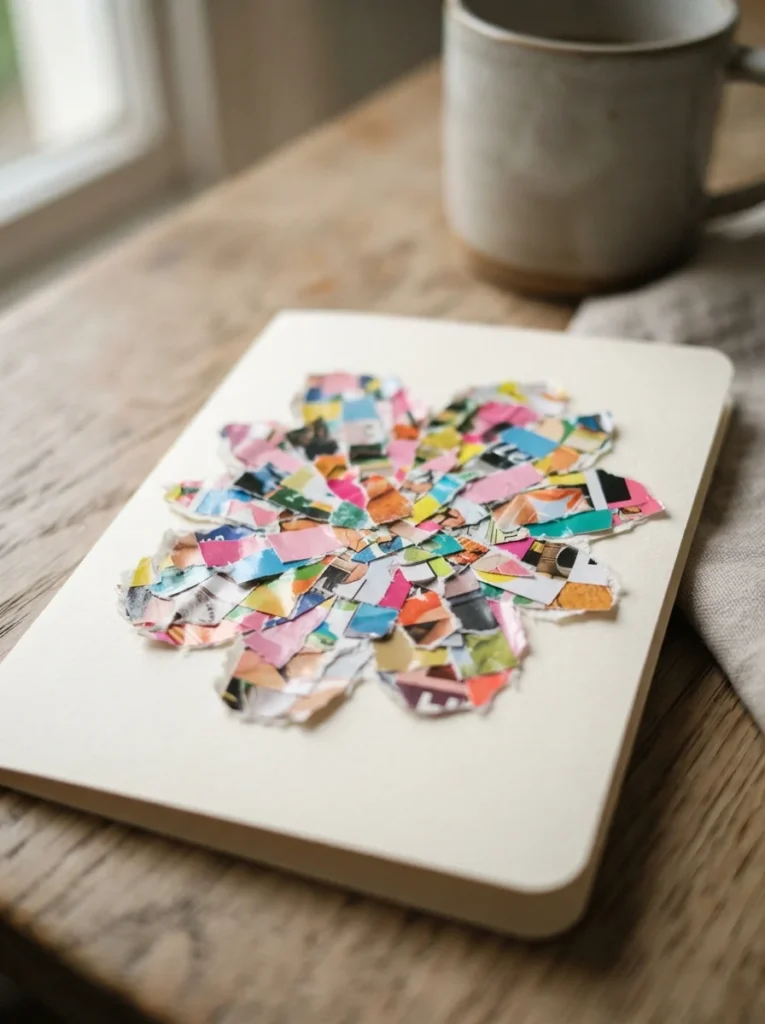
Old magazines hide a rainbow of free color and pattern. Turn them into a fun collage card.
Flip through and tear out pages with colors or textures you like. Solid color blocks work best.
Cut or tear the pieces into shapes. A balloon, cake, or heart made from magazine bits looks great.
Arrange the pieces on your card. Layer them for depth before gluing.
Glue each piece flat with a glue stick. Press out any air bubbles.
Budget tip:
- Free magazines from waiting rooms or your own recycling pile cost nothing at all.
- Mix glossy and matte pages for contrast. Text pages add a fun busy background.
- Cut letters from headlines to spell a short word, like a ransom-note style greeting.
- Keep the shapes simple so the collage reads clearly from a distance.
- Seal the front with a light coat of glue or clear tape for a smooth finish.
- This card feels artsy and one-of-a-kind. No two ever come out the same.
- Upcycling old paper also feels good. You made something nice from something headed for the bin.
13. Chalkboard-Style Card
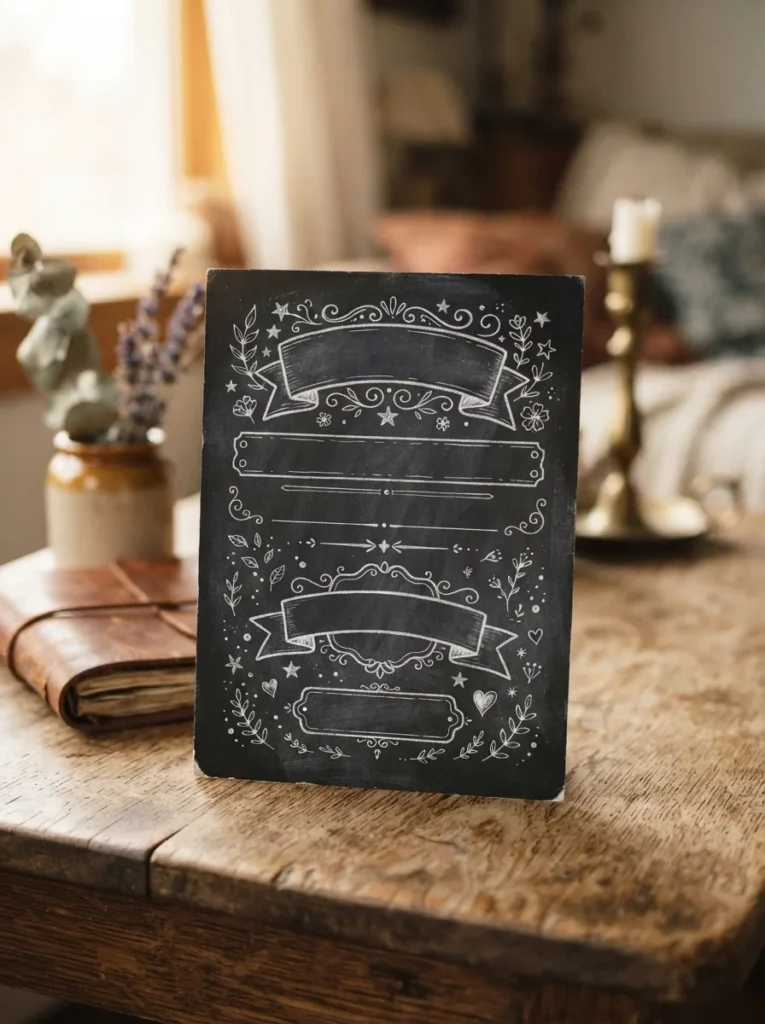
A chalkboard card has a cozy, hand-lettered charm. You get that café-sign look at home.
Paint a card front with chalkboard paint, or use plain black cardstock instead. Both work.
Once dry, write your message with a white gel pen or a chalk marker. It mimics real chalk.
Add little doodles around the words. Stars, swirls, or a tiny cake fit the theme.
Keep your lettering loose and fun. Perfect handwriting is not the goal here.
Budget tip:
- Black cardstock and one white pen cost very little and make dozens of cards.
- Smudge a little real chalk on the edges for a worn, authentic feel.
- This style suits birthday quotes and short messages. The dark background makes white pop.
- Try mixing print and cursive for that menu-board look.
- Practice your design on scrap black paper first. It builds your confidence.
- Add a small drawn frame around the message to pull it together.
- This card feels warm and personal. The handmade lettering carries a charm that printed fonts miss.
- Simple tools, big impact. That is what makes it a favorite.
14. Pull-Tab Surprise Card
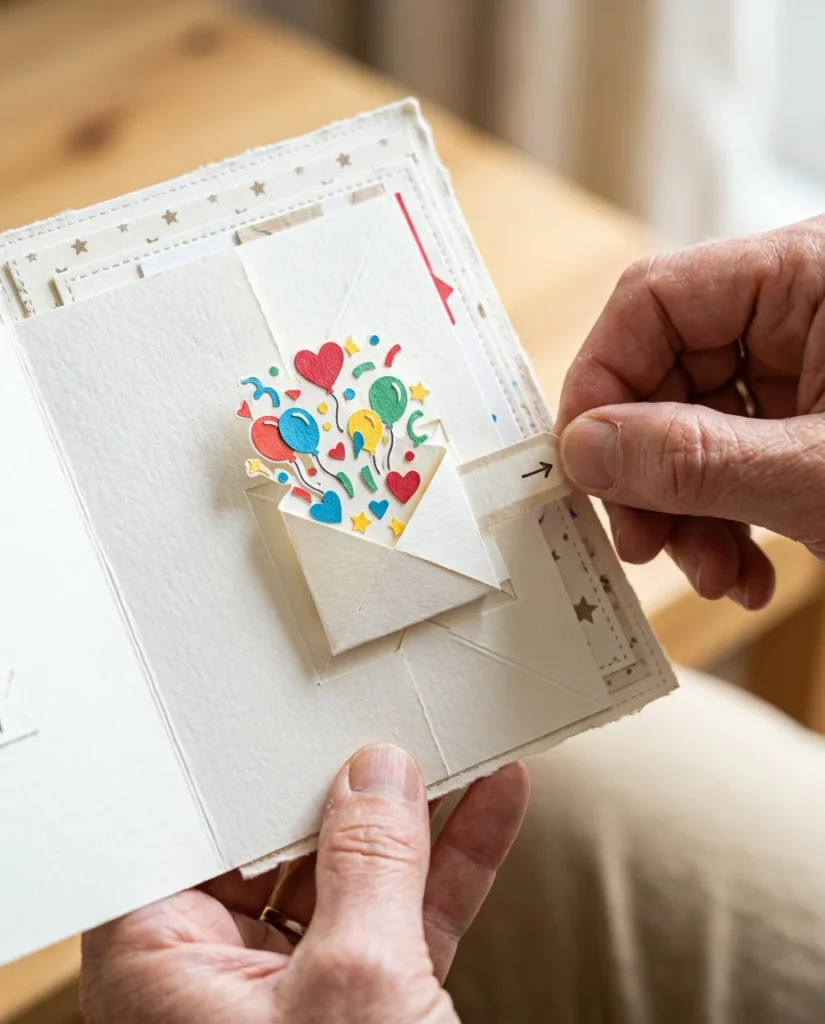
A pull-tab card hides a message that slides into view. It feels like magic but uses basic paper folds.
Cut a slot in your card front. Slide a paper strip through it from behind.
On the hidden end of the strip, draw or write a surprise. On the visible end, add a small tab to pull.
When someone pulls the tab, the hidden message appears through the slot. Simple and fun.
Add a track from folded paper on the back so the strip slides smoothly and stays in place.
Budget tip:
- All you need is scrap paper and glue. No special supplies at all.
- Draw a little arrow or hand near the tab so people know to pull it.
- Hide a joke, a wish, or a tiny drawing for the reveal.
- Test the slide a few times. Trim the strip if it sticks.
- Keep the slot straight and just wide enough for the strip.
- This interactive touch makes people play with the card, not just read it.
- That small bit of movement turns a flat greeting into a tiny experience. Cheap, clever, and memorable.
15. Stitched Thread Card
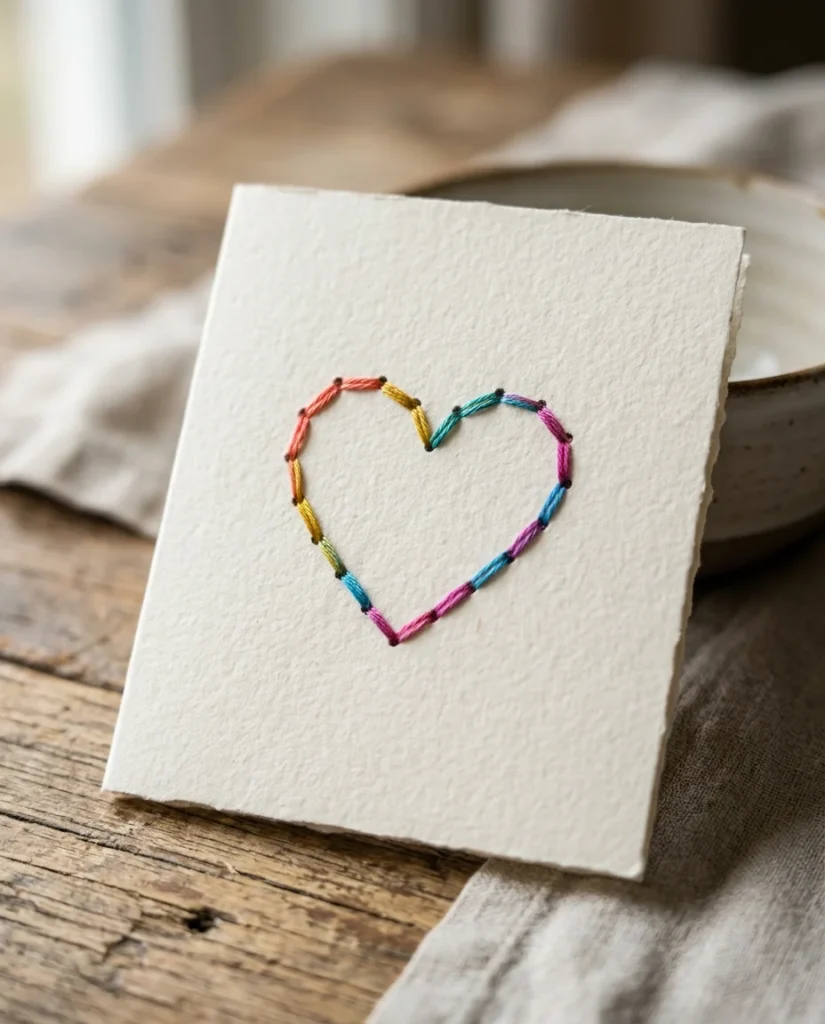
Sewing on paper sounds odd, but it makes beautiful cards. The thread adds real texture and color.
Draw a simple shape on the card, like a heart, star, or the person’s age.
Poke small holes along the outline with a needle or pin. Space them evenly.
Thread a needle and stitch through the holes, following the shape. Backstitch keeps the line solid.
Tie off the thread on the back and tape the ends down.
Budget tip:
- Leftover sewing thread and an old needle cost nothing. Even embroidery floss scraps work.
- Use bright thread against a plain card for a bold pop. Or match tones for a soft look.
- Try simple straight-line shapes first. Curves take a bit more patience.
- Fill a shape completely with stitches for a solid, filled effect.
- Keep your stitches snug but not so tight they tear the paper.
- This card feels crafted and delicate. The raised thread invites a closer look.
- Handmade stitching carries a slow, careful charm. People sense the time you put in.
- It works for many themes too, not just birthdays. A handy skill to keep.
16. Handprint Card
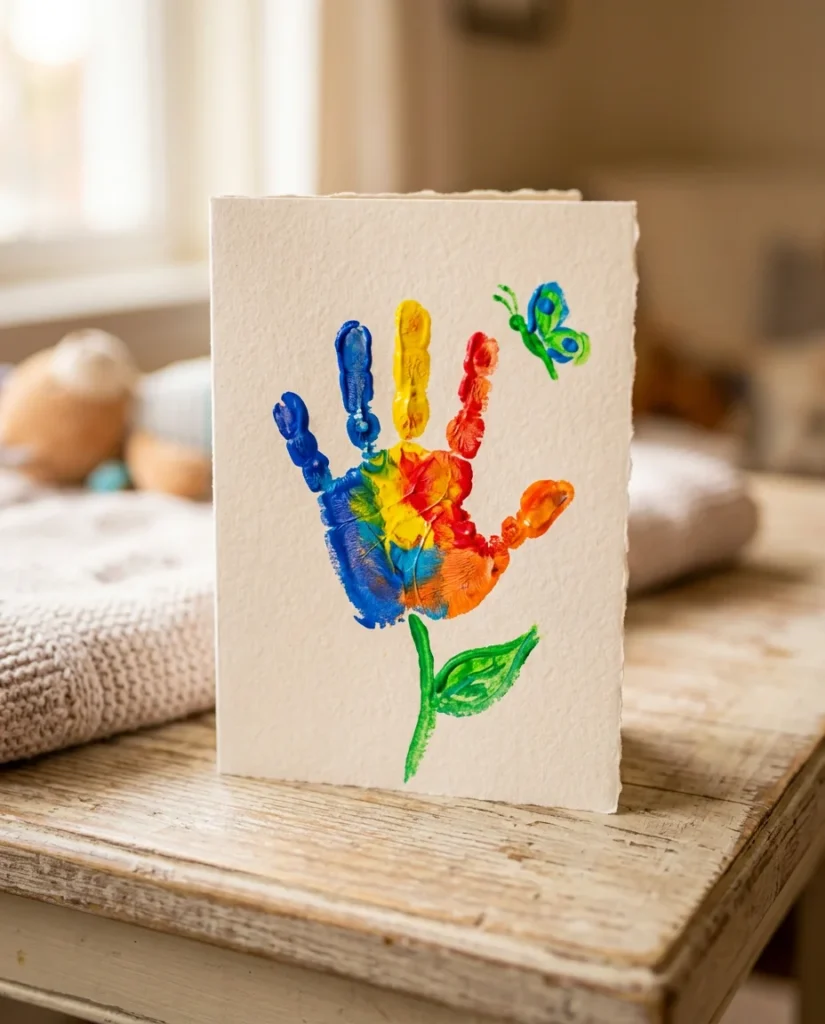
A handprint card is pure heart, especially from a child. It captures a moment that changes fast.
Coat a hand in a thin layer of paint. Press it firmly onto the card, then lift straight up.
The print becomes the base. Add drawn details to turn it into something fun.
A handprint makes a great peacock, tree, or bunch of balloons. Fingers become branches or feathers.
Let it dry fully before adding pen details on top.
Budget tip:
- Any washable kids’ paint works. One small set lasts through many crafts.
- Write the child’s name and age next to the print. Years later, that tiny hand means everything.
- For grandparents, this card lands harder than anything from a store.
- Keep a wet cloth nearby for quick cleanup. Small hands get messy fast.
- Try different colors for each finger for a rainbow effect.
- Press gently and evenly so the whole palm prints clearly.
- This card doubles as a keepsake. It records a real size, a real day, a real little hand.
- Simple, cheap, and deeply personal. That mix is hard to beat.
17. Money Holder Card
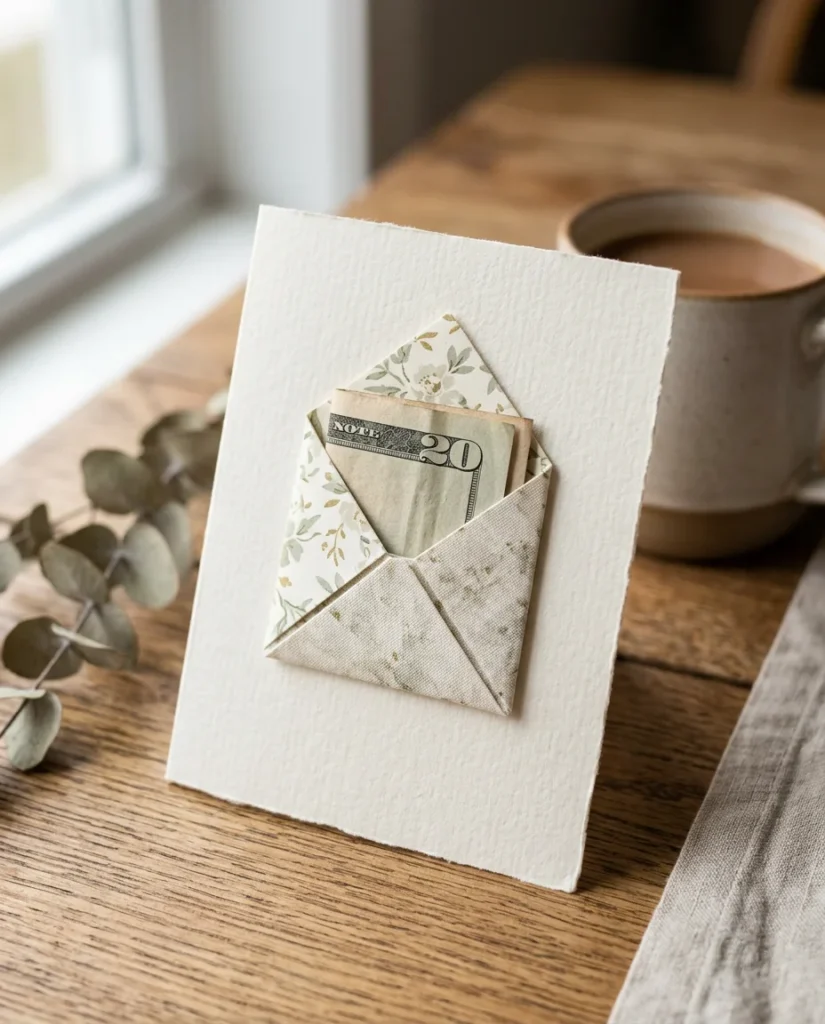
A money holder card solves the classic cash-gift problem. It makes money feel thoughtful, not lazy.
Fold a small pocket from paper and glue it inside the card. Leave the top open.
Slide a folded bill or gift card into the pocket. It stays hidden until opened.
Decorate the front so the card feels like the real gift, not just a wrapper.
Add a fun reveal, like a drawn wallet or a little envelope flap over the pocket.
Budget tip:
- The card itself costs pennies. You control the gift amount inside, big or small.
- Cut the pocket into a fun shape, like a shirt with the bill as a tie. Playful folds impress people.
- Write a short note above the pocket so the card still carries your words.
- Make the pocket snug so the money does not fall out in the mail.
- For teens, cash is often the best gift. This card makes it feel personal.
- Try a pull-out tab so the money slides out with a small pull.
- This card is practical and kind. It respects that sometimes cash is exactly what someone wants.
18. Accordion Photo Card
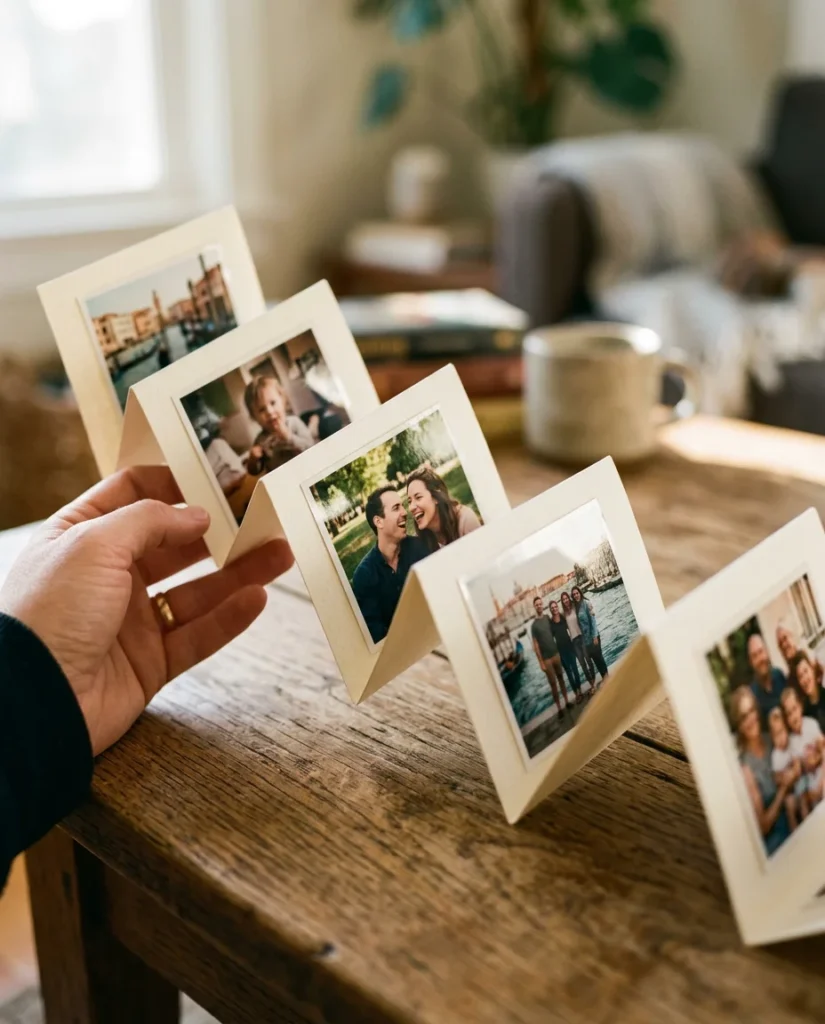
An accordion card unfolds into a little photo strip. It packs many memories into one small card.
Cut a long paper strip. Fold it back and forth into even accordion pleats.
Glue a small photo or drawing on each panel. They appear one by one as it stretches open.
Add short captions under each photo. A tiny story unfolds as the reader pulls it out.
Attach the folded strip inside a card cover so it stays neat when closed.
Budget tip:
- Print photos small and cheap, or draw simple sketches instead. Both keep costs near zero.
- Order the photos to tell a timeline. Baby photo to now, or a shared trip start to finish.
- Keep panels the same size so the folds line up cleanly.
- Tie a small ribbon around the closed card to hold the accordion in.
- This format works for milestone birthdays especially. A decade in a few folds hits hard.
- Press each crease firmly so it folds flat and opens smooth.
- This card feels like a tiny gift book. The reveal of each panel keeps people engaged.
- Compact, personal, and full of memories. A lovely low-cost idea.
19. Potato Print Card
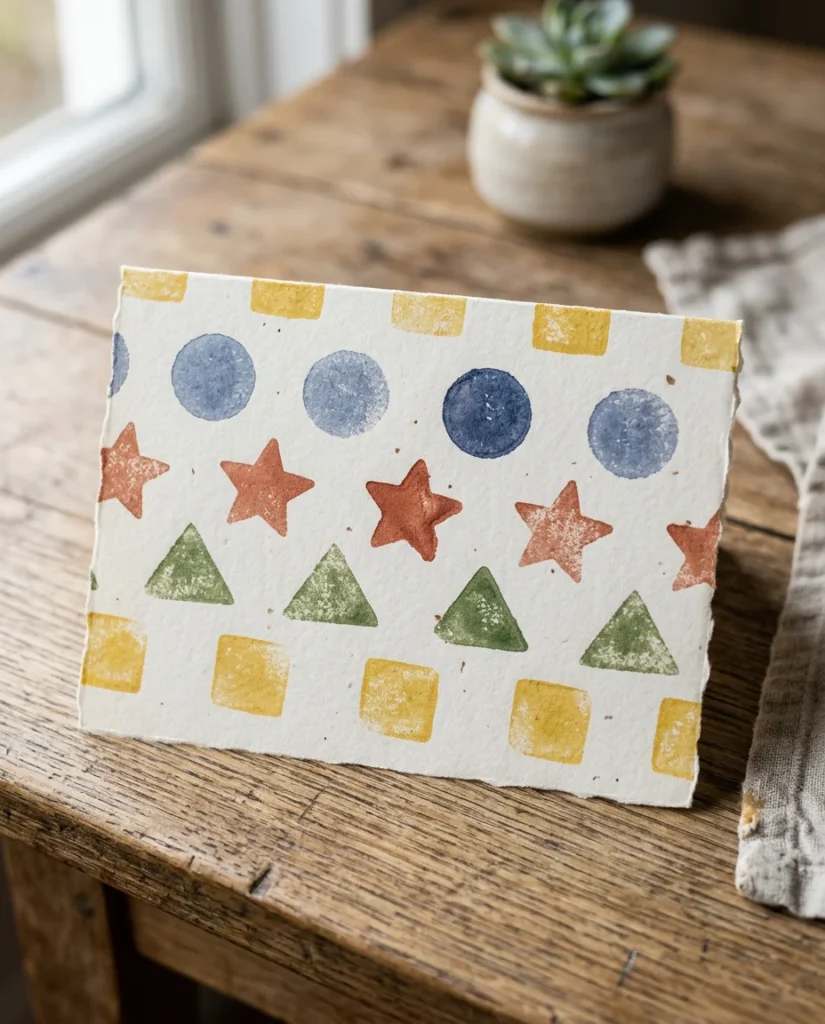
Potato printing is an old trick that still charms. It turns a spare spud into a stamp.
Cut a potato in half. Carve a simple shape into the flat side, like a star or heart.
Dip the carved side in paint. Press it onto the card. Repeat for a pattern.
The prints come out slightly rough, which adds handmade character.
Space the stamps in rows or scatter them freely across the front.
Budget tip:
- One potato and a bit of paint cost almost nothing. You probably have both already.
- Use different shapes on different potato halves for variety.
- Let each color dry before layering another on top.
- Blot the potato on scrap paper first to remove extra paint. This gives cleaner prints.
- Simple shapes carve easiest. Keep the design bold and chunky.
- Kids love this one. It feels like play, and the mess washes off easily.
- Add a drawn detail over the prints once dry, like strings on balloon stamps.
- This card feels rustic and fun. The soft, imperfect prints give it real handmade warmth.
- Cheap, easy, and open to endless patterns.
20. Vintage Coffee-Stain Card
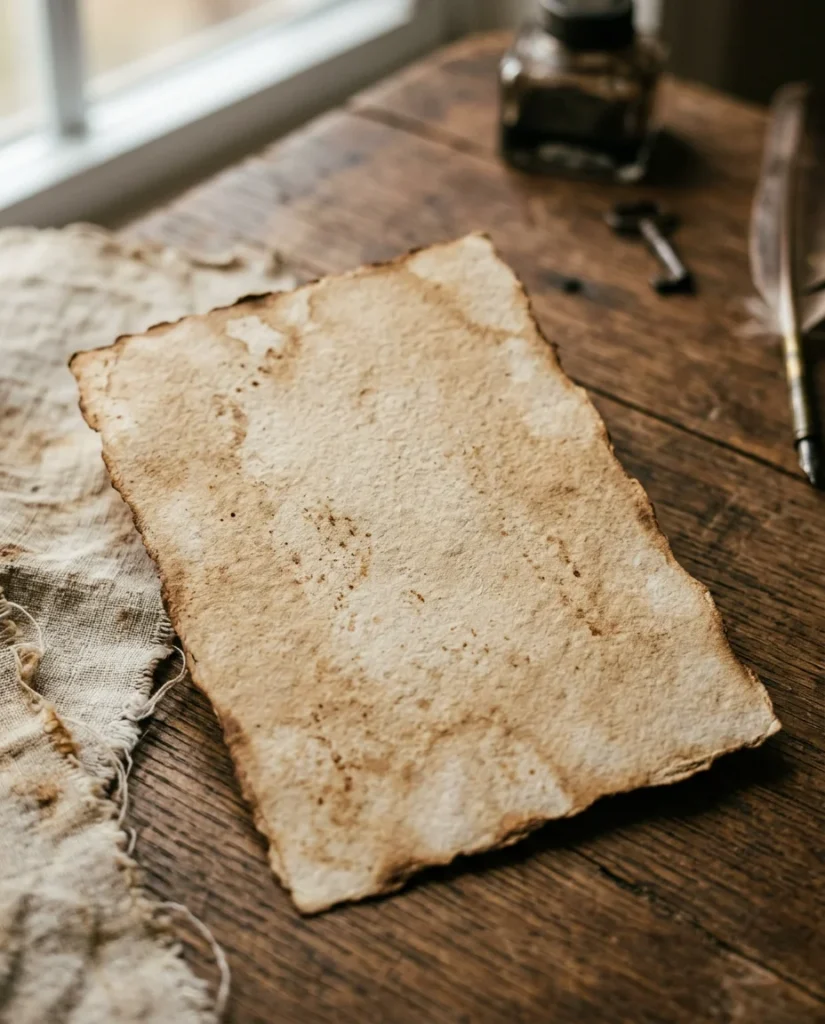
A coffee-stained card gets an instant vintage, old-letter feel. It looks like it traveled through time.
Brew coffee or steep a tea bag. Let it cool a little.
Brush or dab it onto plain paper. Let some spots darken more than others for a natural look.
Dry the paper flat, or bake it briefly on low heat for a faster aged finish.
The result is warm sepia paper that feels antique.
Budget tip:
- Leftover coffee or a used tea bag costs nothing. This idea uses actual kitchen scraps.
- Burn or tear the edges slightly for an old-map effect. Be careful with any flame.
- Write your message in dark ink for that handwritten-letter charm.
- Add a small wax-style seal drawn or made from red paper.
- This style suits history lovers, writers, and anyone who likes old things.
- Let the paper dry fully before folding. Damp paper tears easily.
- Roll it like a scroll and tie it with string for extra effect.
- This card feels rich and storied for almost no cost. Ordinary paper becomes something with a past.
- Simple kitchen magic, real charm.
21. Felt Cutout Card
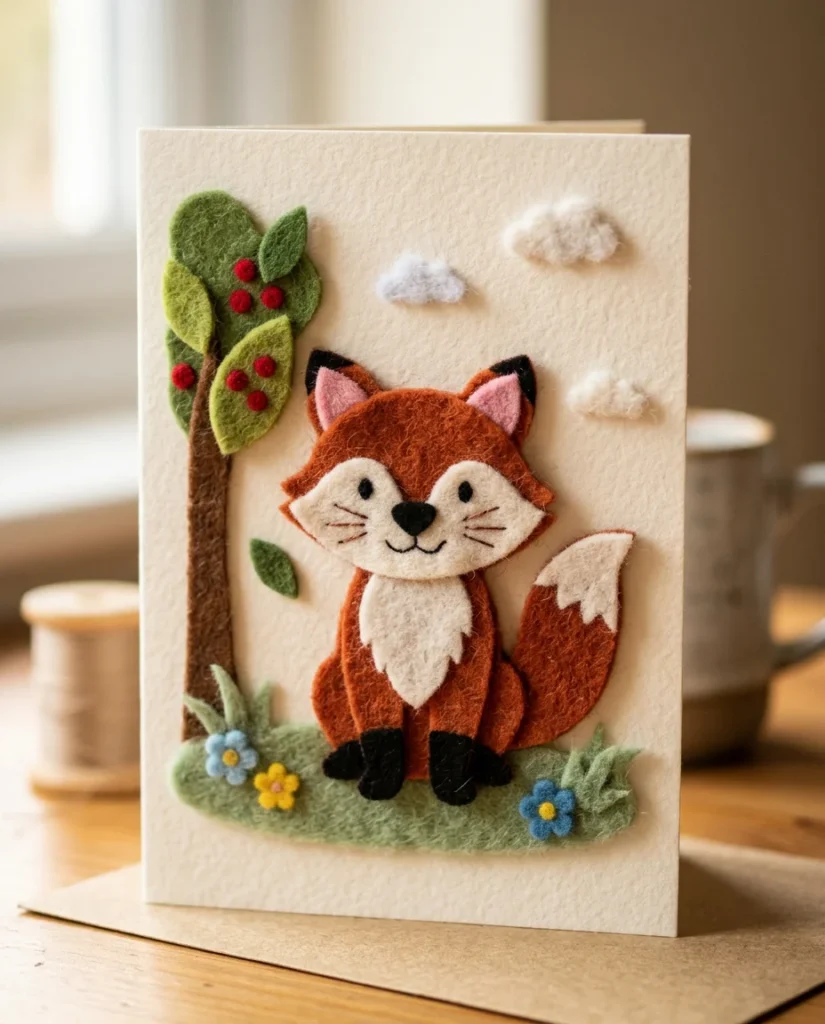
Felt adds softness and cozy texture no paper can match. These cards feel nice to hold.
Cut simple shapes from felt scraps. A balloon, heart, or cake shape works well.
Glue the felt pieces onto the card front. Layer them for depth and fun.
Felt hides messy cuts well, so this one forgives shaky scissors.
Mix bright felt colors for a cheerful, plush look.
Budget tip:
- Felt scraps are cheap, and small sheets stretch across many cards. Old felt crafts can be cut up too.
- Add drawn details with a marker on top of the felt. Simple lines read clearly.
- Use fabric glue or strong craft glue so the felt sticks well.
- Stack felt layers for a soft 3D effect that stands off the card.
- This texture makes the card feel like a small gift on its own.
- Keep shapes chunky and simple. Tiny felt bits are fiddly to cut.
- Felt suits kids’ cards especially. The soft, bright pieces feel toy-like and friendly.
- Let the glue dry fully so nothing peels later.
- This card stands out by feel, not just look. That cozy texture makes it memorable.
22. Comic Strip Card
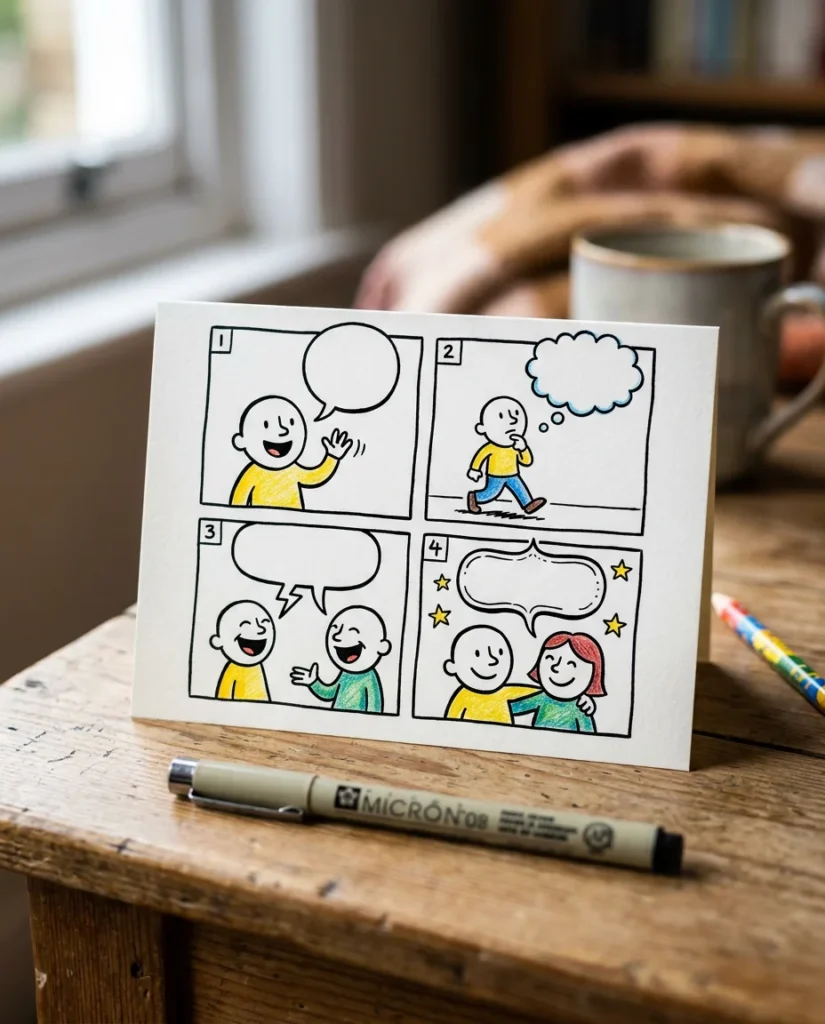
A comic strip card turns a birthday wish into a tiny story. It is fun to make and read.
Divide the card front into a few boxes with a ruler and pen.
Draw a simple stick-figure story across the panels. It builds to a birthday punchline.
Add empty speech bubbles to fill with your message inside each box.
Stick figures work great. You do not need real drawing skill for this.
Budget tip:
- Just paper and a pen. This is one of the cheapest ideas here.
- Base the story on an inside joke or something the person actually did. Personal humor lands best.
- Keep each panel simple. One idea per box keeps it clear.
- Use bold outlines so the drawing reads well from a distance.
- Add a little color with markers if you want more pop.
- Number the panels so the reader follows the right order.
- This card makes people laugh, which any birthday can use.
- A homemade comic feels personal and effortful in the best way.
- Fun to draw, fun to open. That two-way joy is hard to buy in a store.
23. Kraft Bag Card
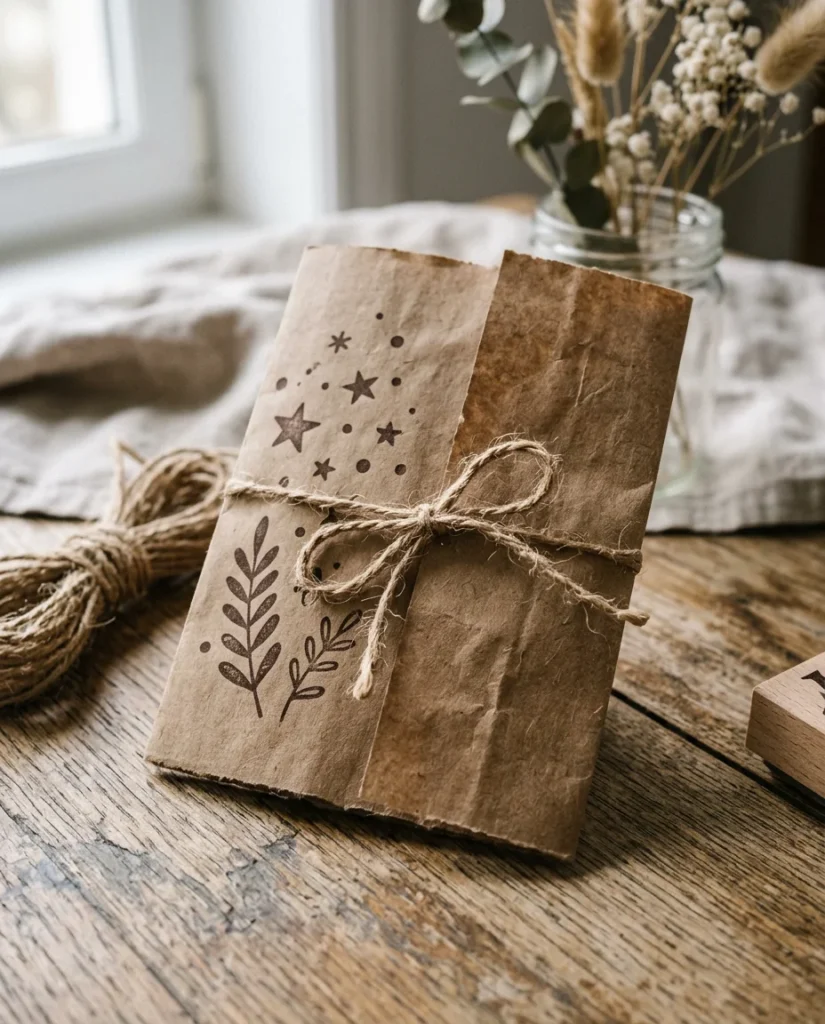
A brown paper bag becomes a rustic card with almost no effort. Free material, great texture.
Cut a flat panel from a clean paper bag. Fold it into a card base.
The natural kraft color pairs well with bold ink, twine, and simple stamps.
Stamp or draw a design on the front. White or black ink pops against the brown.
Tie a small piece of twine or string across it for a homespun touch.
Budget tip:
- Grocery and gift bags give you free, sturdy paper. Save them instead of tossing them.
- Add a small tag on string, like a gift tag greeting.
- Punch two holes and thread twine through for a bound, booklet feel.
- Kraft paper takes stamps, pens, and paint well. It rarely buckles.
- Keep the design minimal. The earthy paper does most of the work.
- Layer a small white paper square on top for the message. The contrast looks clean.
- This card feels natural and warm. That plain kraft look reads as thoughtful, not cheap.
- Great for eco-minded friends who like simple, honest things.
- Reused, low-cost, and full of rustic charm.
24. LED Light-Up Card
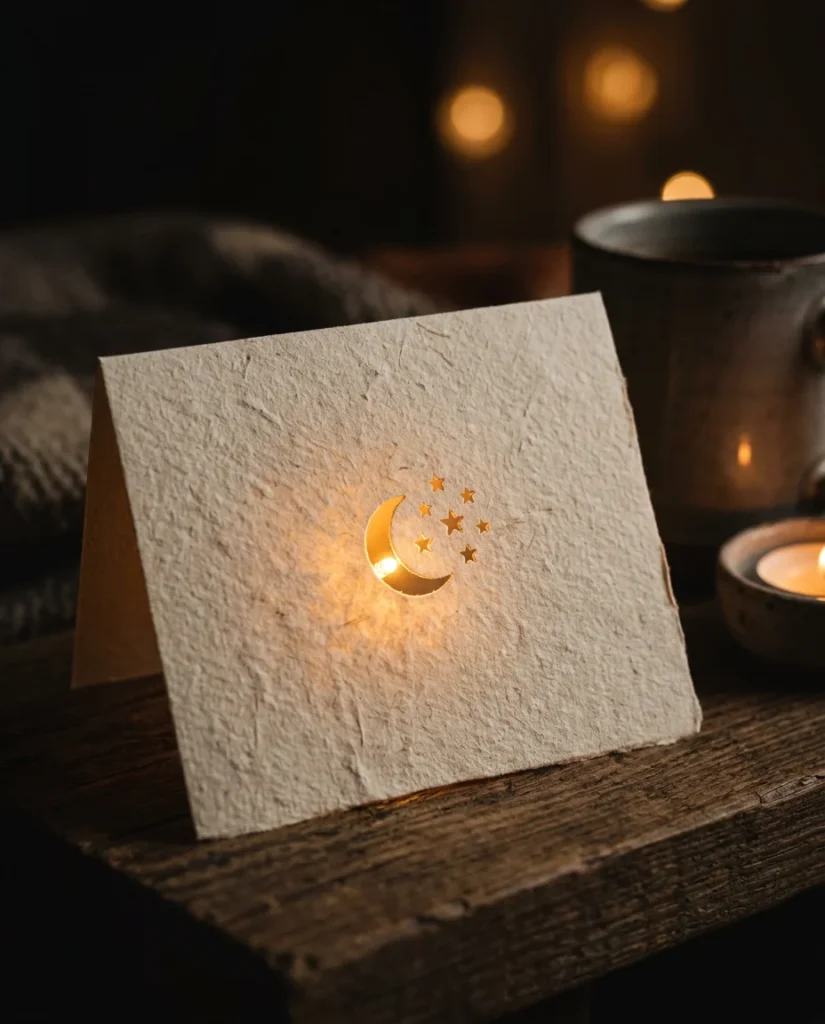
An LED light-up card ends the list with a little wow. A tiny light makes the front glow.
Cut a shape in the card front, like a candle flame, star, or number.
Tape thin paper behind the cutout so the light spreads softly.
Place a small LED and a coin battery inside. Tape the LED behind the shape.
Add a simple paper tab that connects the battery when the card opens. The light turns on as it unfolds.
Budget tip:
- Small LEDs and coin batteries cost very little online or from an old toy. One battery lasts a long time.
- Test the circuit before sealing. The LED legs touch the battery sides to light up.
- A warm-colored LED behind a flame cutout looks like a real candle.
- Keep the wiring flat so the card still closes.
- Add drawn details around the glowing shape for a finished scene.
- This card surprises people the moment they open it. Light in a paper card feels unexpected.
- It takes slightly more effort, but the payoff is big.
- A glowing handmade card is the kind of thing people keep on a shelf.
- A bright, memorable way to end.
Conclusion
Handmade birthday cards prove that thought matters more than money. Every idea here uses cheap or free supplies you likely already own. Paper scraps, buttons, old magazines, a potato, a bit of thread. Each one turns into something a person will actually keep. Pick the card that fits the birthday person.
A photo collage for a close friend. A comic strip for someone funny. A glowing LED card for a real surprise. You do not have to be an artist. You just have to spend a little time. Grab your scissors, clear a table, and make something today. The person opening it will feel every minute you put in.
