

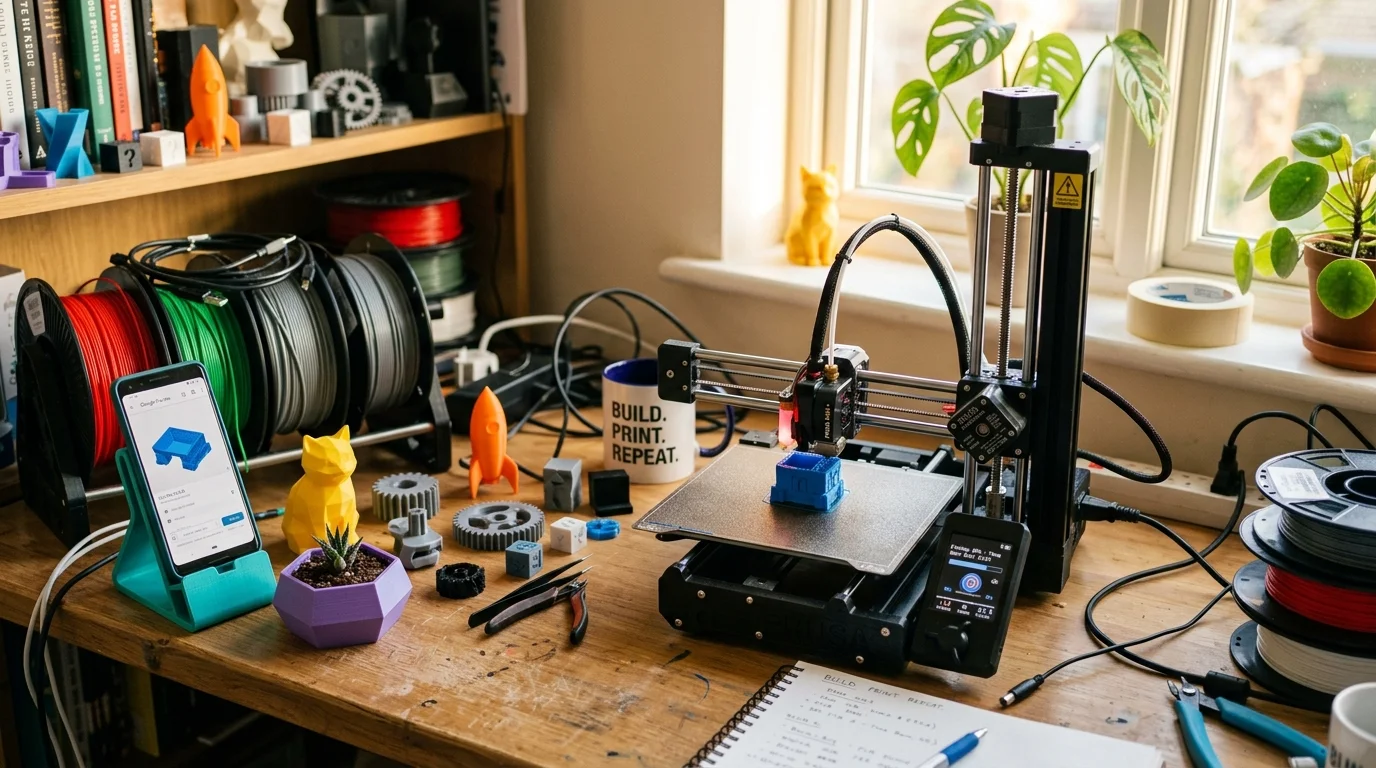
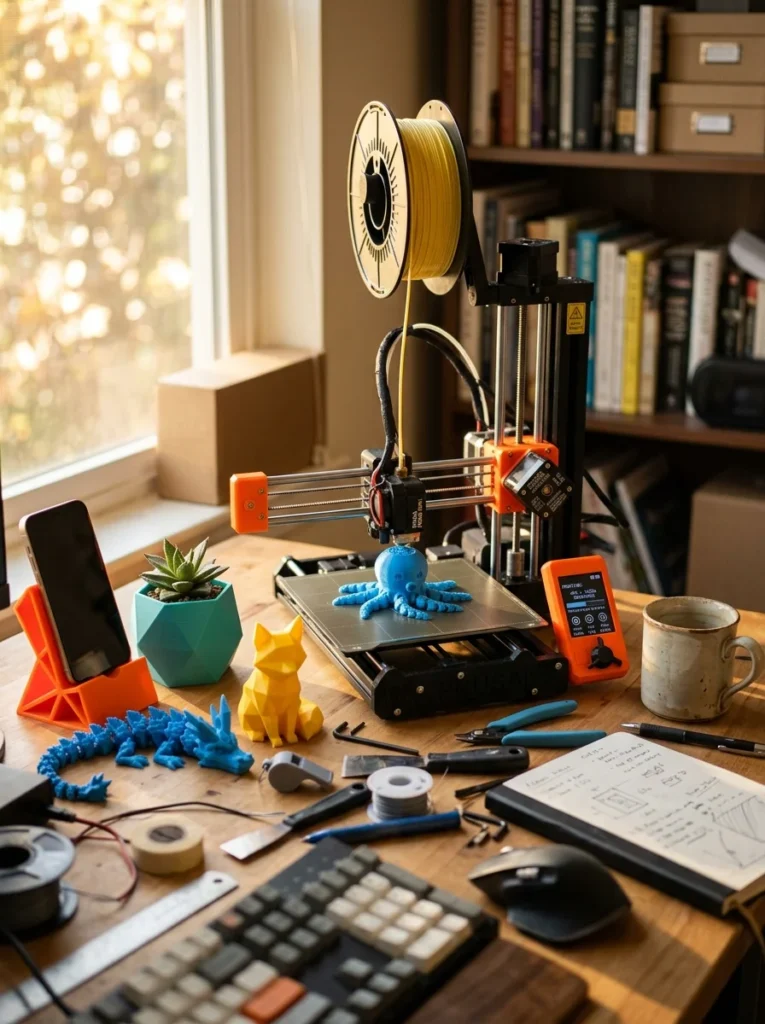
So you got a 3D printer and now it’s just sitting there making the same test cube over and over. Sound familiar? Most beginners stall out right after the first print because they don’t know what to make next. This list fixes that. Every idea below uses simple shapes, short print times, and beginner-friendly settings — no advanced calibration or fancy filament required. Whether you’ve got a Bambu Lab, an Ender 3, or any budget machine, you can knock out several of these projects in a single weekend. Grab a roll of basic PLA and let’s get printing.
1. Cable Organizer Clips
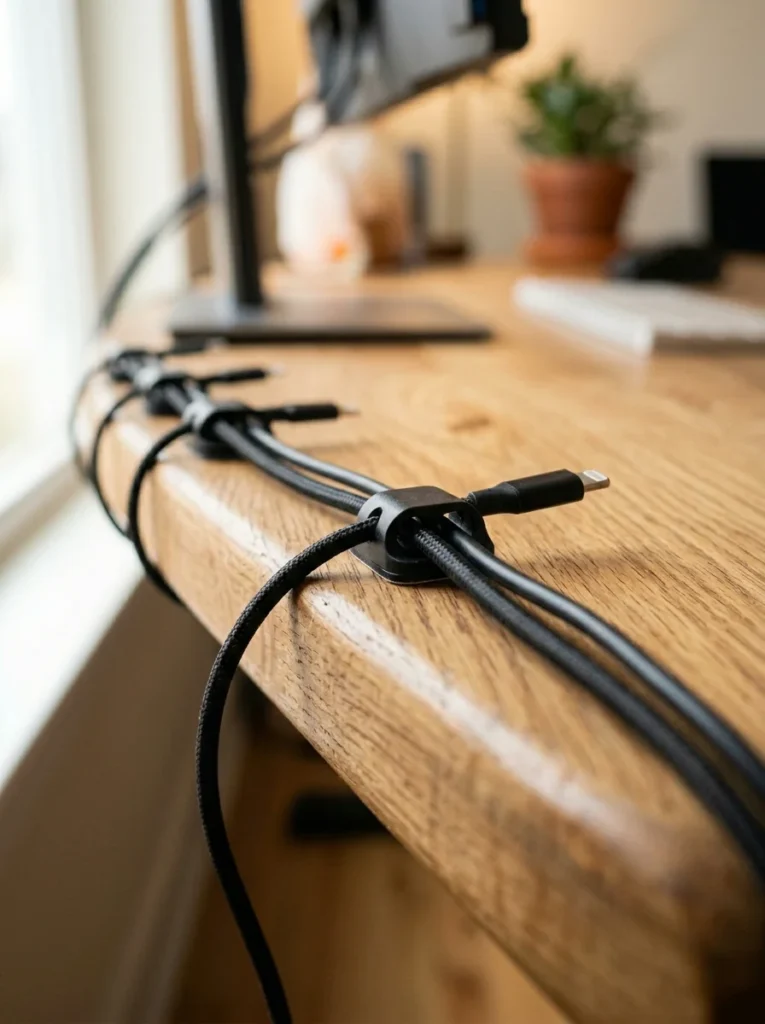
Cable clutter is everyone’s first 3D printing problem. Cable organizer clips are the perfect starter project. They’re tiny, flat, and print fast — usually under 20 minutes each. Stick them under your desk with a dab of hot glue or double-sided tape. No screws needed.
Print a few at once on the same plate. That way you fix your whole desk in one go. Use any leftover filament color since these clips are small and won’t waste much plastic.
If you don’t have a design file yet, search free repositories like Printables or Thingiverse. Type “cable clip” and pick one with a high print count. That means other people already tested it and it works.
This project teaches you bed adhesion and small-part printing without risking a big chunk of filament. Budget tip: use a sample-size filament spool if your printer came with one. You’ll have leftovers for months.
Once you’re comfortable, try designing your own clip in a free tool like Tinkercad. It’s just a simple loop shape. Beginners can usually finish their first custom clip in under an hour.
2. Succulent Planter Pots
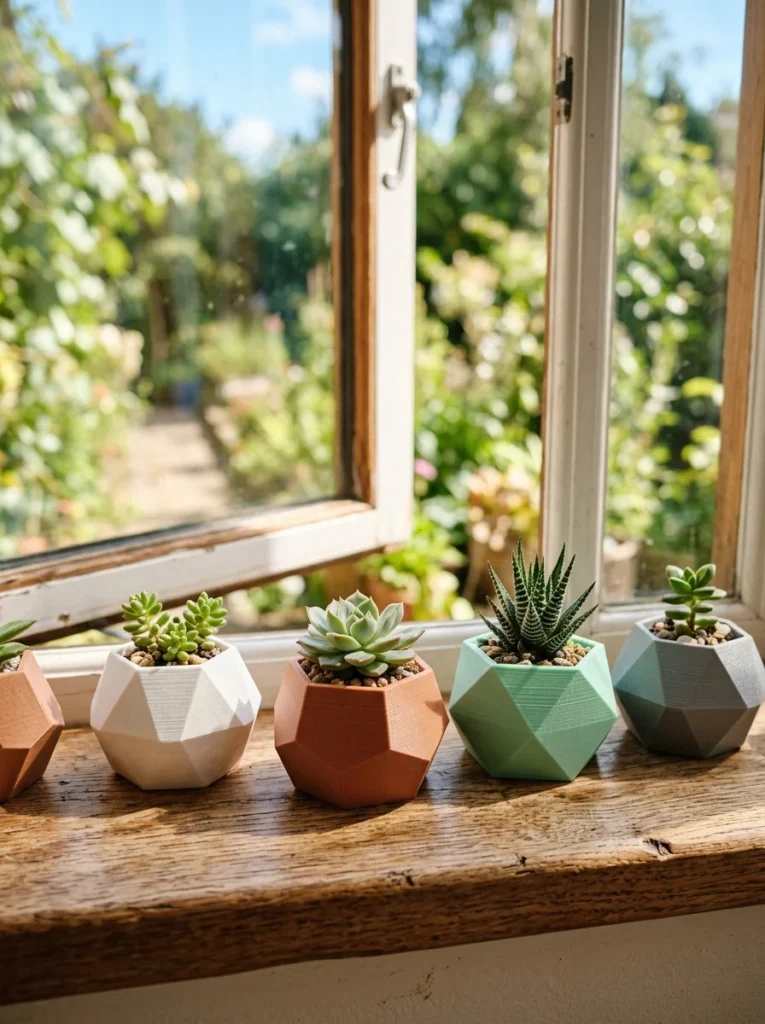
Tiny planters are a weekend favorite. Succulent pots are simple cylinders or hexagons, so they print clean even on a basic machine. Pick a design with drainage holes already built in.
Print them in green, terracotta orange, or white to match your plant shelf. PLA holds up fine indoors, but avoid leaving printed pots outside in heavy rain for months at a time.
Start with a 6 to 8 centimeter pot. It’s small enough to finish in under two hours and large enough to hold a small succulent or cactus.
Budget tip: buy succulent cuttings instead of full plants. They’re half the price and root easily in a few weeks. Pair them with your printed pots for a cheap gift idea too.
Add a thin saucer underneath to catch water. Print that separately in five minutes flat.
This project also teaches you how infill percentage affects strength. Pots need a bit more infill than decorative items since they hold soil weight. Try 20 percent infill as your starting point.
3. Phone Stand with Cable Slot
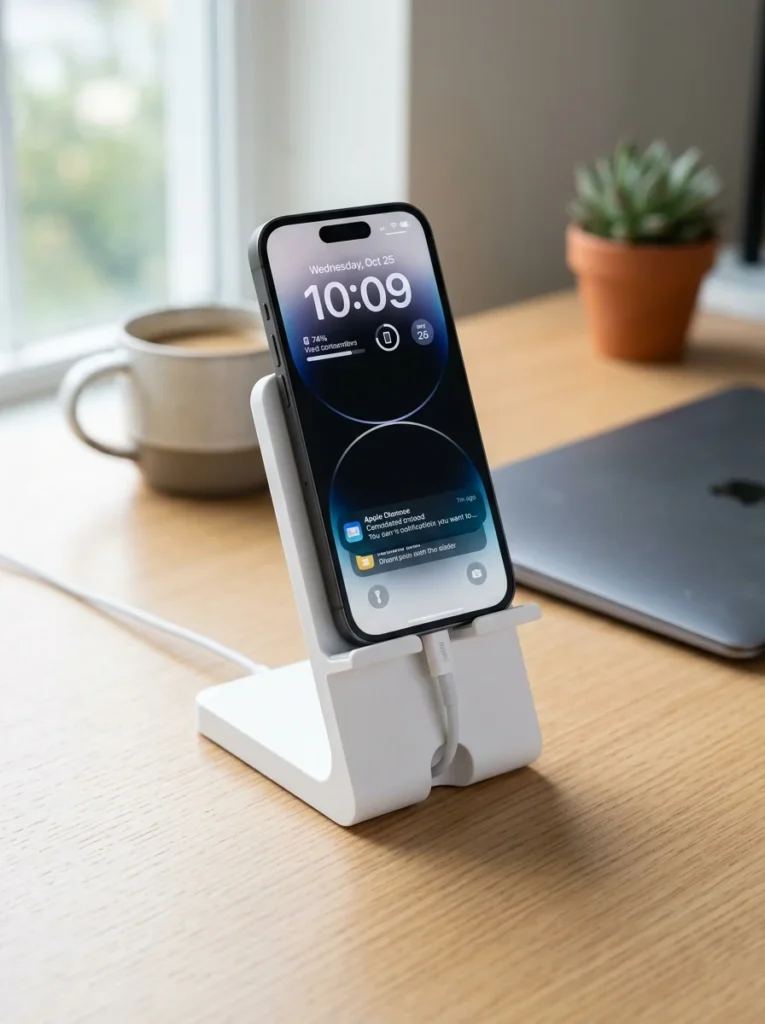
A phone stand is one of the most useful first prints you can make. Look for a design with a built-in slot so your charging cable tucks in neatly while the phone charges upright.
These prints usually finish in 45 minutes to an hour. That makes them perfect for a quick weekend afternoon project between other prints.
Pick a sturdy angle, around 60 to 70 degrees, so the phone doesn’t tip backward. Most free designs already have this dialed in correctly.
Budget tip: print one for every room in your house. Kitchen, nightstand, desk. You’ll stop losing your phone in couch cushions.
If your printer struggles with overhangs, add a small brim in your slicer settings. It keeps the base flat against the print bed.
Try two-color printing if your machine supports a filament swap. One color for the base, another for an accent stripe. This is a simple way to practice multi-color printing without owning a multi-material system.
4. Cookie Cutters
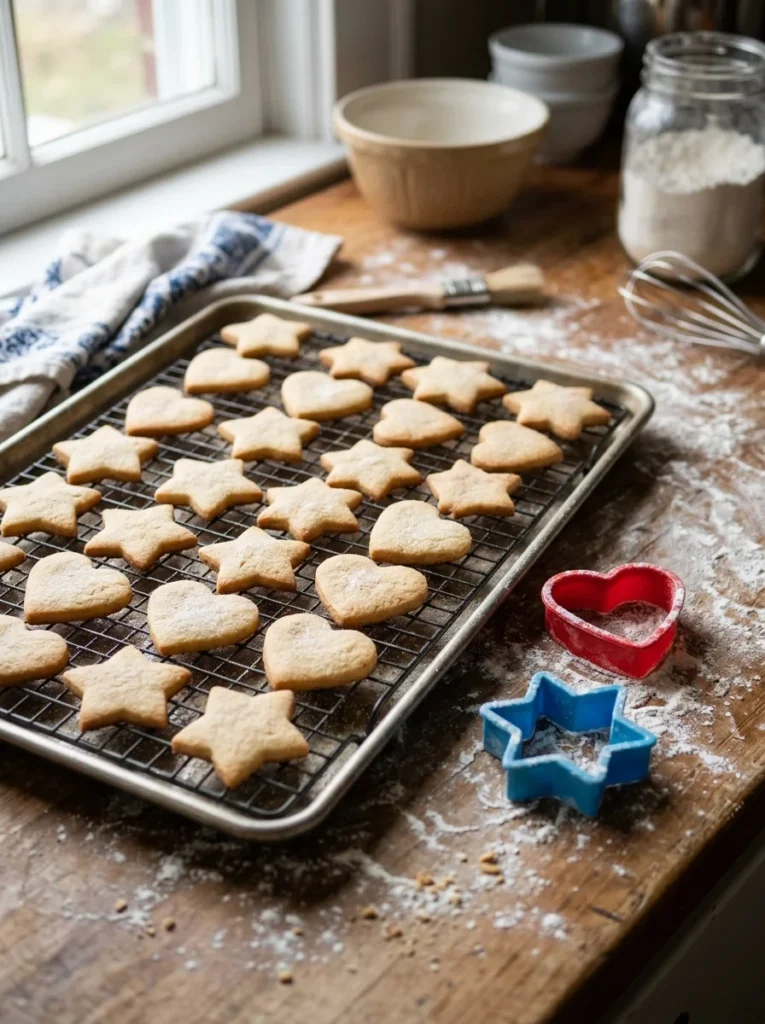
Cookie cutters are thin, fast, and genuinely useful in the kitchen. Most print in under 30 minutes using almost no filament. They’re a great low-risk project if you’re still nervous about wasting plastic.
Stick to simple outline shapes for your first try: stars, hearts, circles. Avoid intricate details until you’ve got a few successful prints under your belt.
Use food-safe PLA if you plan to press it directly into dough. Otherwise, just use the cutter as a stencil and cut around it with a regular knife.
Budget tip: design custom shapes for birthdays or holidays using your initials or a simple silhouette. A custom cutter at a store costs ten dollars. Yours costs pennies in filament.
Print the cutter wall at least 1.5 millimeters thick so it holds its shape when pressed into dough.
This project is also a great way to test bed leveling. Thin, flat objects show printing problems fast, so if your cutter prints clean, your bed is well calibrated.
5. Drawer Dividers
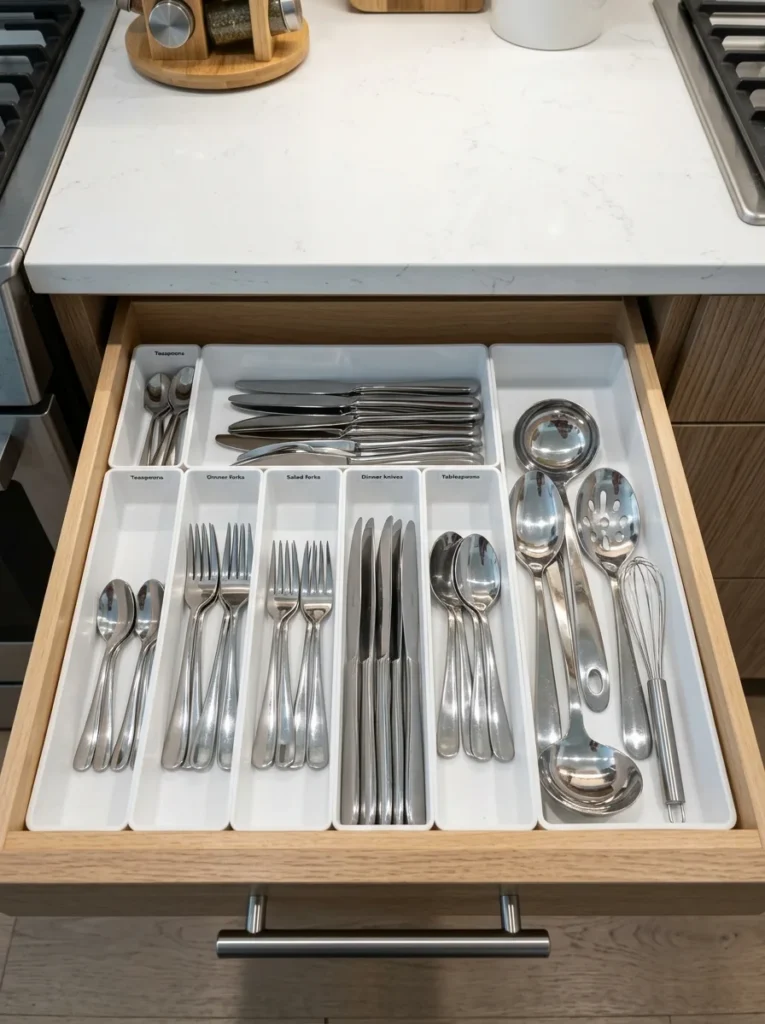
Drawer dividers solve real clutter problems in kitchens, bathrooms, and desks. Measure your drawer first, then design simple rectangular walls in Tinkercad to fit the exact space.
This project teaches you how to design for a specific measurement instead of just downloading a premade file. It’s a good first step toward custom design work.
Print walls about 5 to 8 centimeters tall depending on what you’re storing. Thin walls print faster, but add a little thickness if you’re separating heavier items like cutlery.
Budget tip: use scrap filament colors since these sit hidden inside a drawer. Nobody sees the color, so don’t waste your good filament on this one.
Print multiple pieces that slot together rather than one large piece. Smaller pieces print faster and fit on smaller print beds too.
Sand the edges lightly after printing if anything feels rough. A quick pass with fine sandpaper makes the dividers slide smoothly without catching on socks or cutlery.
6. Mini Desk Organizer Tray
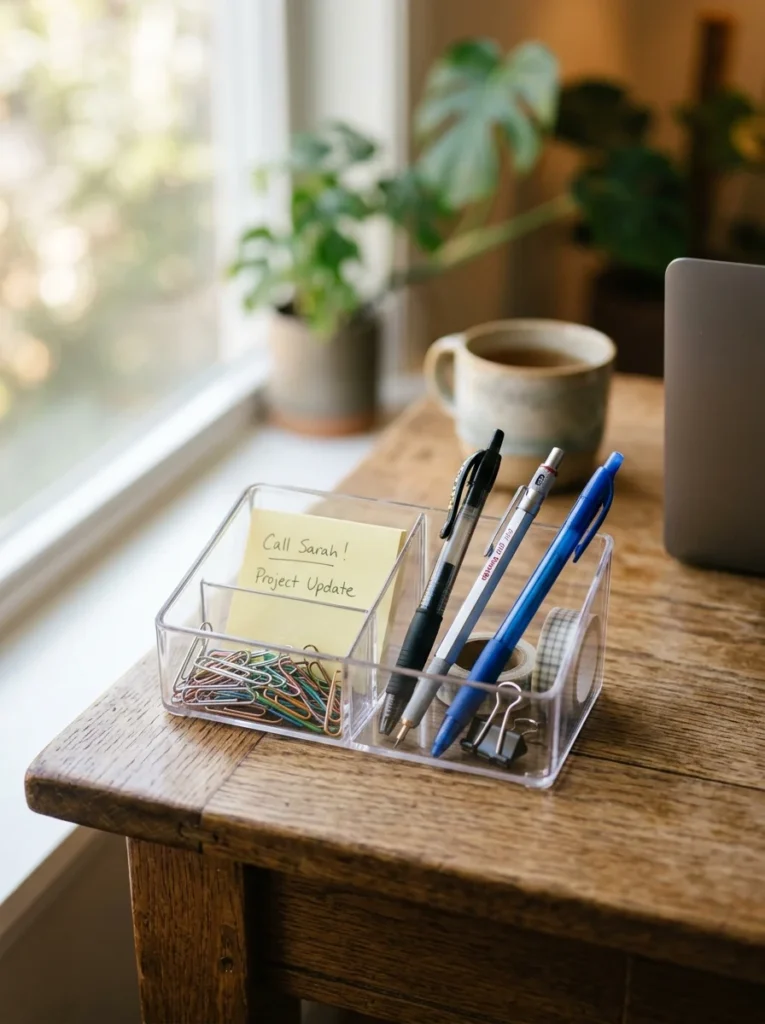
A desk organizer tray keeps small items from scattering across your workspace. Pick a design with separate sections for pens, paperclips, and sticky notes.
This print usually takes two to three hours depending on size, so it’s a good one to start before bed and check in the morning.
Choose a flat, low-profile design for your first attempt. Tall trays with deep walls take longer and use more filament.
Budget tip: print it in a solid neutral color like gray or black so it blends into any desk setup. Neutral colors also hide dust and fingerprints better than bright colors.
Add a small slot on one side for your phone or stylus. Many free designs already include this detail.
This project is good practice for longer print times. Watch how your printer handles the first hour, then let it finish unattended if everything looks stable. It’s a confidence builder before tackling bigger projects later in your printing journey.
7. Wall-Mounted Key Holder
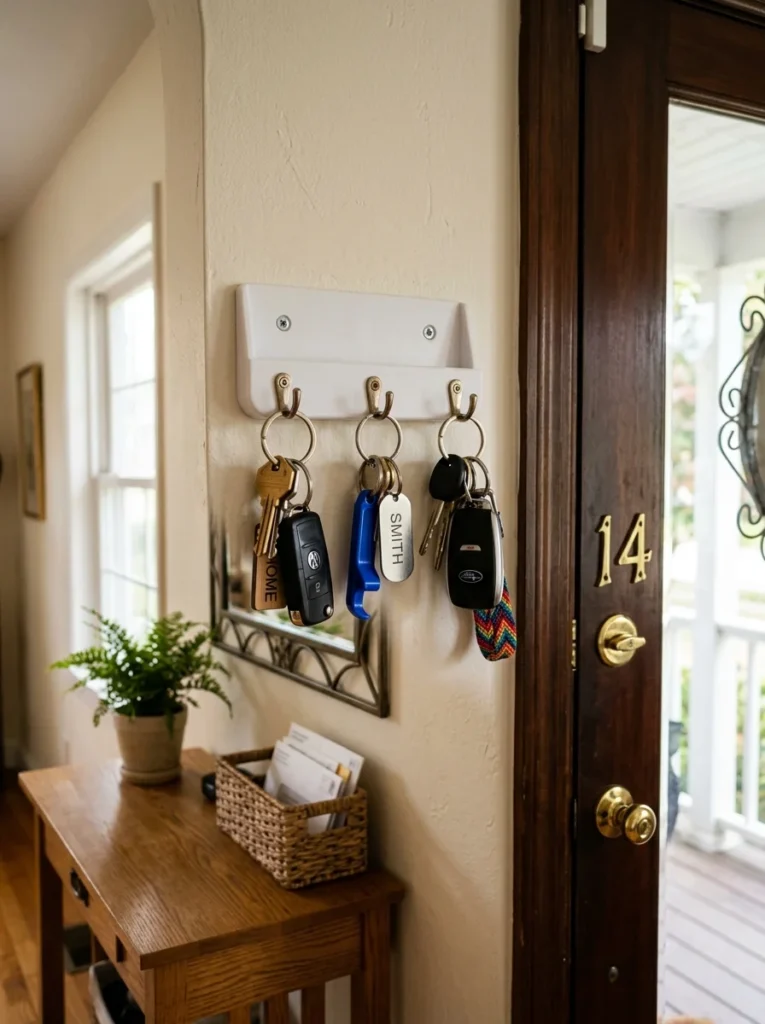
A key holder is a small, practical print that solves the daily “where are my keys” problem. Pick a design with two or three hooks and a mounting hole at the back.
Print time is usually under an hour. That makes it an easy first project if you’re short on weekend hours.
Mount it near your front door using a single screw or a strong adhesive strip. No need for anything heavy duty since keys aren’t very heavy.
Budget tip: print one for each family member with a different color hook section. It’s a simple way to organize whose keys belong where without buying a store-bought rack.
Keep the design flat against the wall. Anything too deep will stick out and catch on jackets or bags as people walk by.
This print is a good test for vertical printing orientation. Try printing it standing up instead of flat to see how your printer handles taller, narrower shapes.
8. Headphone Stand
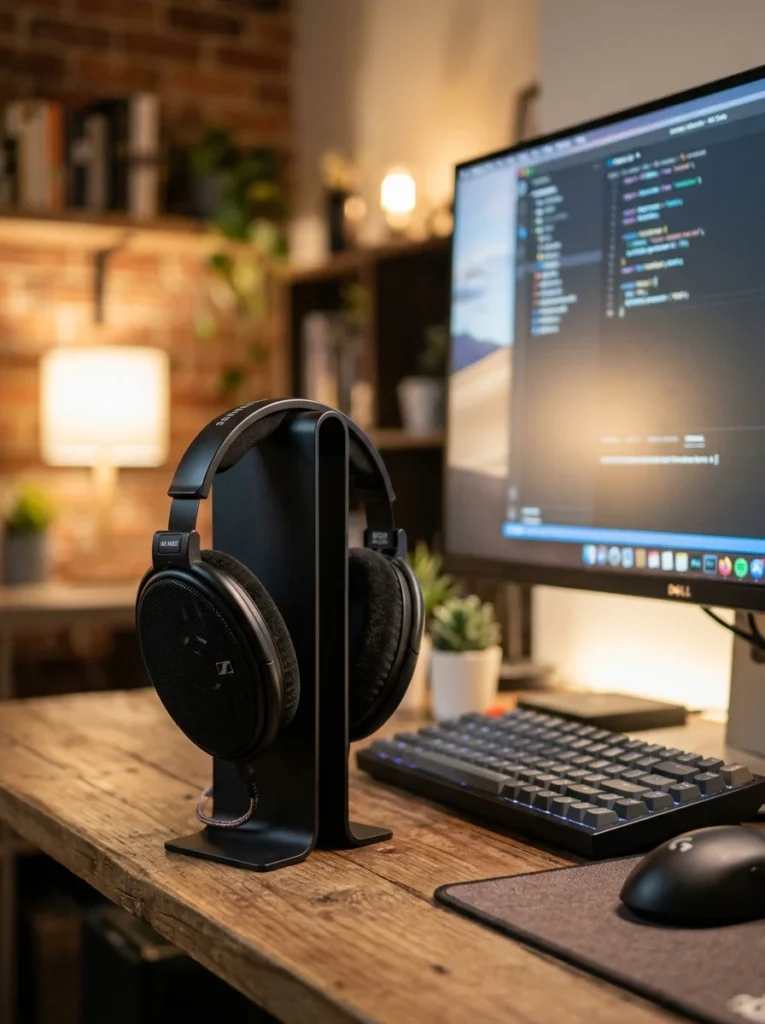
A headphone stand keeps your desk tidy and your headphones from getting tangled in cables. Look for a T-shaped or hook-style design depending on your headphone size.
This print takes two to four hours depending on height. Start it early in the day so you’re not waiting around all evening.
Pick a wide, stable base. Top-heavy designs can tip over if the base is too small or too light.
Budget tip: add weight to the base using a few coins or a small stone glued inside a hollow compartment. This keeps the stand from tipping without needing extra filament.
Print the headphone rest part with a bit of extra infill, around 25 percent, since it holds weight directly on top.
Try printing this one in a single color first. Once you’re confident, attempt a vase-mode print for a smooth, seamless stand body. It’s a fun way to practice spiral printing settings.
9. Bookends
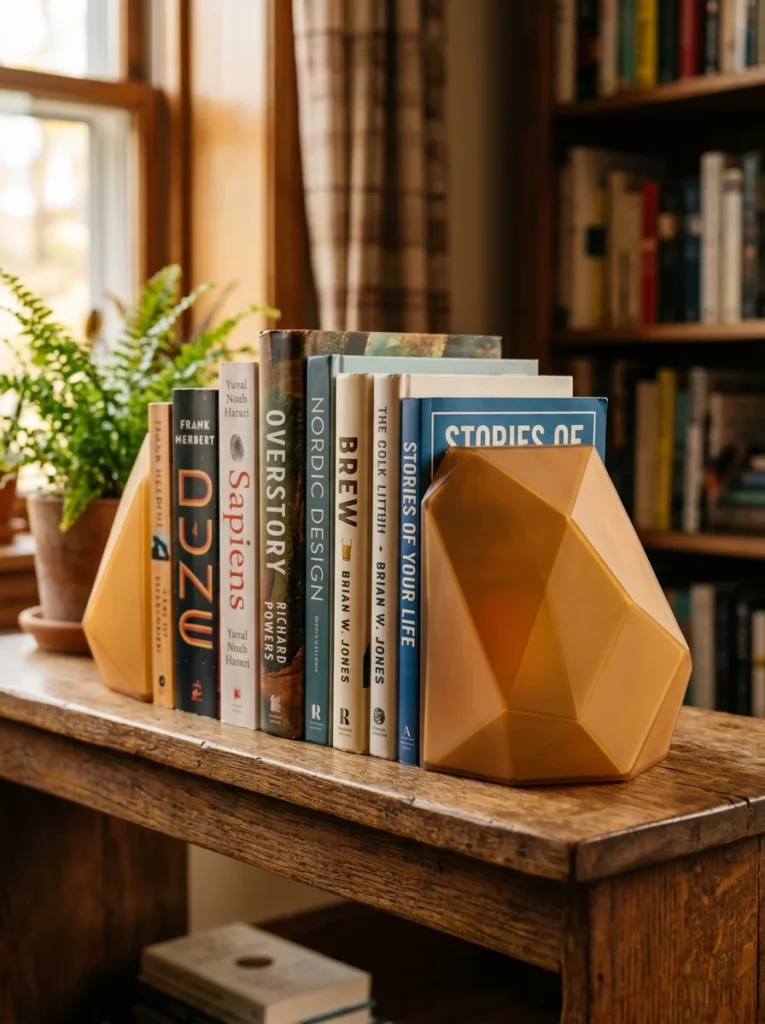
Bookends are heavier prints, so they’re a good test of infill and stability. Choose a geometric shape like a triangle or stacked blocks for an easy beginner design.
Print time runs two to five hours per piece, so plan for a full pair to take most of a day if printed separately.
Bump your infill up to 30 or 40 percent for this one. Bookends need real weight to hold books upright without sliding.
Budget tip: fill hollow sections with sand or gravel after printing if your design allows a small opening. This adds weight without using extra filament, saving you both time and money.
Print in a solid color that matches your shelf or room decor. Bookends sit in view all the time, so this is a good project to practice color matching.
This print also teaches you about warping. Larger flat-bottomed objects can lift at the corners. Use a heated bed and a clean glue stick layer on your print surface to keep things flat.
10. Coaster Set
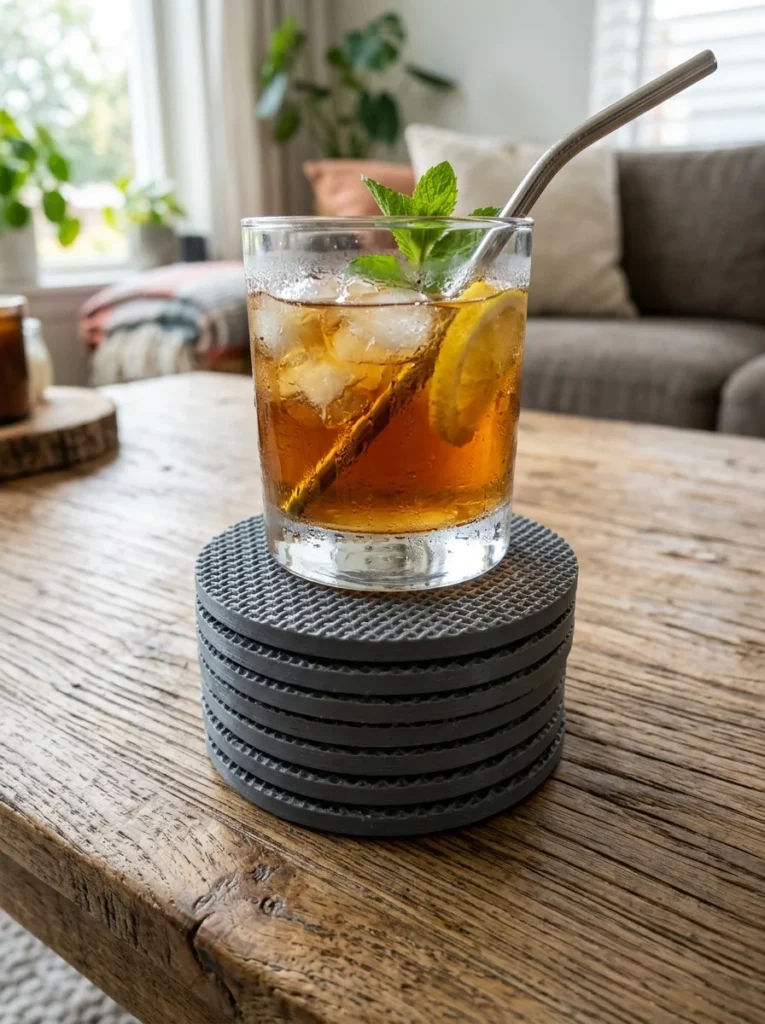
A coaster set is one of the easiest multi-piece projects for beginners. Print four to six matching coasters in a single afternoon since each one only takes 20 to 30 minutes.
Pick a design with raised edges or texture. Flat, smooth coasters work too, but texture hides scratches and water rings better over time.
Print them all on one plate to save time. Most beginner printers can fit four to six coasters on a single bed without overlap.
Budget tip: mix leftover filament colors for a fun rainbow set. Coasters are small enough that color changes mid-print won’t waste much plastic.
Add a thin layer of clear coating spray if you want extra water resistance. It’s optional but helps the coasters last longer with daily use.
This project is great practice for batch printing. You’ll learn how to arrange multiple objects efficiently in your slicer software, a skill you’ll use constantly as you take on bigger print jobs later.
11. Simple Phone Case
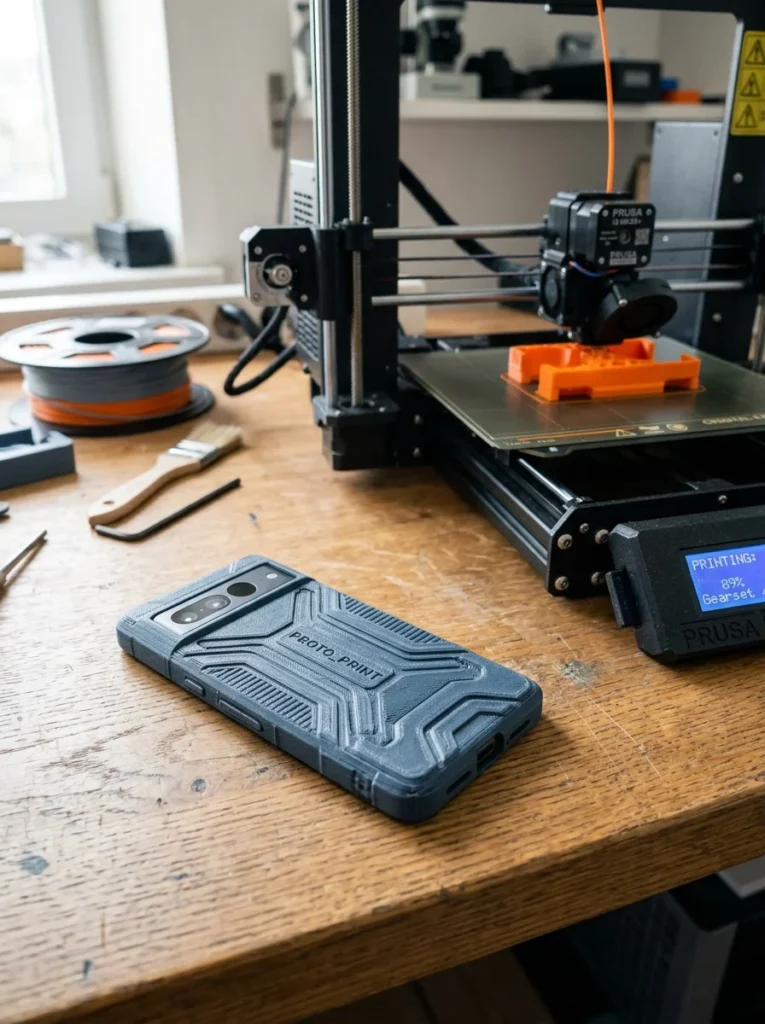
A phone case sounds advanced, but flexible filament makes this beginner-friendly. Use TPU filament instead of standard PLA for a bit of bend and shock protection.
Download a case file matched exactly to your phone model. Sizing matters a lot here, so double check measurements before printing.
Print time runs around two to three hours depending on your phone size and wall thickness.
Budget tip: TPU costs a bit more than PLA, but one spool makes dozens of cases. Print a few different colors and swap them out like phone outfits.
Slow your print speed down for this one. TPU prints best slow, usually around 30 to 40 millimeters per second, even on printers that handle PLA much faster.
This project teaches you to work with flexible filament, which behaves very differently from rigid plastic. It’s a good stepping stone before attempting more complex flexible designs like phone grips or watch bands.
12. Garden Plant Markers
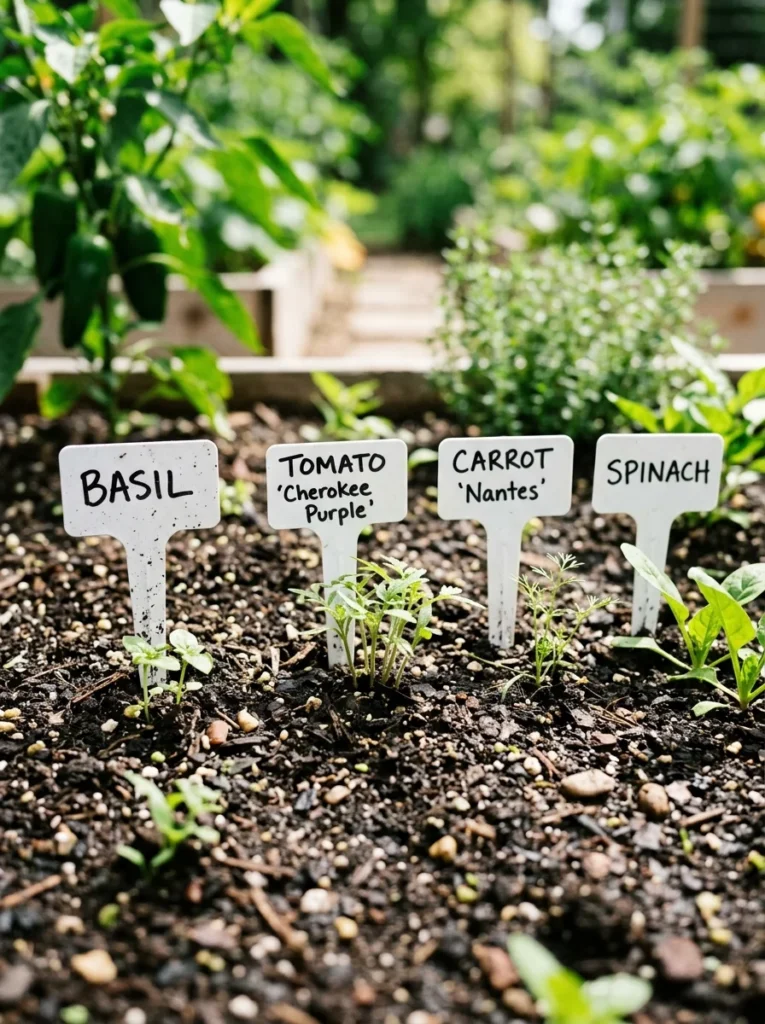
Plant markers are tiny, quick prints perfect for anyone starting a garden. Each marker takes 10 to 15 minutes and uses almost no filament at all.
Print a flat stake shape with space to write the plant name using a permanent marker. No need for fancy lettering designs at this stage.
Budget tip: print a full set of 20 markers using just one small filament sample. This project barely dents your spool.
Use white or light-colored filament so your handwritten labels stay easy to read against green garden soil.
Push the markers gently into soil, not too deep, so they don’t snap. PLA holds up fine outdoors for one growing season, though it may fade slightly in strong sun.
This is a great project to practice printing many small identical objects in a single print job. You’ll learn how to duplicate objects in your slicer and arrange them efficiently across the bed, a skill that saves serious time on future multi-part projects.
13. Soap Dish
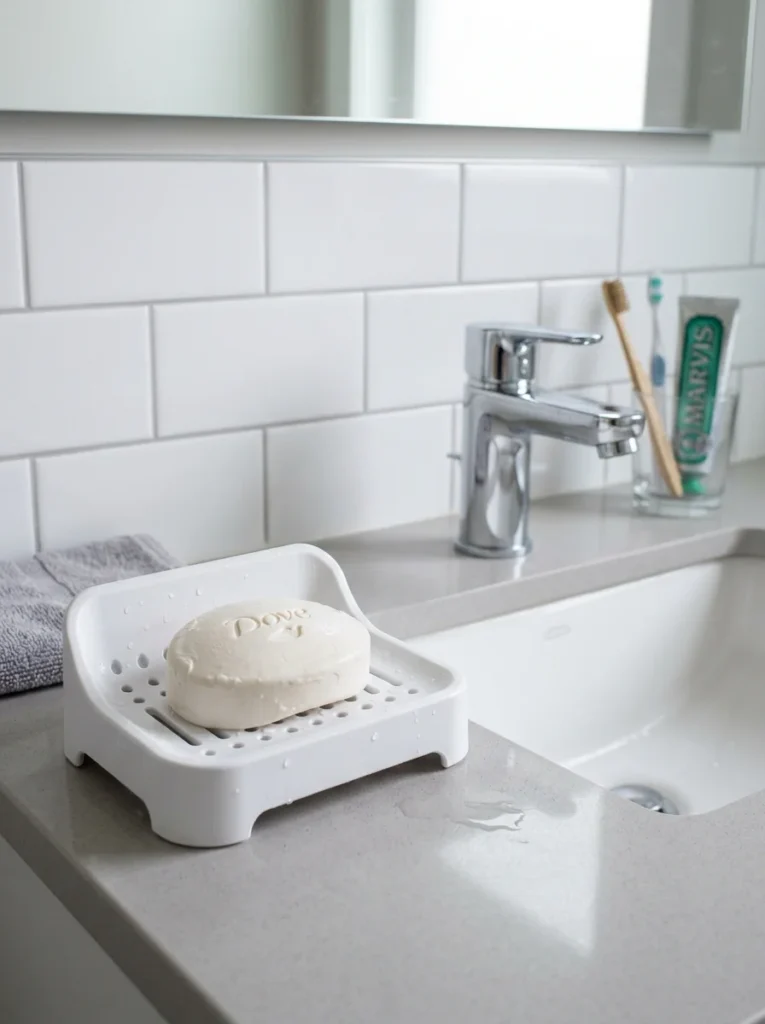
A soap dish with drainage holes keeps your bathroom counter dry. Look for a raised grid pattern design so water drips through instead of pooling.
Print time is usually under an hour since these are flat, simple shapes. A good weekend project to knock out quickly between other prints.
Budget tip: print one for every sink in your house. It’s a cheap upgrade compared to buying ceramic or plastic versions in stores.
PLA holds up fine in a bathroom environment as long as it’s not sitting in standing water constantly. Wipe it dry occasionally to extend its life.
Pick a color that matches your bathroom tile or towels. White, gray, and light blue are popular choices that blend into most bathroom designs.
This print is good practice for grid and lattice patterns, which show up in tons of other 3D printing projects. Once you understand how grids print cleanly, you’ll recognize the technique in dozens of future designs.
14. Stackable Storage Boxes
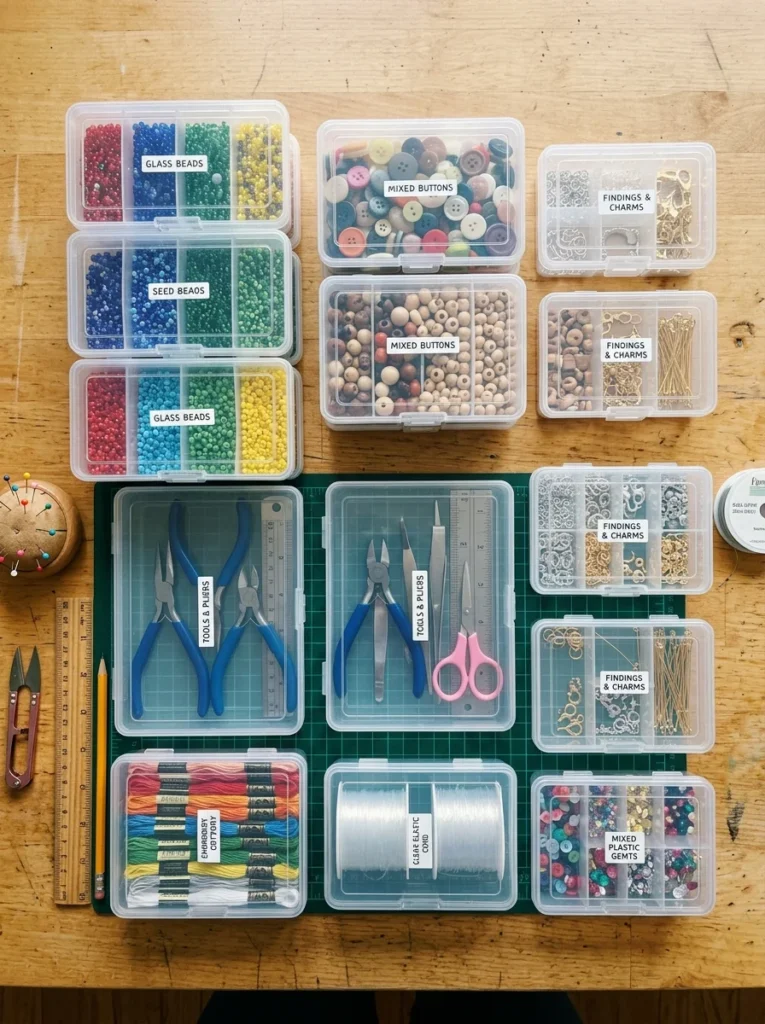
Stackable boxes are great for organizing craft supplies, screws, or small parts. Look for a design with interlocking lids so boxes stack securely without sliding.
Print time runs one to three hours per box depending on size. Start with a small batch of three or four boxes for your first attempt.
Budget tip: print in clear or translucent filament so you can see what’s inside without opening each box. This saves time digging through containers later.
Keep wall thickness around 1.2 to 1.6 millimeters. Thinner walls print faster, but anything thinner risks cracking when boxes get stacked or bumped.
Label each box lid with a permanent marker once printed. Simple and free, no extra filament needed.
This project teaches you how interlocking parts fit together, a useful skill for more advanced future projects. Pay attention to tolerance settings in your slicer, since pieces that fit too tight or too loose are a common beginner frustration with stacking designs.
15. Pen and Pencil Holder
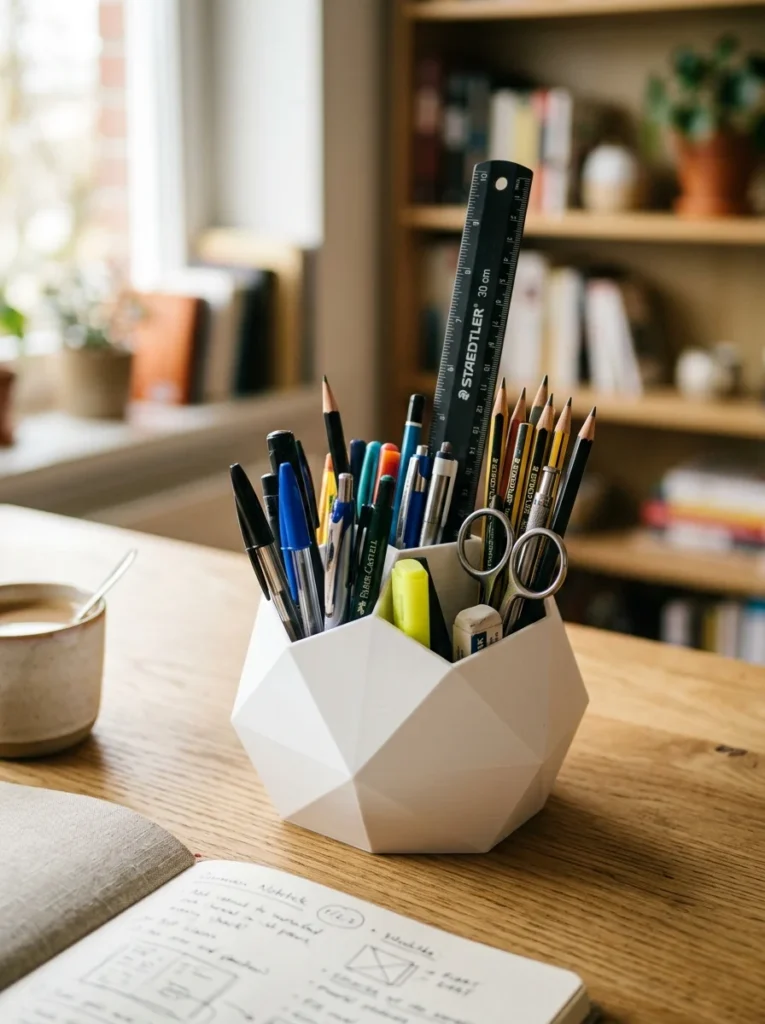
A pen holder is a classic first 3D print. Simple cylinder or hexagon shapes print clean and fast, usually in under two hours.
Pick a design with slightly angled walls. This makes it easier to grab pens without tipping the holder over.
Budget tip: this project barely uses filament since it’s mostly hollow inside. One small print uses way less plastic than people expect.
Add a wide base for stability. A bottom diameter at least as wide as the holder is tall keeps it from tipping when you grab pens quickly.
Try a honeycomb or lattice wall pattern once you’re comfortable with basic shapes. It looks impressive but is just as easy to print as a solid wall.
This print is a great confidence builder. It’s simple enough for total beginners but customizable enough that you can keep tweaking the design as your skills improve over several weekend projects.
16. Mini Tool Organizer
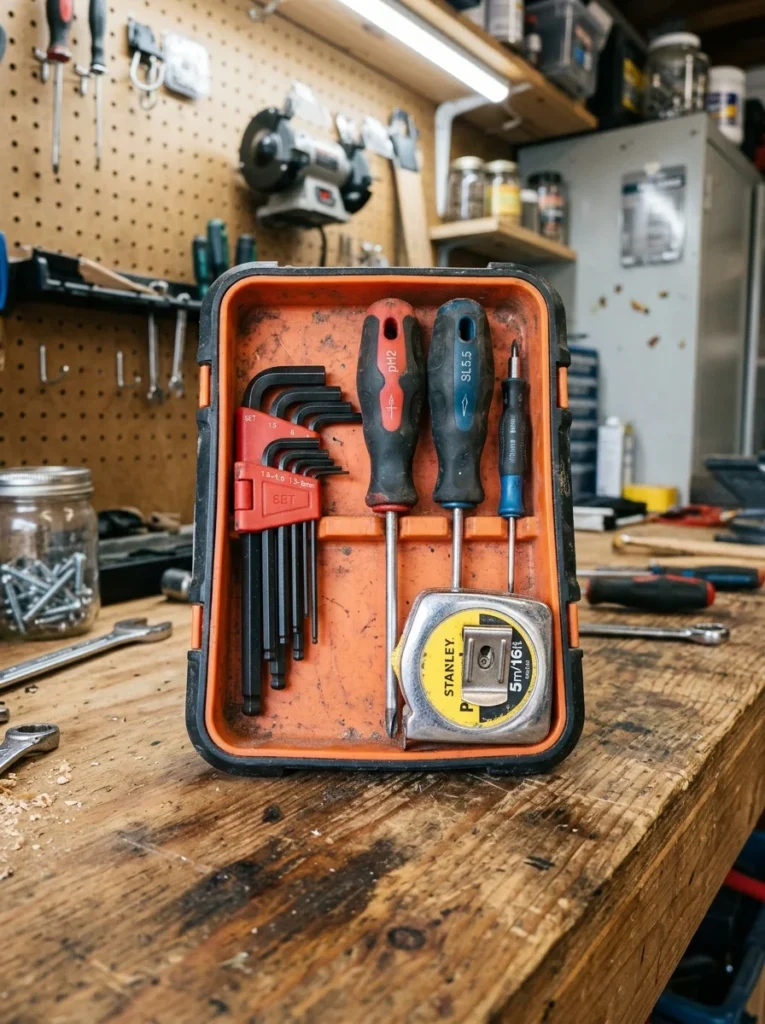
A tool organizer keeps small hand tools from disappearing into junk drawers. Design simple slots sized to fit screwdrivers, Allen keys, or a small wrench set.
Print time runs two to four hours depending on size and how many tool slots you include.
Budget tip: measure your actual tools before downloading a design. A custom-fit organizer in Tinkercad takes less time than searching for a premade file that matches exactly.
Use a higher infill, around 25 to 30 percent, since this tray gets handled and moved around the garage regularly.
Pick a bright color like orange or yellow. Tool organizers tend to get buried under other garage clutter, and a bright color makes them easier to spot.
This project is good practice for designing around exact object dimensions rather than guessing. It’s a useful skill that carries over into almost every future custom print you attempt.
17. Cord Wrap Spools
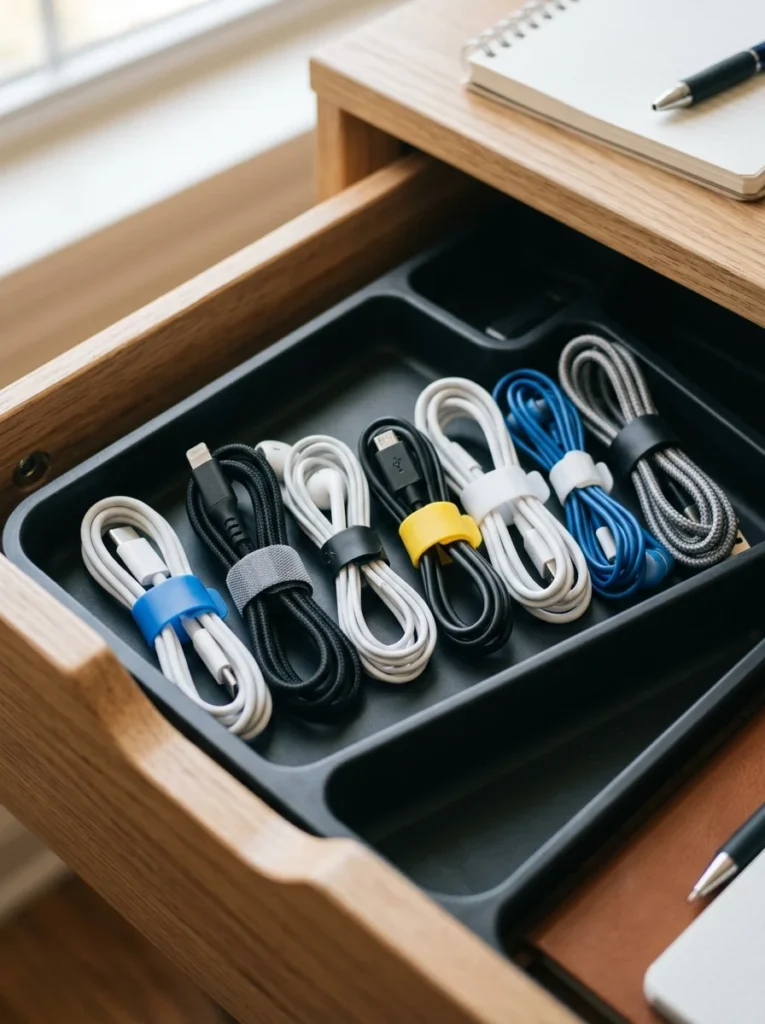
Cord wraps are tiny spool shapes that keep cables from tangling in bags or drawers. Each one prints in 10 to 20 minutes, making this a fast batch project.
Print six or eight at once on a single plate. They’re small enough that your printer can knock out a full set in one sitting.
Budget tip: use scrap filament since these are functional, not decorative. Nobody will judge your cord wrap’s color choice.
Pick a design with a deep enough groove to hold thicker cables like USB-C or charging cords without the wire slipping off the edges.
Toss a few in your travel bag, backpack, or desk drawer. They solve the tangled-earphone problem almost instantly.
This is a great practice project for small, fast prints with minimal supervision. It’s a good one to run while you’re doing other things around the house, since each piece finishes quickly and rarely fails mid-print.
18. Succulent Hanging Planter
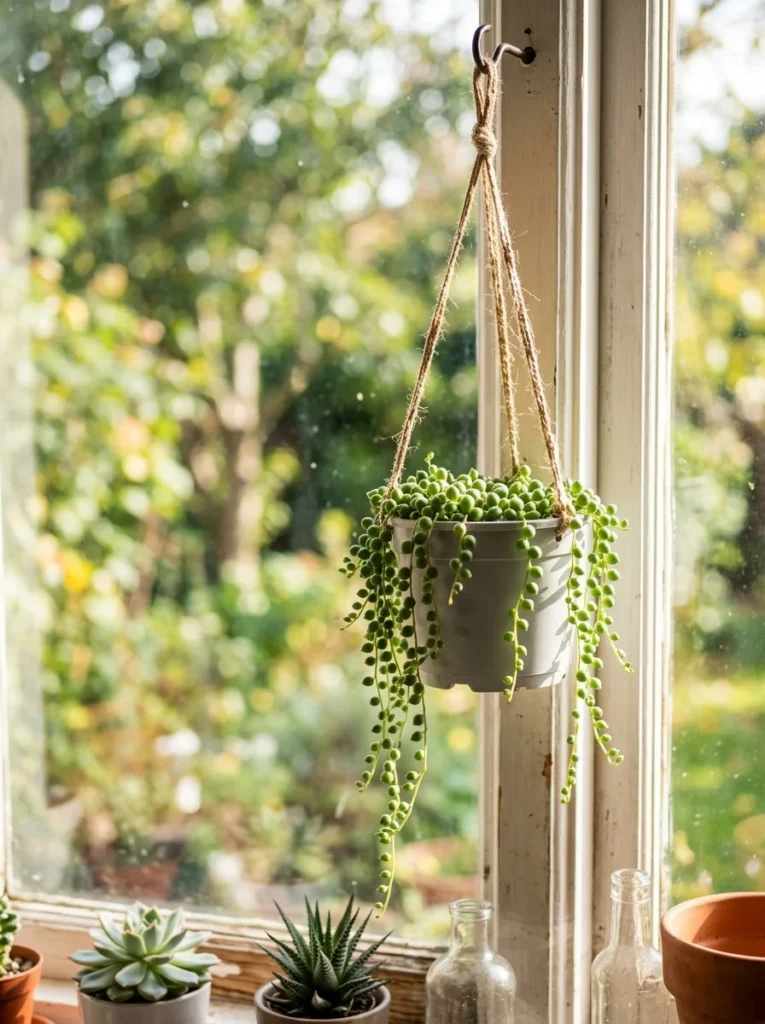
A hanging planter takes the basic pot idea up a notch. Look for a design with built-in loops or holes for thread or twine.
Print time runs one to two hours depending on size. Slightly bigger than a standard pot since it needs sturdier walls to hold weight while hanging.
Budget tip: use cheap garden twine instead of buying special planter hooks. A basic knot through the printed loops works just fine.
Bump infill up slightly compared to a regular pot, around 25 percent, since hanging puts more stress on the printed loops than a planter that simply sits on a shelf.
Hang it near a window with good light. Most trailing succulents like string of pearls or string of hearts do well in this setup.
This project teaches you to think about stress points in a design, not just the main shape. It’s good preparation for future projects involving hooks, handles, or anything meant to hold weight while hanging or stacking.
19. Mini Catapult Toy
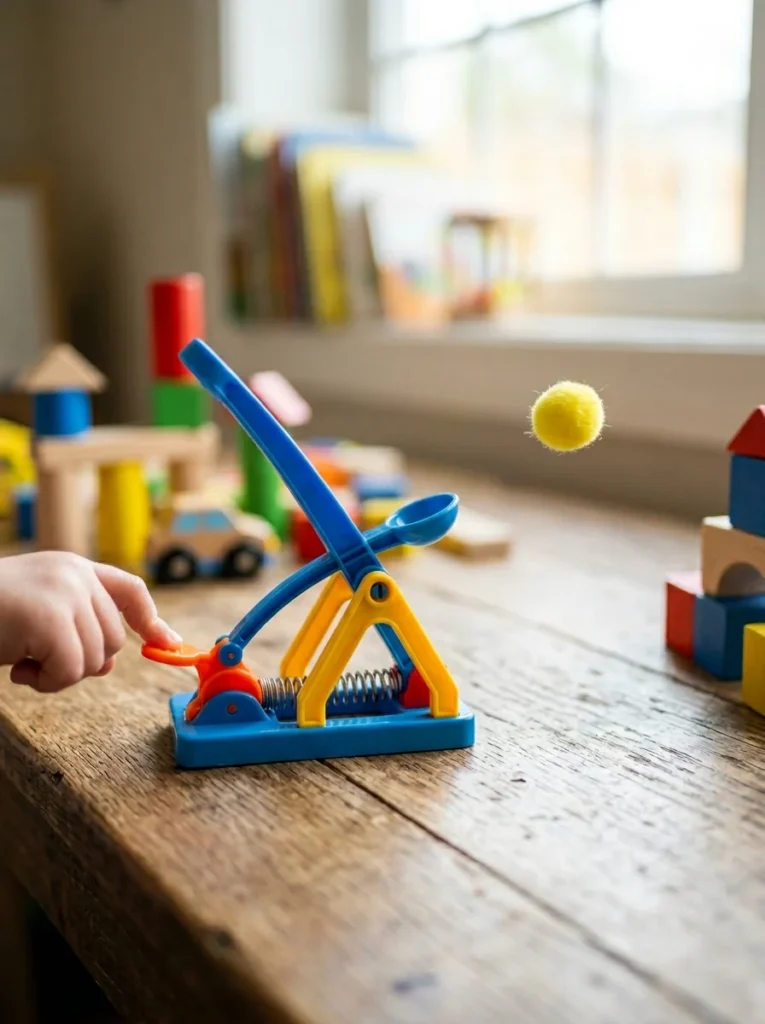
A mini catapult is a fun, low-stakes project if you want something playful instead of purely practical. Most designs use simple moving parts like a lever arm and a small spring or rubber band.
Print time runs about two hours. Assembly afterward takes just a few minutes with basic tools.
Budget tip: use a rubber band you already have at home instead of buying special springs. Most free catapult designs are built around standard rubber band sizes anyway.
This is a good project for learning how moving parts work in 3D printed objects. Pay attention to clearance space between pieces so the lever arm swings freely without rubbing or jamming.
Use pom-poms, small marshmallows, or paper balls as ammo. Avoid anything hard that could cause damage if launched indoors.
This print introduces you to multi-part assembly, a skill you’ll need for more advanced future projects like articulated toys, hinges, or functional mechanical prints.
20. Wall Art Geometric Panels
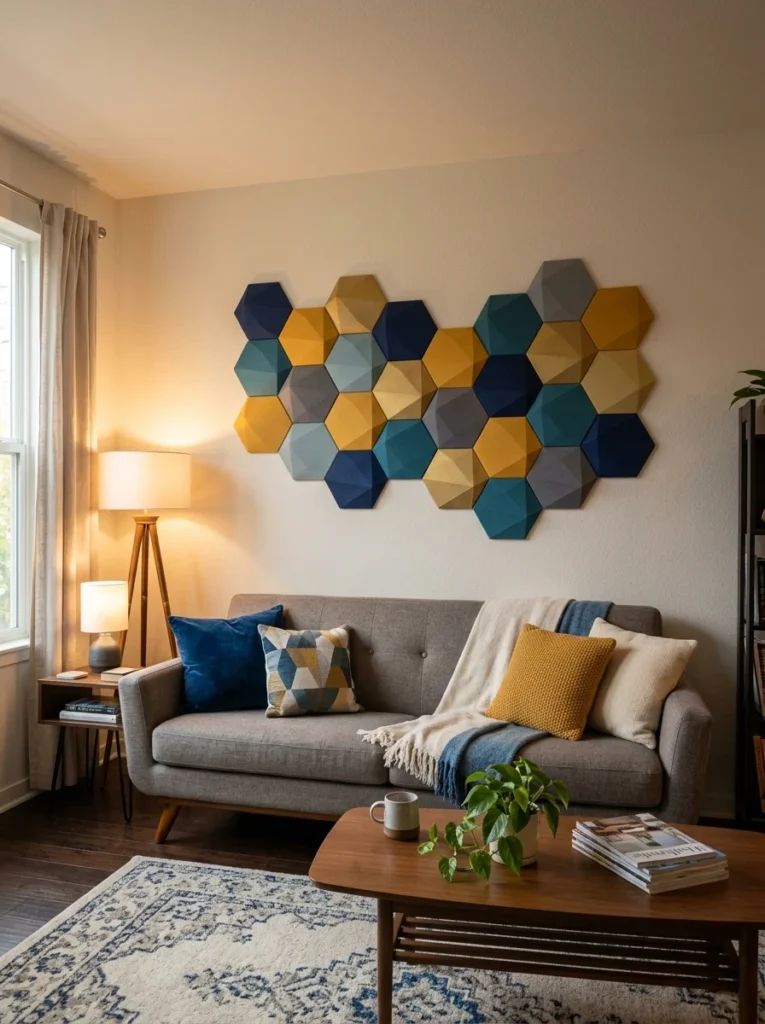
Geometric wall panels turn your printer into a home decor tool. Pick a simple hexagon or triangle shape and print several in matching or complementing colors.
Each panel takes one to two hours depending on size. Print four to six for a small wall cluster, or more for a larger statement piece.
Budget tip: print in a single neutral color like white or matte black for a clean look that fits most rooms without clashing with existing decor.
Mount panels using small adhesive strips instead of nails. This avoids wall damage and makes rearranging the pattern easy if you change your mind later.
Keep panel thickness around 3 to 4 millimeters. Thin enough to print fast, thick enough to stay rigid once mounted.
This project is a great way to practice arranging multiple flat objects into a pleasing pattern. It also teaches you how repeated shapes can turn a basic print into a finished decor piece without needing painting or extra materials.
21. Earring and Jewelry Stand
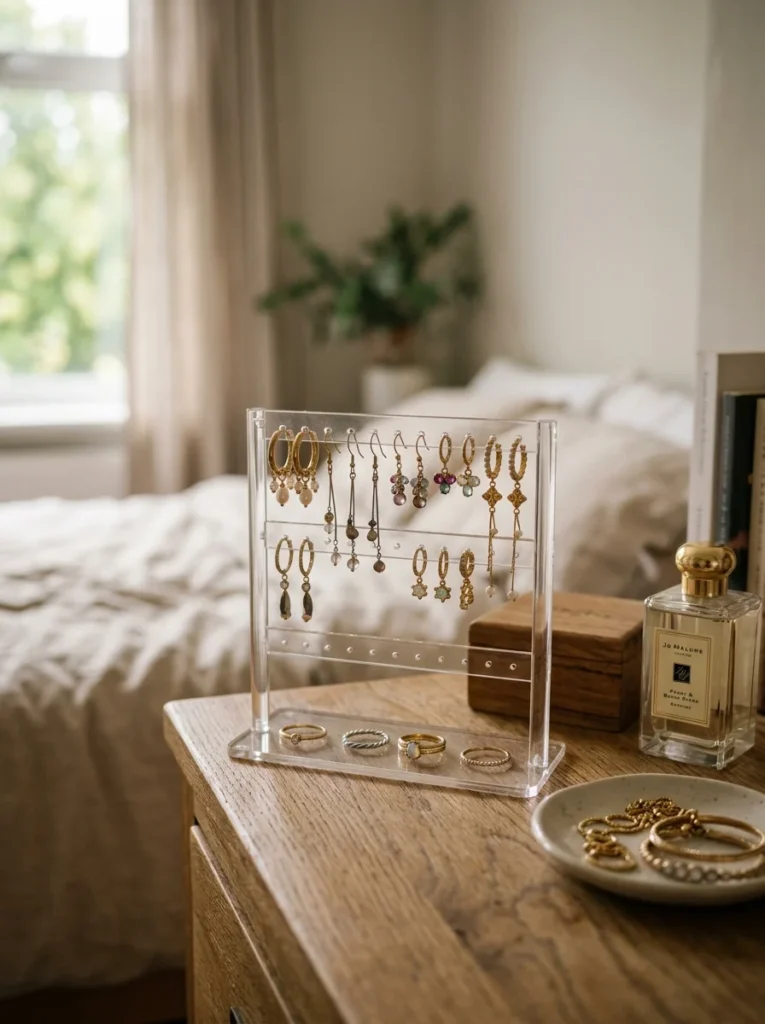
A jewelry stand with small hooks or holes keeps earrings untangled and visible. Choose a tree-branch style or simple flat panel design depending on your jewelry collection size.
Print time runs one to three hours. Branch-style stands take a bit longer due to thin, detailed arms.
Budget tip: this project uses very little filament since most of the design is open space and thin branches rather than solid material.
Print slowly, around 40 millimeters per second, if your design includes thin delicate arms. Slower speeds reduce wobble and snapped pieces on fragile parts.
Add a flat, weighted base so the stand doesn’t tip over when you hang multiple earrings on one side.
This print is excellent practice for thin, detailed shapes. You’ll learn how supports work in your slicer software, since branch-style designs often need light support material to print successfully without sagging mid-print.
22. Desk Cable Box
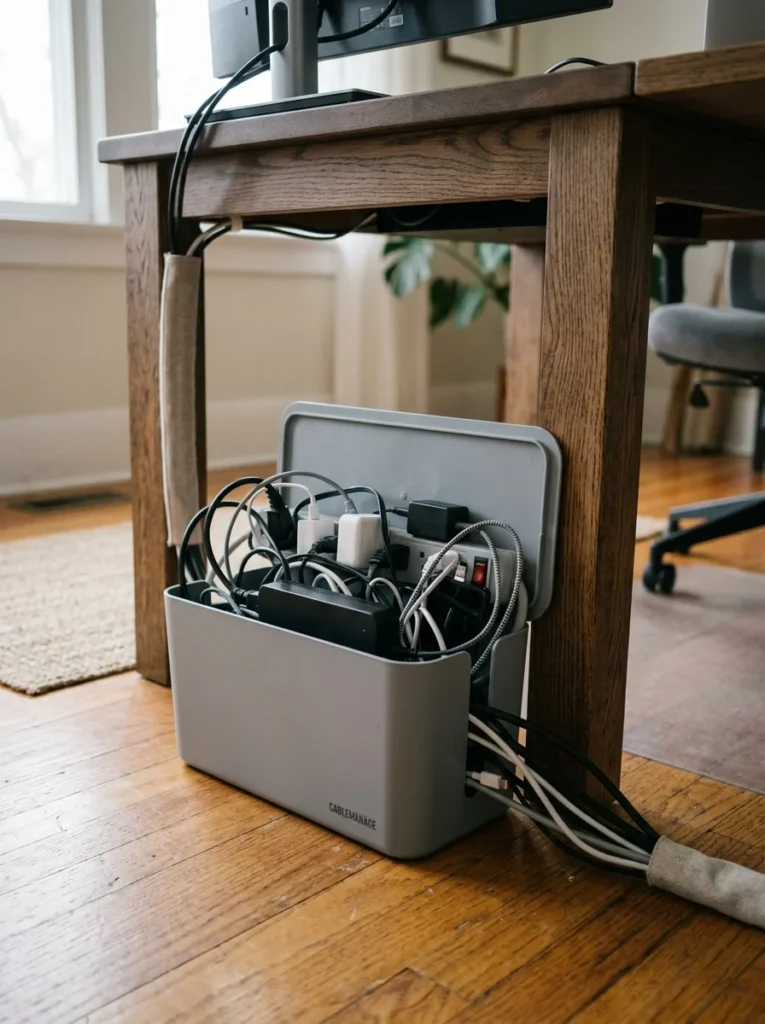
A cable box hides messy power strips and tangled cords under your desk. Pick a design with cutouts on the sides so cables can pass through without bending awkwardly.
Print time runs three to five hours depending on box size. This is a good overnight print since it doesn’t need close monitoring once it’s running smoothly.
Budget tip: print without a top lid if you want to save filament and time. An open-top box still hides cable mess just fine from a normal viewing angle.
Measure your power strip first. A box that’s too small won’t fit, and one that’s too big wastes filament and desk space.
Pick a dark color like black or gray so it blends into shadows under your desk instead of standing out.
This project is good practice for printing larger, simple shapes efficiently. You’ll learn how print time scales with size, an important lesson before attempting bigger furniture-style prints later.
23. Succulent Wall Planter Grid
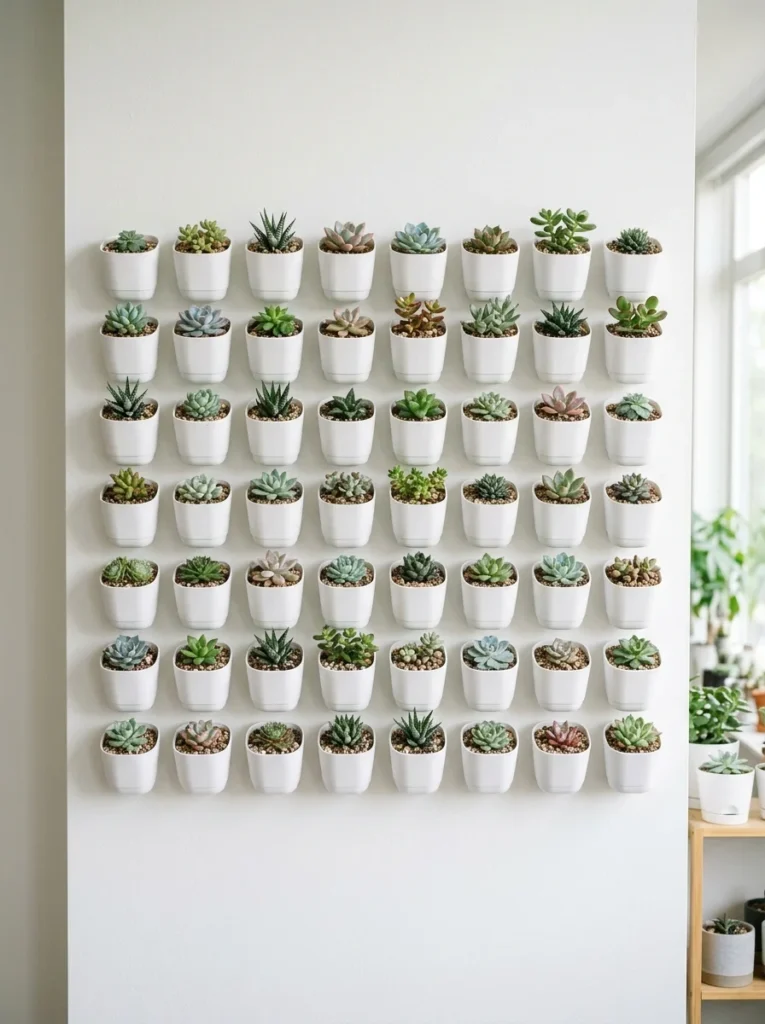
A wall planter grid combines several small pots into one connected piece. Look for designs with individual pockets arranged in a clean geometric pattern.
Print time runs three to six hours depending on how many pockets the grid includes. Start with a small four-pocket version for your first attempt.
Budget tip: print in one solid color so the grid looks intentional rather than mismatched. Save multi-color experiments for smaller, less visible projects.
Mount using wall anchors rather than adhesive strips since this piece holds soil weight across multiple pockets. A few screws keep everything secure.
Fill pockets with small low-maintenance plants like succulents or air plants that don’t need deep soil or frequent watering.
This project combines several beginner skills, drainage design, wall mounting, and larger print management, into a single satisfying weekend build. It’s a good next step once you’ve completed a few smaller individual projects on this list.
24. Simple Robot Toy Figure
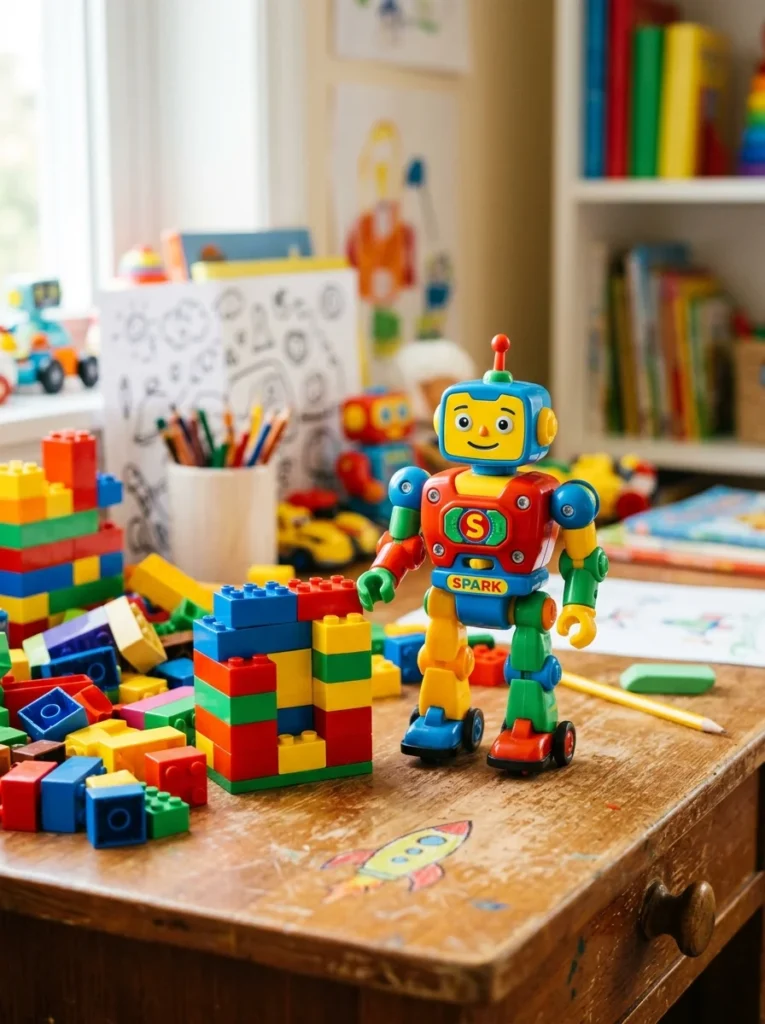
A robot toy figure is a fun, low-pressure print if you want a finished object that’s pure fun rather than purely functional. Pick a simple blocky design rather than anything with thin, breakable parts.
Print time runs two to four hours depending on figure size and detail level.
Budget tip: print in bright primary colors like red, blue, and yellow. These colors read well even on a small toy figure and make a great handmade gift for kids.
Stick to a single-piece design for your first robot print. Multi-part assembly robots are fun too, but save those for after you’ve built confidence with simpler shapes.
Sand down any rough edges once printed, especially if the toy is meant for a young child who might handle it roughly.
This project is a fun morale boost after a string of practical, function-first prints. Sometimes printing something just for fun keeps the hobby feeling enjoyable instead of like a constant to-do list.
25. Personalized Nameplate
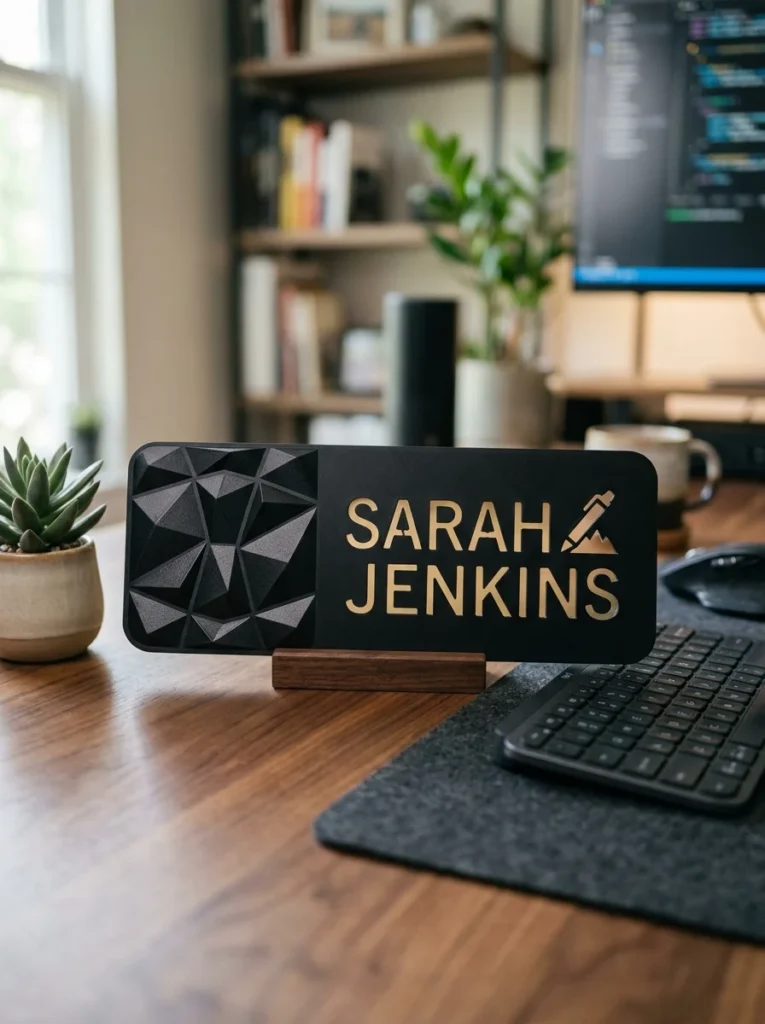
A nameplate is a simple, personal project perfect for gifting or finishing your weekend printing streak. Use a free online tool to generate custom raised lettering, then export the file directly to your slicer.
Print time runs one to two hours depending on nameplate length and letter thickness.
Budget tip: print in two colors using a quick filament swap, one for the base, one for the raised letters. This creates a clean contrast without needing paint or extra materials.
Keep letters thick enough to print cleanly, generally at least 3 millimeters wide per letter stroke. Thin, fancy fonts often fail on basic beginner printers.
Add a small stand or base at the bottom so the nameplate stands upright on a desk or shelf without extra support.
This project is a satisfying way to wrap up a full weekend of 3D printing. It combines basic text design with a personal touch, a fitting last project before tackling bigger custom builds next time.
Conclusion
Twenty-five projects, one weekend, and a printer that finally earns its space on your desk. Start small with the cable clips and coasters, then work your way toward bigger builds like the wall planter grid or cable box once you’ve got a few successful prints behind you.
Every project here uses basic PLA filament, beginner-friendly settings, and tools most printers already include out of the box. Pick three or four ideas that solve a real problem in your home, queue them up, and watch your printer turn plain filament into things you’ll actually use every day. The best way to get better at 3D printing isn’t more research. It’s printing more often.
