

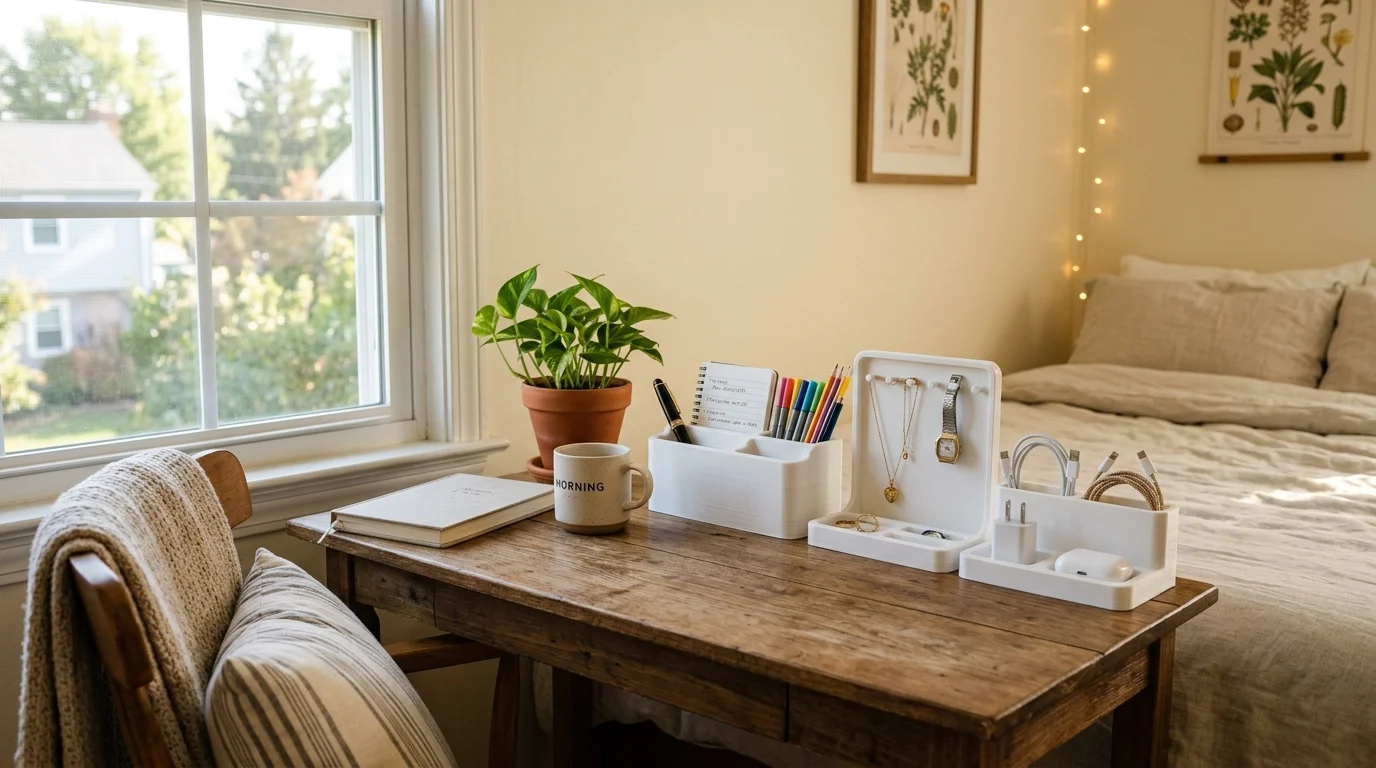
Your room doesn’t need a fancy organization system from a home decor store. It needs a 3D printer, some leftover filament, and about 20 minutes per project. That’s it.
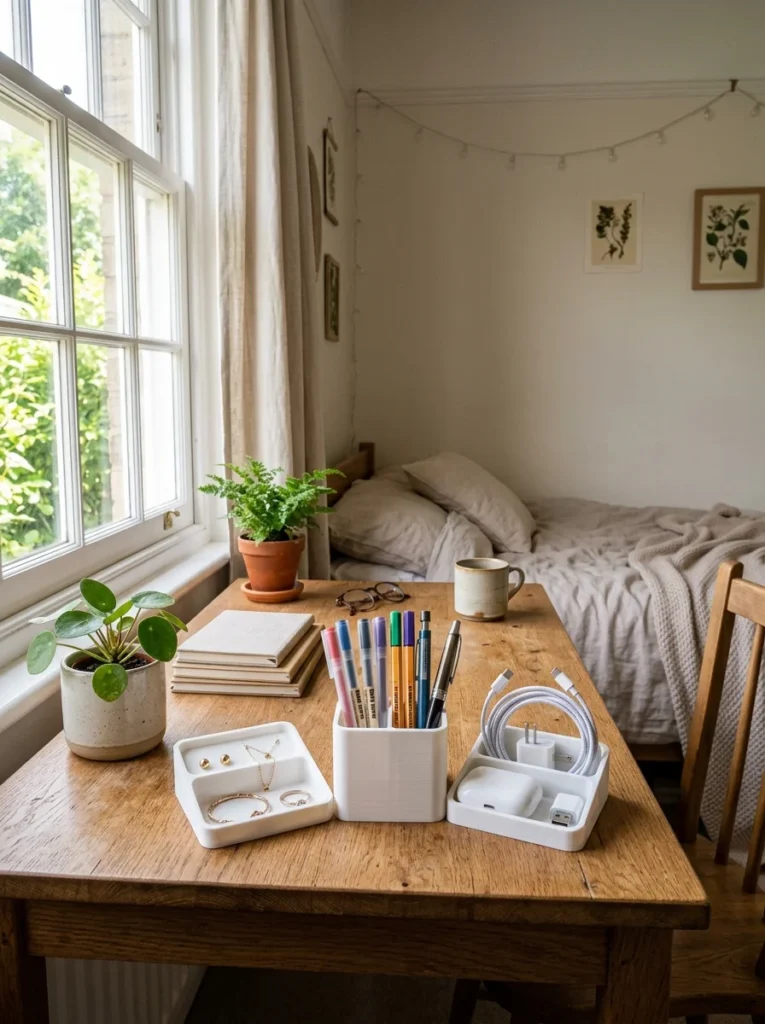
If your room looks like a tornado hit your desk, your drawers, and your nightstand all at once, you’re not alone. Most clutter problems aren’t about having too much stuff. They’re about not having the right tiny container in the right tiny spot. And that’s exactly what 3D printing solves better than anything you can buy.
Here’s how to turn your printer into a room-organizing machine without spending more than a few dollars in filament.
Start With Your Desk Chaos
Your desk is probably the worst offender. Pens roll everywhere. Cables tangle. Sticky notes vanish into the void.
Fix it with:
- A small desk tray for pens and paperclips
- A phone stand with a cable slot so charging looks intentional
- A cord wrap spool for loose charging cables
These prints take under an hour each. Start here because the payoff is instant. You’ll see your desk transform in one sitting.
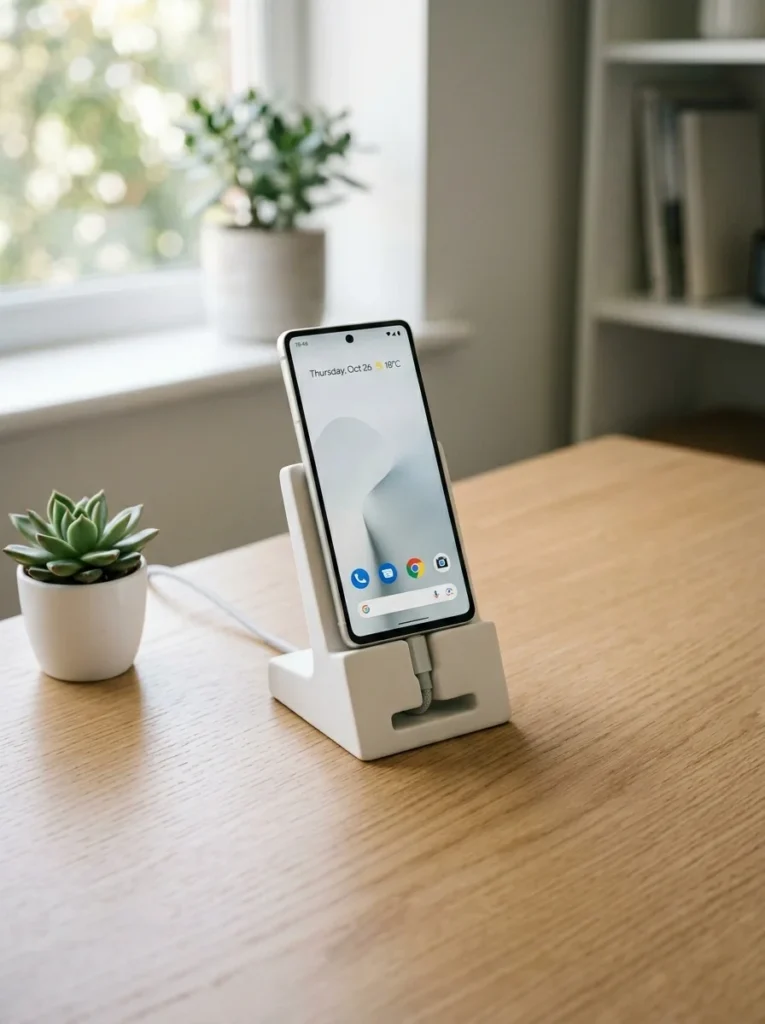
Budget tip: use scrap filament for desk pieces. Nobody cares if your pen tray is leftover orange from another project.
Tackle the Drawer Disaster
Open any drawer in your room right now. Be honest. It’s probably a mess of random items shoved in together.
Drawer dividers are the fix, and they’re shockingly easy to print:
- Measure your drawer width first
- Design simple wall pieces in a free tool like Tinkercad
- Print them in pieces that slot together instead of one giant chunk
Small pieces print faster and fit on basically any printer bed, even a tiny one.
Once your drawer has sections, everything has a home. Socks stop hiding under chargers. Loose change stops rolling into corners.
Organize What’s on Your Walls
Floor and desk space fill up fast. Walls don’t.
A few wall-mounted prints can free up serious room:
- A key holder by your door
- A small floating shelf bracket for tiny decor
- A wall-mounted jewelry hook strip near your mirror
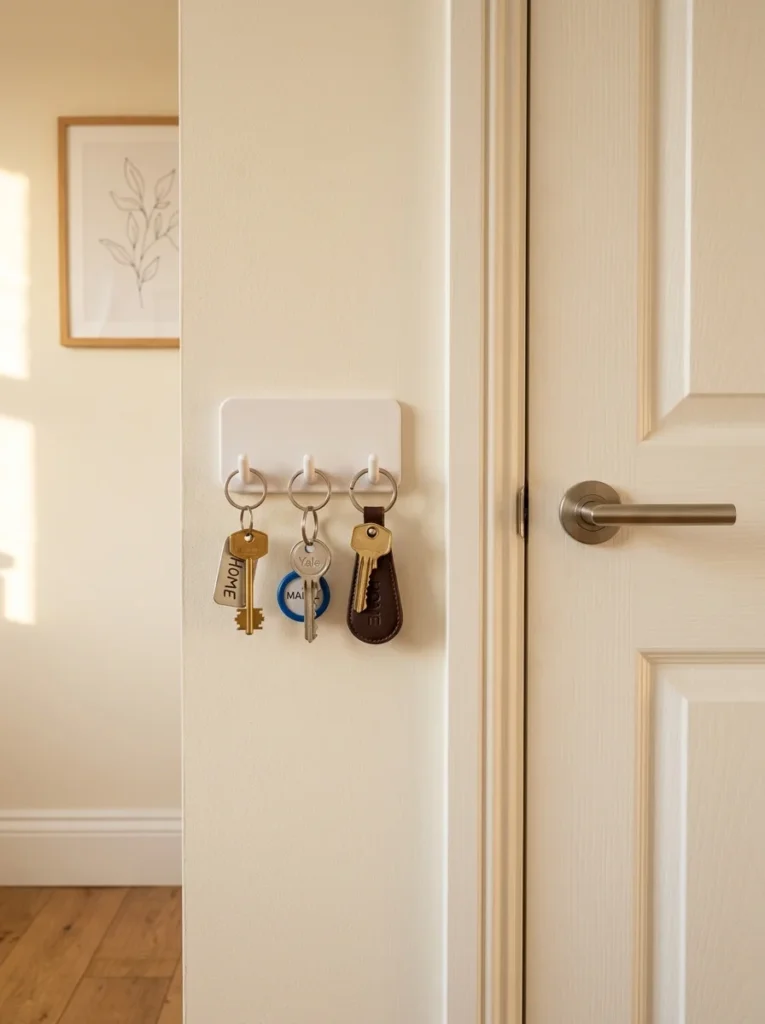
These prints barely use filament since they’re mostly thin walls and hooks. Mount them with a single screw or a strong adhesive strip. No drilling skills required.
Budget tip: print everything in one neutral color, like white or black, so your walls look styled instead of mismatched.
Fix the Jewelry and Accessory Mess
If your earrings live in a tangled pile somewhere on your dresser, this one’s for you.
A simple jewelry stand with small hooks keeps everything visible and untangled. Look for a branch-style design or a flat panel with holes punched along the edge.
Print tips for this one:
- Slow your print speed down for thin, delicate arms
- Use a wide, flat base so it doesn’t tip over
- Stick to one print color to keep it from looking busy
It takes one to three hours to print, but it solves a problem you’ve probably been ignoring for months.
Create a Mini Charging Station
Nightstands are notorious clutter zones. Phones, earbuds, glasses, all competing for the same six inches of space.
Print a small charging dock with a slot for your phone and a side groove for the cable. Add a tiny tray attachment for earbuds or rings you take off before bed.
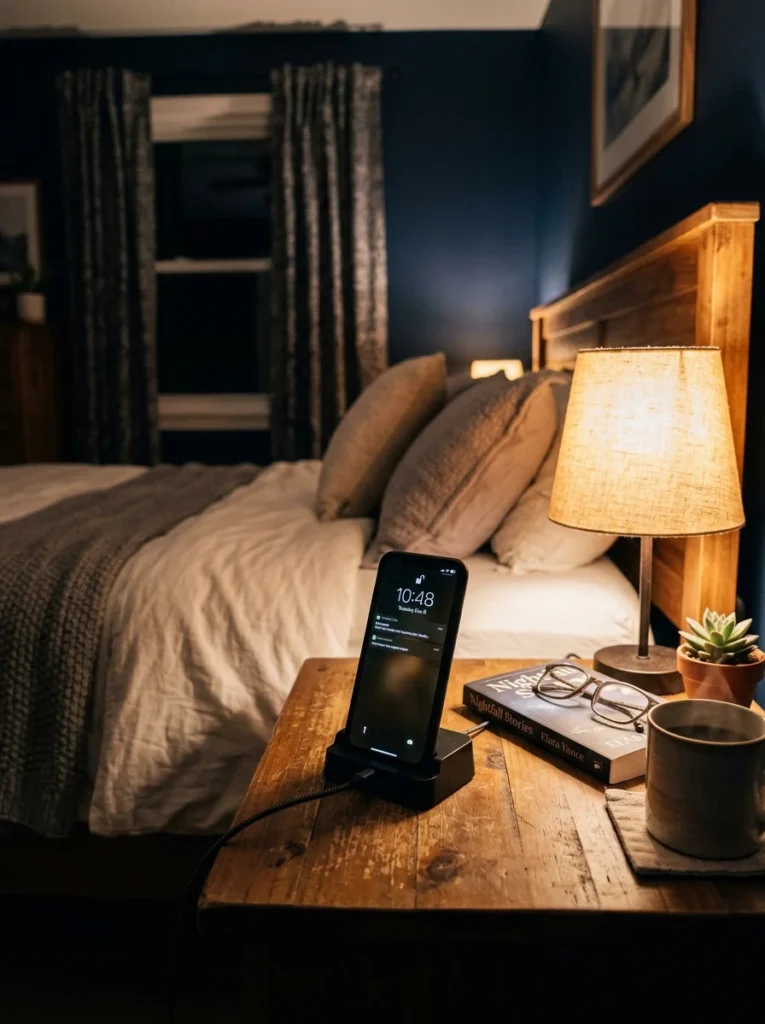
This print usually takes one to two hours. Once it’s done, your nightstand finally has a job instead of just collecting random objects.
Don’t Forget the Closet
Closets get ignored because they’re hidden, but a little organization here goes a long way.
Quick closet wins:
- Small stackable boxes for socks, belts, or accessories
- Hook strips for scarves or bags
- Labeled bins using leftover filament colors to color-code categories
Print these in batches. Most are small enough to fit several on one print bed at once, which saves you time and electricity.
Keep the Momentum Going
Once you finish one room, you’ll start noticing clutter everywhere else too. That’s normal. Organizing with 3D prints is addictive because every fix is fast, cheap, and actually yours.
Start with just one problem area this weekend. Maybe it’s the desk. Maybe it’s that one drawer you’re embarrassed to open. Print one thing, see how much better it feels, and keep going from there.
Save this guide for your next decluttering weekend. Your room (and your printer) will thank you.
