

There’s something quietly magical about a paper star. It’s simple enough to fold in minutes, yet beautiful enough to hang above a mantle, tuck into a gift box, or string across a ceiling for a party. The best part? You don’t need any special skills, just paper, a little patience, and this guide.
Whether you’re decorating for the holidays, planning a baby shower, or looking for a handmade gift topper that actually impresses people, paper stars deliver every single time.
What You’ll Need
Good news, the supply list is very short. You likely already own everything required.
For lucky stars (the classic folded version):
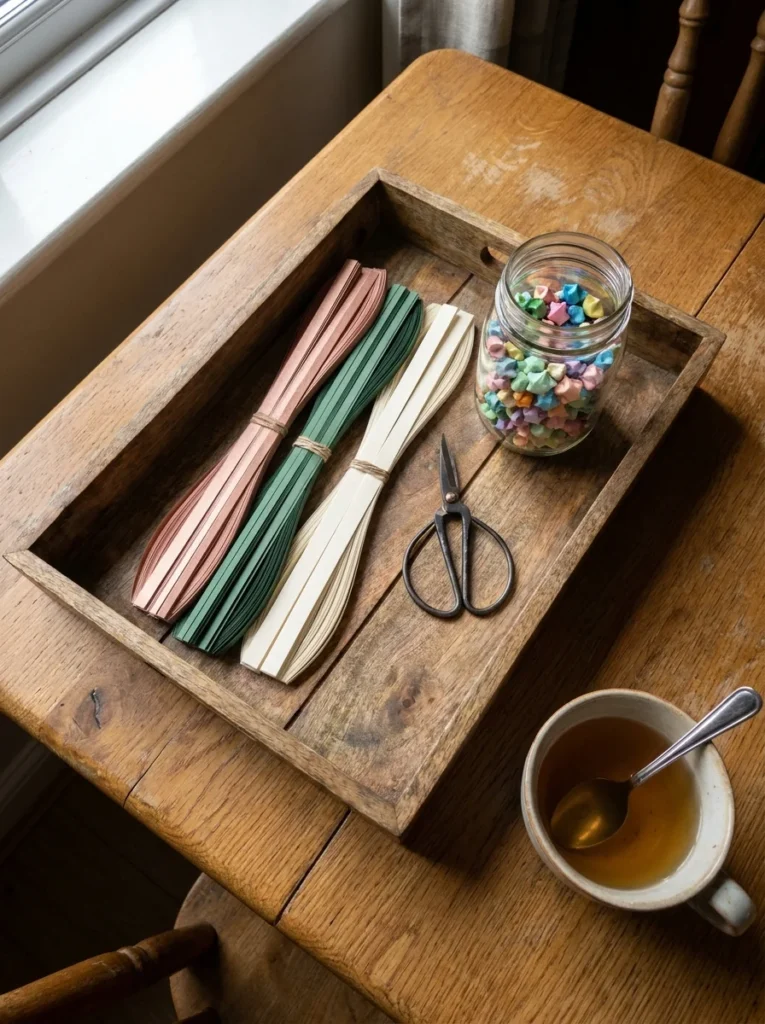
- Strips of paper roughly 1 cm wide, 25–30 cm long
- Scissors or a paper trimmer
- Any lightweight paper: origami paper, wrapping paper, magazine pages, or printer paper
For 3D geometric stars:
- Square sheets of paper (15×15 cm works well)
- Bone folder or fingernail for clean creases
- Glue stick or double-sided tape
Optional extras:
- Metallic or patterned paper for a festive look
- Fishing wire or thin twine for hanging
- A needle for threading multiple stars into a garland
That’s genuinely it. No special tools, no expensive supplies.
How to Fold a Classic Lucky Star
Lucky stars are the most satisfying paper craft to batch-make. Once you nail the technique, you can fold one in under two minutes.
Step 1: Make the knot Take your paper strip and tie a loose overhand knot near one end. Gently flatten it into a pentagon shape. Don’t rush this part a clean pentagon means a rounder star.
Step 2: Wrap the strip Hold the pentagon flat and begin wrapping the remaining strip around it, following the natural angles of the shape. Each wrap should lay flush against the previous one with no overlapping gaps.
Step 3: Tuck the end When you reach the end of the strip, tuck it neatly into one of the open slots on the side. If the tail is too long, trim it down before tucking.
Step 4: Pinch and pop Here’s the satisfying part. Hold the pentagon between your thumb and forefinger and use your fingernails to gently press inward on each of the five flat sides. Apply even pressure and the star pops up into a three-dimensional shape.
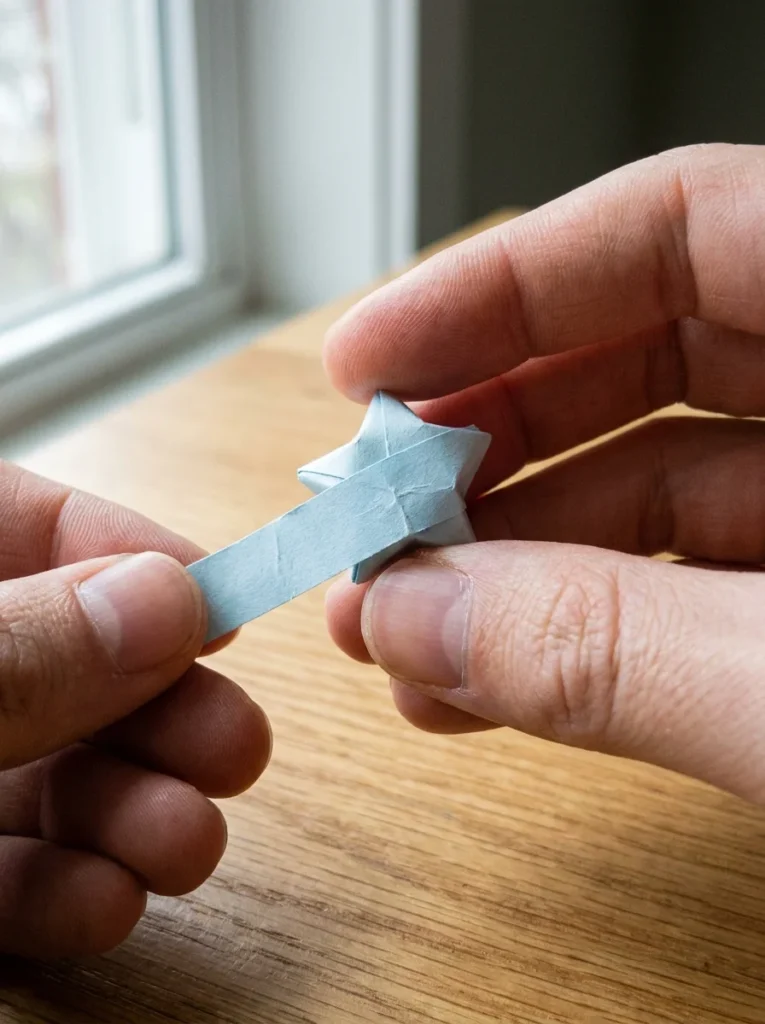
If it collapses or looks uneven, don’t worry. The first two or three always look a little rough. By the fifth one, you’ll have it.
Creative Ways to Use Your Paper Stars
Making stars is one thing. Knowing what to do with them is where it gets fun.
As decor:
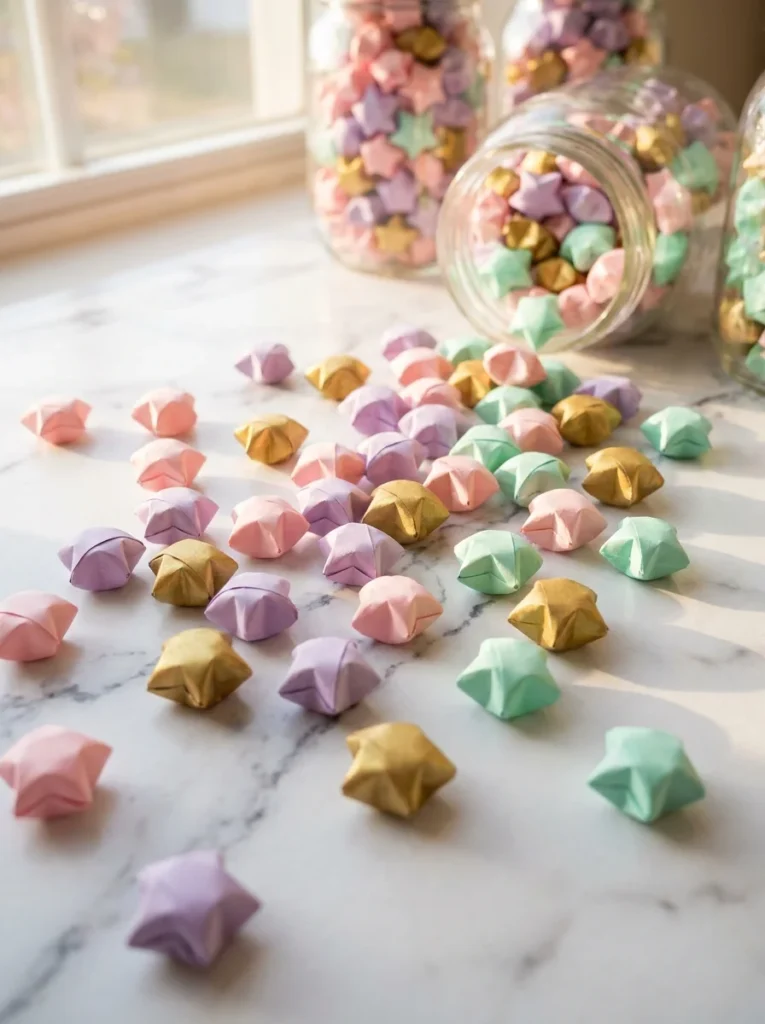
- Fill a tall glass jar with 40–50 lucky stars for a stunning table centerpiece
- String them onto clear fishing wire at different heights for a hanging mobile
- Scatter them across a tablecloth as confetti that doesn’t blow away
- Glue them onto a wreath base for a handmade holiday wreath
As gift packaging:
- Tuck a handful into a gift bag instead of tissue paper
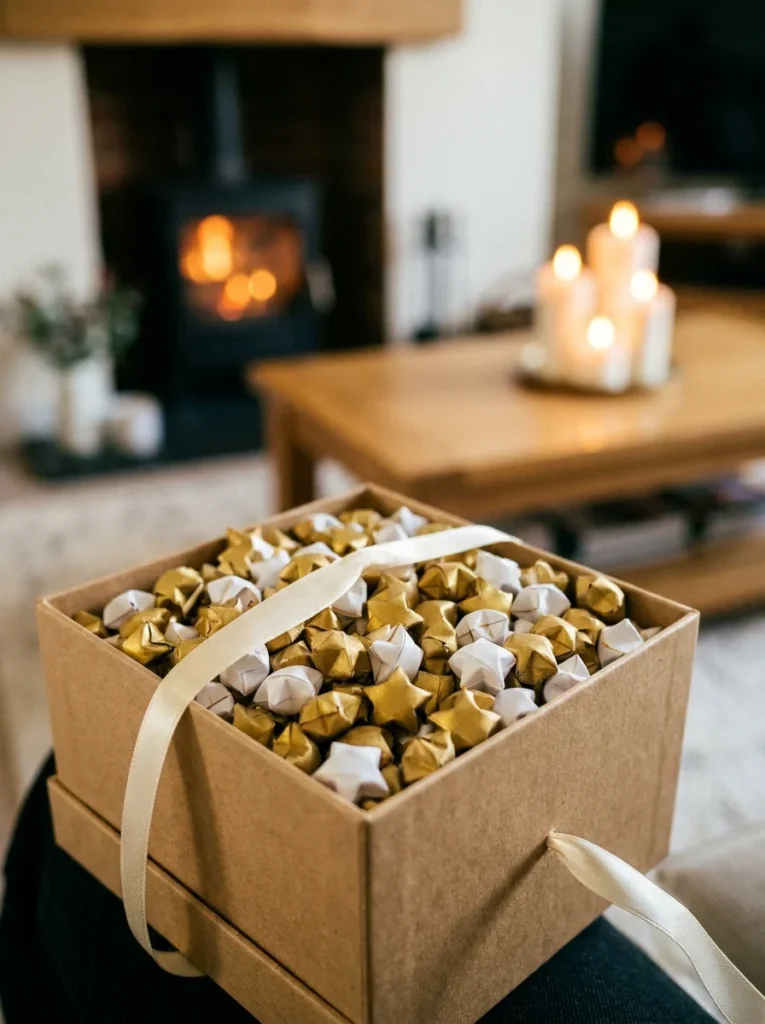
- Fill a small tin or box entirely with stars the gift inside feels like a treasure
- Hot-glue a single large star to the top of a wrapped gift as a topper
Tips for Making Them Look More Polished
A few small adjustments make a big difference in the final result.
- Use a paper trimmer, not scissors strips cut with a trimmer are perfectly even, which makes wrapping much easier
- Metallic paper changes everything gold and silver strips look stunning and catch the light from every angle
- Keep your tension consistent wrapping too loose gives you a lumpy star; too tight and the paper tears
- Batch-make in front of a show once the technique clicks, you can fold 30 to 40 stars in a single episode
- Mix paper weights lighter paper gives rounder stars; slightly heavier paper holds sharper points
Make It a Group Activity
Paper stars are one of the rare crafts that work beautifully as a group activity. Set out strips of paper in different colors, put on some music, and let people fold their own stars to take home.
This works especially well for:
- Baby showers and bridal showers
- Holiday craft nights
- Kids’ birthday parties (older kids, 8 and up, pick this up quickly)
- A low-key evening with friends who want something to do with their hands
Everyone ends up with something they made themselves. That’s a good feeling.
Wrap Up and Get Folding
Paper stars cost almost nothing, require zero experience, and produce results that genuinely surprise people. They’re the kind of craft that looks harder than it is which means you get full credit for something that’s actually quite relaxing to make.
Start with one strip of paper. Just one. You’ll have a three-dimensional star in your hand within five minutes, and you’ll immediately reach for another strip.
Save this guide and come back to it the next time you need a handmade decoration or a gift idea that feels truly personal.