

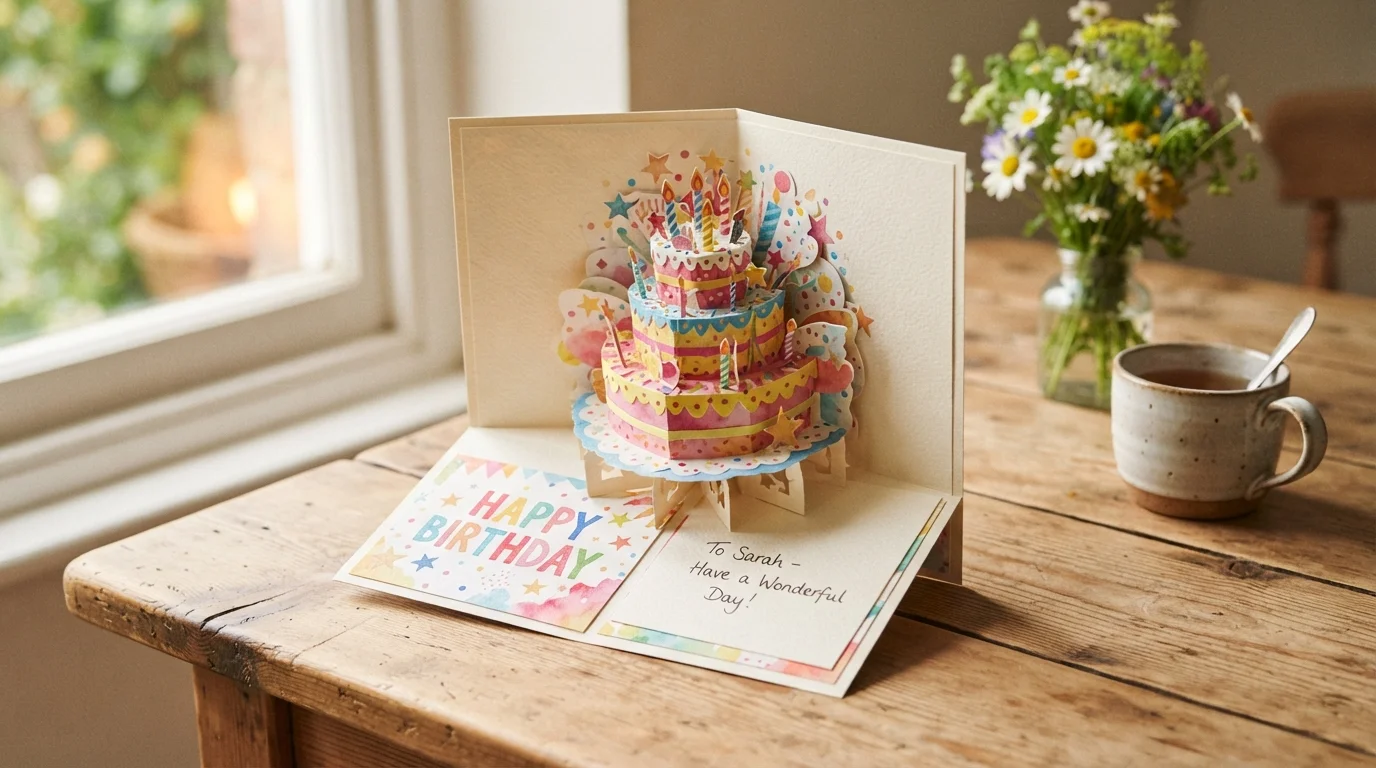
Ever opened a card and had something jump right out at you? That little surprise makes people grin every single time. The best part? You can make one yourself, even if you’ve never crafted before.
A pop-up birthday card looks fancy, but the trick behind it is simple folds and a few cuts. No special tools. No fancy skills. Just paper, scissors, and glue.
Let’s make one together, step by step.
What You’ll Need
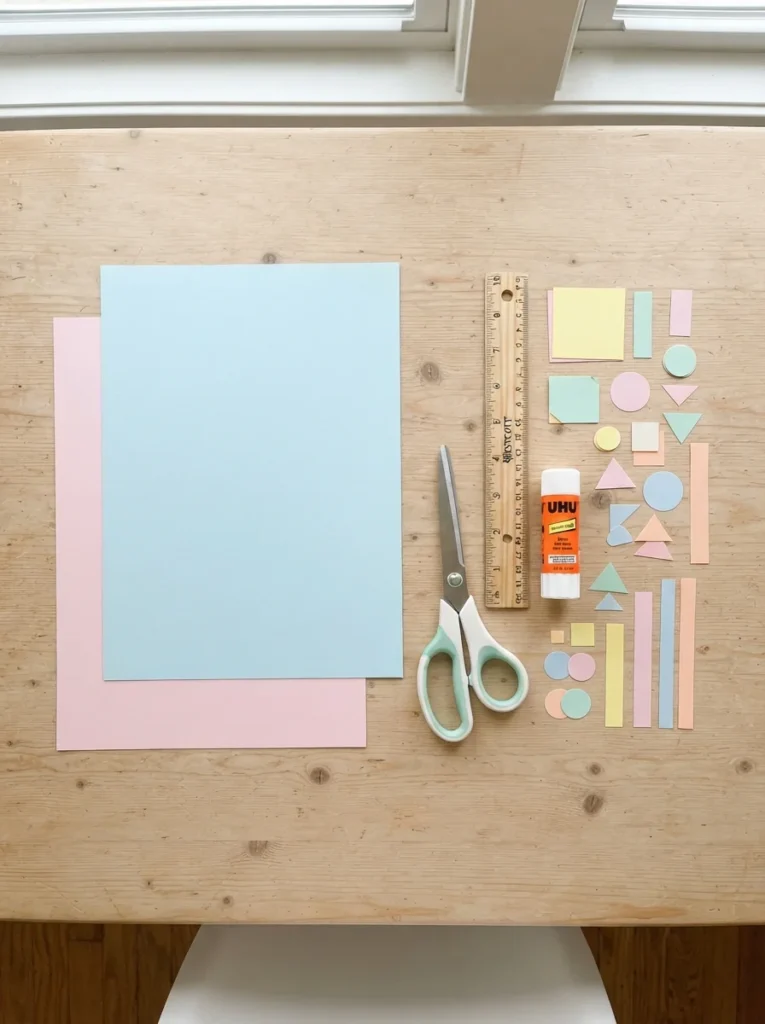
Gather these before you start. Most of it is probably already sitting in a drawer.
- 2 sheets of cardstock (one for the base, one for decorations)
- Scissors
- A glue stick or white craft glue
- A ruler
- A pencil
- Colored paper scraps for the pop-up shapes
- Markers or pens for details
That’s it. If you don’t have cardstock, thick colored paper works fine too. Just avoid thin printer paper, since it flops over instead of standing up.
Step 1: Fold Your Base Card
Take one sheet of cardstock. Fold it in half so the edges line up neatly.
Press the fold flat with your fingernail or the side of your ruler. A sharp crease makes everything easier later.
This folded sheet is your card. The inside crease is where the magic happens.
Tip: Fold slowly and match the corners first. A crooked fold throws off the whole pop-up.
Step 2: Cut the Pop-Up Slits
Open your card and find the center fold.
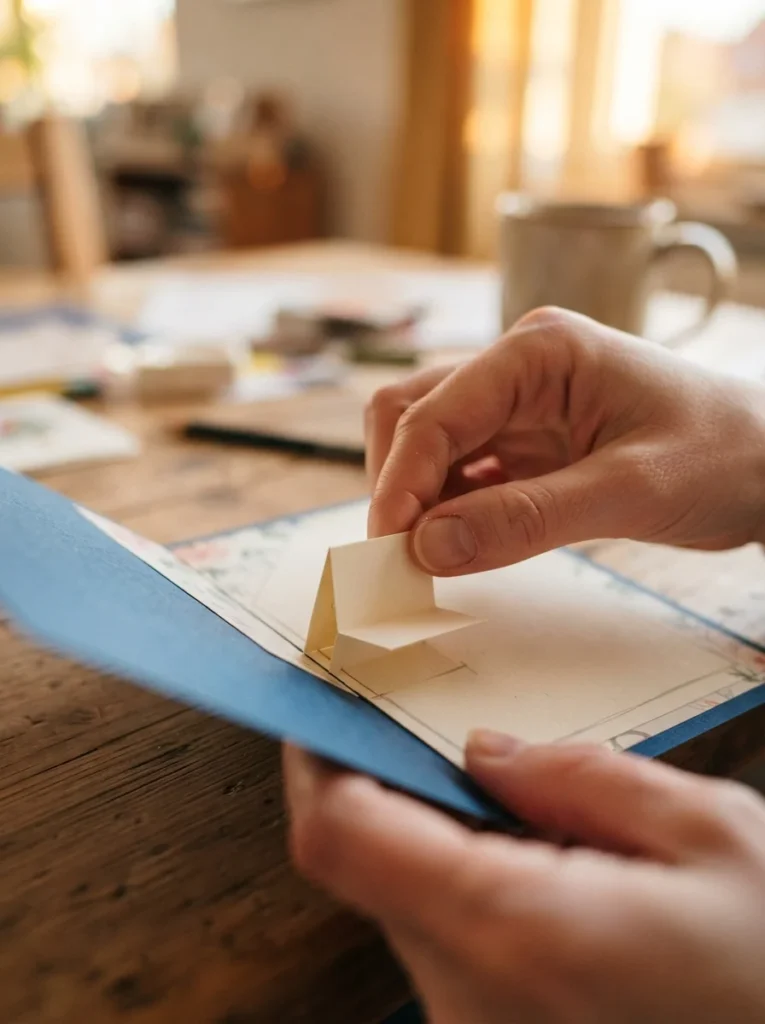
Now make two small cuts into the fold, both the same length. Space them about an inch apart. Cut straight in, roughly half an inch to an inch deep.
These two cuts create a little tab. That tab is what pops forward.
- Keep the two cuts parallel to each other
- Make them the same length
- Don’t cut too deep, or the tab gets floppy
Step 3: Push the Tab Forward
Here’s where it starts to look like real magic.
Gently open the card halfway. Push the little tab between your two cuts through to the other side. Fold it forward so it sticks out toward you.
Close the card and press. When you open it again, the tab should stand up on its own like a tiny step.
If it doesn’t pop, check your creases. Sometimes the tab just needs a firmer fold.
Step 4: Make Your Pop-Up Decoration
Now for the fun part. This tab will hold your surprise.
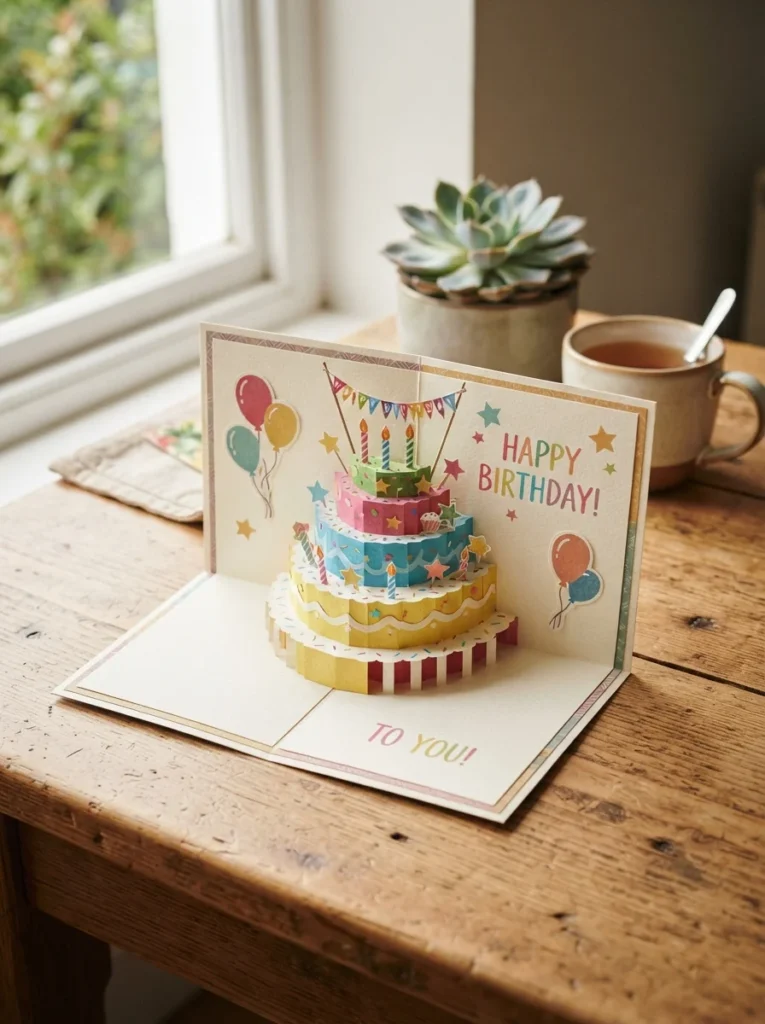
Grab your colored scraps and cut out a shape. Popular picks for birthdays:
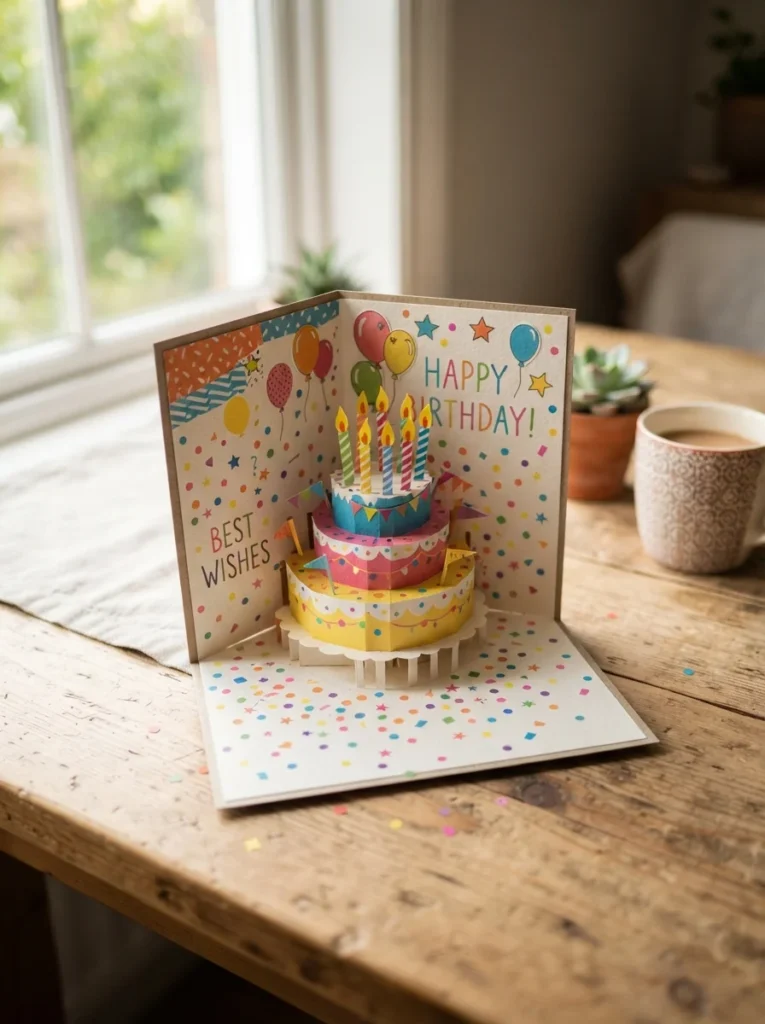
- A layered cake with candles
- A bunch of balloons
- A big “Happy Birthday” banner (drawn, not printed)
- A gift box with a bow
Keep the shape a little smaller than your card. If it’s too big, it won’t fold flat when you close the card.
Add details with your markers. Draw frosting drips, candle flames, or polka dots. Little touches make it feel handmade in the best way.
Step 5: Glue It to the Tab
Almost done.
Put a small dab of glue on the front of your standing tab. Press your paper shape onto it. Hold it for a few seconds so it sticks.
Now close the card slowly. Does the shape fold down flat inside?
- If yes, you nailed it.
- If no, trim the shape a bit smaller and try again.
Open it back up. Your decoration should spring forward like it’s saying hello.
Step 6: Decorate the Rest
Your pop-up works. Now dress up the empty space.
Ideas to try:
- Add a second sheet of colored paper to the front cover
- Draw a border around the edges
- Scatter little paper confetti dots inside
- Write your message off to the side so it doesn’t block the pop-up
Don’t overdo it. A bit of empty space actually makes the pop-up stand out more.
Quick Tips for Beginners
A few things that make your card look extra polished:
- Sharp creases matter. Press every fold firmly.
- Test before you glue. Fold the card closed to check the pop-up fits.
- Use scraps first. Practice the cuts on junk paper before your real card.
- Sign it early. Writing inside gets awkward once the pop-up is standing.
Wrapping Up
See? A pop-up card isn’t hard at all. Two cuts, one fold, and a little paper shape. That’s the whole secret.
The person opening it will think you spent hours. You’ll know it took fifteen minutes and a few scraps you already had.
Save this guide for the next birthday on your list. Then grab some paper and give it a try. Once you make one, you’ll want to make them for every celebration.
