

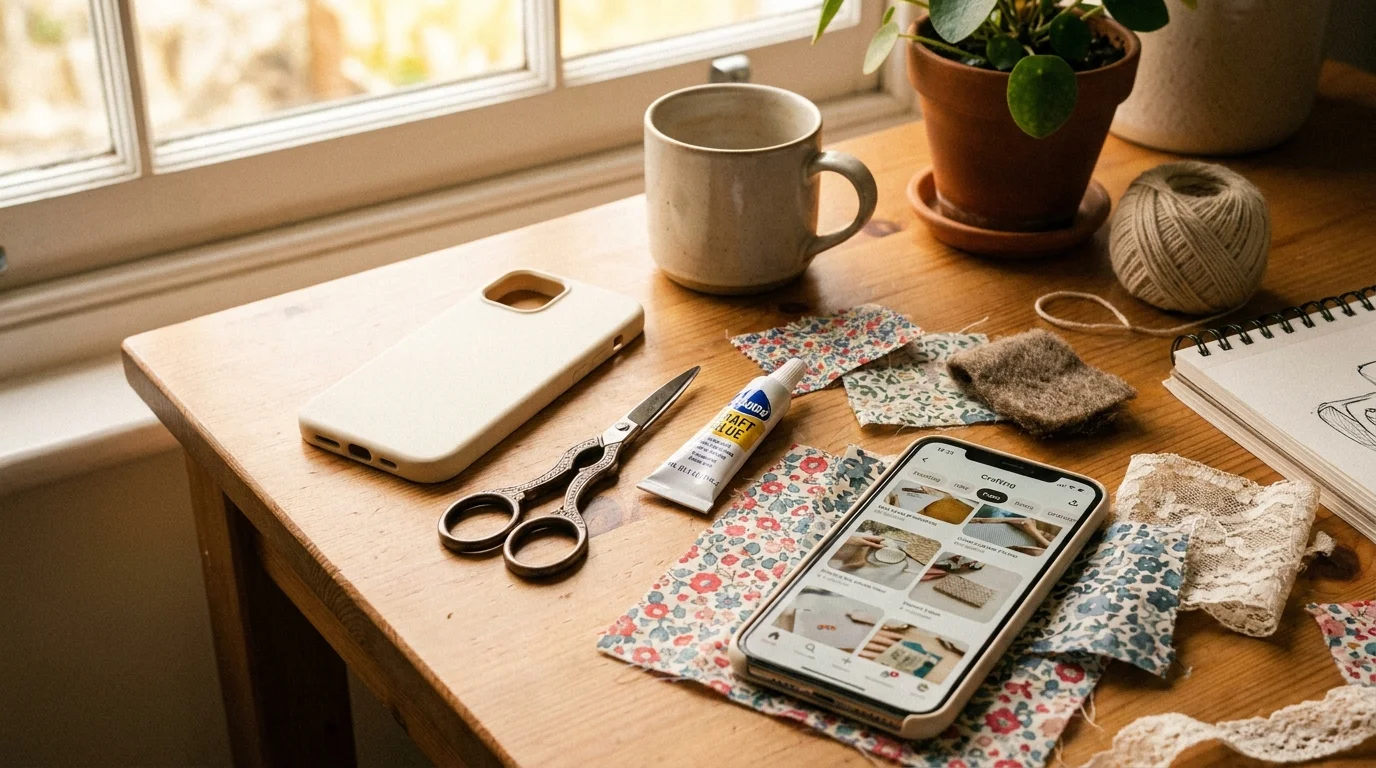
Ever dropped your phone and cringed at the crack? Or maybe you just want a case that actually looks like you and not the same clear one everyone else has. Good news: you can make one at home with stuff you probably already own. No fancy machines. No big budget. Just a free afternoon and a little bit of glue.
Let’s make something you’ll be proud to pull out of your pocket.
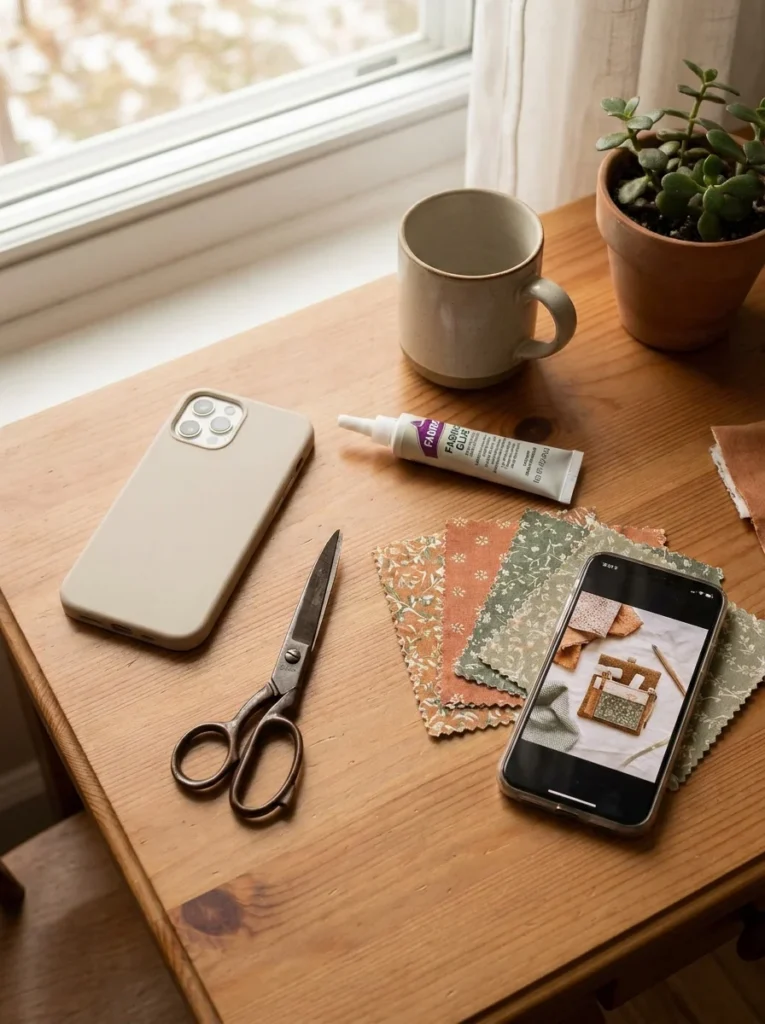
What You’ll Need
The best part about a DIY phone case is that the supplies are cheap and easy to find. Raid your junk drawer first before buying anything.
Here’s a simple starter list:
- A plain case (clear or solid color) or a thin sheet of craft foam
- Scissors and a craft knife
- Glue (strong craft glue or Mod Podge)
- Decorations — fabric scraps, stickers, dried flowers, beads, or paint
- A clear top coat (nail polish works great)
That’s really it. You can add more as you go, but this covers most projects.
Method 1: The No-Case Foam Version
Don’t own a spare case? You can build one from scratch with craft foam. It’s soft, cheap, and surprisingly protective.
Follow these steps:
- Trace your phone onto a sheet of craft foam. Draw a border about half an inch wider all around.
- Cut out the shape, then cut a second matching piece.
- Glue the edges of both pieces together, leaving the top open so your phone slides in.
- Cut small holes for your camera, buttons, and charging port.
Let the glue dry fully before you test the fit. Snug is good. Too tight and your phone won’t slide in.
This version works best as a soft sleeve inside your bag. It won’t survive a big drop, but it adds nice padding and looks adorable.
Method 2: Decorate a Plain Case
If you have a plain case lying around, this is the easiest route. You’re basically giving it a makeover.
Pick one look and go for it:
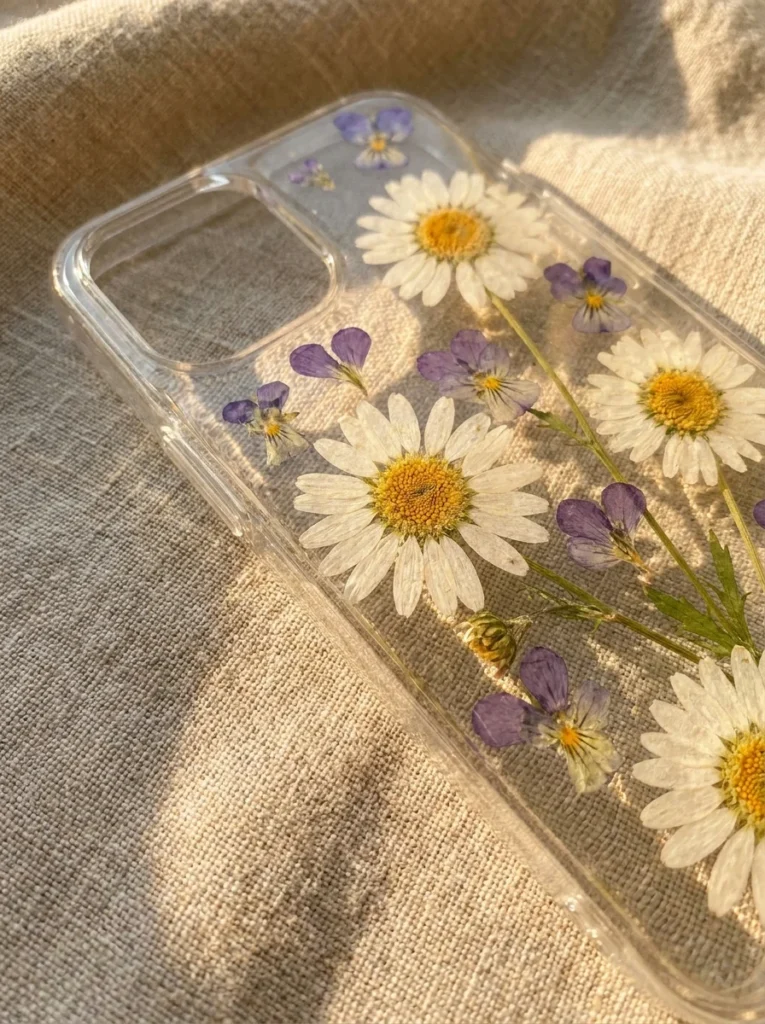
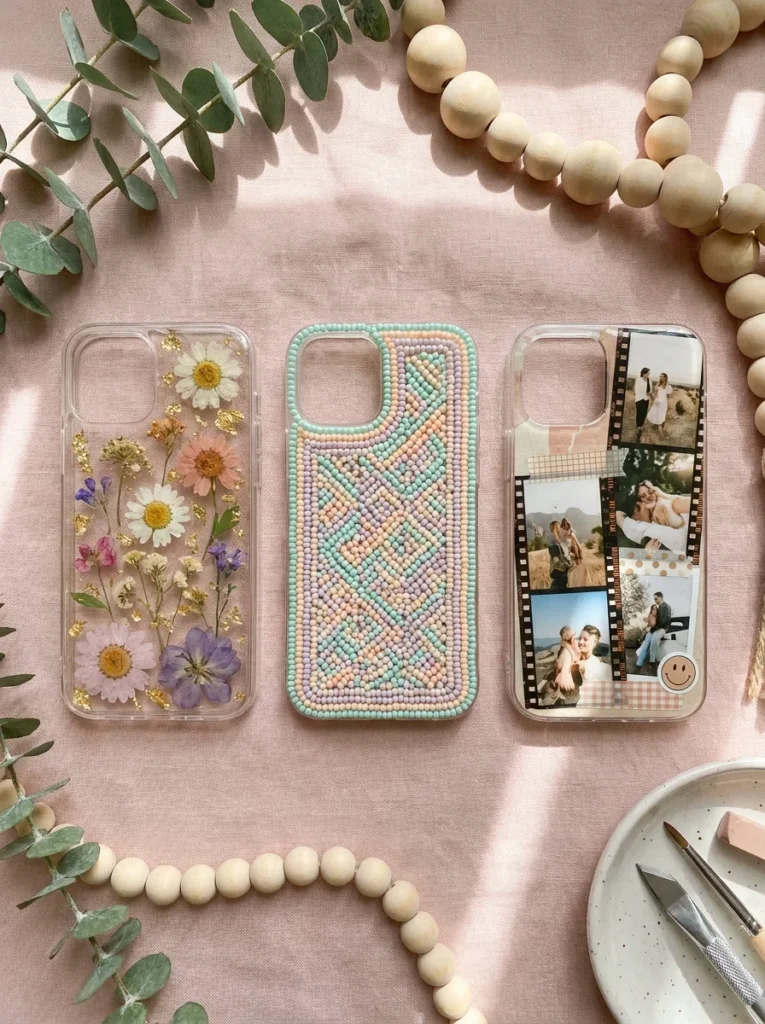
- Pressed flowers: Glue dried blooms onto a clear case, then seal with Mod Podge or resin.
- Fabric wrap: Cover the back with a fabric scrap using glue, then trim the edges clean.
- Sticker collage: Layer stickers all over, overlap them, and seal with clear polish.
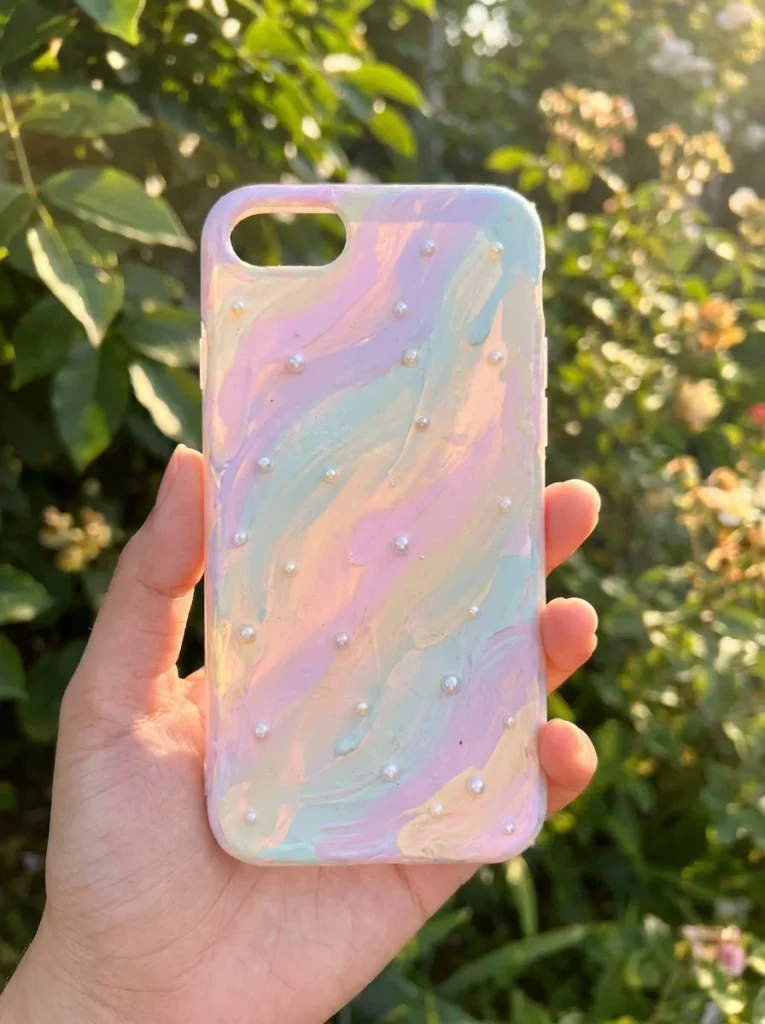
- Paint it: Brush on acrylic clouds, swirls, or dots, then add a top coat.
Whatever you choose, keep the layer thin. A bulky case is hard to hold and might not slip on right.
Tips for a Case That Actually Lasts
A cute case is useless if it falls apart in a week. A few small habits make yours hold up.
Keep these in mind:
- Always seal your work. A clear top coat protects paint, stickers, and flowers from daily wear.
- Let everything dry fully. Rushing leads to smudges and peeling. Overnight is safest for glue and resin.
- Keep decorations flat. Bumpy bits near the edges snag on pockets and bags.
- Test the fit early. Slide your phone in before adding the final seal, just in case.
Also, do a quick “shake test.” Hold the case upside down and give it a light shake. If nothing wiggles loose, you’re golden.
Fun Ways to Personalize It
Once you’ve got the basics, the fun really starts. Small touches turn a plain case into something special.
Try these ideas:
- Add a beaded charm on a corner loop
- Glue on tiny polymer clay shapes like fruit or stars
- Slip a photo collage of friends behind a clear case
- Wrap a bit of thin gold chain along one edge
Mix and match until it feels like yours. There’s no wrong way to do this.
Final Thoughts
Making a phone case at home is easier than it looks and way more fun than buying one. You get something unique, you save money, and you spend a cozy afternoon making it happen.
Start simple. Pick one method, grab your supplies, and give it a go this weekend. Your phone (and your wallet) will thank you.
Save this guide for your next craft day — and share it with a friend who loves a good DIY!
