

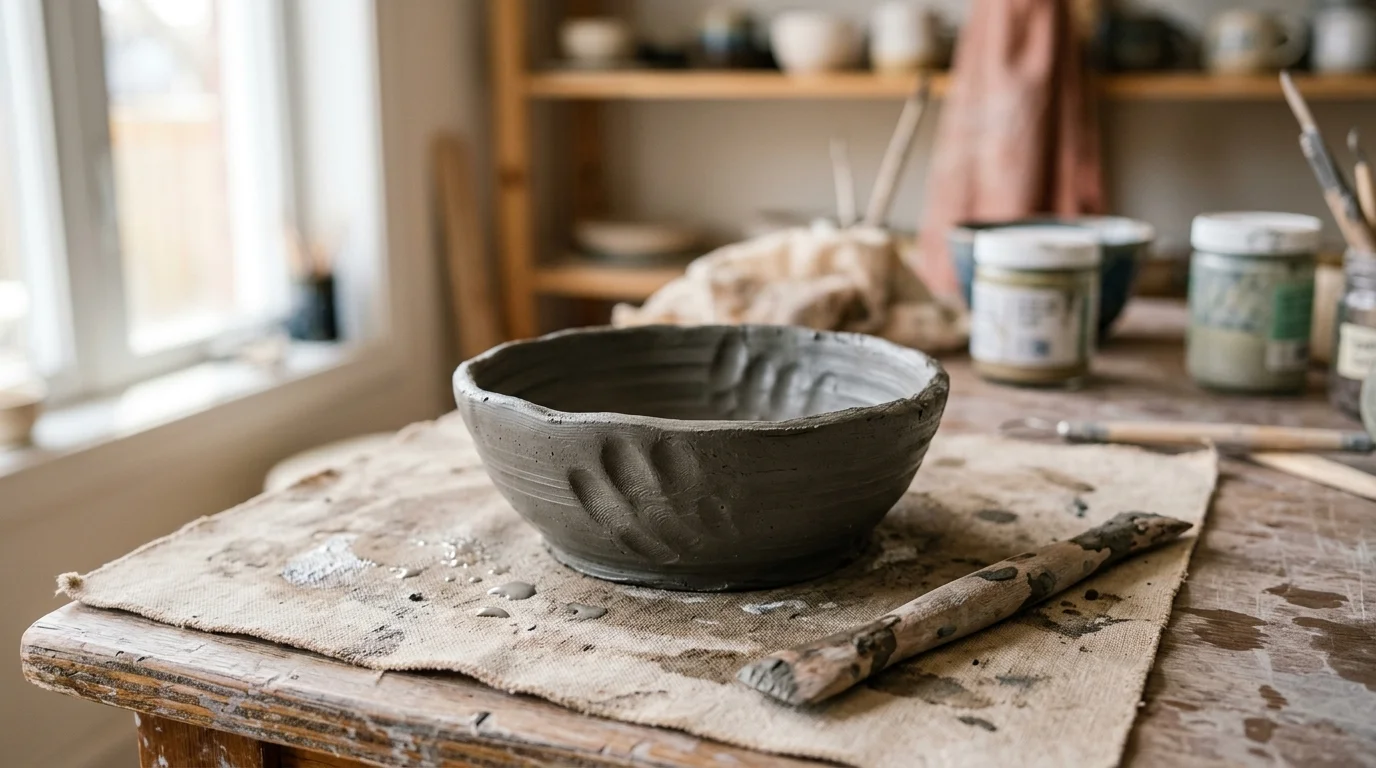
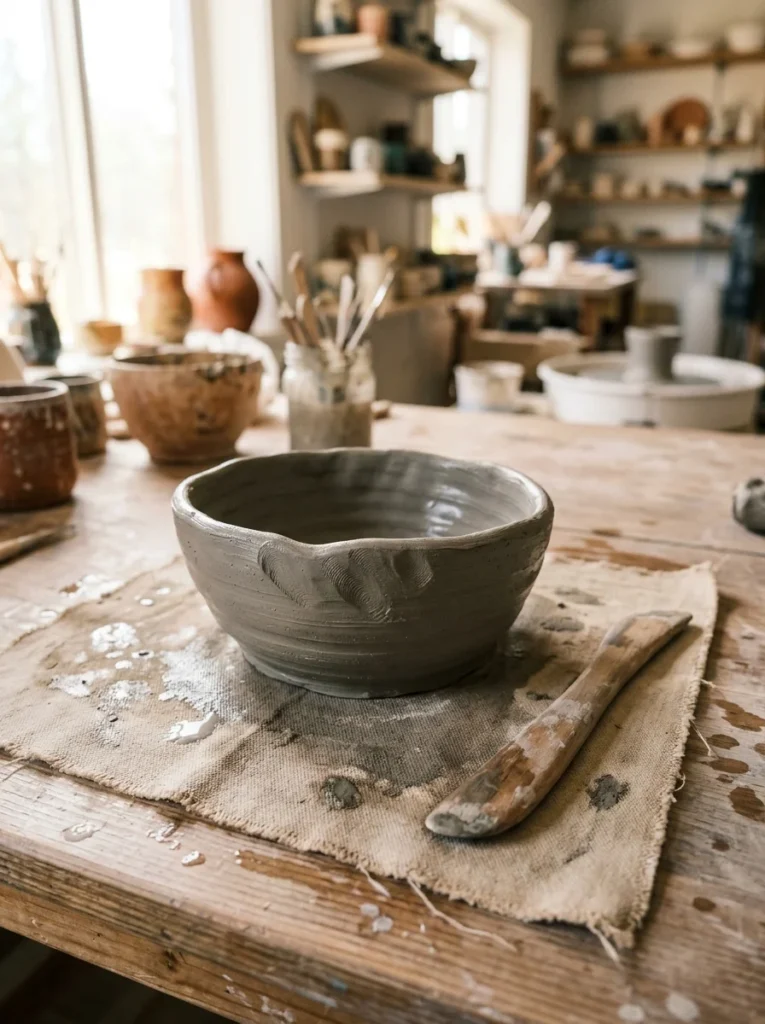
Starting with clay can feel a little messy and a little magical at the same time. A wheel, a kiln at home, or years of practice are not required to make something you’ll actually want to keep. This list breaks down 22 beginner-friendly pottery ideas that only ask for your hands, a few basic tools, and a little patience.
Whether you’re working with air-dry clay at your kitchen table or trying your first session at a local studio, these projects are designed to build real skill without wasting clay or money. Each idea below comes with a simple way to start and a tip to keep your first attempts low-pressure and low-cost.
1. Pinch Pot Bowl
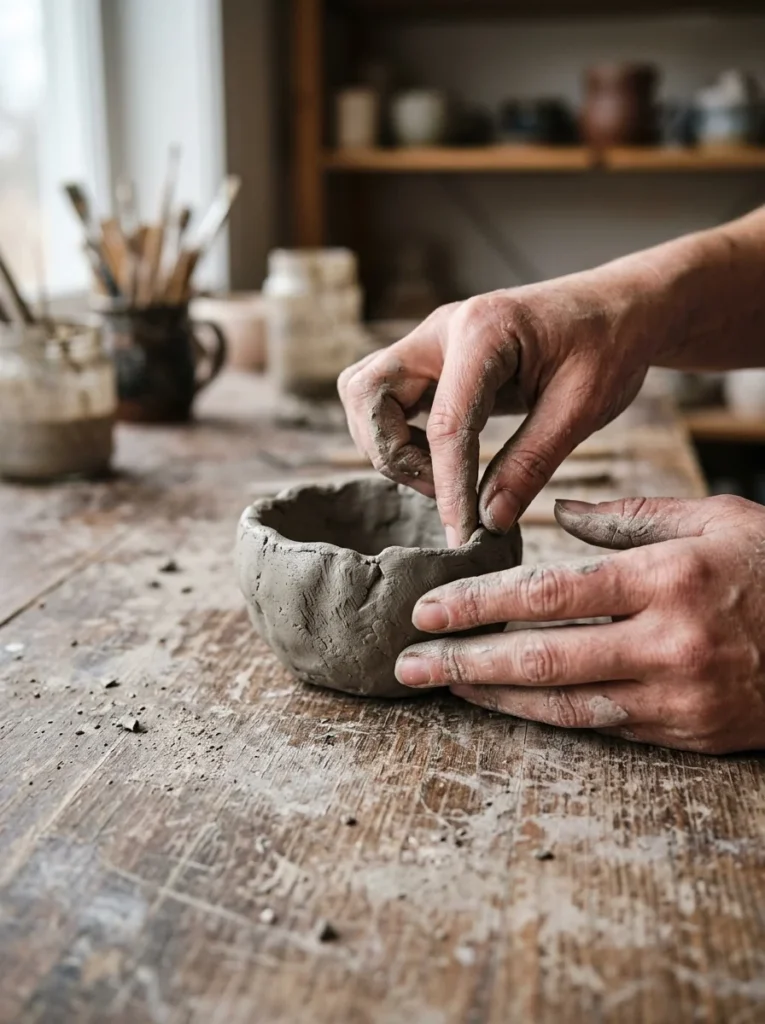
A pinch pot is where almost every potter starts. You roll a ball of clay, push your thumb into the center, and pinch the walls upward with your fingers. That’s the whole technique. No wheel. No fancy tools. Just your hands shaping the clay slowly, turning it as you go. Keep your pinches even so one side doesn’t get thinner than the other. Aim for walls about a quarter-inch thick.
This forgives wobbly edges, which makes it perfect for first attempts. Use it as a small dish for rings, paperclips, or tea bags. Air-dry clay works fine here, so you can skip the kiln entirely if you’re practicing at home. A bag of clay under ten dollars can make three or four of these. Keep your hands damp while working so the clay doesn’t crack as you shape it. If it dries out mid-project, a few drops of water and a quick knead will bring it back. This project teaches form, balance, and patience, the three things every later project will need from you.
2. Coil Vase
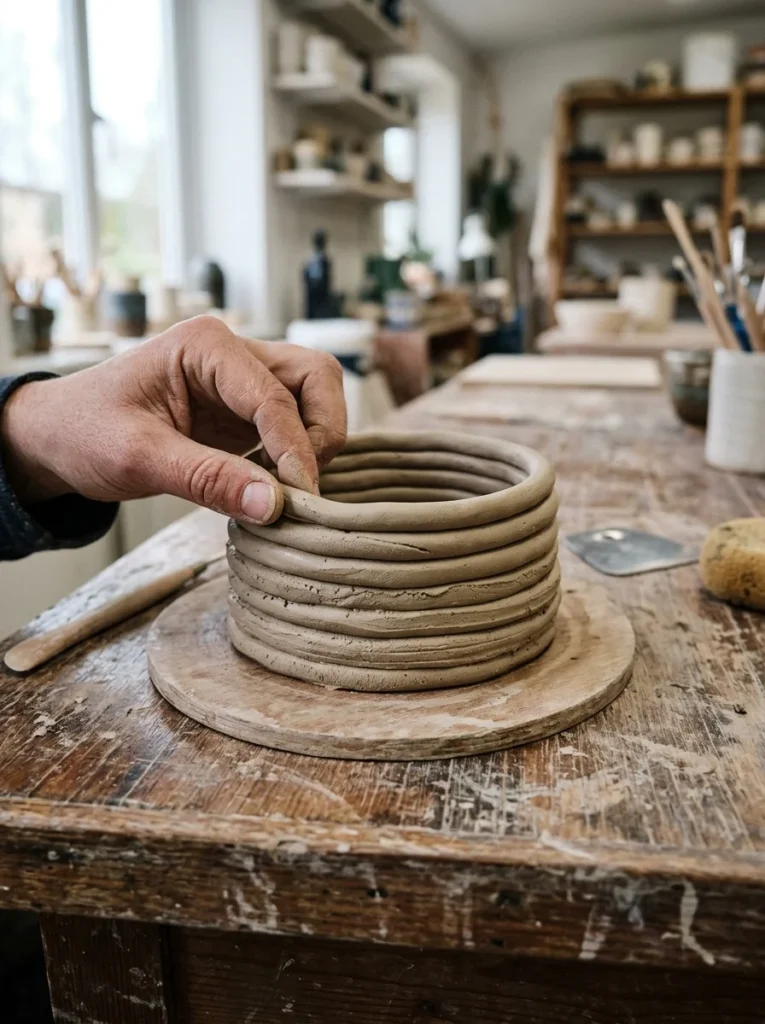
Coil building is just rolling clay into ropes and stacking them. Roll out even coils, about the width of a pencil, then wind them in a circle, one on top of the other. Smooth the inside and outside seams with your fingers as you build height. This is how ancient potters made vessels long before wheels existed, so you’re learning a real, time-tested skill. Keep coils consistent in thickness, or your vase will lean.
If a coil cracks while rolling, your clay is too dry. Add water and knead again. Start small, maybe four inches tall, before attempting anything taller. A budget tip: practice your coils with leftover clay scraps before committing to your final shape. Once you’ve stacked your vase, smooth the surface with a damp sponge so the coil lines disappear into one clean wall. This project is great because mistakes are easy to fix mid-build. You can pull a coil off, reroll it, and try again without starting over completely.
3. Clay Stamped Coasters
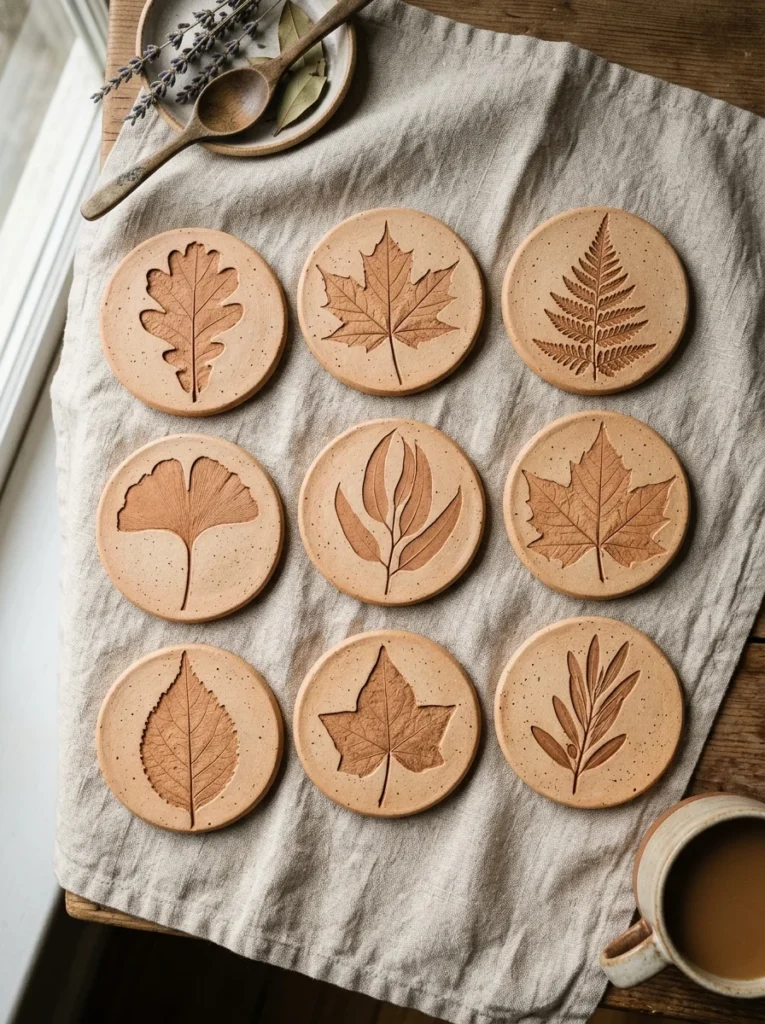
Coasters are one of the easiest first projects because they’re flat. Roll out clay to about half an inch thick, then cut circles using a cup or a round cookie cutter. Press leaves, lace, or textured fabric into the surface before it dries. The imprint stays once the clay sets, giving you a textured design without any painting skill required. This is a great project for using up clay scraps from other projects, so nothing gets wasted.
Smooth the edges with a damp finger so they don’t feel sharp later. Let them dry flat on a non-stick surface so they don’t warp. A set of four makes a nice gift, and the materials cost is close to nothing if you’re already working with clay. Try mixing different textures across the set, like one leaf, one fabric weave, one geometric stamp. This keeps a simple project visually interesting without adding extra steps or tools to your process.
4. Clay Spoon Rest
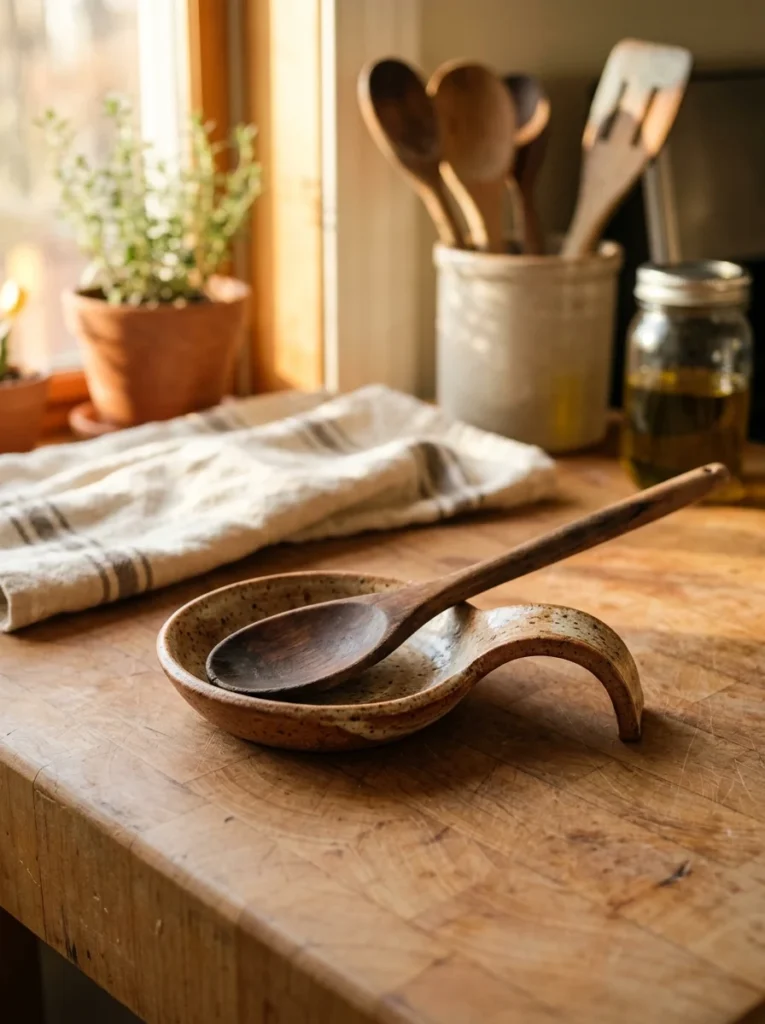
A spoon rest is basically a flat slab with curved edges, which makes it beginner-friendly and genuinely useful. Roll your clay flat, then shape it into an oval or leaf form using a butter knife to trim the edges. Curl the edges up slightly so sauce or oil doesn’t drip onto your counter. This is a small project, so it dries fast and doesn’t demand much clay.
If you’re working with air-dry clay, this is one of the safest projects to test it on since the shape is simple and forgiving. Smooth the surface with a wet sponge before it fully dries to avoid rough patches. A practical tip: press a small loop of clay near one end before drying so you can hang it on a hook later. This project teaches slab work, which becomes a building block for plates, trays, and tiles. Keep your slab even in thickness using a rolling pin and two wooden guides on either side for consistency.
5. Mini Succulent Planters
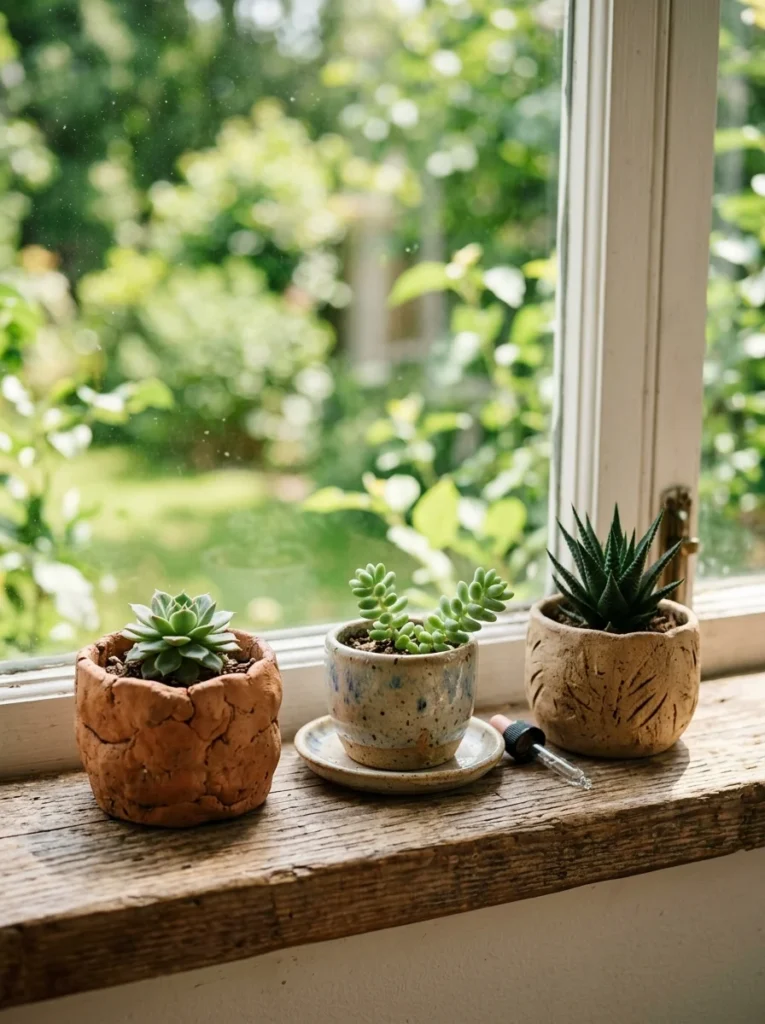
Tiny planters are forgiving because small mistakes barely show. Use the pinch pot technique, but keep the walls slightly thicker for durability. Poke a drainage hole in the bottom with a skewer before the clay fully dries. This step matters because trapped water rots roots fast. Keep the planter under three inches wide for your first attempt, since smaller shapes dry evenly and crack less.
A budget tip: thrift stores often sell tiny succulents for a dollar or two, making this a cheap full project from clay to finished plant. Smooth the rim with a damp finger so it doesn’t catch on fingers later. If you want texture, press a fork lightly around the outside before drying. Let the planter dry completely before adding soil, or the moisture will soften the clay again. This project teaches functional design, since you’re not just making a shape, you’re making something that has to actually hold soil and drain water properly.
6. Clay Name Tag Ornaments
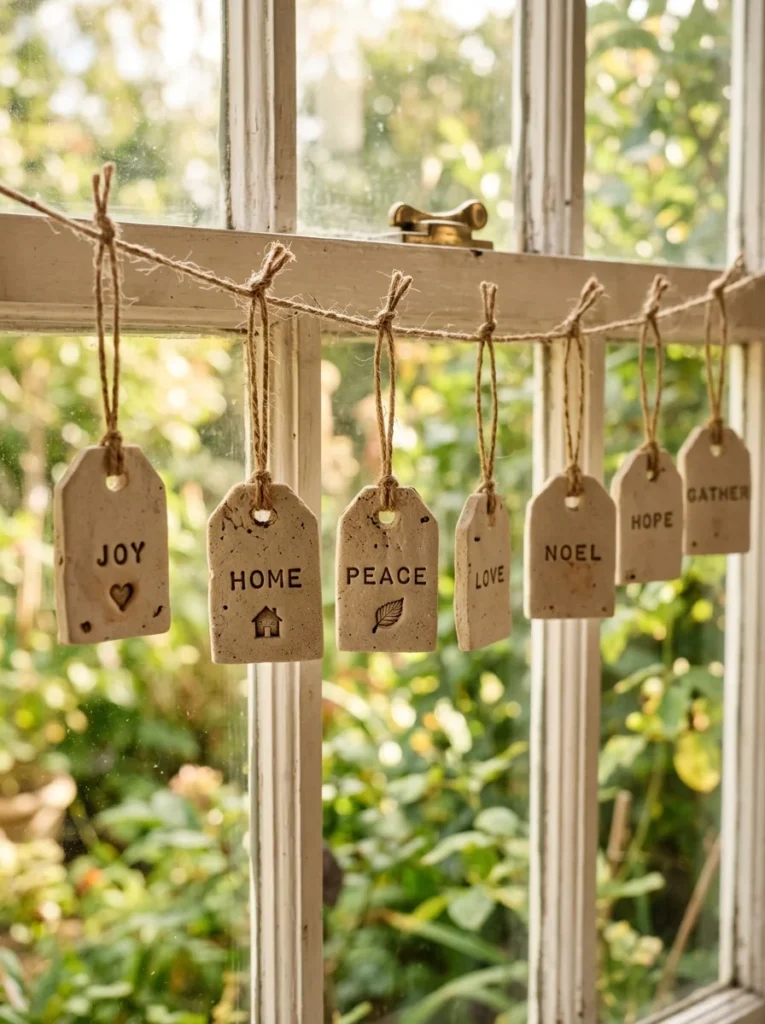
These are flat clay shapes with a hole punched at the top for string. Roll your clay flat, cut out simple shapes like circles, hearts, or stars, then poke a hole near the edge with a straw before drying. This is one of the simplest projects on this list, which makes it ideal for kids or absolute beginners. Use a butter knife or a small cookie cutter to keep edges clean.
A practical tip: lay the shapes on parchment paper while drying so they don’t stick to your work surface. Once dry, you can leave them plain or add paint for a personal touch. These work well as gift tags, ornaments, or labeled plant markers in a garden. Because they’re flat and small, they dry fast and rarely crack, which builds confidence early. Try making a batch of ten at once since the setup time is the same whether you make one or ten. This teaches basic shaping and finishing without any pressure around symmetry or depth.
7. Textured Clay Wall Tiles
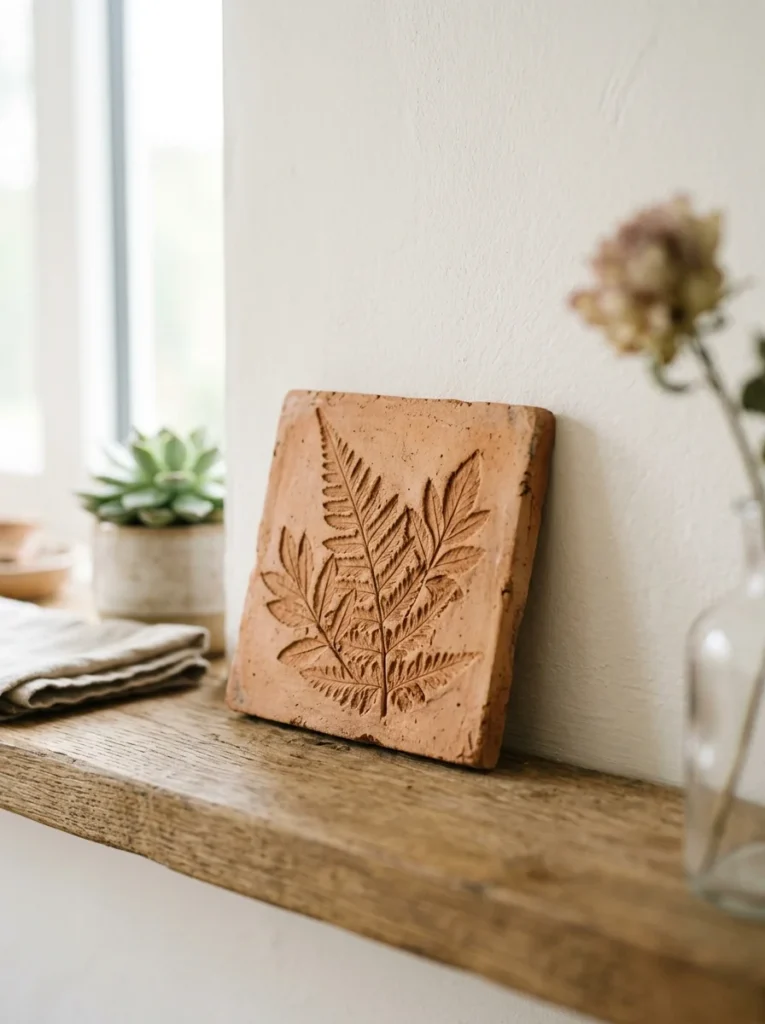
A single tile is a low-stakes way to practice slab work and texture stamping together. Roll your clay flat and even, then cut a square or rectangle using a ruler and knife for clean lines. Press a leaf, doily, or carved stamp into the surface before it sets. Let it dry flat under light pressure, like a book on top, to prevent warping at the edges.
A budget tip: a single tile uses very little clay, so it’s a good way to test a new texture idea before committing to a bigger project. Smooth the back slightly so it sits flat against a wall or shelf. Once dry, tiles can be displayed alone or grouped together in a small grid for a textured wall piece. This project teaches even rolling and pressure control with stamps, both of which matter later for bigger slab-built pieces like plates or trays.
8. Clay Bead Necklace
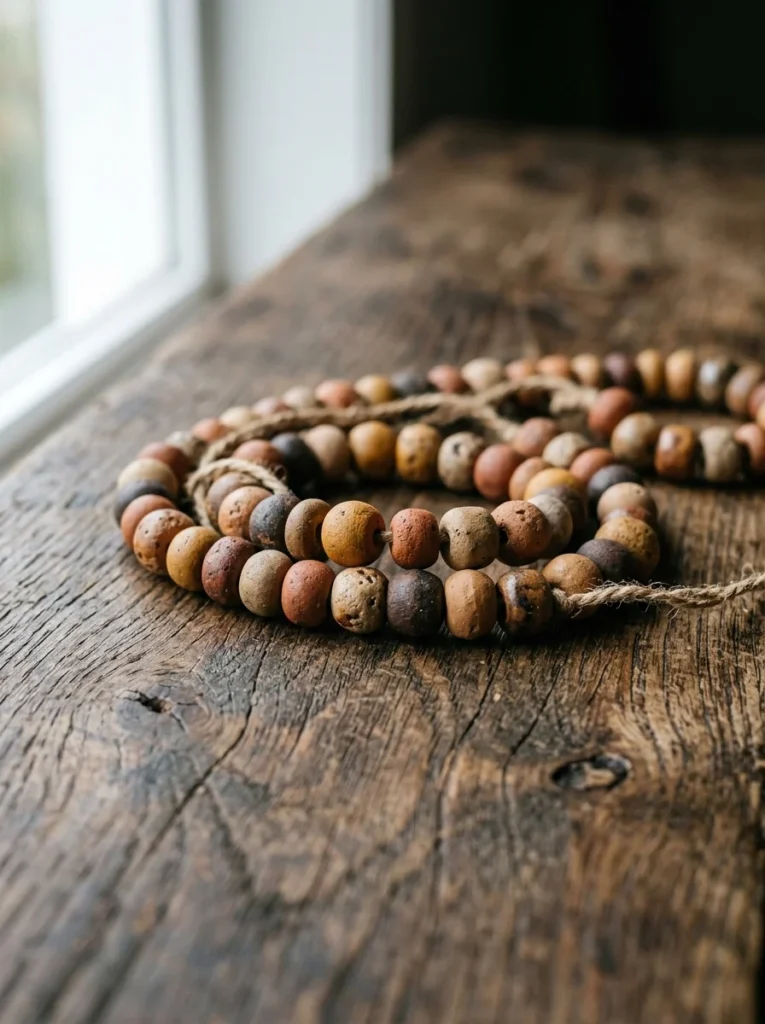
Beads are tiny, which means they’re cheap and fast to make. Roll small balls of clay between your palms, then poke a hole through the center with a needle or skewer before drying. Keep the holes slightly larger than your string, since clay shrinks a bit as it dries. A practical tip: roll beads in slightly different sizes for a more natural, handmade look instead of perfect uniformity.
Let them dry standing upright on a skewer laid across two cups, so the holes stay open and centered. Once dry, string them with leather cord, embroidery thread, or thin wire. This project barely uses any clay, so it’s a smart way to use leftover scraps from bigger projects. Try mixing textures, smooth beads next to ones pressed with fabric, for visual variety without extra cost. This teaches small-scale shaping and hole placement, both useful skills for later jewelry or button-style projects.
9. Clay Trinket Dish
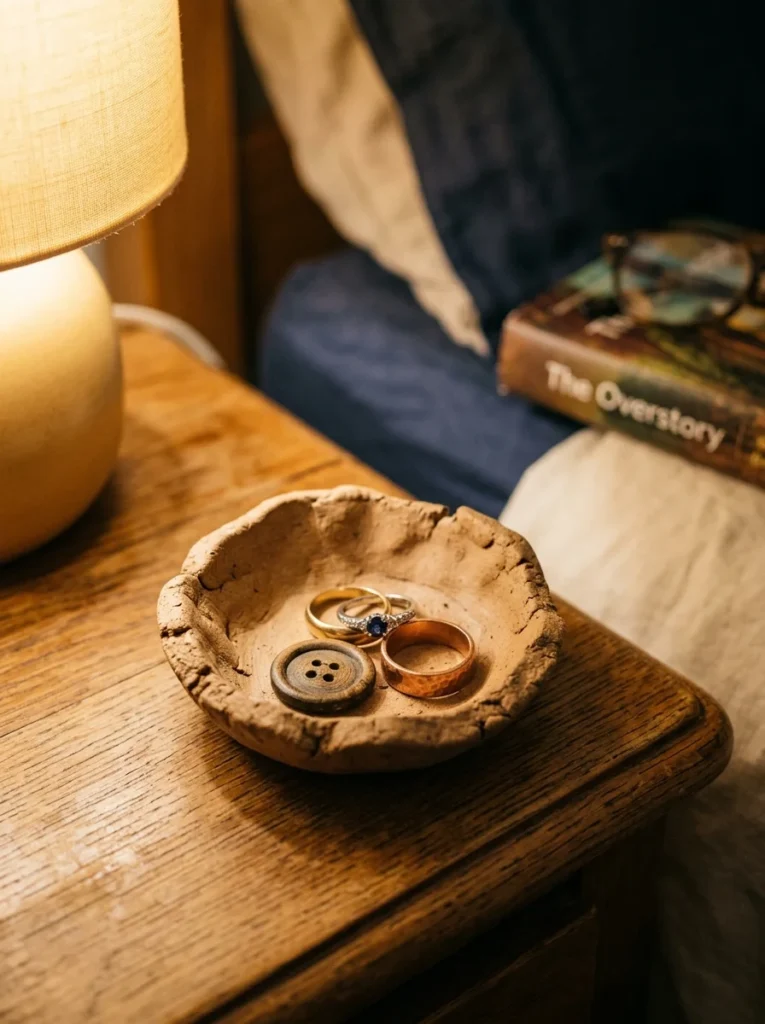
A trinket dish is a flatter, shallower cousin of the pinch pot. Press a ball of clay down into a rough circle, then push the edges up slightly to form a shallow lip. Keep the shape a little uneven on purpose, since the handmade look is part of the charm. This project is quick, usually under fifteen minutes of shaping time.
A budget tip: use a small bowl or plate as a mold underneath your clay to help guide the shape if you’re nervous about freehanding it. Smooth the rim with a damp finger so nothing snags rings or earrings later. Let it dry slowly, away from direct heat, so it doesn’t warp at the edges. This is a useful catch-all project for beginners still building confidence, since the shape doesn’t need to be perfect to function well on a nightstand or bathroom counter holding small daily items.
10. Clay Letter Magnets
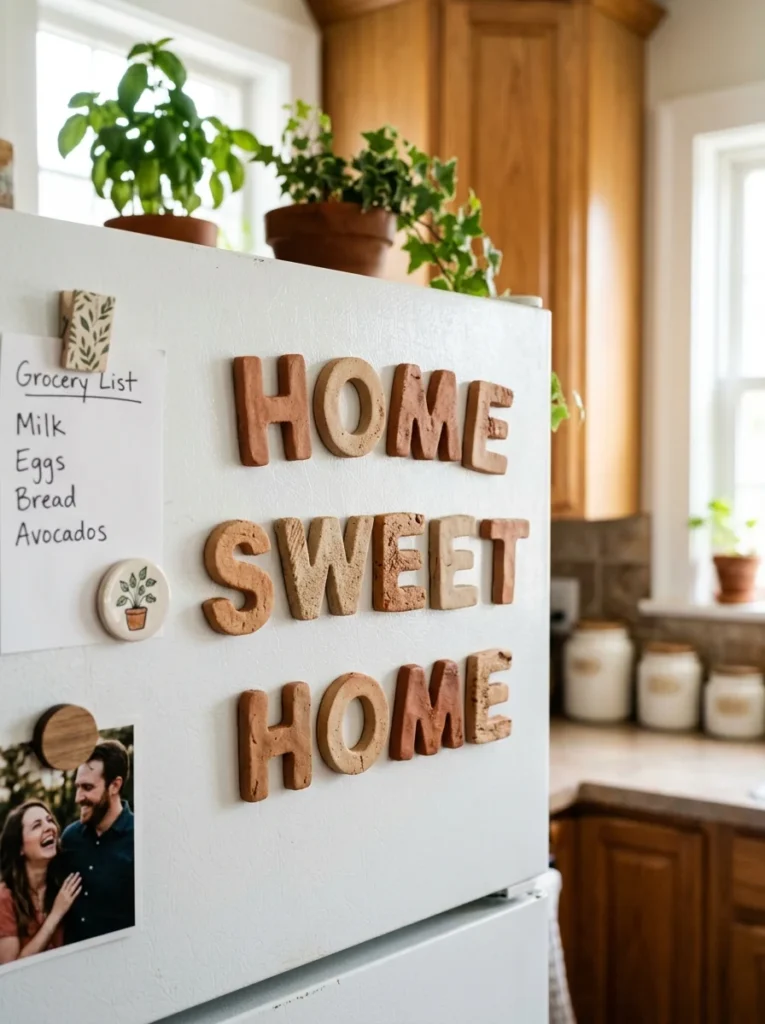
These are small, flat shapes with a magnet glued to the back after drying. Roll your clay flat, then cut out simple shapes like initials or small icons using a butter knife. Keep the shapes under two inches so they dry fast and stay light enough for a magnet to hold. A practical tip: small adhesive magnets cost very little and are sold in packs, making this a low-cost project even if you make a dozen.
Smooth the edges with a damp finger before drying so they don’t feel rough later. Once fully dry, glue a magnet to the back using a strong craft adhesive. These work well as kitchen decor, gift tags for jars, or simple labels on a filing cabinet. This project is a good one for practicing precise cutting, since clean edges matter more here than in rounder, more forgiving shapes like bowls or dishes.
11. Clay Soap Dish
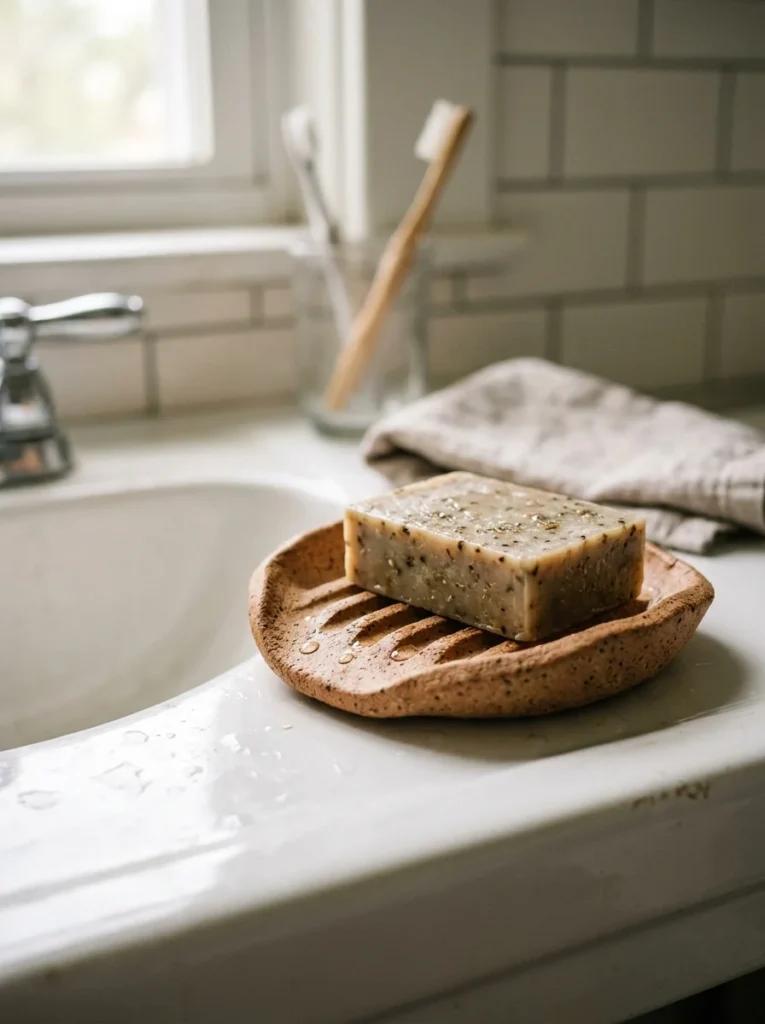
A soap dish works best with ridges so water can drain away from the bar. Roll your clay flat into an oval or rectangle, then press small lines into the surface using the edge of a ruler or a fork. Curl the edges up slightly to keep water contained. A practical tip: keep the ridges raised enough that the soap doesn’t sit directly in pooled water, which makes the bar last longer.
Smooth the underside so it sits flat without wobbling. This project teaches functional shaping, since the design has a job to do beyond looking nice. Let it dry completely before use, and avoid glazing if you’re using air-dry clay, since it won’t hold up the same way as kiln-fired pieces. This is a practical gift idea for under five dollars in materials, and it teaches the same slab and ridge technique used later in trays and serving dishes.
12. Clay Garden Markers
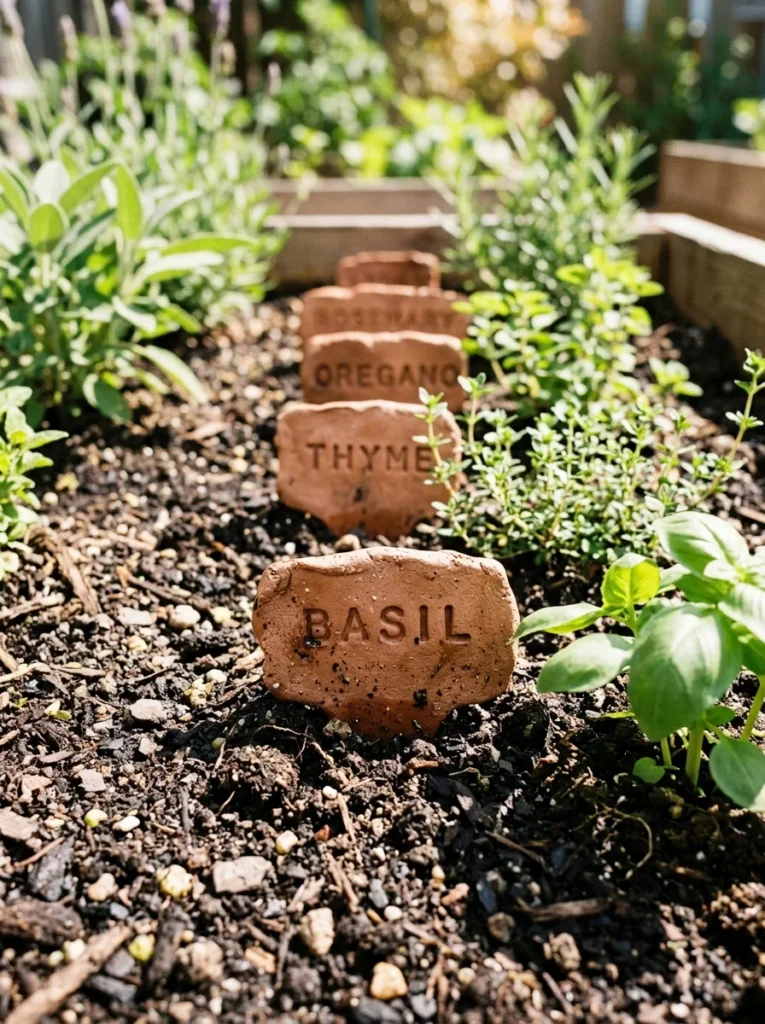
Garden markers are flat clay strips you push into soil to label plants. Roll your clay flat, then cut narrow strips with a pointed end so they push into dirt easily. Press the plant name into the wet clay using a toothpick before it dries. A budget tip: this project uses minimal clay, so it’s a smart way to use leftover scraps from bigger builds. Let the markers dry flat, then push them into pots or garden beds once fully set.
If you’re working with air-dry clay outdoors, expect them to soften slightly in heavy rain, so this works best in covered planters or indoor pots. Try pressing a small leaf or seed shape at the top of each marker for a personal touch beyond just lettering. This project teaches carving and lettering control, which translates well into future projects involving text, numbers, or fine detail work pressed into clay.
13. Clay Pencil Holder
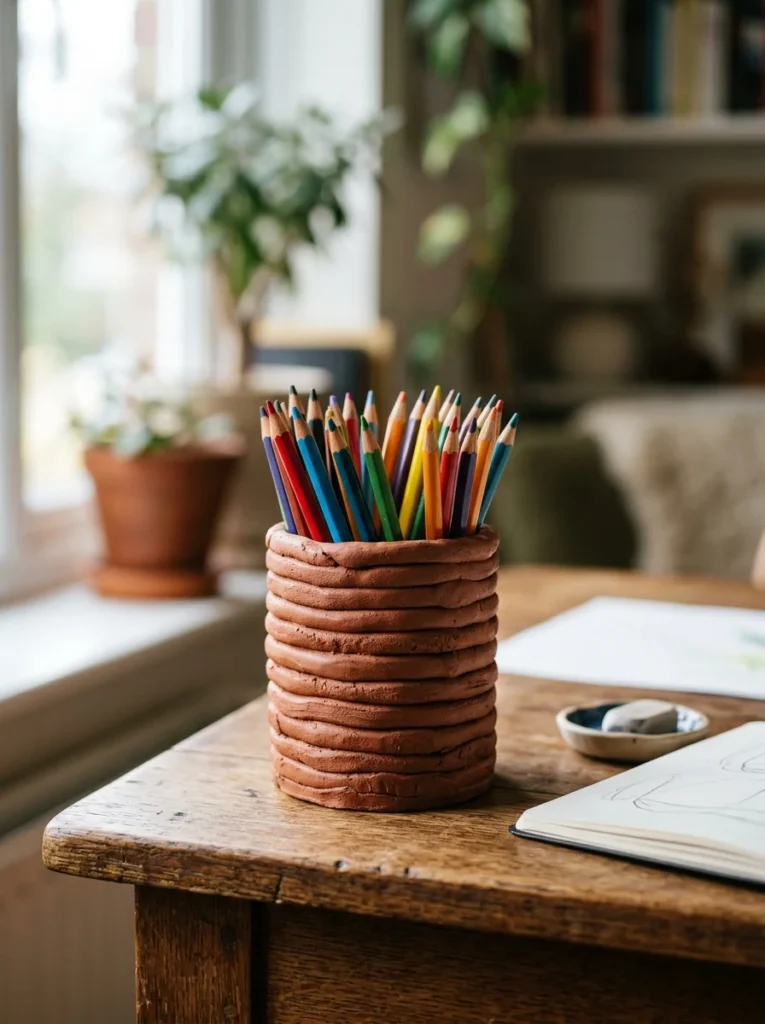
A pencil holder is a coil-built cylinder, slightly taller than your coil vase project. Stack coils in a circle, smoothing the seams as you build height, then flatten the base so it sits steady on a desk. Keep the walls slightly thicker than usual since this piece has to support the weight of pencils without tipping easily. A practical tip: practice your coil consistency first with scrap clay before starting the final piece, since even thickness keeps the cylinder from leaning.
Smooth the inside walls with a damp finger so pencils don’t catch on rough texture. Let it dry slowly and evenly, rotating it occasionally so one side doesn’t dry faster than the other. This project is a natural next step after the coil vase, since it uses the same technique at a slightly larger, more functional scale for an everyday desk item.
Conclusion
Twenty-two small clay projects, and not one of them asks for a wheel, a kiln, or years of training. What they ask for instead is your attention, a little water to keep the clay workable, and the willingness to fix a crack instead of starting over. Start with the pinch pot or a simple coaster, build your confidence, then move toward the slab and coil projects as your hands get more comfortable with the material. Keep your tools simple: a butter knife, a straw, a damp sponge, and whatever cups or bowls you already own as molds. None of this requires a big budget, just a bag of clay and a free afternoon. Pick one idea from this list, set a timer for thirty minutes, and just start shaping. The first piece won’t be perfect, and that’s exactly the point.
