

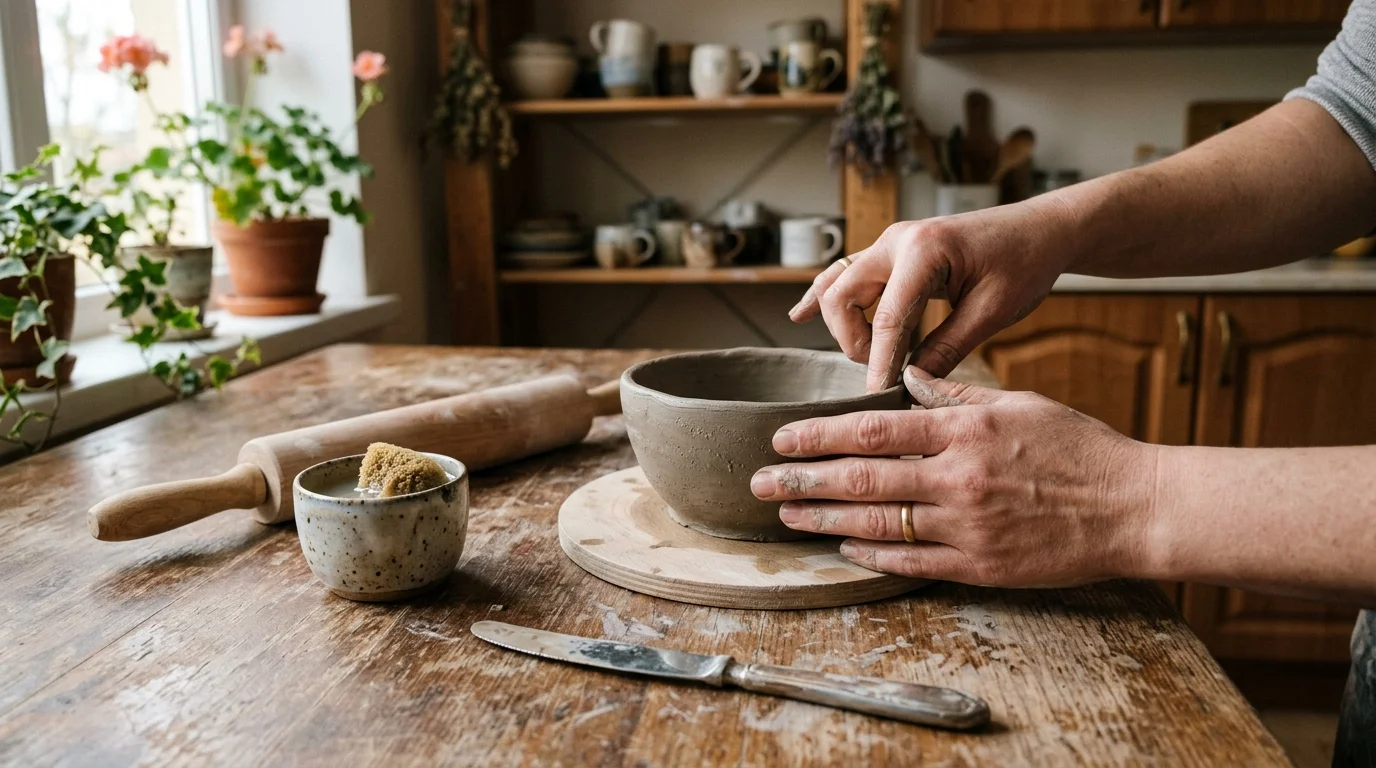
You don’t need a kiln. You don’t need a pottery wheel. You don’t even need a studio. All you need is a little clay, a kitchen table, and the willingness to get your hands messy. Pottery feels like a hobby reserved for people with fancy equipment and years of training, but that’s just not true anymore. Air-dry clay and a few household tools can get you a long way toward making something beautiful.
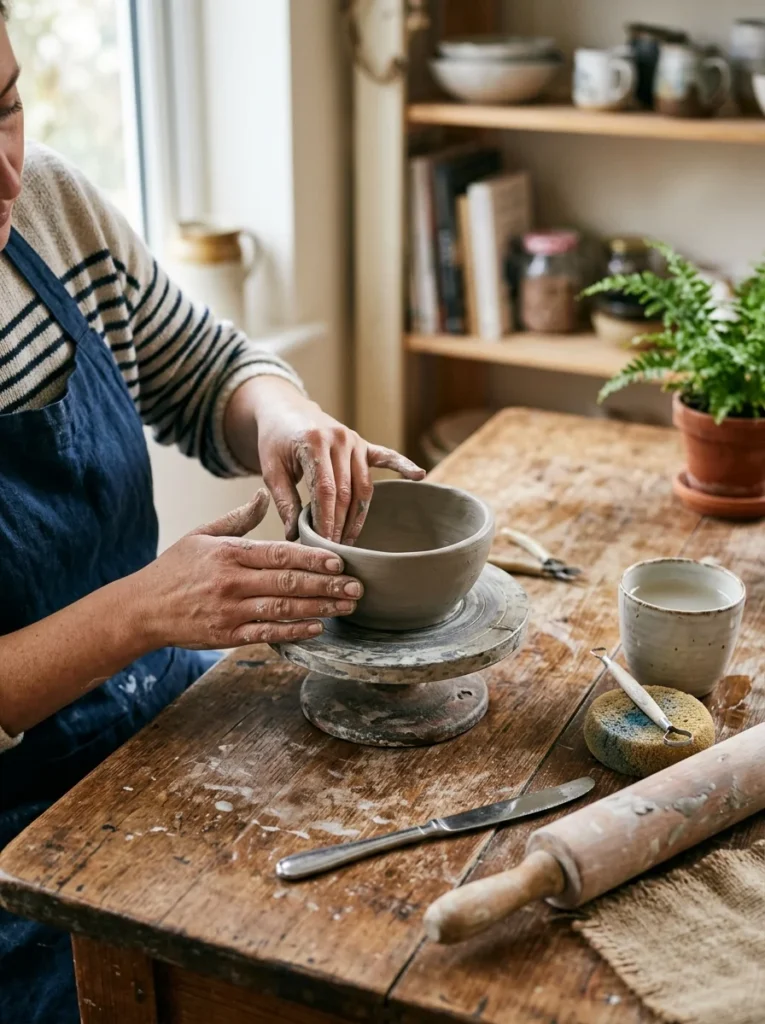
If you’ve been wanting to try pottery but the cost of a studio membership or a wheel setup stopped you, this is your sign to skip all that and start right at home.
What You Actually Need to Get Started
Forget the long supply lists you see online. Here’s the short version:
- Air-dry clay (no kiln required)
- A rolling pin or a smooth glass bottle
- A butter knife or clay-cutting tool
- A cup of water for smoothing seams
- A flat surface lined with parchment paper or a plastic mat
- Optional: acrylic paint and sealant for finishing
That’s it. Most of this is already sitting in your kitchen drawers.
Budget tip: A two-pound block of air-dry clay costs less than a fast food meal and makes several small projects. Buy it in bulk if your local craft store sells it that way.
Step 1: Pick a Beginner-Friendly Shape
Don’t start with anything that needs a handle, a lid, or moving parts. Save those for later.
Good first projects include:
- A small pinch pot
- A flat trinket dish
- A simple bud vase shaped from a rolled tube
These shapes forgive mistakes. A wobbly edge or an uneven rim just adds character instead of ruining the piece.
Step 2: Knead and Shape the Clay
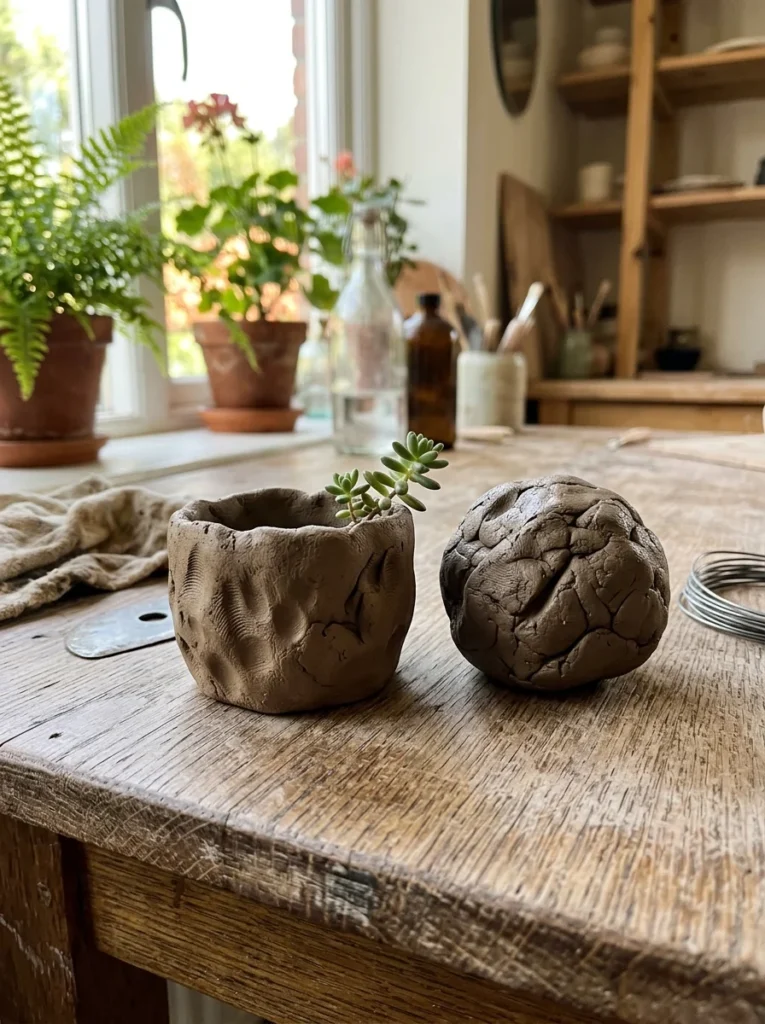
Before you do anything else, knead your clay like bread dough for about a minute. This removes air bubbles that could cause cracking later.
For a pinch pot:
- Roll the clay into a smooth ball.
- Push your thumb into the center, stopping before you hit the bottom.
- Slowly turn the piece while pinching the walls thinner and thinner.
- Smooth any cracks with a wet finger as you go.
Work slowly here. Clay dries out faster than you’d expect, especially if your hands are warm.
Tip: Keep a damp cloth over your clay whenever you’re not actively shaping it. This keeps it workable longer.
Step 3: Smooth, Trim, and Add Detail
Once your basic shape feels right, it’s time to clean it up.
- Use a butter knife to trim uneven edges.
- Dip a finger in water and smooth rough patches.
- Press in texture using things you already own: a fork, a button, a piece of lace, or even a leaf from your yard.
This is where your piece starts feeling personal instead of generic.
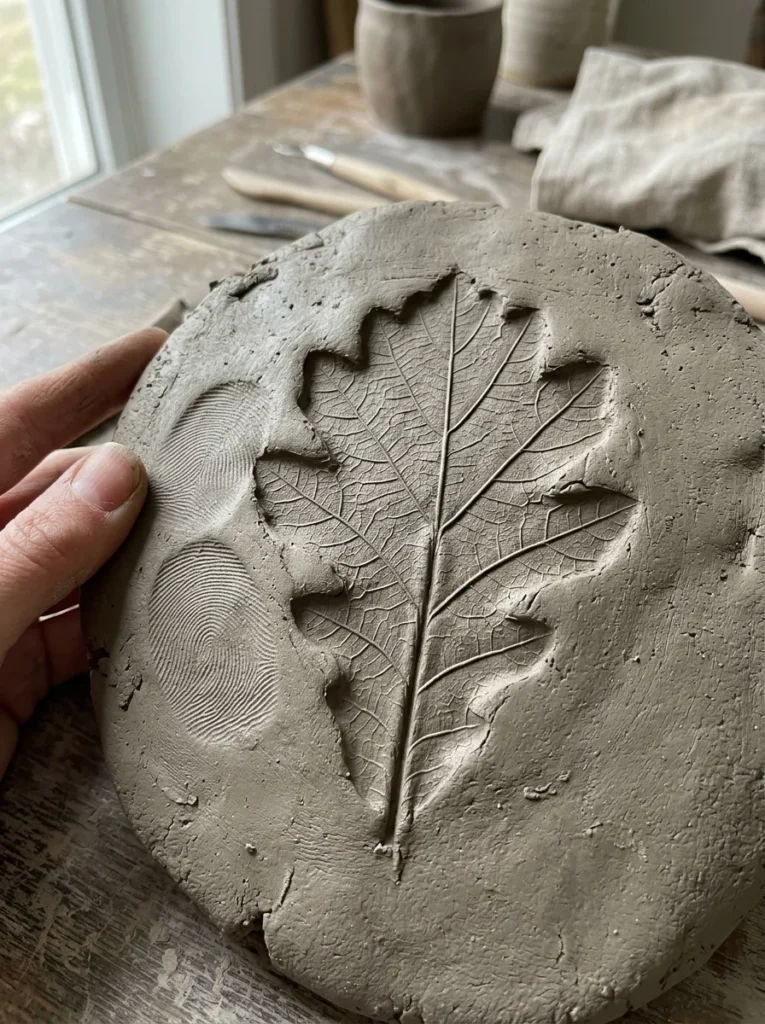
Budget tip: Skip buying carving tools altogether. A toothpick, fork, and old pen cap can handle almost every texture technique a beginner needs.
Step 4: Let It Dry the Right Way
Air-dry clay needs patience, not heat.
- Place your piece on a flat surface lined with parchment paper.
- Avoid direct sunlight or a heater vent, which can cause cracking.
- Flip larger pieces occasionally so both sides dry evenly.
- Most small projects take 24 to 72 hours, depending on thickness.
Thicker pieces, like a fruit bowl, can take several days. Don’t rush this step. Cracks almost always happen because of impatience, not bad shaping.
Step 5: Paint and Seal Without a Kiln
Since there’s no firing involved, regular acrylic paint works perfectly here.
- Paint your dried piece in one or two simple colors.
- Let the paint dry fully before adding a second coat.
- Finish with a clear, water-based sealant to protect against moisture and give it a slight sheen.
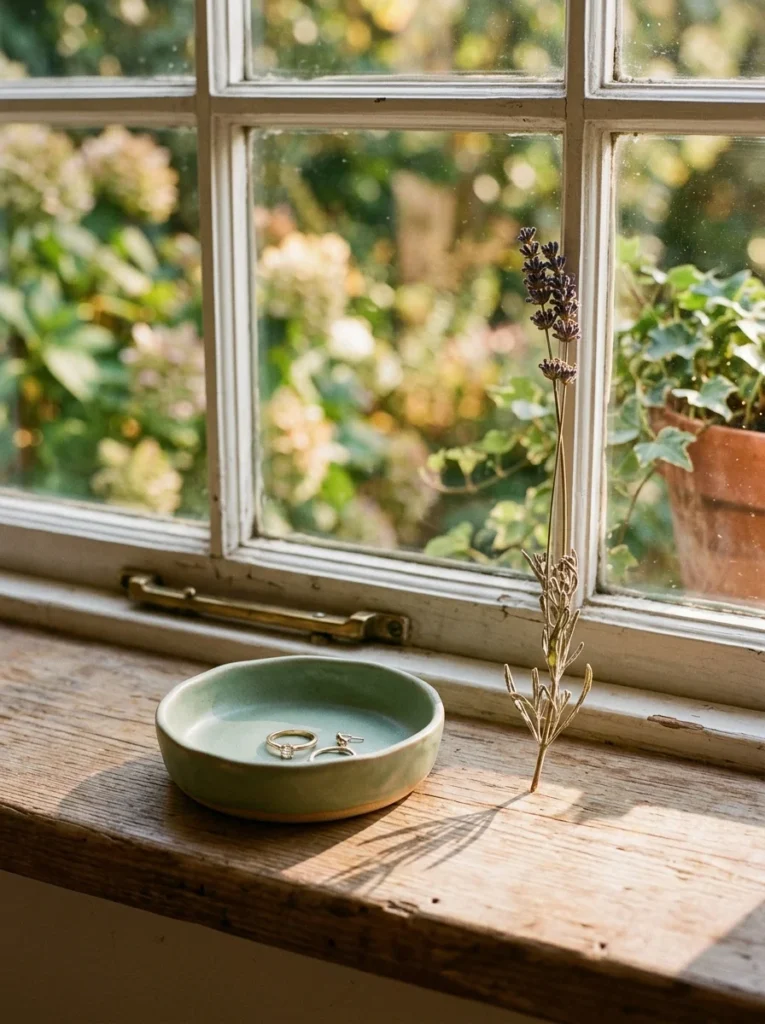
Tip: A matte sealant gives a more natural, handmade look. A glossy one makes colors pop more, especially for vases or decorative pieces.
Step 6: Style Your Finished Piece
Once everything’s dry and sealed, it’s time to actually use what you made.
- Group two or three pieces together on a shelf for a “collected over time” look.
- Use trinket dishes for rings, coins, or keys by the front door.
- Add a single stem flower to a handmade bud vase on a windowsill.
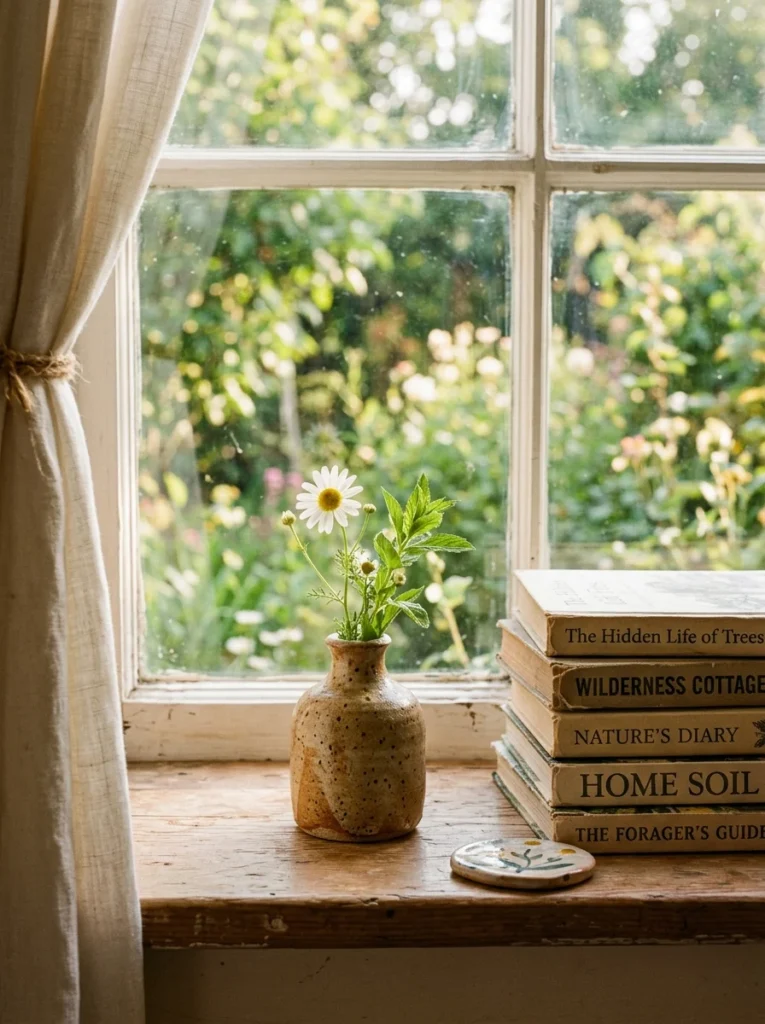
Even one finished piece can change how a shelf or table feels. It doesn’t need to be perfect. Slightly uneven edges and visible fingerprints are part of what makes it look handmade instead of store-bought.
Ready to Get Your Hands Dirty?
You really don’t need a studio, a wheel, or a kiln to start making pottery. A bag of clay and an afternoon at your kitchen table is genuinely enough. Start small, expect a few wobbly first attempts, and don’t worry about perfection. That’s part of the charm.
Save this guide for later, and the next time you’re craving a low-cost, hands-on weekend project, you’ll already know exactly where to start.
