

You don’t need a pottery wheel, a kiln, or any prior craft experience to make earrings that look like they came straight from a boutique shelf. All you need is a small block of polymer clay, a rolling pin, and about an hour of your time. Seriously clay earrings are one of those projects that look far harder than they actually are. And the best part? Every pair is completely one of a kind.
Whether you want something minimalist for everyday wear or something bold and sculptural for a night out, clay earrings can do it all. Here’s exactly how to make them.
What You’ll Need
Before you start, gather your supplies. The good news, most of this is cheap and easy to find at any craft store.
- Polymer clay (Sculpey or Fimo are great beginner brands)
- A small rolling pin or smooth glass bottle
- Clay cutting tools or sharp craft knife
- Cookie cutters or shape templates
- Sandpaper (fine grit, 400 or higher)
- Acrylic paint and a fine brush (optional)
- Earring hooks and jump rings
- Pliers
- A baking sheet and oven
That’s it. Your total spend for a first batch will likely be under $15 — and that same clay will make 10 to 15 pairs easily.
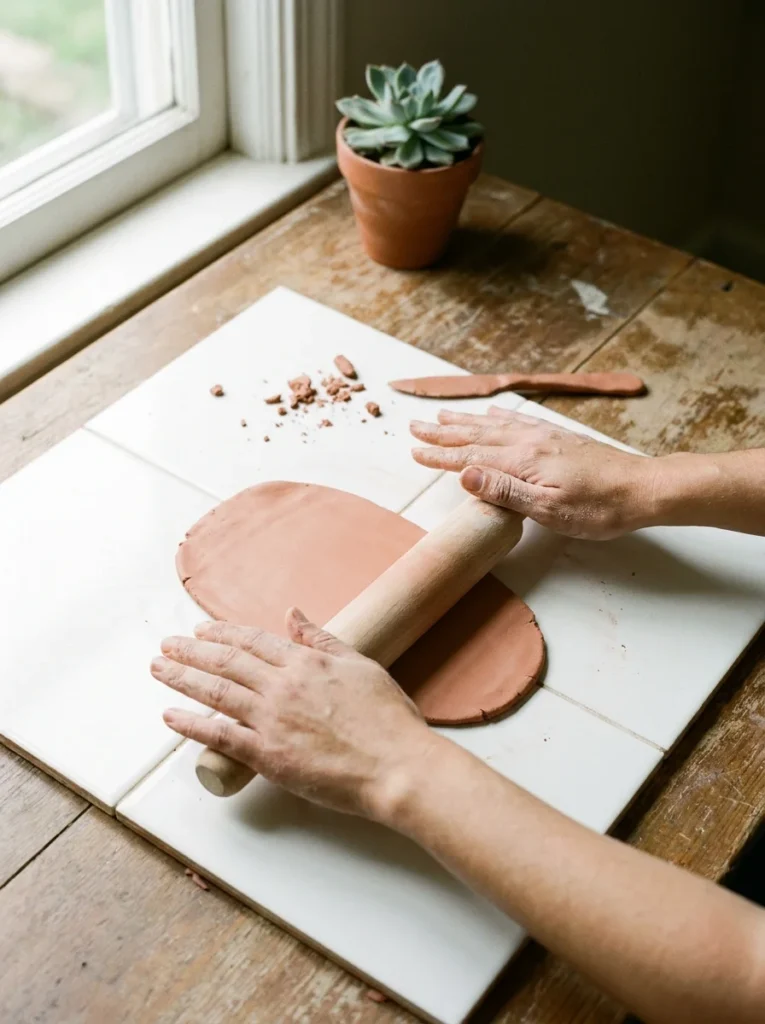
Step 1: Condition and Roll Your Clay
Fresh polymer clay can feel stiff straight out of the pack. Warm it up first by kneading it between your palms for two to three minutes until it feels soft and smooth.
Once it’s pliable, place it on a clean, smooth surface and roll it flat using your rolling pin. Aim for a thickness of about 3–4mm, thin enough to look delicate, thick enough not to crack.
Tips for a smooth finish:
- Roll slowly and evenly
- Lift and rotate the clay as you roll so it doesn’t stick
- If you see air bubbles, smooth them out with your fingertip
Step 2: Cut Your Shapes
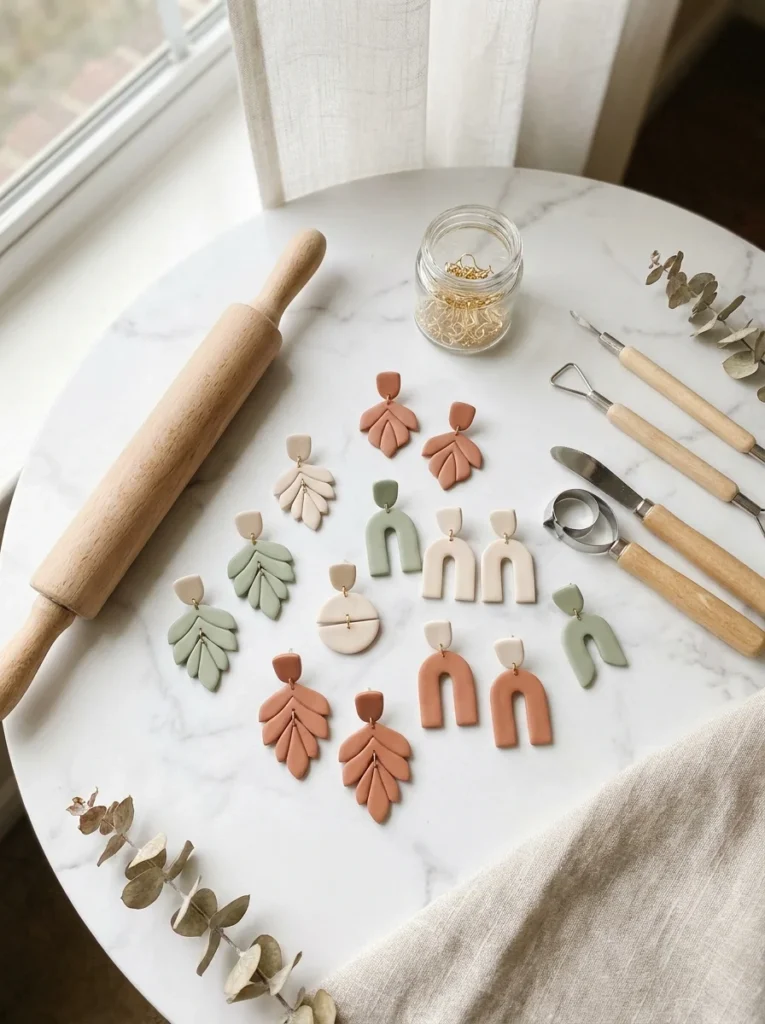
This is where the fun starts. Use small cookie cutters, craft knife templates, or just freehand cut shapes with a blade.
Popular shapes that always look stylish:
- Arched or half-moon shapes
- Irregular organic ovals
- Simple rectangles or squares
- Teardrop or leaf shapes
- Tiny flowers or daisies
Don’t overthink it. Imperfect shapes are part of the handmade charm. A slightly uneven arch looks artisan. A wobbly oval looks intentional. Lean into it.
Once cut, use a toothpick to poke a small hole near the top edge of each shape, this is where your earring hook will attach. Make sure the hole is large enough for a jump ring to pass through.
Step 3: Add Texture and Color
This is what takes a basic clay shape to something genuinely beautiful.
Texture ideas before baking:
- Press a piece of lace fabric gently onto the surface
- Use the tip of a toothpick to carve tiny lines or dots
- Press a leaf into the clay for a botanical print
- Marble two colors together by twisting them before rolling
For color, you have two options. Mix colors into the clay itself before rolling, twist terracotta and white together for a natural marble effect. Or bake the clay plain first, then paint with acrylic paint afterward for cleaner, more precise color.
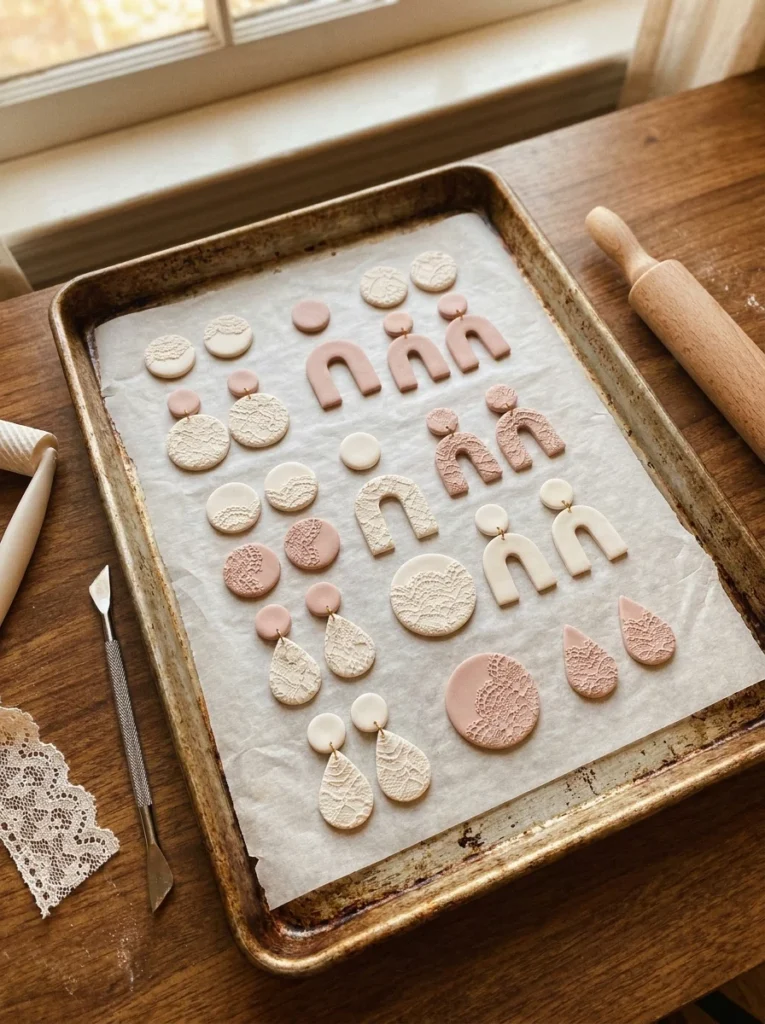
Step 4: Bake and Finish
Place your clay shapes on a parchment-lined baking sheet. Bake according to your clay brand’s instructions, most polymer clays bake at 130°C (275°F) for 15–30 minutes depending on thickness.
Let them cool completely before touching. Rushing this step causes cracks.
Once cool:
- Sand the edges gently with fine sandpaper for a smooth, professional finish
- Paint if desired, then seal with a thin coat of gloss or matte varnish
- Let the varnish dry fully, at least 30 minutes
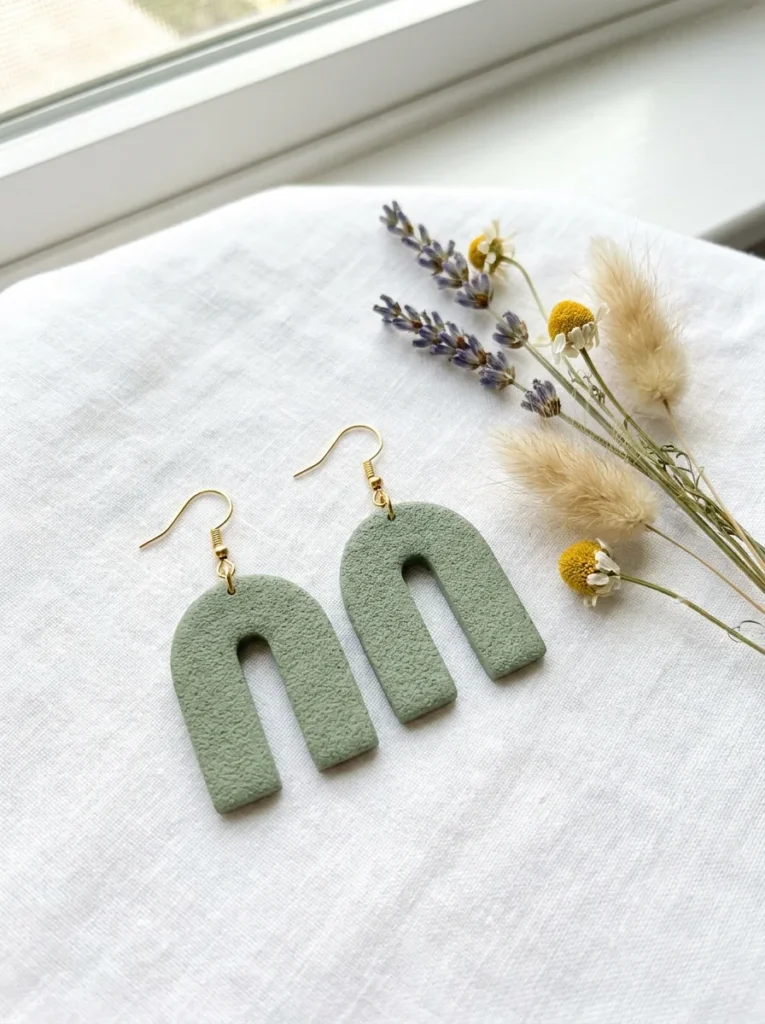
Step 5: Attach the Hardware
Now comes the satisfying final step.
Use pliers to open a jump ring, thread it through the hole in your clay piece, then attach it to an earring hook. Close the jump ring firmly so it won’t work loose.
A few things to check:
- Both earrings in a pair should be the same weight and size
- The hole is positioned so the earring hangs at the angle you want
- The jump ring is fully closed no gaps
Quick Style Tips for Elevated-Looking Earrings
- Keep the color palette limited two or three tones max looks more curated
- Mix finishes matte clay with a gold hardware hook always looks expensive
- Make asymmetrical pairs one large arch, one small dot in the same color
- Thin is elegant the thinner your clay, the lighter and more wearable the earring
Now Go Make Something Beautiful
Clay earrings are one of the most beginner-friendly crafts you can pick up and they produce results that genuinely impress people. Once you’ve made your first pair, you won’t stop. You’ll start eyeing every cookie cutter as a potential earring shape and hoarding every color of clay you can find.
Save this guide for your next crafty afternoon and when you wear your handmade pair out for the first time and someone asks where you got them, enjoy telling them you made it yourself.