

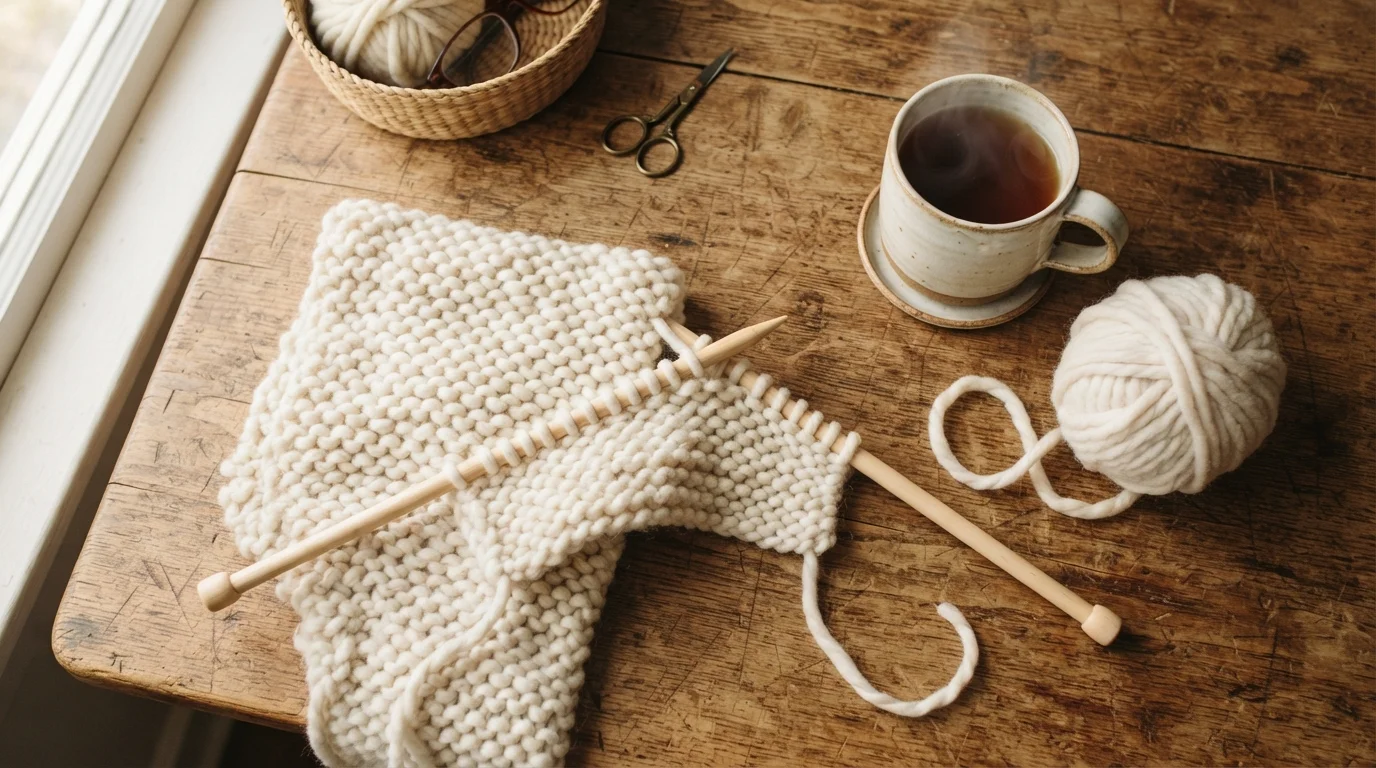
There’s something cozy about wrapping up in a scarf you made yourself. And here’s the secret nobody tells beginners: a scarf is the easiest thing you can knit. No fancy shaping. No tricky patterns. Just a long rectangle and one simple stitch.
If you’ve ever wanted to try knitting, this is where to start. Grab some yarn, and let’s make something warm together.
What You’ll Need
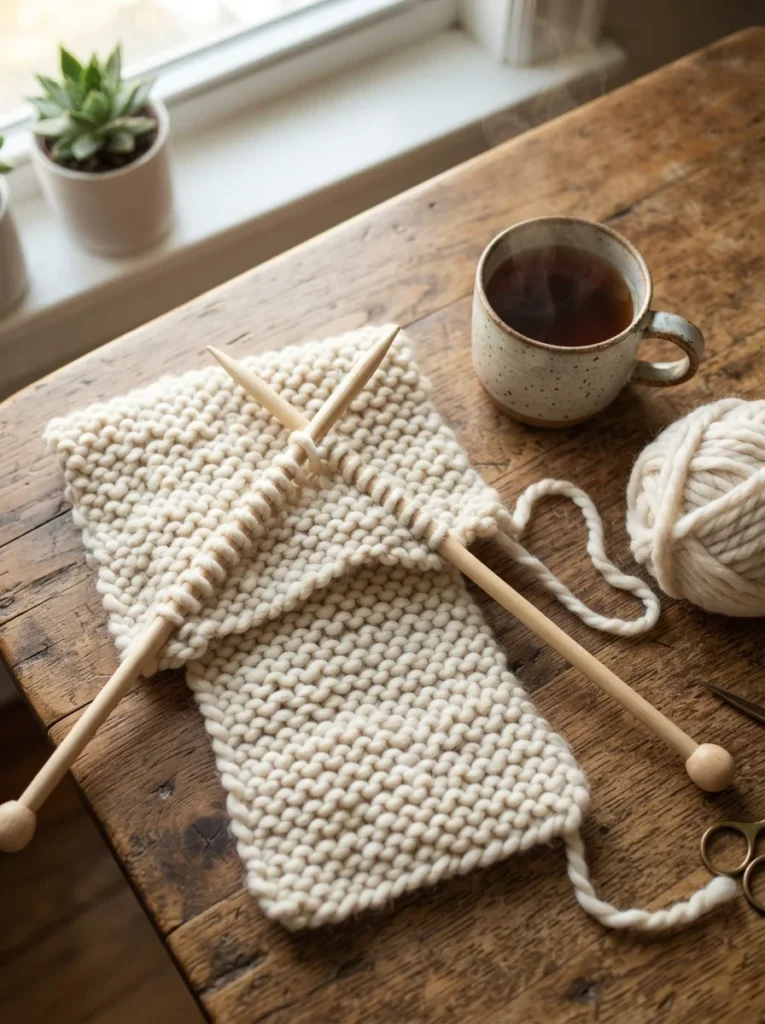
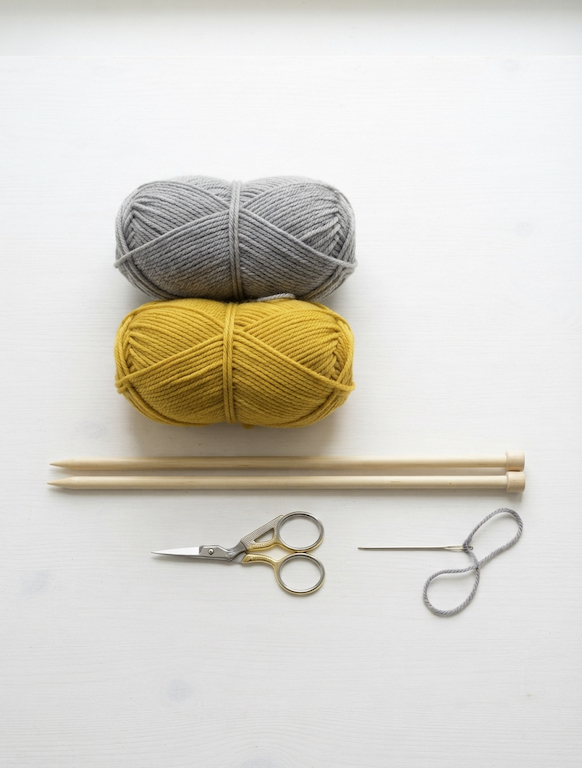
You don’t need much to get going. A quick trip to any craft store — or a peek in your closet — covers it:
- Yarn — one or two skeins of medium or chunky yarn. Chunky knits up faster, which feels great when you’re new.
- Knitting needles — size 8 to 11 work well. Bigger needles mean bigger, quicker stitches.
- Scissors — any pair will do.
- A yarn needle — for weaving in the ends at the finish.
Acrylic yarn is soft, washable, and cheap, so skip the pricey wool for your very first scarf.
Step 1: Cast On
Casting on puts your first stitches on the needle. It’s the foundation your whole scarf grows from.
- Make a slipknot and slide it onto one needle.
- Use a simple long-tail cast-on to add more loops.
- Aim for about 20 to 30 stitches for a standard-width scarf.
Don’t worry if they look uneven. Your first row always does. Keep them a little loose so they’re easy to work into on the next row.
Step 2: Learn the Knit Stitch
Here’s the one move that builds your entire scarf. It has four small steps, and once your hands learn the rhythm, it becomes automatic:
- Slide the right needle into the front of the first stitch.
- Wrap the yarn around the right needle.
- Pull that new loop through.
- Slip the old stitch off the left needle.
That’s it. Repeat across the whole row. When you reach the end, turn your work around and do the same thing back the other way.
Knitting every row like this is called garter stitch. It gives you that classic squishy, bumpy texture, and it’s the most forgiving pattern for anyone just starting out.
Step 3: Keep Going
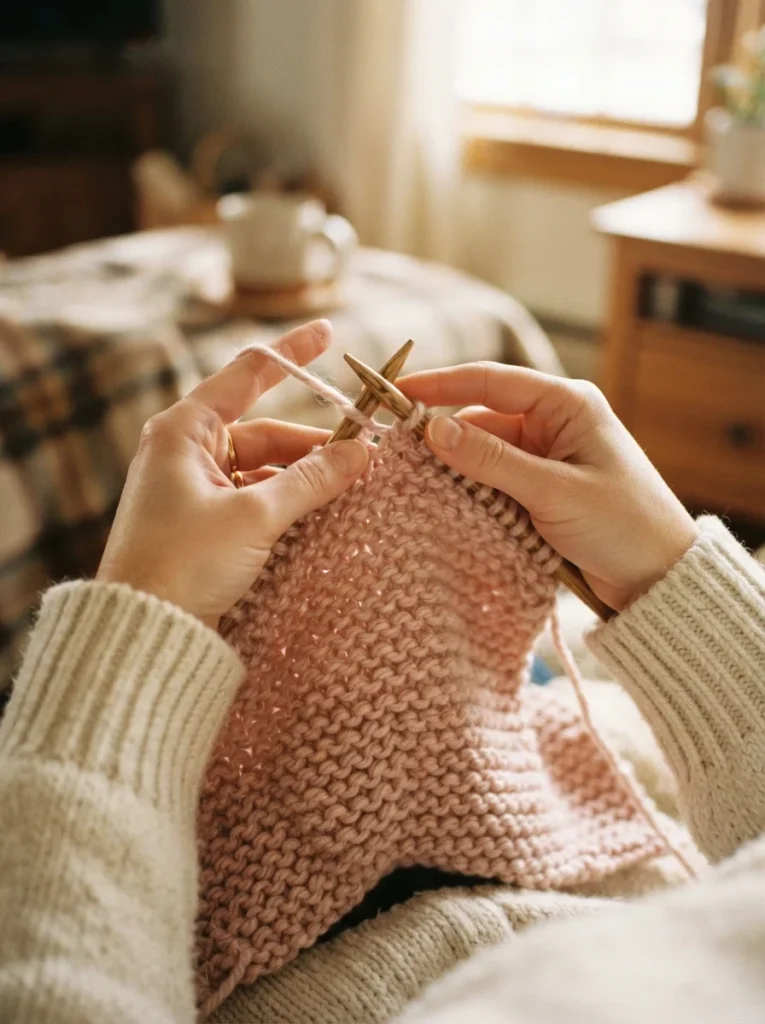
Now comes the relaxing part. You simply knit row after row until your scarf reaches the length you want.
- Most scarves land around 60 inches long.
- Drape it around your neck as you go to check the feel.
- Aim a little longer than you think, since scarves are cozier when they’re generous.
A few things that keep you on track:
- Count your stitches now and then. You should always have the same number you cast on.
- Fix mistakes early. If a stitch drops, a crochet hook can catch it before it runs down the rows.
- Knit while you watch TV. Garter stitch is easy enough to do without staring at your hands.
This step takes the most time, but it’s the coziest part. Keep your project in a basket by the couch and add a few rows each evening.
Step 4: Bind Off
When your scarf is long enough, you close off the stitches so they don’t unravel. This is called binding off.
- Knit two stitches.
- Lift the first stitch up and over the second, then off the needle.
- Knit one more, then lift again.
- Repeat until one stitch is left, cut the yarn, and pull the tail through that last loop.
Weave the loose ends into the scarf with your yarn needle, trim the extra, and you’re finished.
Easy Ways to Make It Yours
Once the basics feel comfortable, try a few small twists:
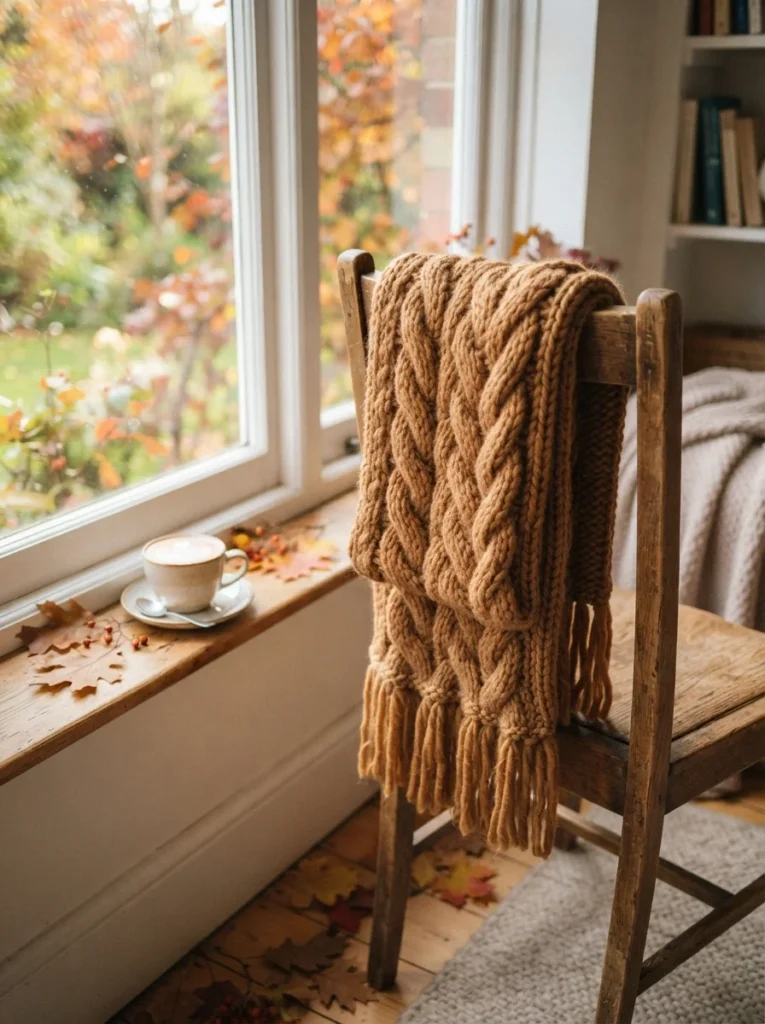
- Add fringe. Cut short yarn pieces, fold them in half, and pull them through the ends with your fingers.
- Mix colors. Switch yarn every few inches for simple stripes.
- Go super chunky. Bulky yarn makes a thick, dramatic scarf in a single weekend.
You Made a Scarf!
See? A scarf really is the perfect first project. One stitch, a little patience, and you’ve got something warm you made with your own two hands.
Your first one won’t be flawless, and that’s part of the charm. Every wobbly row is proof you’re learning.
Ready to cast on? Save this guide for later, grab your needles, and start your first scarf today. Once you finish, you’ll want to make one for everyone you know.
