

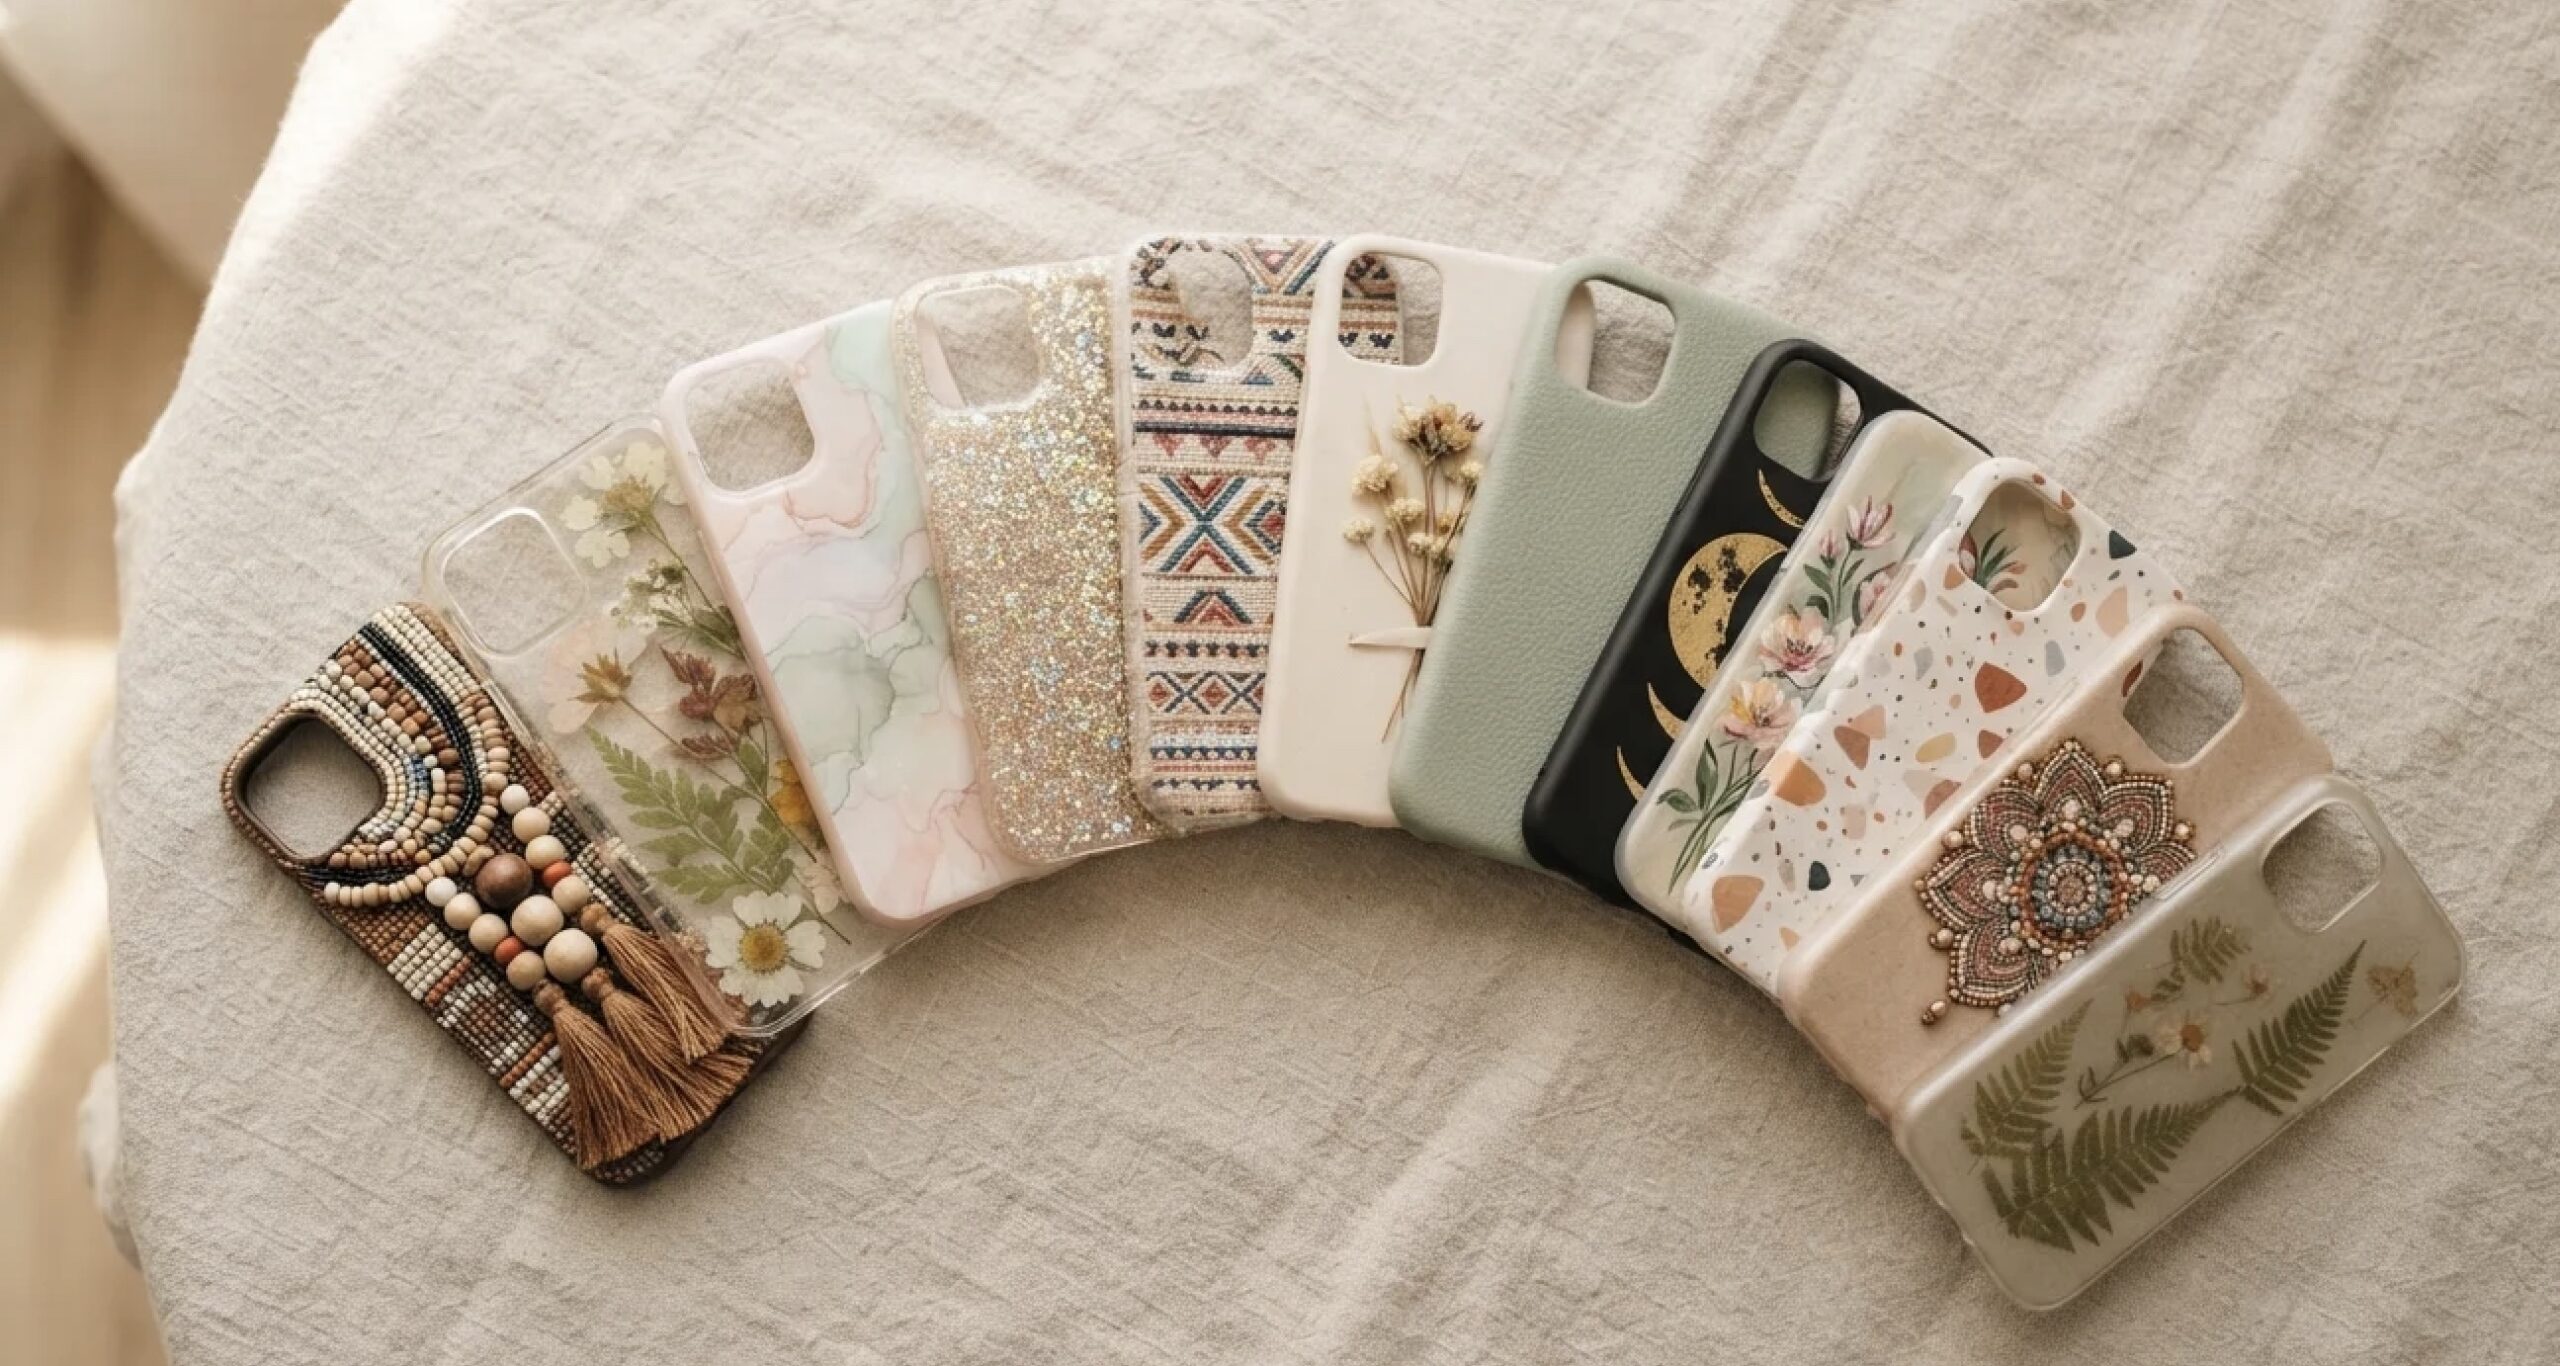
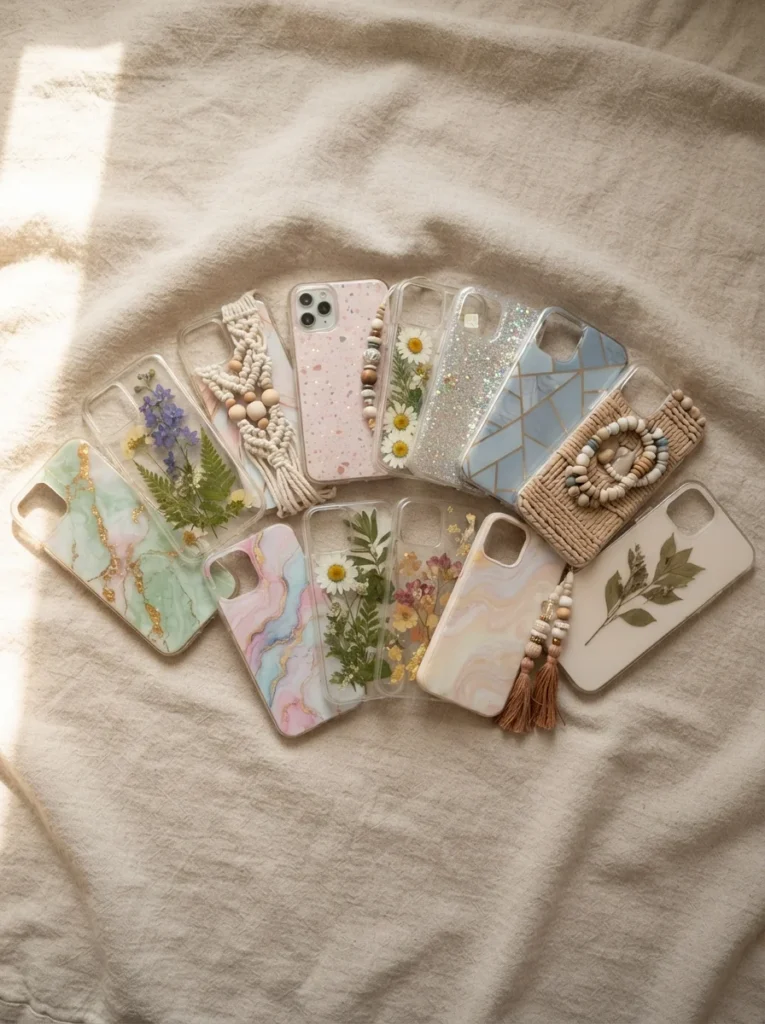
Your phone goes everywhere with you. So why let it wear something plain? A pretty case turns an everyday object into a little piece of art you carry all day. The good part is you don’t have to spend much. Most of these looks cost a few dollars and an afternoon. Some start with a clear case you already own. Others use scraps from your craft drawer. Below you’ll find 22 aesthetic phone case ideas, each with simple steps and cheap materials. Pick one that matches your vibe and give it a try this weekend.
1. Pressed Flower Clear Case
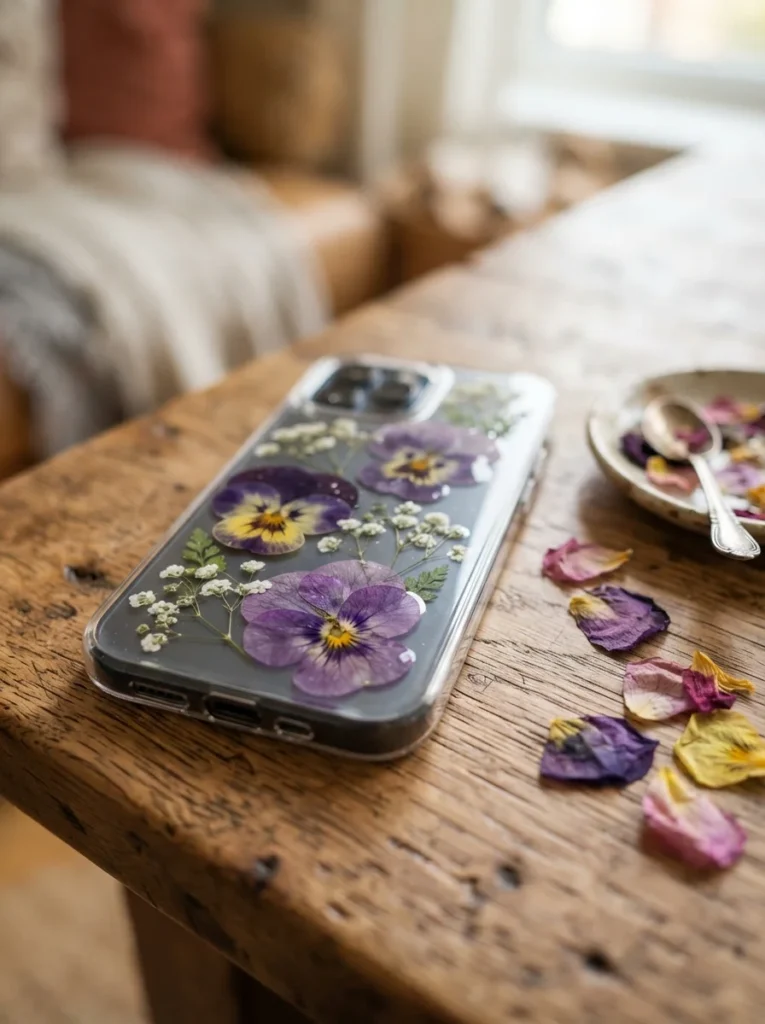
Pressed flowers give a clear case a soft, garden feel. You only need a clear phone case, a few small blooms, and clear-drying glue.
Start by pressing flowers between the pages of a heavy book. Give them a week to flatten and dry. Daisies, pansies, and ferns work best because they lie flat.
Once dry, arrange them inside the clear case. Play with the layout before you glue anything down.
Dab a little Mod Podge on the back of each petal. Press it against the inside wall of the case. Let it set for an hour.
Want it to last longer? Add a thin top coat of glue over the whole thing. This seals the petals and stops them shifting.
Budget tip: skip the flower shop. Pick weeds, clover, or small leaves from your yard for free.
You can swap blooms with the season. Try soft pinks in spring and burnt orange in fall.
The result looks like something from a boutique. But it cost you almost nothing.
2. Pastel Ombré Gradient
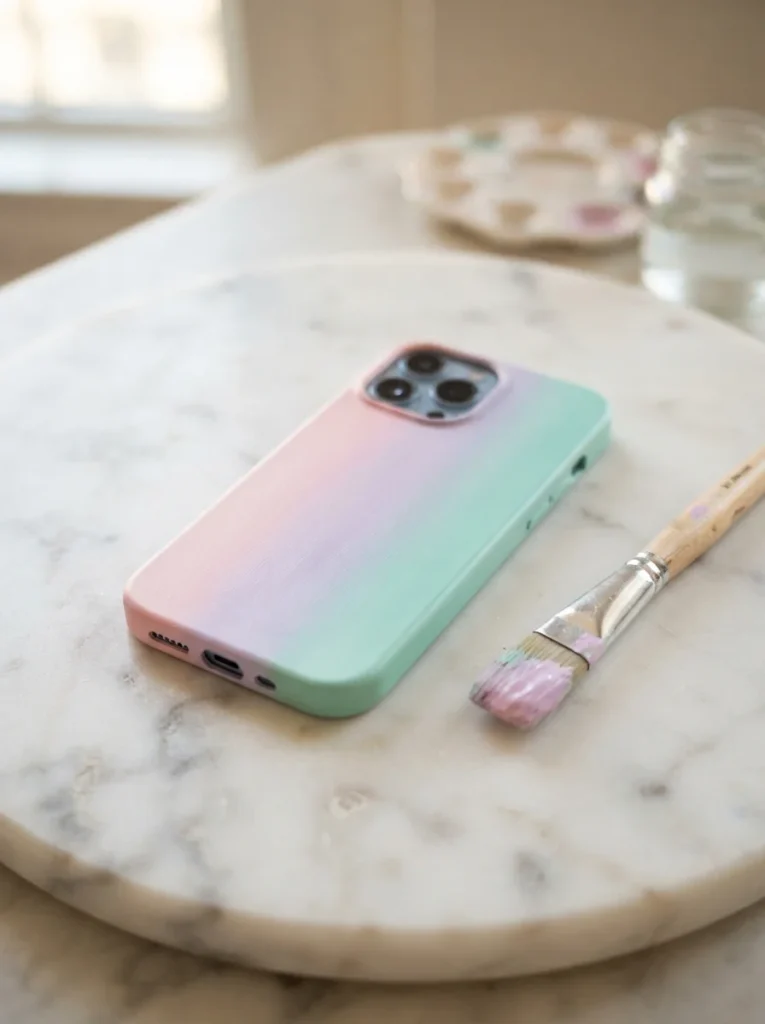
An ombré fade takes a plain case from dull to dreamy. This look uses three soft colors that melt into each other.
Grab a plain silicone or hard case and some acrylic paint. Pastels give the softest effect. Think baby pink, lilac, and pale mint.
Paint one color at the top and another at the bottom. While both are still wet, use a dry brush to blend them where they meet.
Work in thin coats. Thick paint cracks and peels later.
Let each layer dry fully. Then add a matte sealer so the colors don’t rub off in your pocket.
No sealer at home? A cheap clear nail polish does the same job.
Budget tip: buy a small set of craft acrylics from a dollar store. One set covers dozens of projects.
Try a sunset palette next. Peach into coral into gold looks warm and cozy.
The blending takes a little patience. But once you get the hang of it, each case looks hand-painted and unique.
Nobody else will have the exact same fade.
3. Marble Swirl Effect
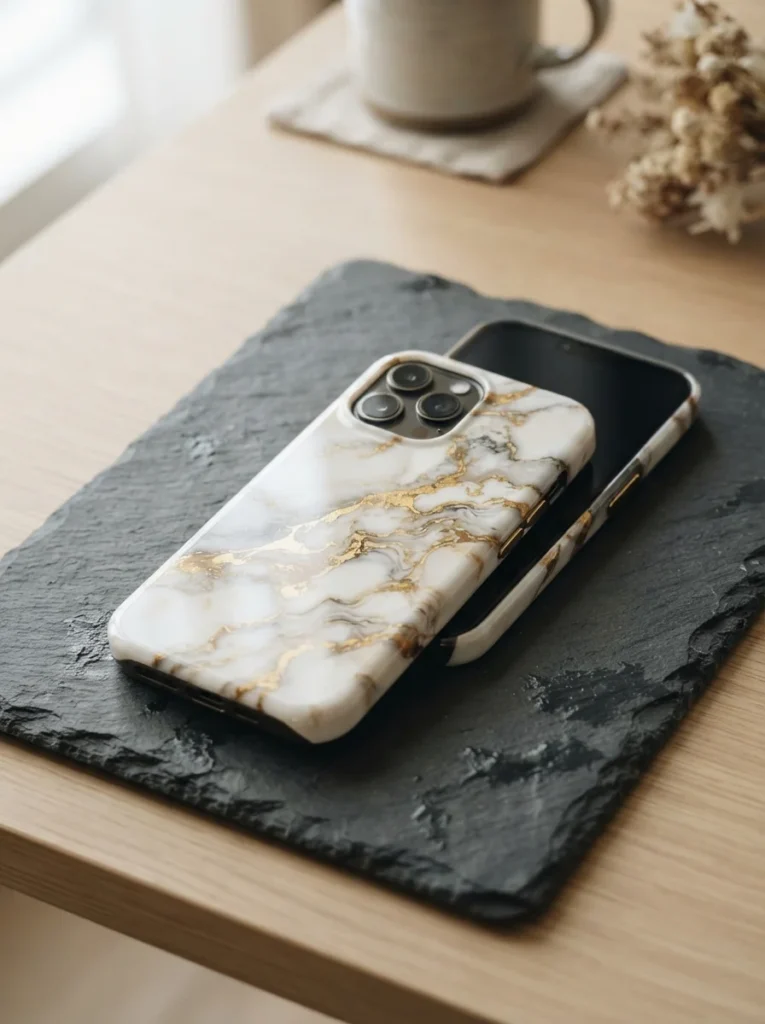
Marble looks fancy but is shockingly easy to fake at home. The secret is nail polish and water.
Fill a disposable cup with room-temperature water. Drop in white and gray nail polish. Swirl gently with a toothpick.
Dip your case into the water at an angle. The polish clings to the surface as you pull it out.
Let it dry for a few hours. The pattern will look like real stone.
Add a few strokes of gold paint for those luxe veins. A thin brush gives you control.
Budget tip: old, half-used nail polish bottles are perfect for this. No need to buy new.
Work near an open window. Nail polish fumes get strong fast.
Each dip creates a one-of-a-kind swirl. You can’t repeat it exactly, which is part of the charm.
Prefer moody tones? Use black and deep green for a dark marble look.
Seal it with clear polish so the pattern stays put.
This trick turns a two-dollar case into something that looks like it cost twenty.
4. Minimalist Line Art
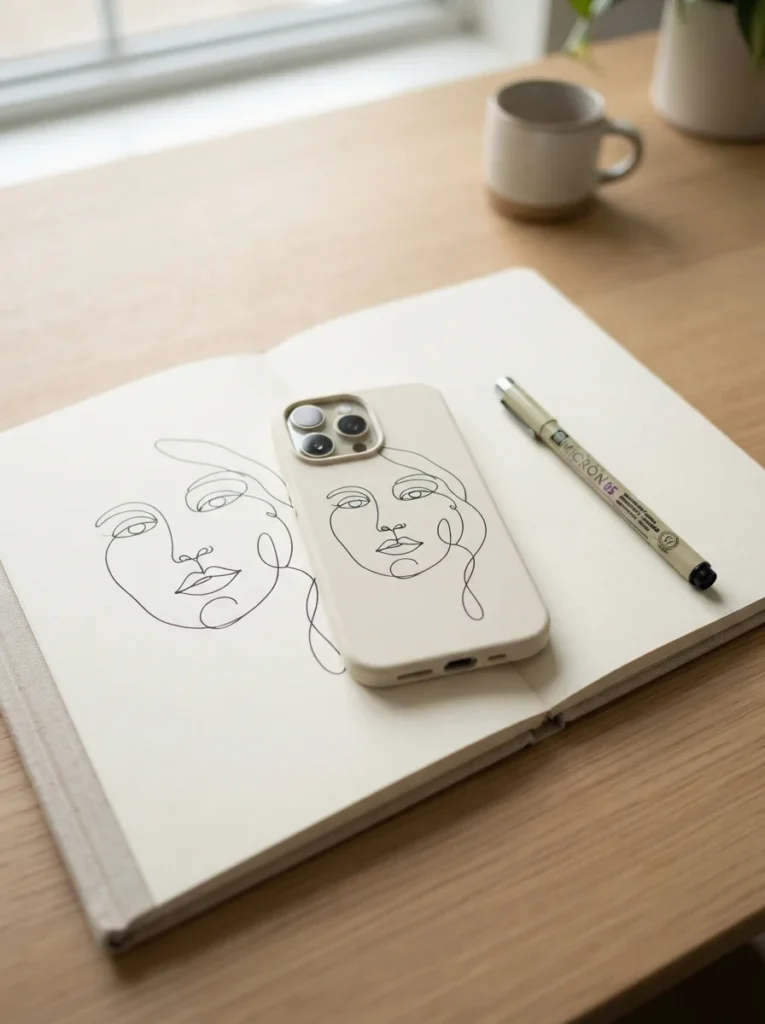
Sometimes less really is more. A single line drawing on a plain case feels modern and calm.
You need a light-colored case and a fine paint pen. Black on cream is a classic combo.
Sketch your design in pencil first. A simple face, a leaf, or a mountain range all work well.
Then trace over it with the paint pen in one smooth motion. Keep your hand steady.
Made a mistake? Wipe it off quickly with rubbing alcohol before it dries.
Once you’re happy, let it cure overnight. Add a clear top coat so it won’t smudge.
Budget tip: one paint pen costs about two dollars and lasts through many projects.
Try continuous-line art where you never lift the pen. It looks artsy and hides small wobbles.
This style suits people who like clean, quiet design. No clutter. Just one clear shape.
You can redo it anytime the mood changes. Wipe, sketch, and draw again.
It’s the easiest way to make a case look intentional and grown-up.
5. Glitter Resin Pour
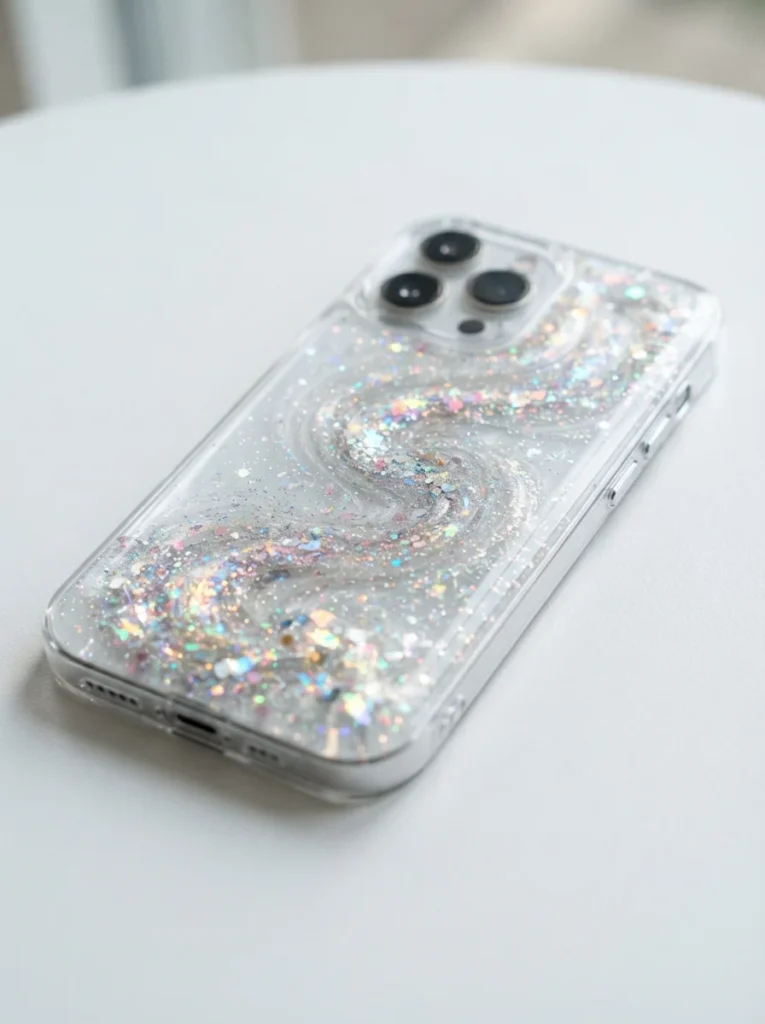
Love a bit of sparkle? A resin pour locks glitter under a glassy, smooth top.
This one needs a bit more gear. You’ll want two-part clear resin, fine glitter, and gloves.
Mix the resin in equal parts. Stir slowly to avoid bubbles.
Add your glitter. Go light, then build up. Too much makes it look muddy.
Pour a thin layer over a hard case. Spread it with a stick to reach the edges.
Pop any bubbles with a toothpick or a quick pass of a lighter, held far back.
Let it cure flat for a full day. Rushing this ruins the shine.
Budget tip: a small resin kit covers several cases. Split the cost with a friend.
Mix in tiny stars or holographic flakes for extra pop.
Wear gloves and work in a ventilated room. Resin is sticky and strong-smelling.
The finished case feels smooth and heavy in a good way. Light hits it and scatters.
It’s the closest you’ll get to a store-bought designer look at home.
6. Vintage Sticker Collage
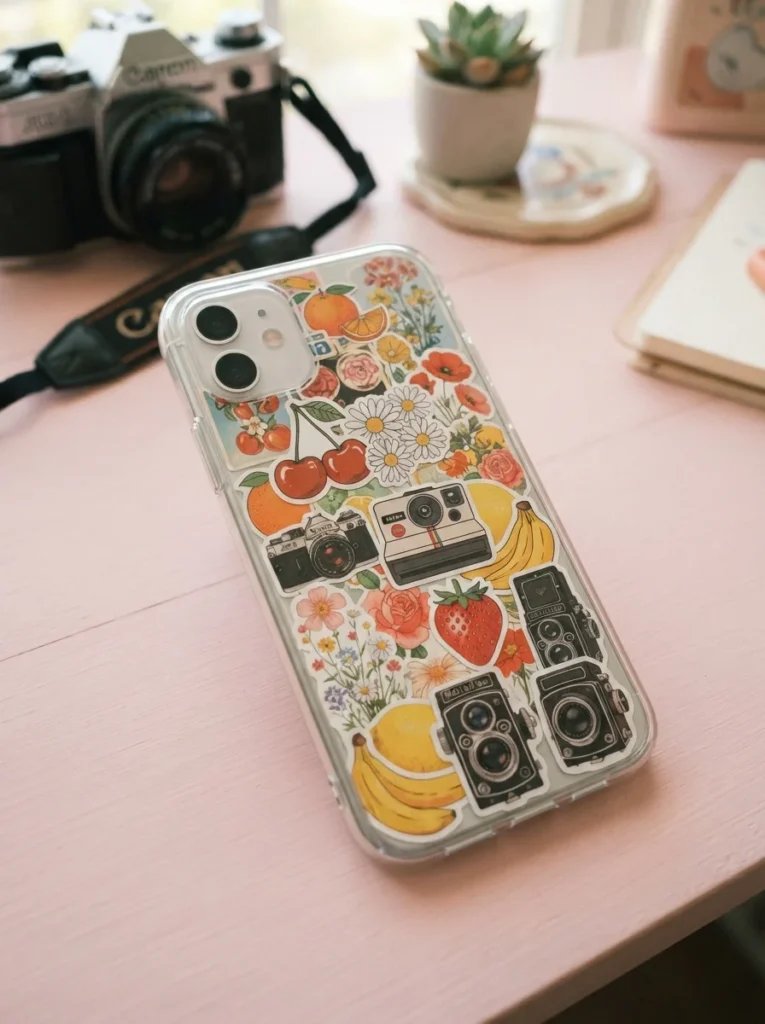
Stickers are the fastest way to a collage case. No paint, no drying time, just peel and stick.
Grab a clear case and a pile of stickers. Vintage-style ones give that retro feel.
Lay them out first without peeling. Overlap edges so there are no gaps.
Once you like the layout, start sticking from one corner. Smooth each one down to push out air.
Trim any bits that hang over the edges with small scissors.
To protect them, slip a second clear layer over the top or add clear tape.
Budget tip: sticker sheets from a craft store often give you dozens for a dollar or two.
Mix themes for a fun clash. Fruit, cameras, and flowers all in one.
Peel them off and redo whenever you get bored. It’s the most flexible design here.
This look suits journal lovers and anyone with a sticker stash gathering dust.
It costs almost nothing and takes ten minutes. Perfect for a quick refresh.
7. Boho Macramé Wrap
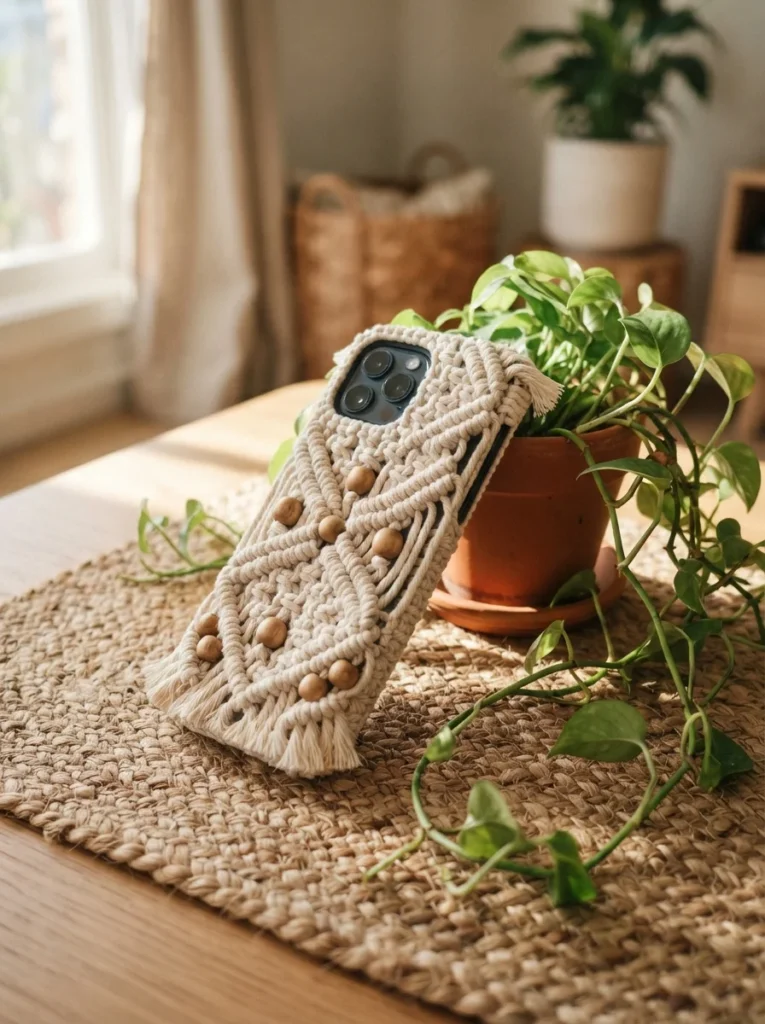
For an earthy, handmade feel, try a macramé wrap. Knotted cord gives your case texture and warmth.
You’ll need cotton cord and a plain hard case. Beige or terracotta cord looks the most boho.
Glue one end of the cord to the back of the case. Then start wrapping and knotting around it.
Simple square knots are enough. You don’t need fancy patterns.
Add a few wooden beads as you go for a natural touch.
Tuck the loose end under and glue it down to finish.
Budget tip: one roll of cotton cord costs a few dollars and wraps many cases.
Keep the wrap thin so the case still fits your pocket.
This look pairs well with plants, linen, and warm wood. Very cozy, very calm.
The texture also helps with grip. Fewer slips and drops.
It takes an afternoon but gives you a piece that feels truly handmade.
No two wraps come out the same.
8. Watercolor Wash
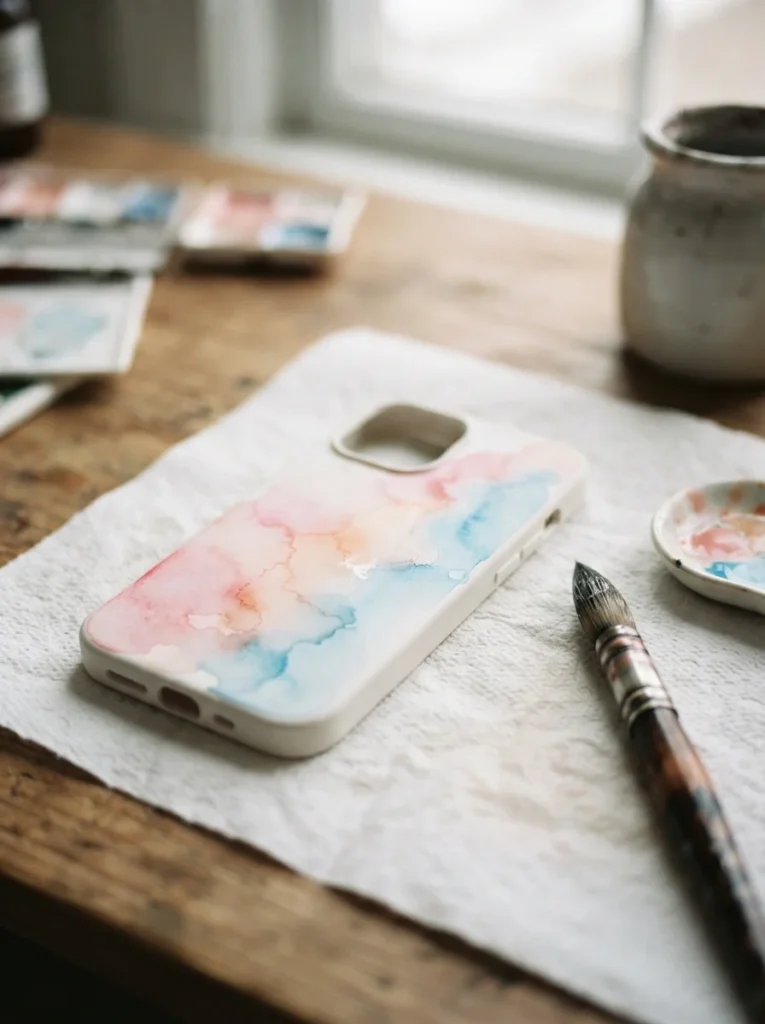
A watercolor wash looks soft and dreamy, like a painting left to bleed on paper.
This works best on a matte hard case that holds paint well.
Use watercolor or watered-down acrylics. Load your brush and let the colors run into each other.
Don’t aim for neat edges. The messy blur is the whole point.
Blush pink, soft blue, and pale yellow make a gentle mix.
Let it dry, then seal it with a clear matte coat so the color stays.
Budget tip: a basic kids’ watercolor set costs a dollar and gives you every shade you need.
Tilt the case while wet to let colors flow in one direction.
Add a tiny gold detail once dry if you want a focal point.
This style is very forgiving. There’s no wrong way to do it.
It suits people who like soft, romantic looks over sharp lines.
Each wash comes out different, so yours will always be one of a kind.
Quick, cheap, and quietly pretty.
9. Celestial Moon and Stars
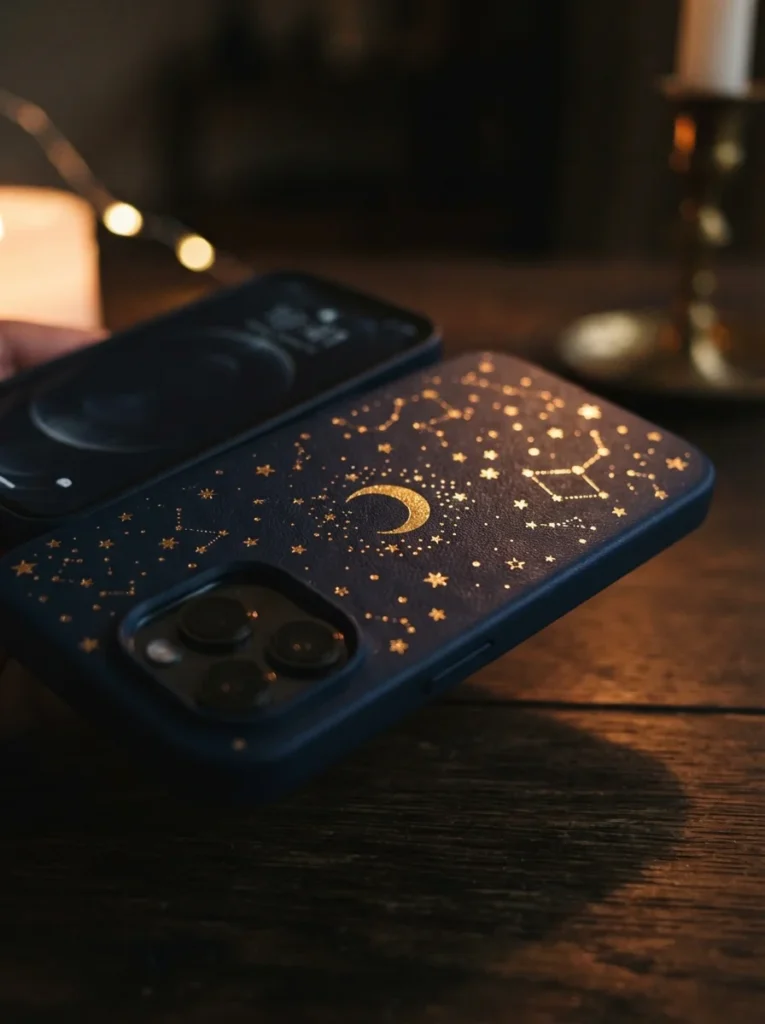
Dreamy skies never go out of style. A celestial case brings the night sky into your pocket.
Start with a dark case in navy or black. Grab gold or silver paint and a fine brush.
Dot small stars across the surface. Vary the sizes so it looks natural.
Add a crescent moon as your center piece. Keep it simple.
For a galaxy effect, dab on purple and blue with a sponge first, then add stars on top.
Let it dry, then seal with clear coat.
Budget tip: a metallic gel pen works instead of paint and costs almost nothing.
Flick a loaded brush over the case for a scattered star field. Practice on paper first.
This look feels calming and a little magical.
It pairs well with soft, moody phone wallpapers too.
Great for anyone who loves stargazing or just a bit of mystery.
The gold catches light as you move, giving a subtle shimmer.
Simple to make, striking to look at.
10. Retro 70s Checkerboard
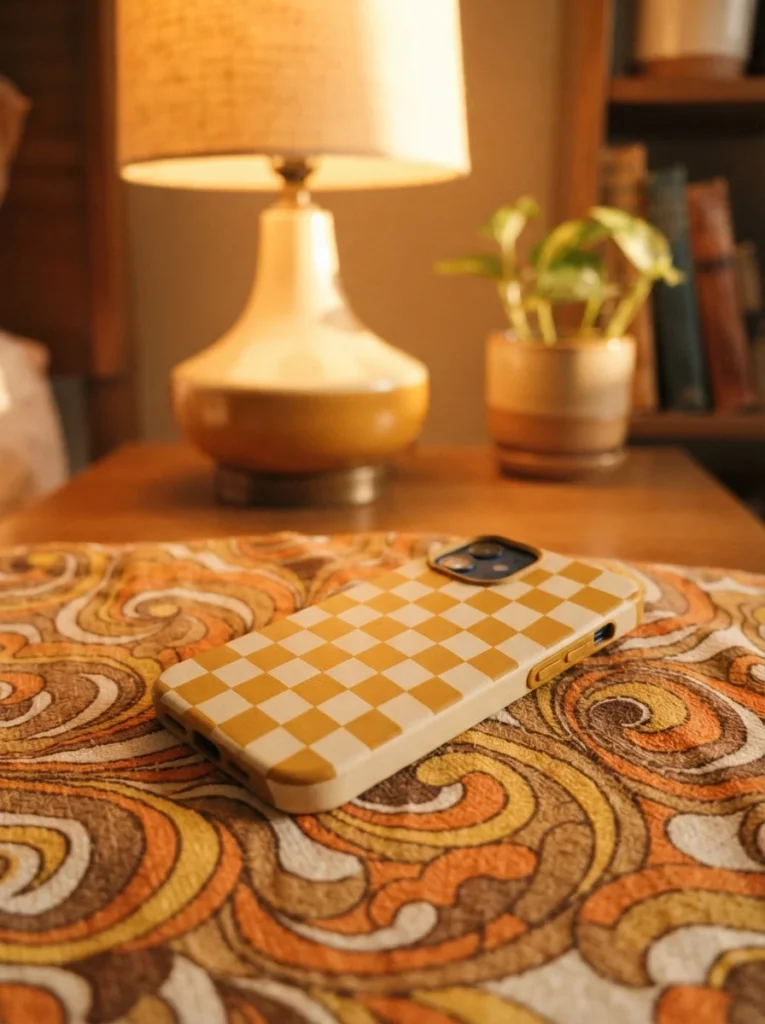
The checkerboard trend brings back groovy 70s energy. Two colors, one bold grid.
Grab a light case and painter’s tape. Choose warm retro shades like mustard and cream.
Paint the whole case your base color first. Let it dry.
Then use thin tape to mark a grid. Paint every other square your second color.
Peel the tape while the paint is slightly wet for clean lines.
Budget tip: painter’s tape is cheap and reusable across projects.
Wavy checkerboard is fun too. Cut curvy tape lines instead of straight ones.
Sage green and cream give a softer take on the same idea.
Seal it with a clear coat so the squares don’t chip.
This look is bold and playful. It stands out in a crowd.
It pairs with denim, corduroy, and anything vintage.
The grid hides small paint flaws, so it’s beginner-friendly.
Fun, retro, and easy on the wallet.
11. Hand-Painted Terrazzo
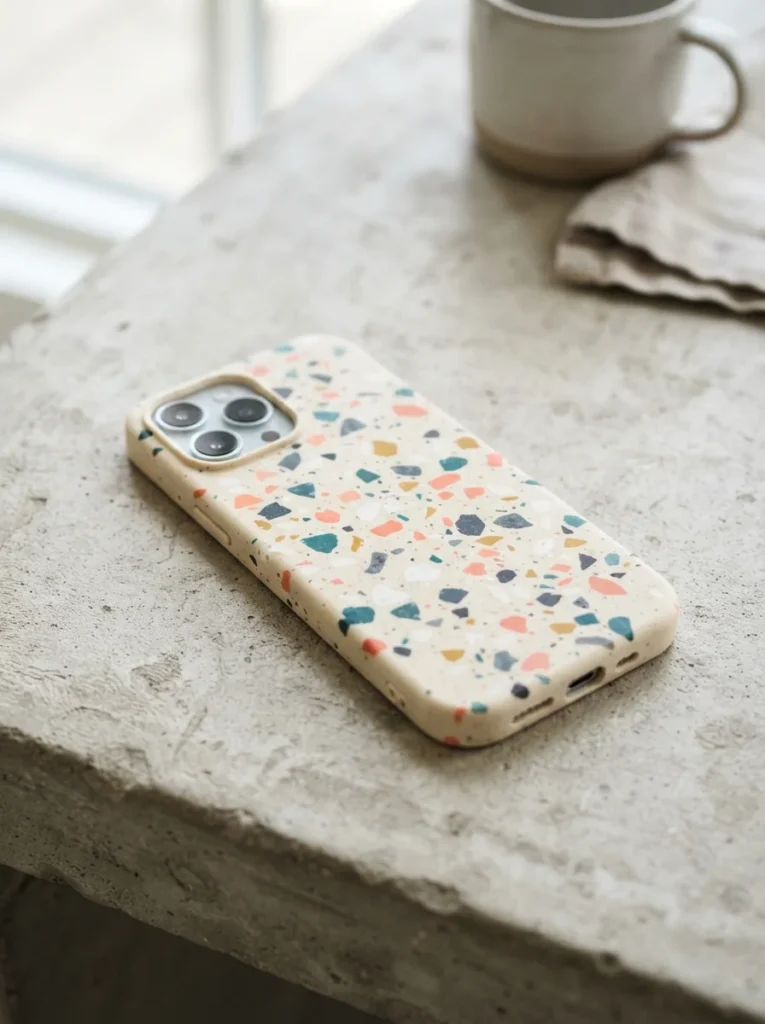
Terrazzo is that speckled, confetti-like pattern you see on trendy floors. It’s easy to paint.
Start with a cream or white base coat on your case. Let it dry.
Then use a small brush to add little chips of color. Coral, teal, and charcoal work well.
Keep the flecks random and different sizes. Real terrazzo is never neat.
Space them out so the base still shows through.
Let it dry and seal with a clear top coat.
Budget tip: use up leftover paint from other projects. Terrazzo suits a mix of odd colors.
A cotton swab makes rounder flecks if a brush feels tricky.
This look is fresh and modern without being loud.
It suits people who like a bit of color but not too much.
Each case comes out unique since you place every fleck by hand.
Quick, playful, and very on-trend.
12. Embroidered Fabric Cover
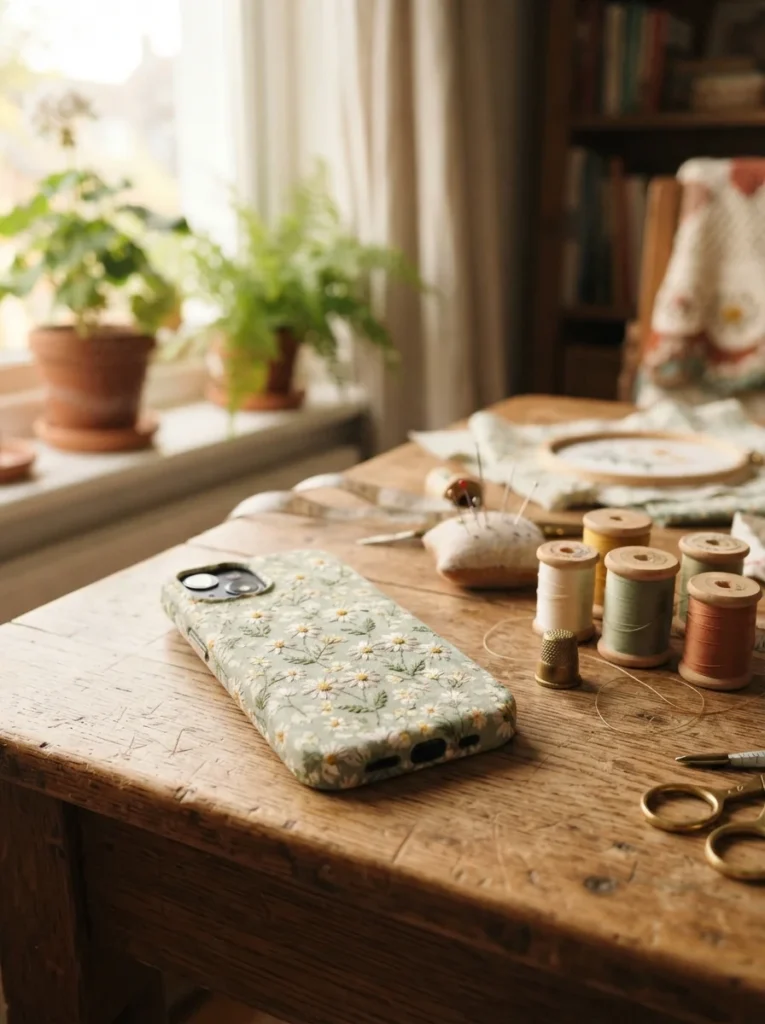
Fabric brings softness and pattern that paint can’t. An embroidered cover feels handmade and cozy.
Cut a piece of fabric slightly bigger than your case. Floral cotton looks lovely.
Glue it smoothly over a hard case, folding edges to the inside.
Trim the corners so it lies flat. Cut holes for the camera and buttons.
For extra charm, stitch a few small daisies with embroidery thread before gluing.
Budget tip: use fabric scraps or an old shirt you no longer wear. Free and sentimental.
Iron the fabric first so there are no creases.
A little fabric glue holds better than school glue here.
This look suits cottagecore and vintage lovers.
It also adds grip, so your phone won’t slide off tables.
The stitching takes time but gives a special, personal touch.
Swap the fabric with the seasons if you like.
Soft, warm, and truly one of a kind.
13. Beaded Charm Strap
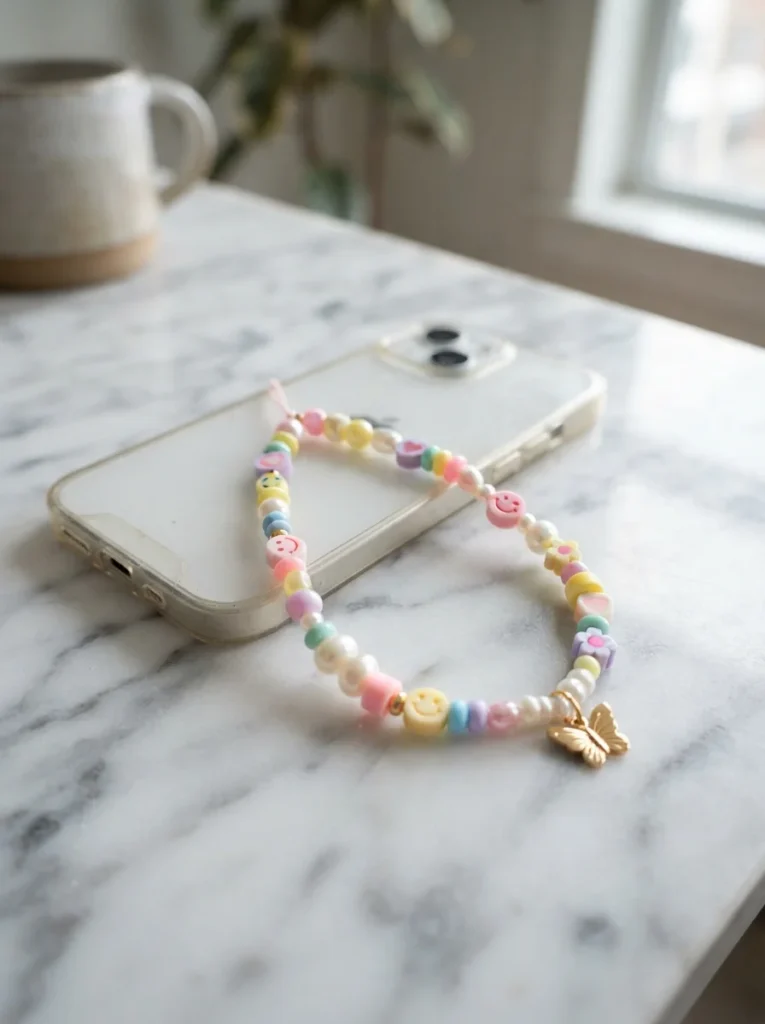
A beaded strap adds color and fun without touching the case itself.
You need a strap adapter, a cord, and beads. Adapters slip between your case and phone.
Thread beads onto strong cord. Mix colors and shapes however you like.
Add a small charm in the middle for personality.
Knot both ends and attach them to the adapter tabs.
Budget tip: raid old jewelry or a craft-store bead bin. Loose beads cost very little.
Smiley beads and pearls are a cute mix right now.
Make the strap long enough to sling over your shoulder if you want hands-free.
This works with any case you already own. No painting needed.
It’s a nice starter project if you’re new to DIY.
Kids and beginners can make one in minutes.
Swap straps to match your outfit any day.
Simple, cheerful, and endlessly customizable.
14. Cottagecore Mushroom
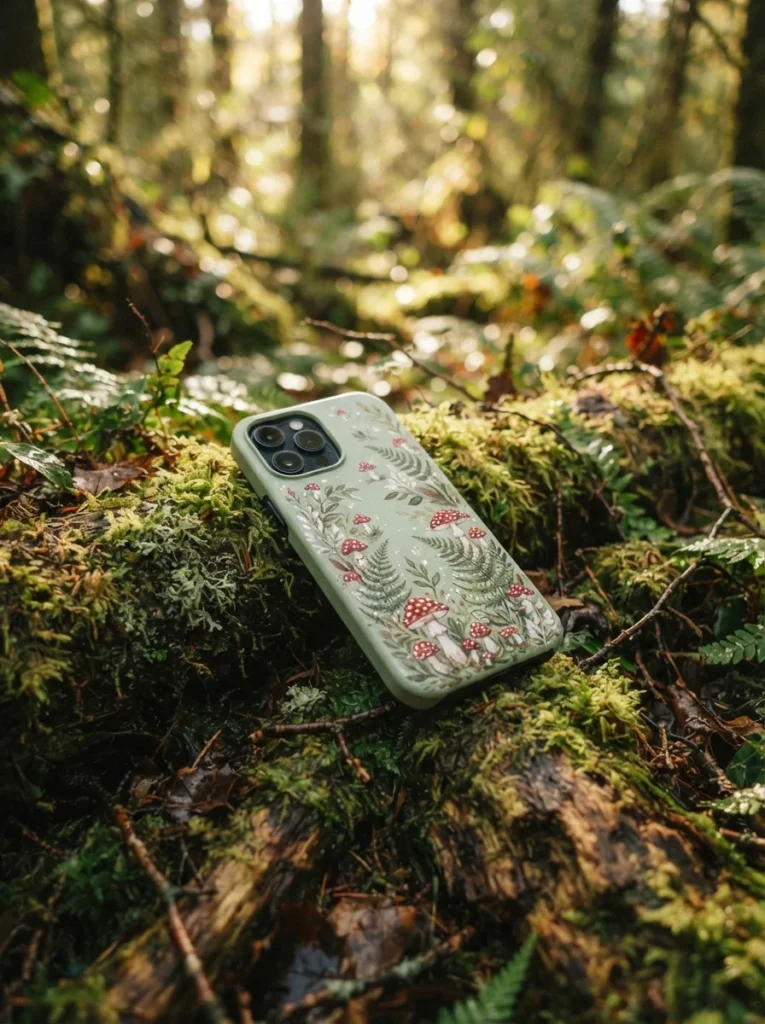
For woodland charm, paint a cottagecore mushroom design. It’s whimsical and sweet.
Start with a soft green or cream case. Grab red, white, and brown paint.
Paint little toadstools with red caps and white dots. Add tiny fern fronds around them.
Keep the shapes simple and slightly wonky. That’s part of the charm.
A fine brush helps with the small dots and stems.
Let it dry and seal with a clear coat.
Budget tip: you only need three or four paint colors for the whole scene.
Add a snail or a small flower for extra storybook feel.
This look suits people who love nature and soft, cozy vibes.
It pairs well with green wallpapers and earthy outfits.
Practice the mushrooms on paper first to get the shape.
Each one you paint will be a little different, which only adds charm.
Cute, calming, and cheap to make.
15. Neon Y2K Aesthetic
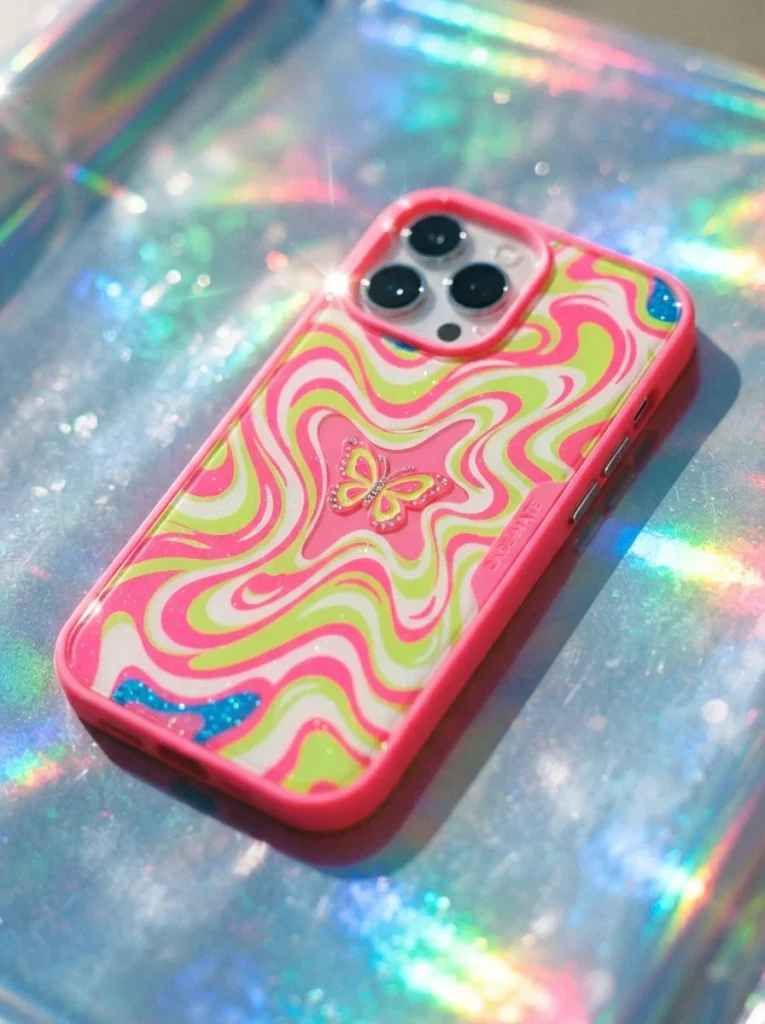
Miss the early 2000s? The Y2K look is loud, bright, and back in a big way.
Use bold neon paint. Hot pink, lime green, and electric blue all fit.
Paint swirls, hearts, and a small butterfly across the case.
Mix clashing colors on purpose. Y2K is not shy.
Add a few rhinestones for extra sparkle and drama.
Budget tip: a bag of tiny rhinestones costs a dollar and covers many projects.
Metallic silver paint gives a chrome, futuristic touch.
Let everything dry, then seal it well since gems can snag.
This look is fun, bold, and full of nostalgia.
It suits anyone who loves color and doesn’t mind standing out.
Butterfly clips and jelly accessories match the vibe.
Go as wild as you want. There’s no such thing as too much here.
Playful, punchy, and a great way to use up bright paints.
16. Dried Herb and Botanical
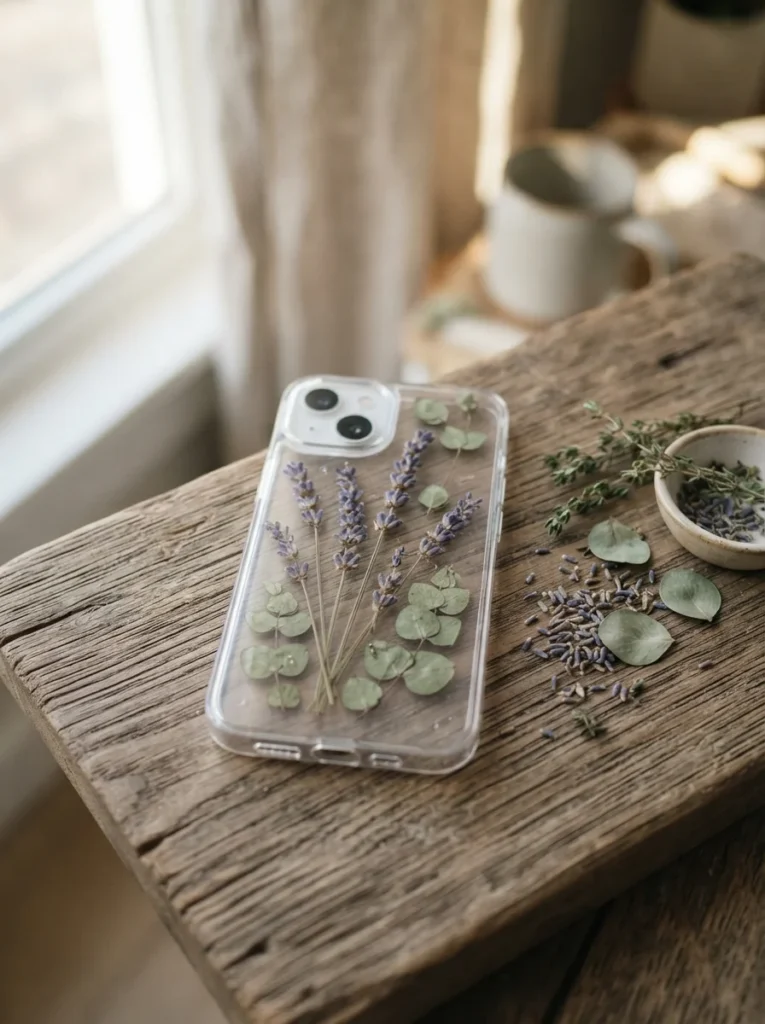
Like the pressed flower idea but earthier? Try dried herbs for a calm, natural case.
Use a clear case and small dried sprigs. Lavender, eucalyptus, and thyme all work.
Press the herbs flat in a book for a few days first.
Arrange them inside the clear case. Long thin sprigs look elegant along one edge.
Glue them down with clear-drying glue.
Add a top layer of glue to seal and protect them.
Budget tip: dry herbs from your kitchen or garden. No cost at all.
The faint scent of lavender lingers a little, which is a nice bonus.
This look is soft, muted, and grown-up.
It suits people who love calm, natural tones over bright colors.
Swap herbs with the season or your mood.
The greens and purples pair well with neutral outfits.
Simple, soothing, and basically free.
17. Metallic Foil Accent
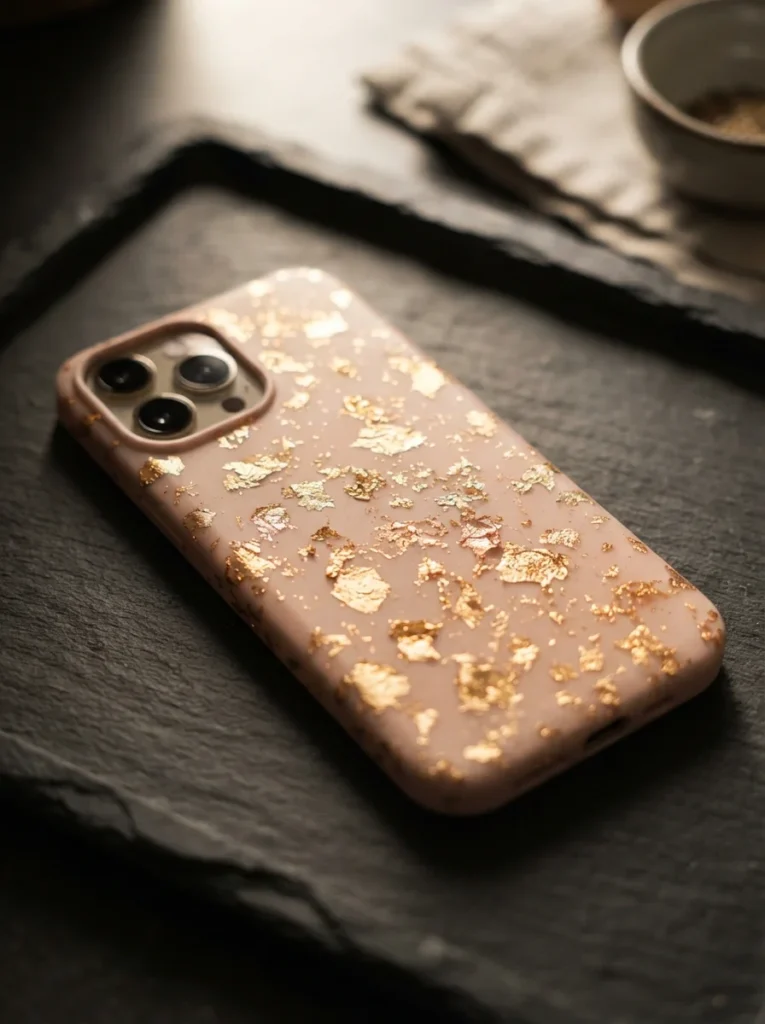
A touch of gold foil makes any case look expensive. It’s easier than it sounds.
Buy a small pack of gold leaf sheets and foil glue. Both are cheap online.
Paint your base color first. Blush pink or deep green makes gold pop.
Brush a little glue where you want the foil. Let it get tacky.
Press small pieces of gold leaf onto the sticky spots. Dab with a soft brush.
Brush away loose bits. The random, cracked look is what you want.
Seal it with clear coat so the foil stays on.
Budget tip: one pack of imitation gold leaf covers dozens of cases.
Don’t cover the whole case. A few flakes look classier than full gold.
Silver and copper foil give different moods.
This look pairs with marble and pastel designs beautifully.
It’s a small step that makes a big difference.
Luxe on a tiny budget.
18. Polymer Clay Texture
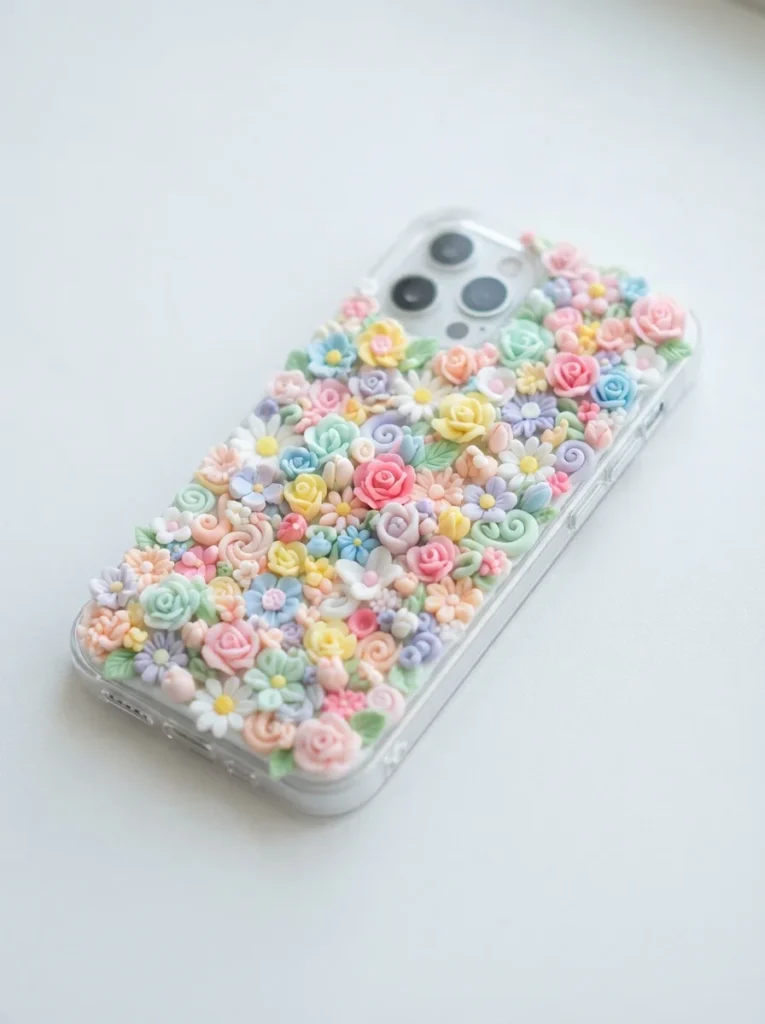
Want texture you can feel? Polymer clay lets you add tiny 3D shapes to your case.
Buy a block of clay in a few pastel colors. It’s cheap and goes far.
Roll small flowers, hearts, or swirls with your fingers.
Bake them on a tray following the pack instructions. They harden fast.
Once cool, glue them onto a hard case with strong craft glue.
Arrange them in a corner or scatter them across the back.
Budget tip: one small clay set makes decorations for many cases.
Keep the shapes flat-ish so they don’t catch in your pocket.
Mix colors before baking for a marbled clay effect.
This look is playful and tactile.
It suits people who like a bit of dimension, not just flat paint.
Swap out shapes anytime by peeling and re-gluing.
A little messy, a lot of fun.
19. Coastal Seashell
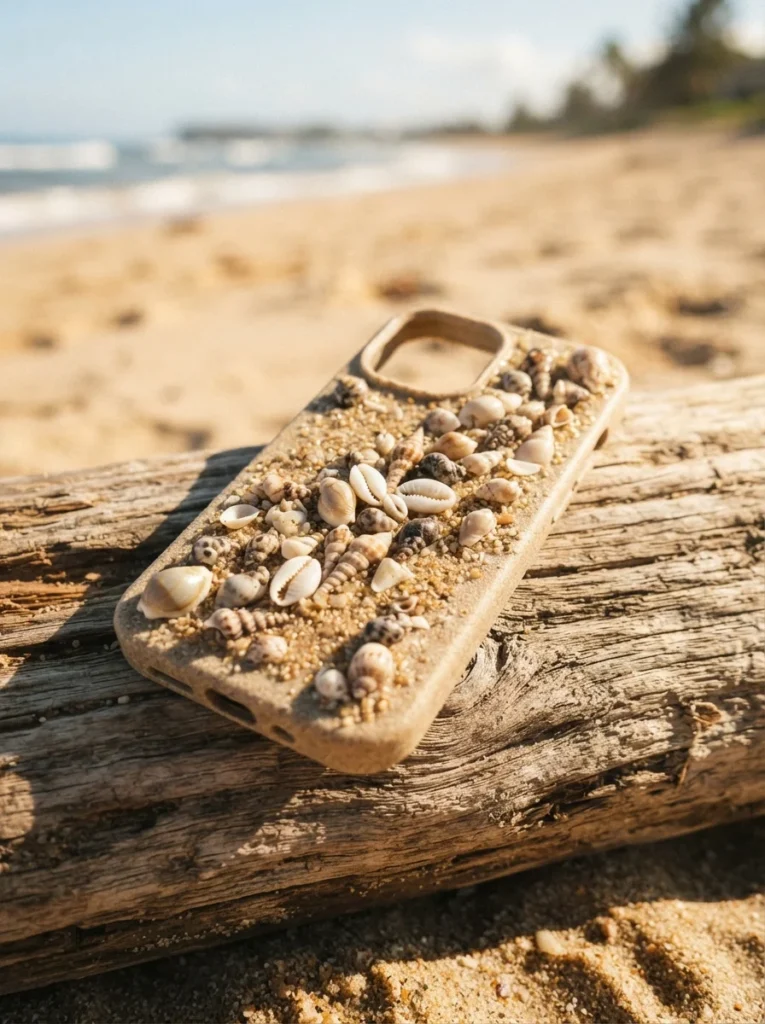
Bring the beach with you using a seashell case. It’s breezy and coastal.
Start with a sandy beige or clear case. Gather tiny shells from a past trip or a craft pack.
Glue small shells along one edge or corner. Don’t overload it.
For a sandy look, brush glue on and sprinkle fine sand over it. Shake off the extra.
Add a touch of pearl paint for a wet, glossy shimmer.
Seal it with clear coat so nothing falls off.
Budget tip: use shells you already collected. Free and full of memories.
Keep shells small and flat so the case still fits your pocket.
Pale blue and cream paint underneath adds an ocean feel.
This look suits summer lovers and beach fans.
It pairs with linen, straw bags, and warm weather outfits.
Each case holds a little piece of the seaside.
Calm, breezy, and personal.
20. Abstract Paint Splatter
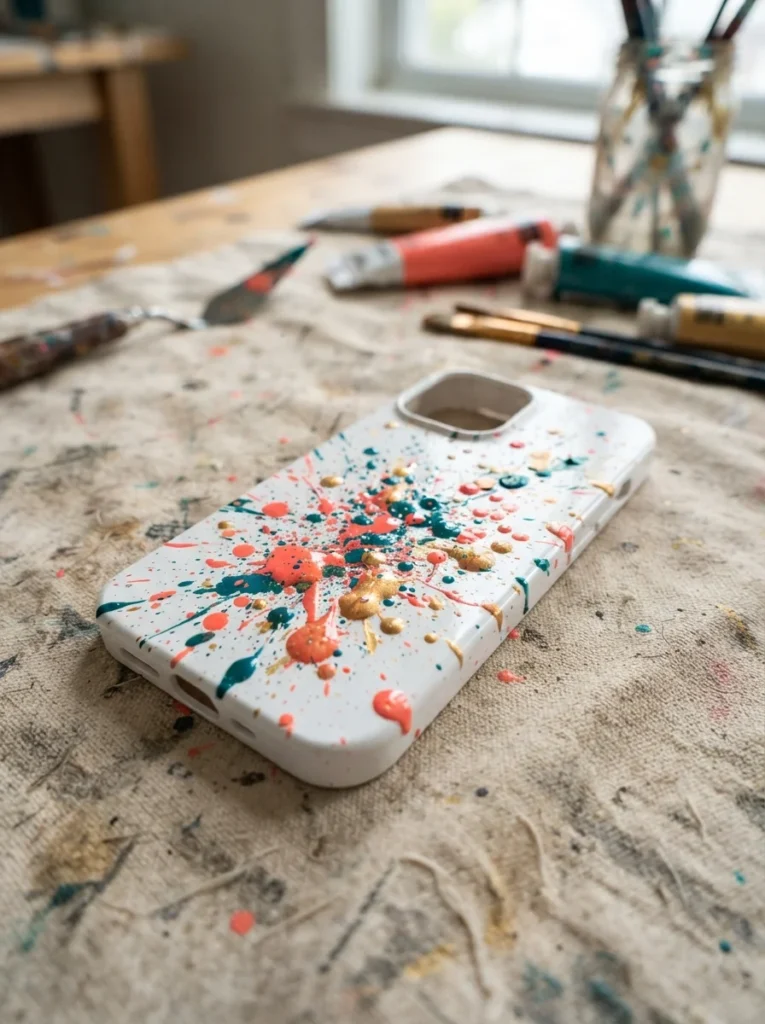
Feeling messy in a good way? Paint splatter is pure fun and takes minutes.
Lay a white case on some scrap paper. This gets messy, so protect your table.
Load a brush with paint. Flick it over the case to scatter droplets.
Use two or three colors. Coral, teal, and gold make a lively mix.
Let each color dry a little before adding the next to avoid mud.
Seal it with a clear coat once fully dry.
Budget tip: use up almost-empty paint tubes. Splatter needs very little.
Vary your flick strength for big and small dots.
An old toothbrush gives fine, even speckles.
This look is loose, artsy, and impossible to get wrong.
It suits people who like energy and color over neat design.
No two splatter cases ever match.
Fast, cheap, and a great stress reliever.
21. Grid Journal Aesthetic
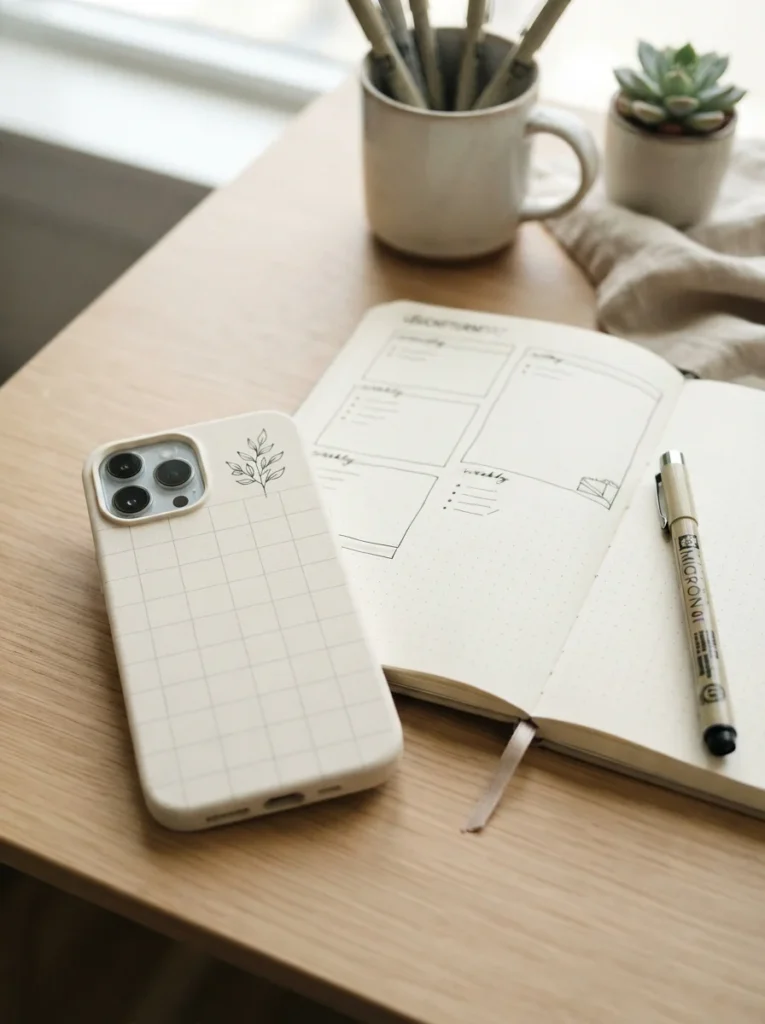
If you love planners, the grid journal look will feel like home. Clean, quiet, and neat.
Start with a cream or white case. Grab a fine gray pen and a ruler.
Draw a light grid of dots or squares across the whole case. Keep the lines faint.
Add one small doodle in a corner. A tiny plant or a coffee cup works.
Keep everything minimal. Lots of empty space is the point.
Seal it with a matte clear coat so the ink stays.
Budget tip: one fineliner pen does the whole job for a dollar or two.
A ruler keeps your grid straight and calm.
This look suits students, planners, and anyone who likes tidy design.
It pairs well with beige outfits and simple wallpapers.
Redo it anytime with a fresh pattern.
Neat, soft, and easy on the eyes.
22. Holographic Iridescent
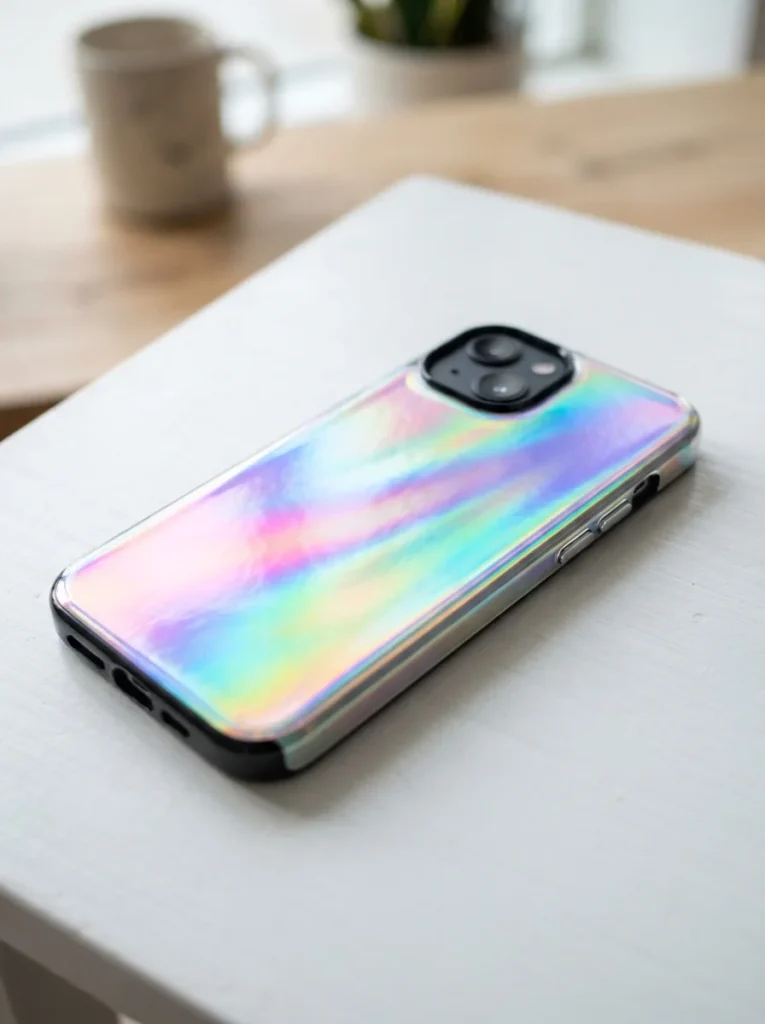
Want your case to shift colors as it moves? A holographic finish does exactly that.
Buy a sheet of holographic vinyl or film. It’s cheap and comes in rolls.
Cut a piece slightly bigger than your case back.
Peel the backing and press it smoothly onto a clear or white case.
Push out air bubbles from the center outward with a card.
Trim the edges and cut openings for the camera.
Budget tip: one roll of holo vinyl covers many cases and other crafts too.
Warm the film slightly with a hairdryer to help it stretch over curves.
The surface throws off pink, blue, and green as light hits it.
This look is bold, shiny, and eye-catching.
It suits people who love shine and a bit of drama.
No painting or drying time at all.
Quick to apply, stunning to look at.
Conclusion
Your phone case doesn’t have to be boring, and it doesn’t have to be pricey. From pressed flowers to holographic film, every idea here uses cheap materials and simple steps. Most start with a plain case you might already own. A few dollars of glue, paint, or fabric is often all it takes.
Pick the look that matches your style and set aside an hour this weekend. Try one, mess it up, and try again. That’s half the fun. Soon you’ll have a case that feels like yours, made by your own hands, for barely any money at all. Grab your supplies and start with the design that caught your eye first.
