

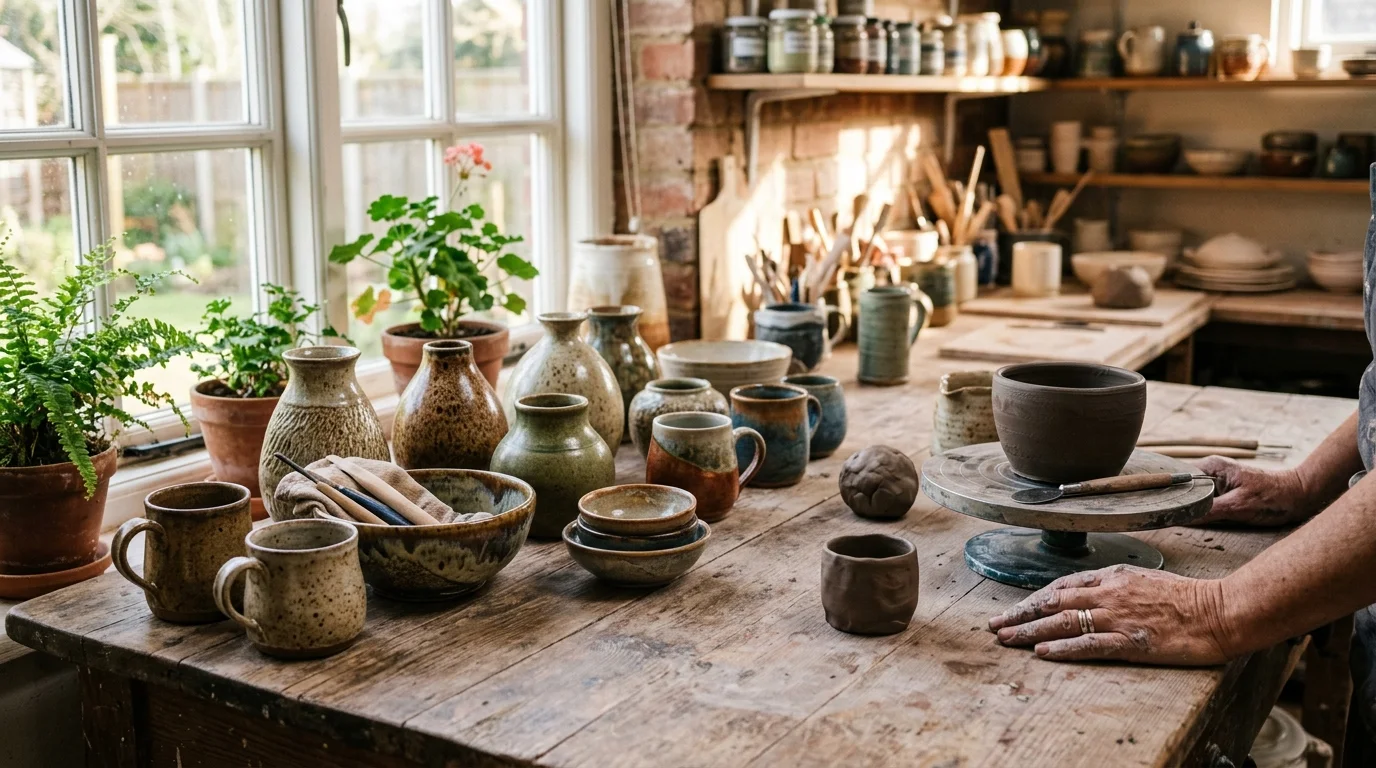
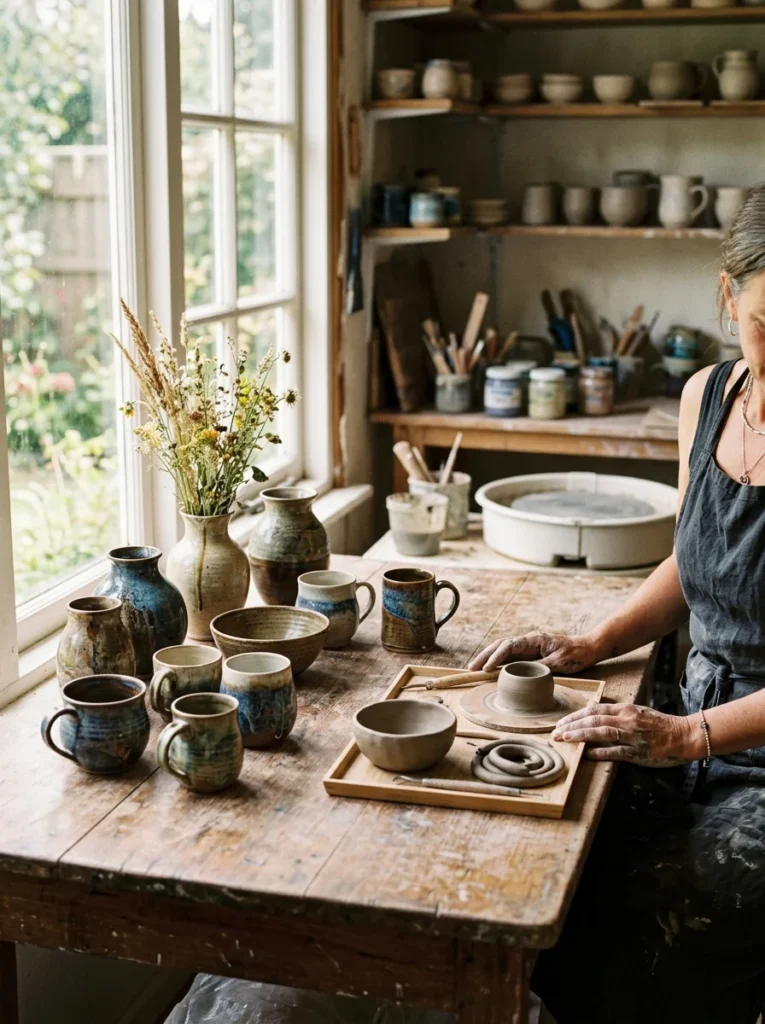
There’s something about a handmade ceramic piece that a store-bought item just can’t match. Maybe it’s the slight wobble in a bowl’s rim. Maybe it’s the thumbprint pressed into wet clay. Whatever it is, pottery brings warmth into a home that mass production never will. You don’t need a kiln in your backyard or years of training to get started either. Plenty of these ideas work with air-dry clay, a basic toolkit, and a kitchen table. Whether you’re hunting for your next weekend project or just want fresh ways to decorate with ceramics you already own, this list covers it all. From planters to wall art to lighting, here are 25 pottery ideas that turn raw clay into pieces you’ll actually want to show off.
1. Textured Speckled Planters
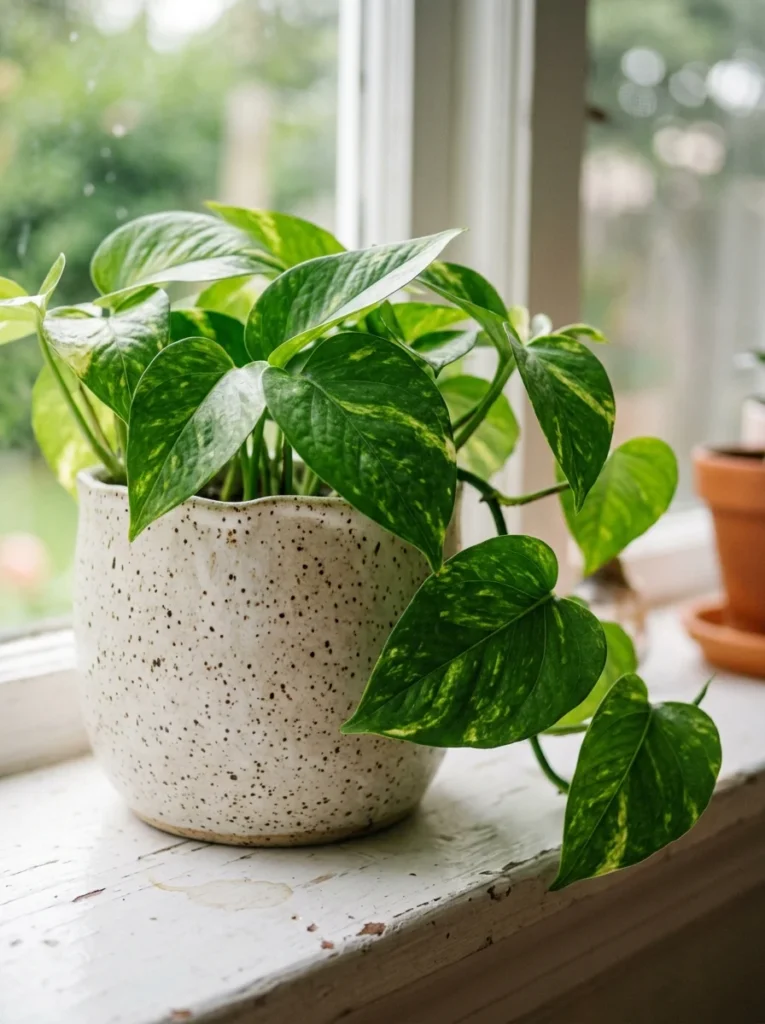
Speckled clay planters look complicated. They’re not. Speckled stoneware clay does most of the work for you. Just shape a basic pinch pot or use a simple mold. Let it dry, then apply a clear or light glaze so those natural specks show through.
Skip the kiln entirely if you want. Air-dry clay works fine for indoor planters that won’t hold water directly. Just slip a plastic liner inside before adding soil.
Budget tip: Buy clay in bulk bags instead of small craft packs. It’s often half the price per pound.
Try grouping three different sized planters together on a shelf. Mismatched heights create visual interest without needing matching patterns.
For drainage, poke holes before the clay fully dries using a skewer. Don’t wait until it’s bone dry, or you’ll crack the piece.
This works great for succulents, herbs, or even fake greenery if you don’t have a green thumb. Beginners should start with a planter no bigger than four inches. Small projects dry faster and fail less.
2. Hand-Pinched Trinket Dishes
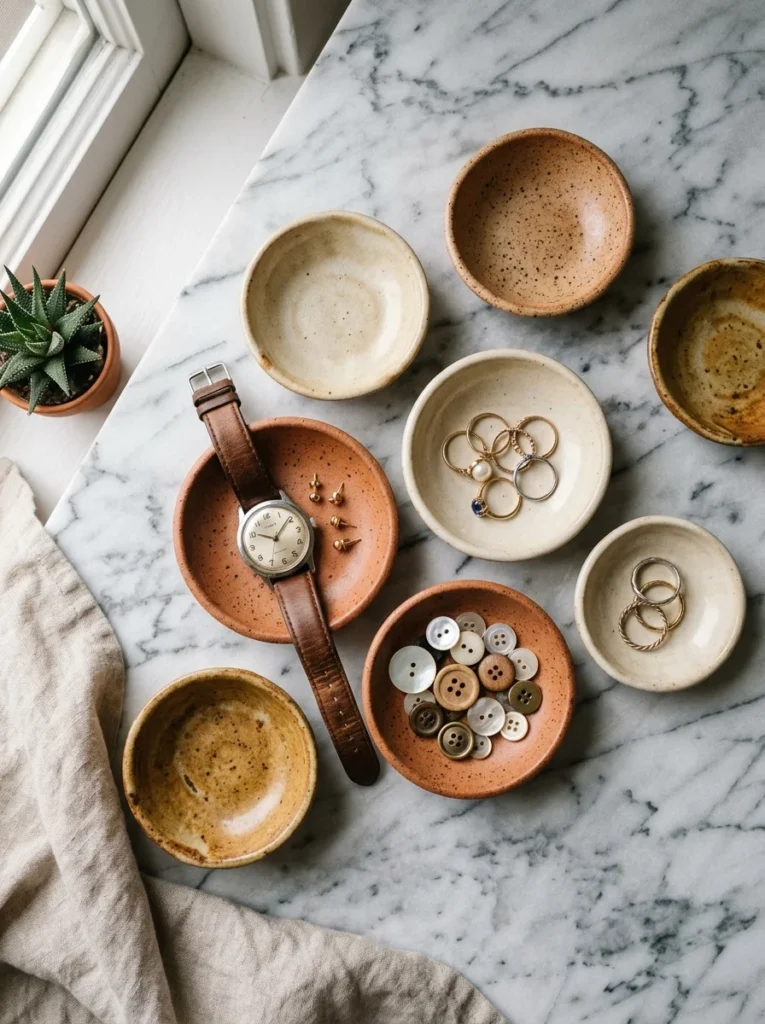
Pinch pots are the easiest pottery project for total beginners. No wheel. No tools. Just your hands and a ball of clay.
Roll the clay into a ball, then push your thumb into the center. Slowly turn the piece while pinching the walls thinner. That’s it.
These little dishes are perfect for jewelry, keys, or loose change by the front door.
Budget tip: A single one-pound block of clay can make four or five small dishes. That’s a lot of gifts from one purchase.
Paint the inside a different color than the outside for contrast. Use a sponge to smooth rough edges before drying.
Kids love this project too. It’s safe, simple, and forgiving if shapes turn out uneven. Uneven actually looks intentional with pinch pots.
Display a few together on a tray near your bathroom sink. They’re practical and they look like something from a boutique store, minus the price tag.
3. Minimalist Bud Vases
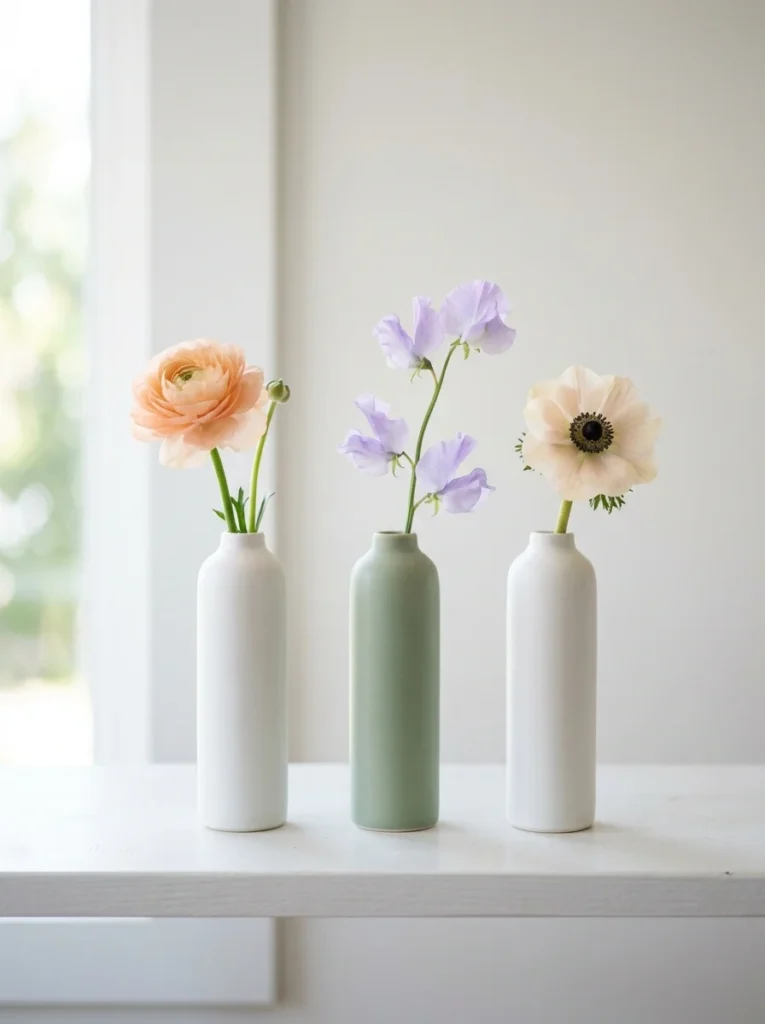
One stem. One vase. That’s the entire idea behind bud vases, and it’s why they’re so easy to make at home.
Roll a slab of clay into a tube shape around a rolling pin handle or a thick marker. Pinch the bottom closed and smooth the seams with your fingers.
Let it dry upright so it keeps its shape.
Budget tip: Reuse small glass bottles as molds instead of buying specialty tools.
Group five or six different bud vases on a windowsill. Mix heights and colors for a collected-over-time look, even if you made them all in one afternoon.
Single stems from your yard work just as well as store-bought flowers. Try a sprig of rosemary or a single tulip.
These also make excellent low-cost gifts. Wrap one in brown paper with a flower already inside. Simple, personal, and it costs you maybe two dollars in materials.
4. Organic Shaped Catchall Bowls
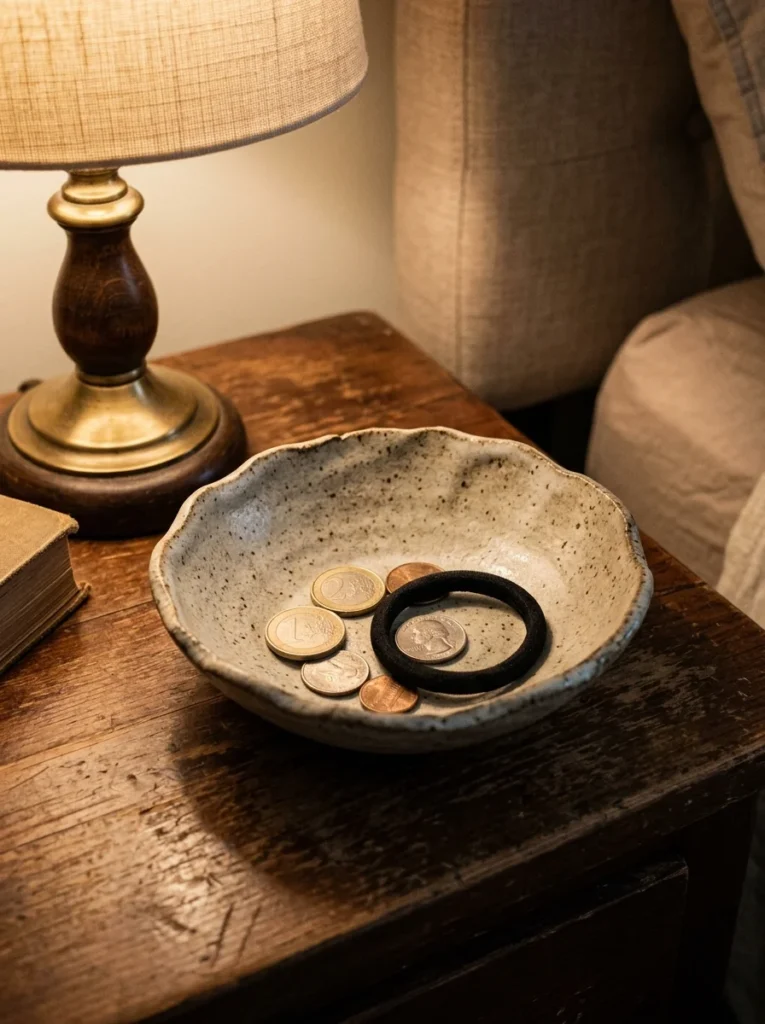
Perfectly round bowls take practice. Organic, irregular shapes don’t. Drape a flattened slab of clay over an upside-down bowl and let gravity do the shaping.
Once it firms up slightly, trim the edges into a wavy, natural line instead of a clean circle.
This is the easiest catchall you’ll ever make, and it looks intentional even when it’s not perfectly even.
Budget tip: Use a cereal bowl from your cupboard as the mold. No special equipment needed.
Place one by your front door for keys. Put another on your nightstand for rings and earrings.
Leave the glaze matte and neutral if you want it to blend into any room. Add a single bright color if you want it to stand out.
These bowls also make practical desk organizers for paperclips, pushpins, or loose change. Function and decor in one small project.
5. Carved Geometric Wall Tiles
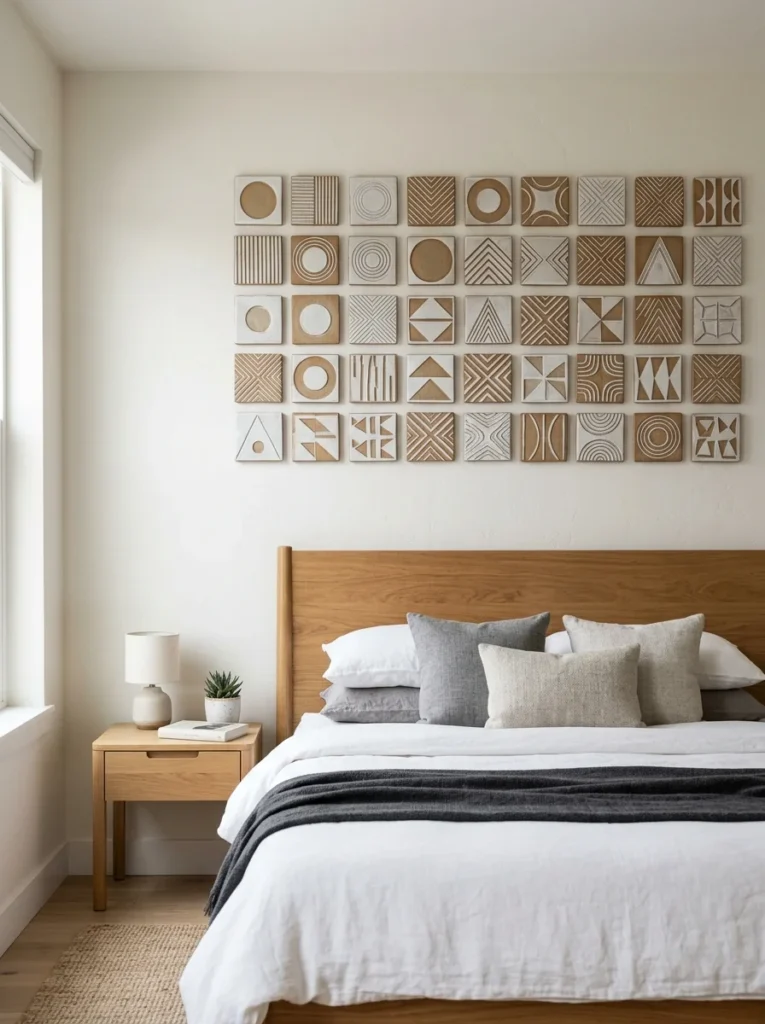
Wall tiles turn flat clay into gallery-style art. Roll out a slab, cut it into squares or hexagons, then carve simple lines, dots, or shapes into the surface while it’s still soft.
A toothpick or butter knife works fine for carving. You don’t need fancy tools.
Budget tip: Cut tiles using a cardboard template you trace from a cereal box. Free, reusable, and consistent every time.
Drill a small hole near the top before the clay dries completely. This lets you hang each tile with a nail or small hook later.
Arrange five or six tiles in a grid pattern on one wall. Mix patterns but keep the glaze colors similar so the whole thing feels connected.
This project costs almost nothing beyond clay and glaze, yet it instantly makes a blank wall feel finished. Great for renters who can’t paint walls but can hang lightweight tiles instead.
6. Ceramic Napkin Rings
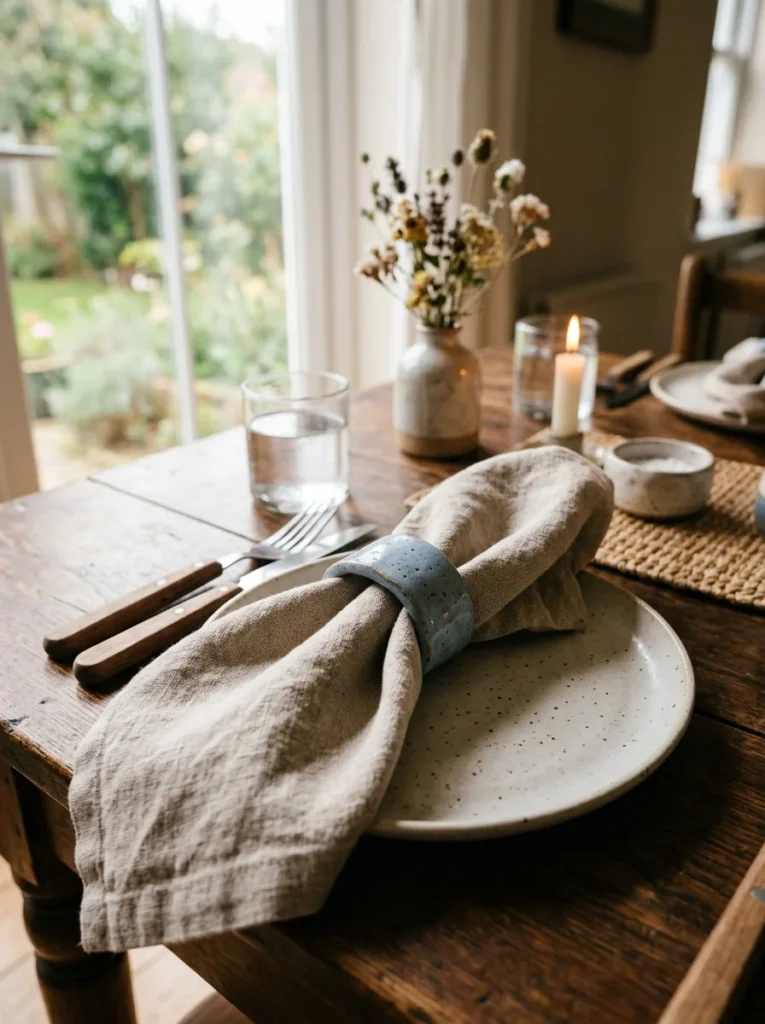
Napkin rings are tiny, fast, and a great way to use up leftover clay scraps. Roll a thin coil, wrap it around a paper towel tube, and pinch the ends together.
Let it dry on the tube so it keeps its circular shape.
Budget tip: This is the perfect project for using clay you’d otherwise throw away after a bigger project.
Add small texture by pressing lace, leaves, or burlap into the clay before it dries. The imprint stays even after firing or air-drying.
Make six or eight for a full table setting. They don’t need to match exactly. Slight variation looks handcrafted, not sloppy.
These also work as bracelet displays or curtain tie-backs if you’re not using cloth napkins often.
A set of these makes a thoughtful hostess gift for under five dollars in materials, especially if you already have leftover clay sitting around.
7. Stamped Soap Dishes
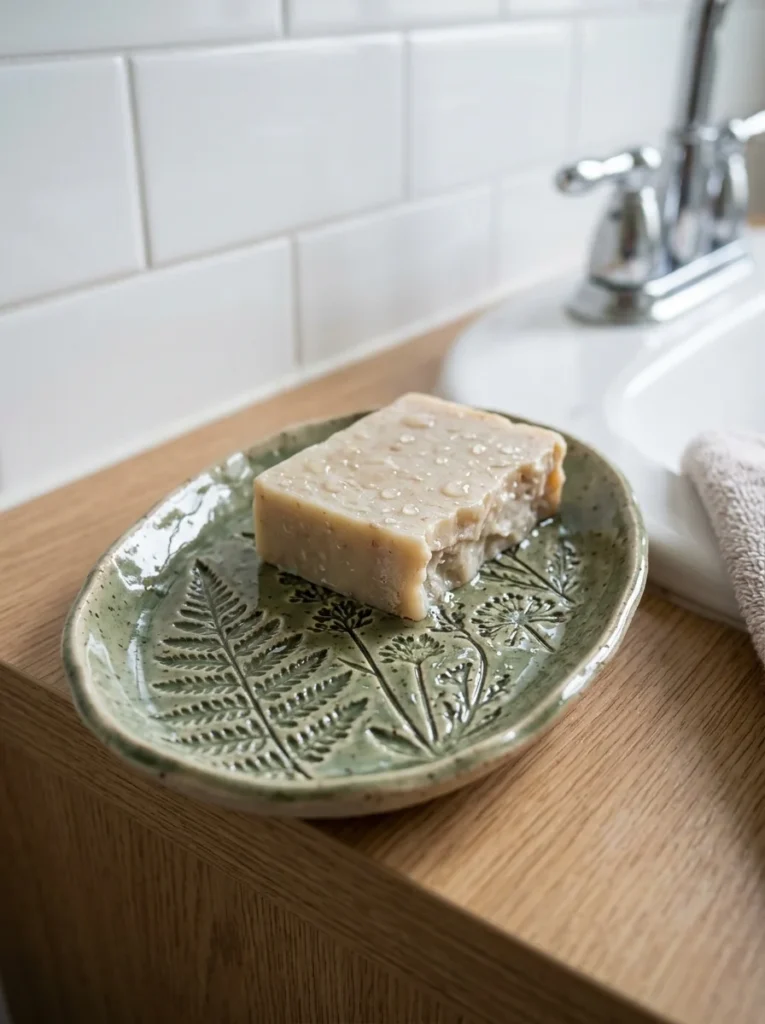
Soap dishes need one thing: drainage. Beyond that, they’re a fun way to practice stamping texture into clay.
Flatten a small slab, then press leaves, stamps, or even a fork into the surface for texture. Poke a few small holes through before it dries so water drains instead of pooling.
Budget tip: Use found objects from your yard as stamps. Leaves, twigs, even a textured rubber sole work great.
Curve the edges up slightly while the clay is still soft. This keeps soap from sliding off and gives the piece a more finished shape.
Glaze in a glossy finish for the bathroom. Glossy glazes resist water better than matte ones and clean up easier.
This is also a practical gift for new homeowners. Functional, handmade, and something they’ll use every single day without even thinking about it.
8. Abstract Ceramic Wall Hangings
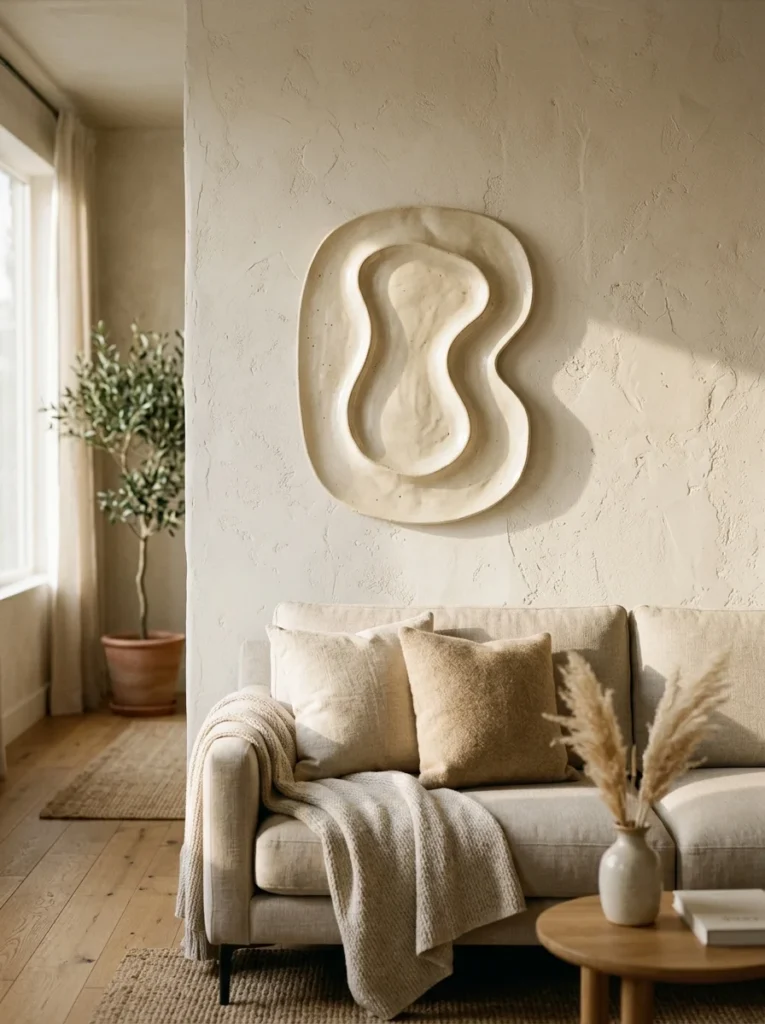
Wall hangings made of clay feel like sculpture, but they’re simpler than they look. Roll a slab and cut it freehand into an abstract, organic silhouette. Think wavy lines, not sharp corners.
Add a hole near the top for hanging before it dries.
Budget tip: Skip paint and glaze entirely. Raw, unglazed clay has a soft, sculptural look that fits modern decor without extra cost.
Keep the shape simple at first. One curved piece can look more polished than five small cutouts glued together.
Hang it above a sofa or bed where you’d normally put a framed print. It adds texture and shape without needing color to stand out.
This works particularly well in neutral rooms. The raw clay tone blends into beige, white, or cream color schemes without clashing with anything else in the space.
9. Mini Ceramic Spoon Rests
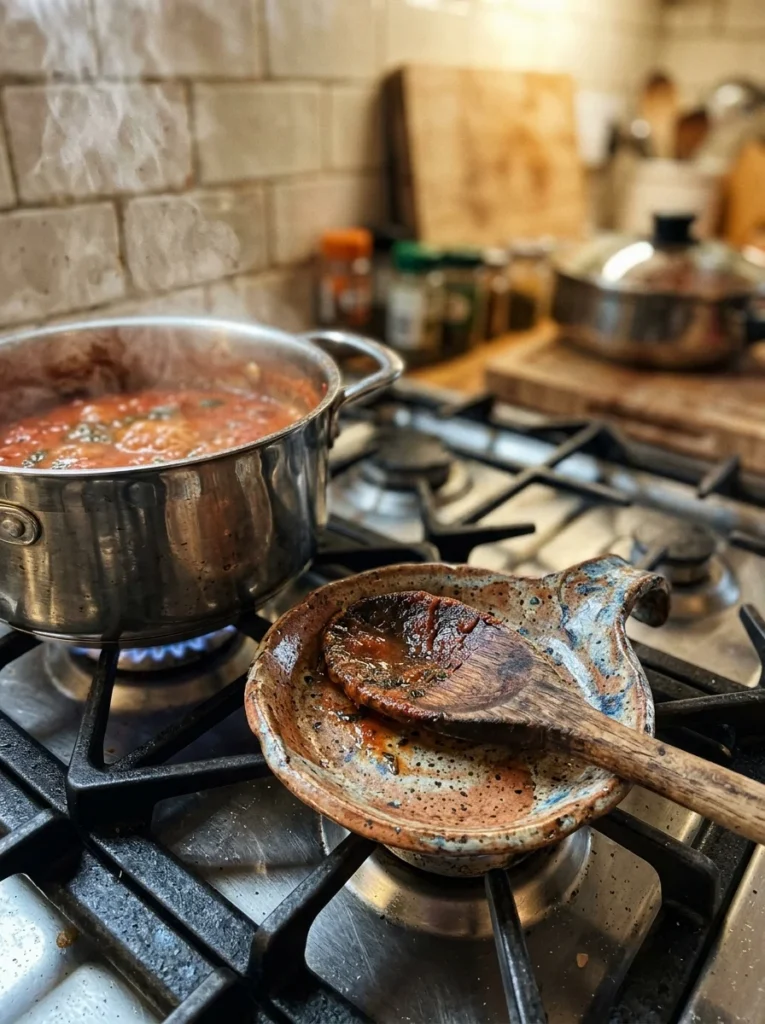
Spoon rests are small, practical, and quick to finish in one sitting. Flatten a thick oval of clay, then curl the edges up slightly so sauce or oil doesn’t drip onto the counter.
Add a small dip in the center using your thumb. This is where the spoon actually sits.
Budget tip: This uses barely any clay, so it’s a great way to practice glazing techniques without wasting material on a big project.
Try two-tone glazing by dipping just the edges in a contrasting color. It adds visual interest without much extra work.
These make excellent stocking stuffers or housewarming gifts. They’re useful immediately, no decorating required, and most people don’t already own one.
Keep a couple by your stove for everyday cooking. It’s a small upgrade that makes your kitchen counter look more put together.
10. Layered Color Drip Vases
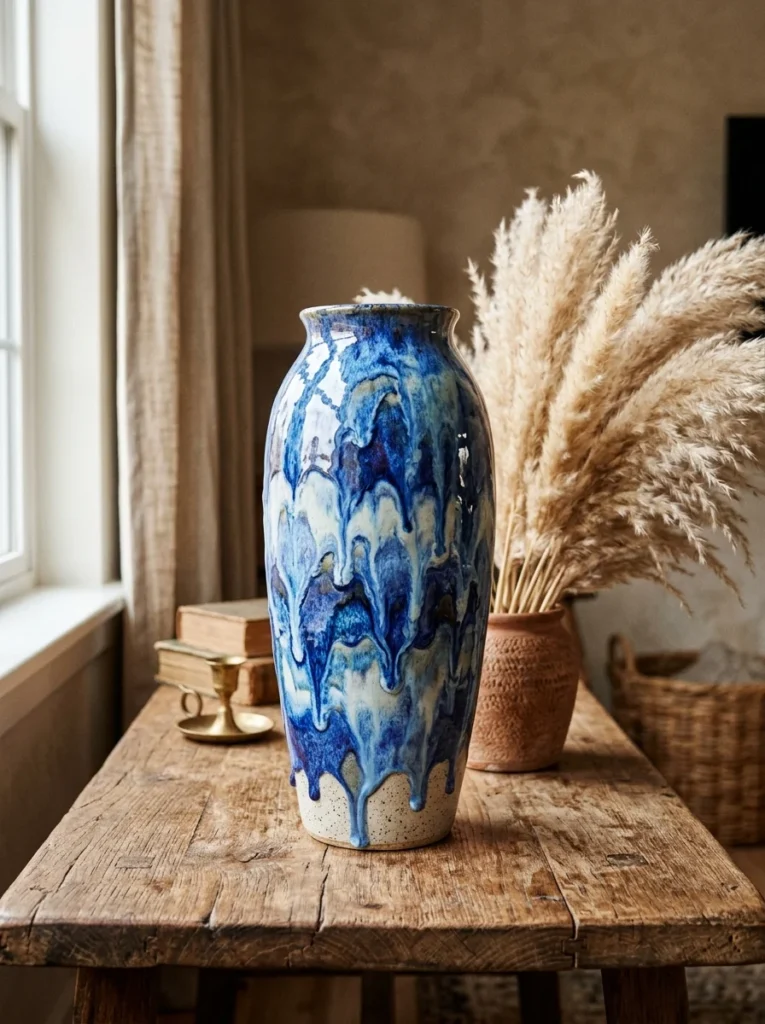
Drip glazing looks complex, but it’s mostly about layering, not skill. Apply your base glaze color first and let it dry. Then apply a second color only near the top of the vase.
When fired, the top glaze melts and runs down, creating that natural drip effect.
Budget tip: Buy small glaze sample jars instead of full-size bottles when testing new color combinations. Most pottery suppliers sell these for a couple dollars each.
Practice on a test tile first. Drip glazes behave differently depending on thickness, so a test run saves you from ruining a finished piece.
Pair a drip-glazed vase with simple dried stems like pampas grass or eucalyptus. The glaze becomes the star, so keep the florals minimal.
This technique turns even a basic cylinder vase into something that looks like it came from a boutique ceramics shop.
11. Stacked Ring Dishes
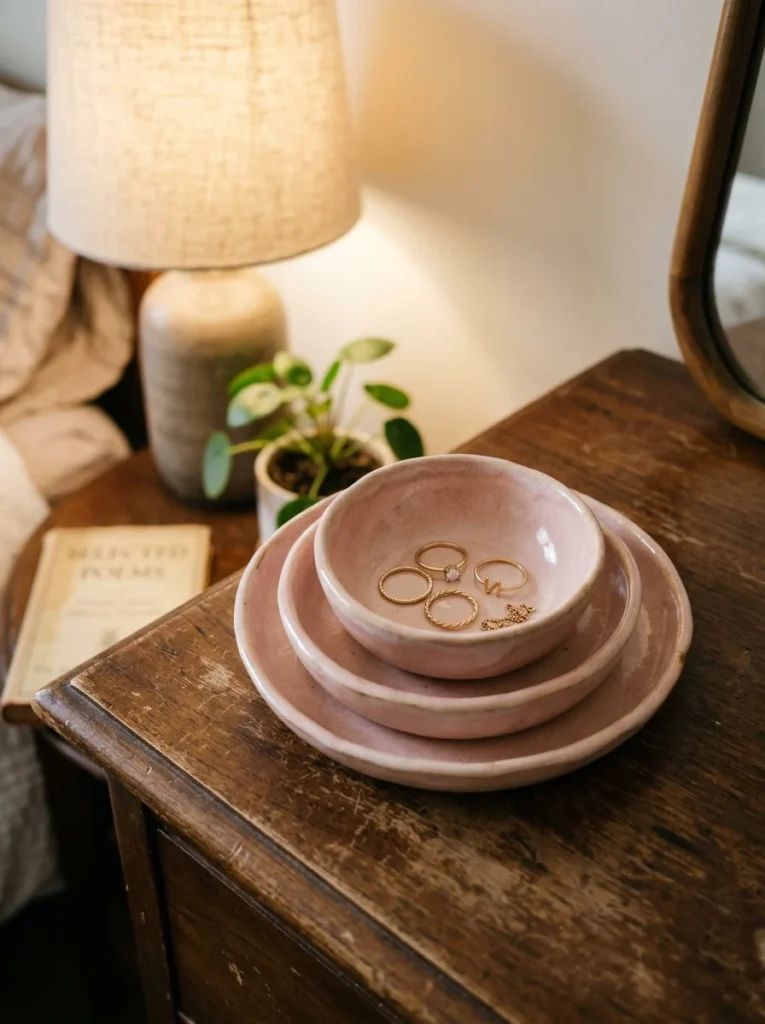
Stacked ring dishes are basically tiny bowls in graduated sizes. Make three pinch pots of decreasing size, then stack them like a small tiered tray.
You don’t need to attach them. Stacking loosely actually makes the dish easier to use day-to-day.
Budget tip: This project uses very little clay total, so it’s a smart way to practice shaping consistency across multiple small pieces.
Glaze each tier a slightly different shade of the same color family. Light to dark creates a gradient effect that looks deliberate.
These make great bridesmaid gifts or birthday presents. They’re personal, small enough to ship easily, and feel more special than something bought off a shelf.
Keep one set on your dresser for everyday jewelry. The tiered shape keeps rings separated from earrings, so you’re not digging through a tangled pile every morning.
12. Textured Candle Holders
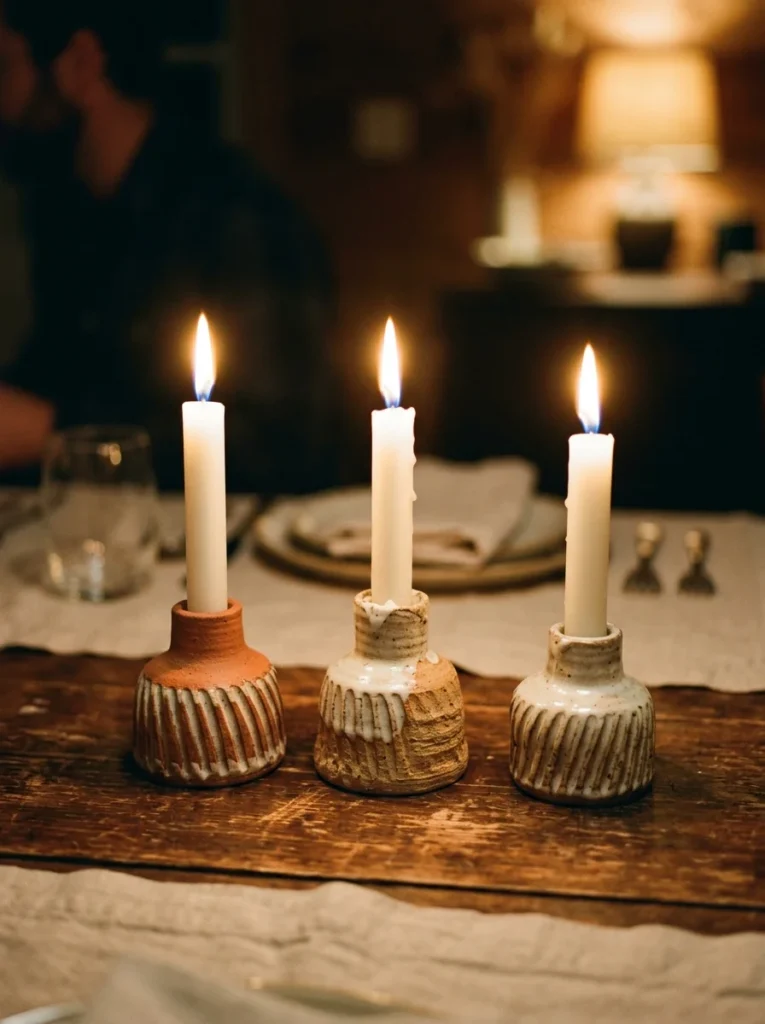
Candle holders need a stable base and a hole sized to your candle. Beyond that, the texture is where you get creative.
Roll a thick cylinder of clay, then carve vertical ridges or press a textured fabric against the surface before it dries. Hollow out the top just deep enough to hold a taper candle.
Budget tip: Use a wine bottle as a shaping guide for the base, then carve a candle-sized hole separately once the clay firms up.
Test the candle fit with a dry, unlit candle before glazing. Adjust the hole size if needed since clay shrinks slightly as it dries.
Group three different heights together down the center of a dinner table. Mismatched, textured candle holders look more interesting than a matching set from a store.
These also work well as standalone decor with candles removed, just sitting on a shelf for texture.
13. Hand-Painted Coasters
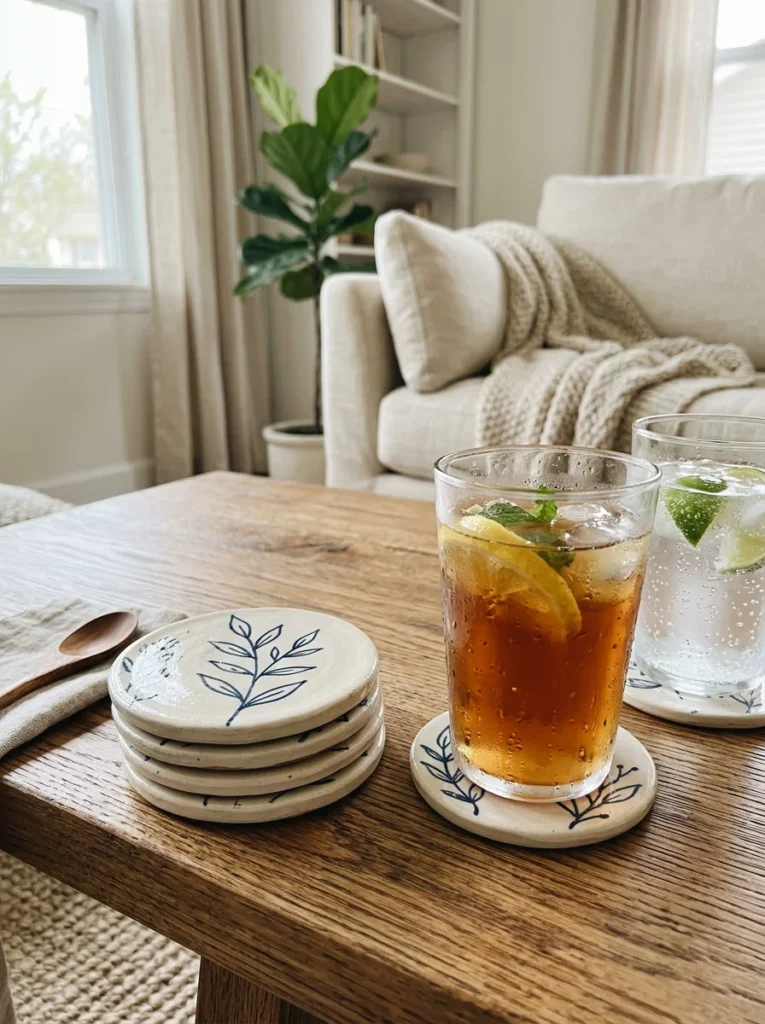
Coasters are flat, fast, and forgiving for beginners. Roll a slab, cut circles or squares using a cup or cookie cutter, and let them dry flat under a light weight so they don’t curl.
Paint a simple pattern using underglaze before the final glossy coat. Stick to one or two colors for a clean, cohesive look.
Budget tip: A single slab of clay can make a full set of six coasters. That’s one purchase covering an entire gift set.
Add small clay feet on the bottom corners. This lifts the coaster slightly and prevents scratches on wood furniture.
Seal with a clear glossy glaze to protect against water rings. This step matters more for coasters than almost any other project on this list.
A handmade set makes a simple, useful housewarming gift that costs very little but looks intentional and personal.
14. Wabi-Sabi Imperfect Mugs
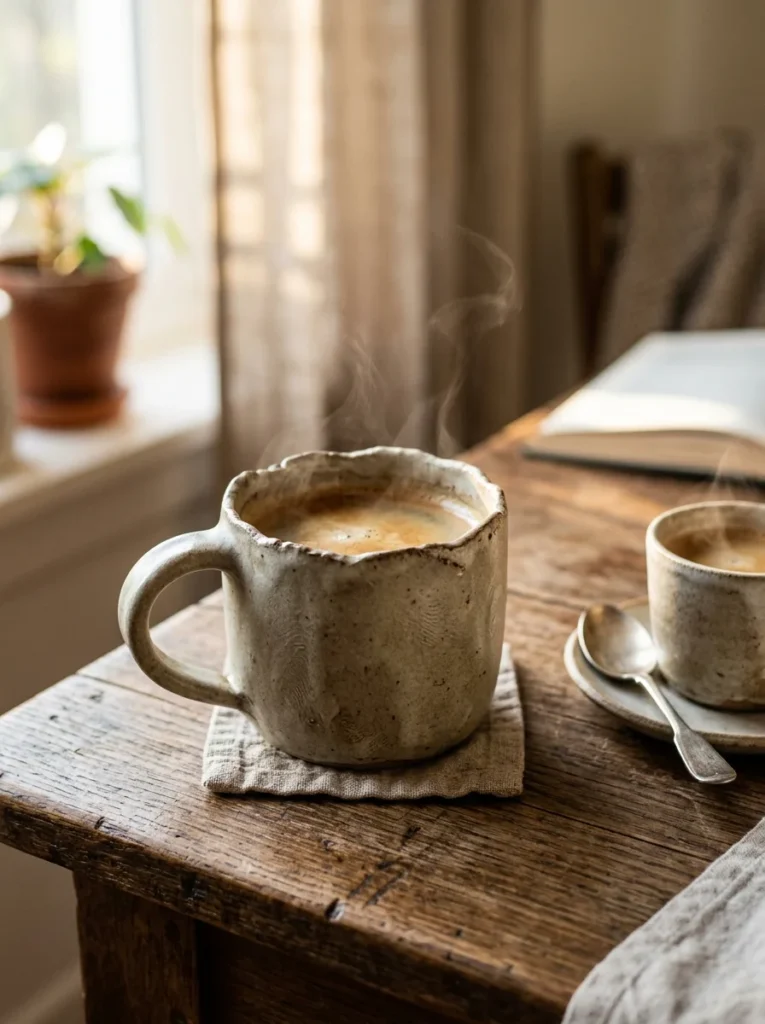
Wabi-sabi means embracing imperfection, which makes this the most forgiving mug-making method around. Coil-build the body using rolled ropes of clay stacked and smoothed together.
Don’t worry about a perfectly round rim. Slightly wavy edges are the entire point of this style.
Budget tip: Coil building requires no wheel, no special tools, and very little clay waste compared to other shaping methods.
Attach a simple pulled handle by scoring both surfaces and pressing them together firmly. Smooth the seams so it doesn’t crack during drying.
Leave visible fingerprints and slight asymmetry in the final piece. These details are what make wabi-sabi mugs feel handmade instead of mass-produced.
Use one for your morning coffee. Slightly imperfect mugs somehow make a daily ritual feel a little more grounding, even if that sounds dramatic for a coffee cup.
15. Decorative Ceramic Buttons
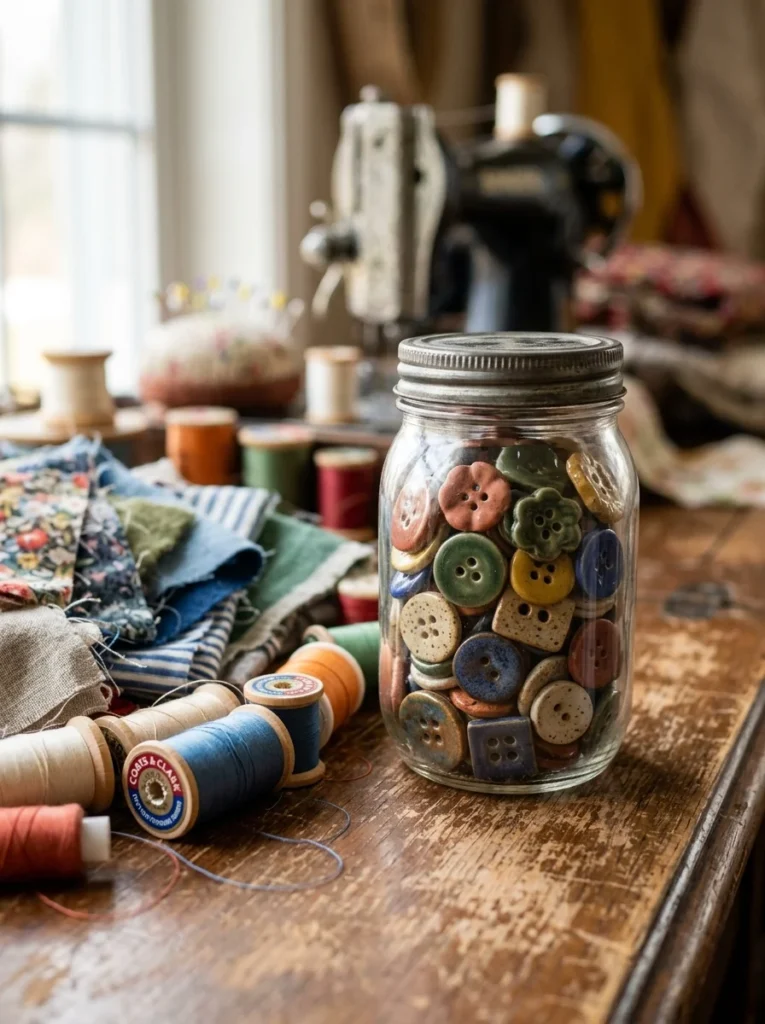
Ceramic buttons are a low-stakes way to practice small-scale glazing and shaping. Roll tiny flattened discs, then poke two or four holes through the center using a needle before drying.
Keep the thickness even, or thread won’t sit flush against fabric later.
Budget tip: This uses scrap clay leftover from bigger projects, so it’s essentially free beyond glaze.
Make a full batch of fifteen or twenty at once. Small pieces dry fast and fire efficiently in batches.
Sew finished buttons onto cardigans, tote bags, or throw pillows for a handmade detail that’s easy to miss until someone looks closely.
These also work as decorative magnets if you skip the holes and glue a magnet to the back instead.
A jar of mismatched ceramic buttons makes a charming, low-cost gift for anyone who sews or crafts regularly.
16. Sculptural Fruit Bowls
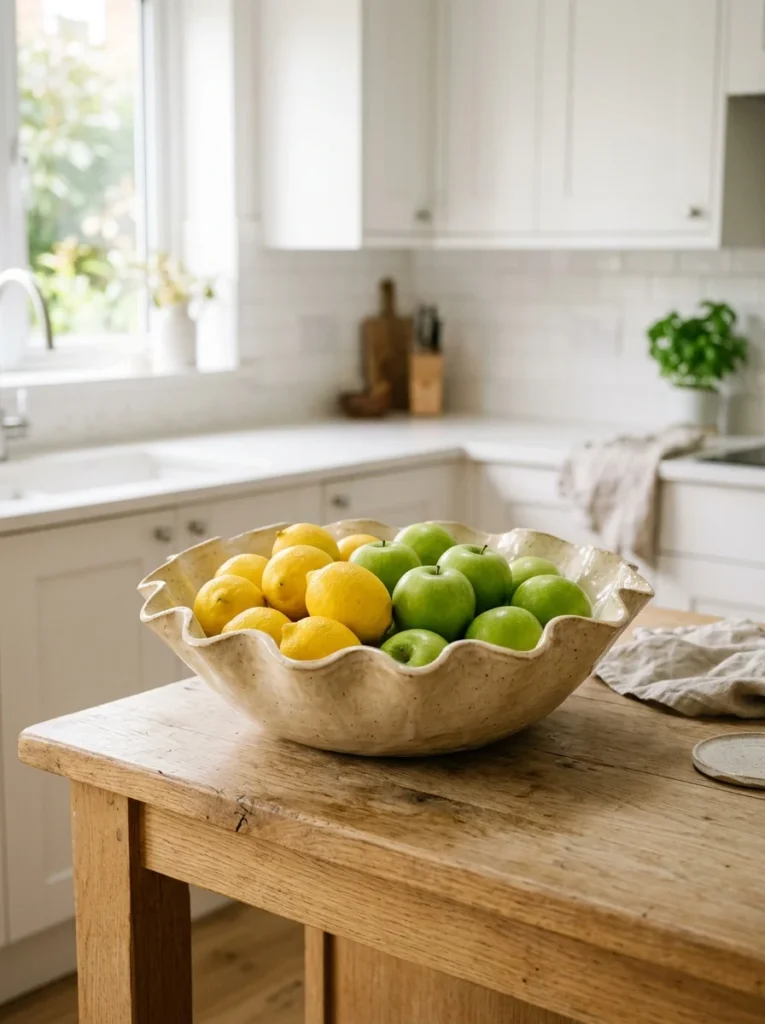
A fruit bowl gets used daily, so make it sturdy. Coil-build or slab-build a wide, shallow base, then shape the rim into soft waves instead of a flat circle.
Let it dry slowly and evenly to avoid cracking, since this piece is larger than most beginner projects.
Budget tip: Larger pieces use more clay, so buy in bulk to lower your cost per pound significantly.
Keep walls slightly thicker than usual for stability. Thin walls on big pieces tend to warp or crack during drying.
Glaze in a warm neutral tone that won’t clash with whatever fruit you’re storing. Cream, tan, or soft green all work well here.
Place it center stage on your kitchen island. A handmade fruit bowl does double duty as both storage and a centerpiece, no extra decor needed.
17. Mini Ceramic Planter Wall Set
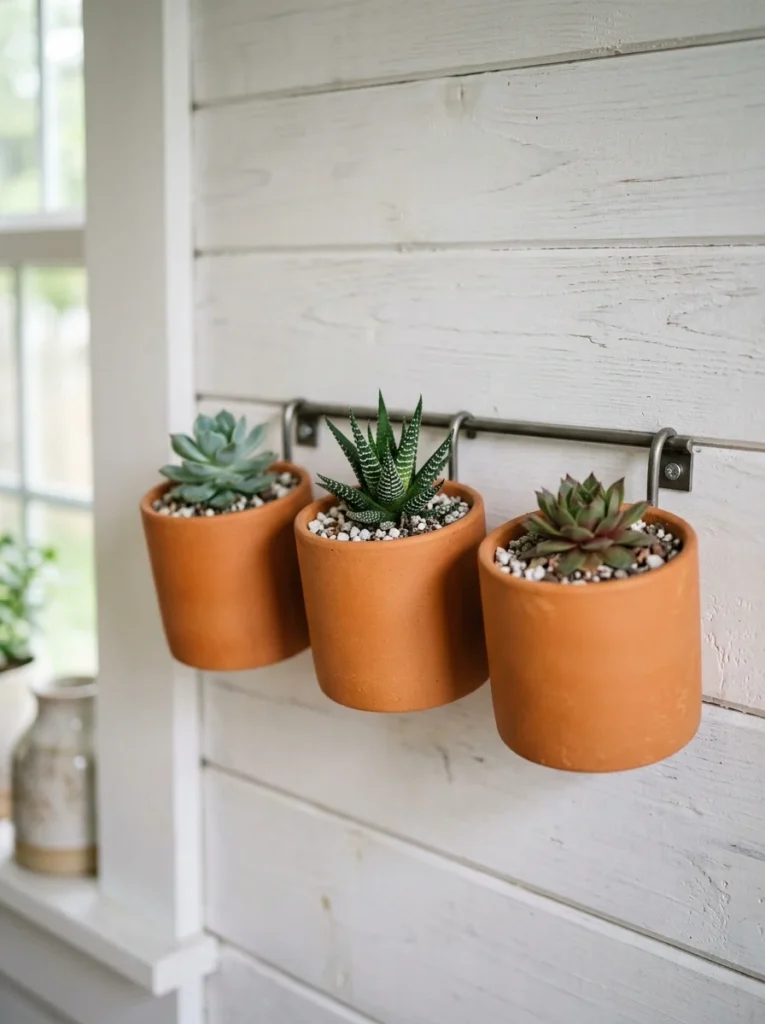
Wall planters save counter space and add greenery without taking up a single inch of surface area. Shape small half-cylinder pots with a flat back side instead of a rounded bottom.
Drill a mounting hole through the flat back before the clay fully dries.
Budget tip: Three small planters use less clay combined than one large pot, making this a cost-efficient way to add multiple decor pieces.
Mount them in a horizontal row at varying heights for visual rhythm. Use small screws or adhesive hooks depending on your wall type.
Fill with tiny succulents or air plants that don’t need much soil depth. These low-maintenance plants suit shallow wall planters perfectly.
This project works especially well in small apartments where floor and counter space stay limited but wall space sits empty and unused.
18. Etched Pattern Dinner Plates
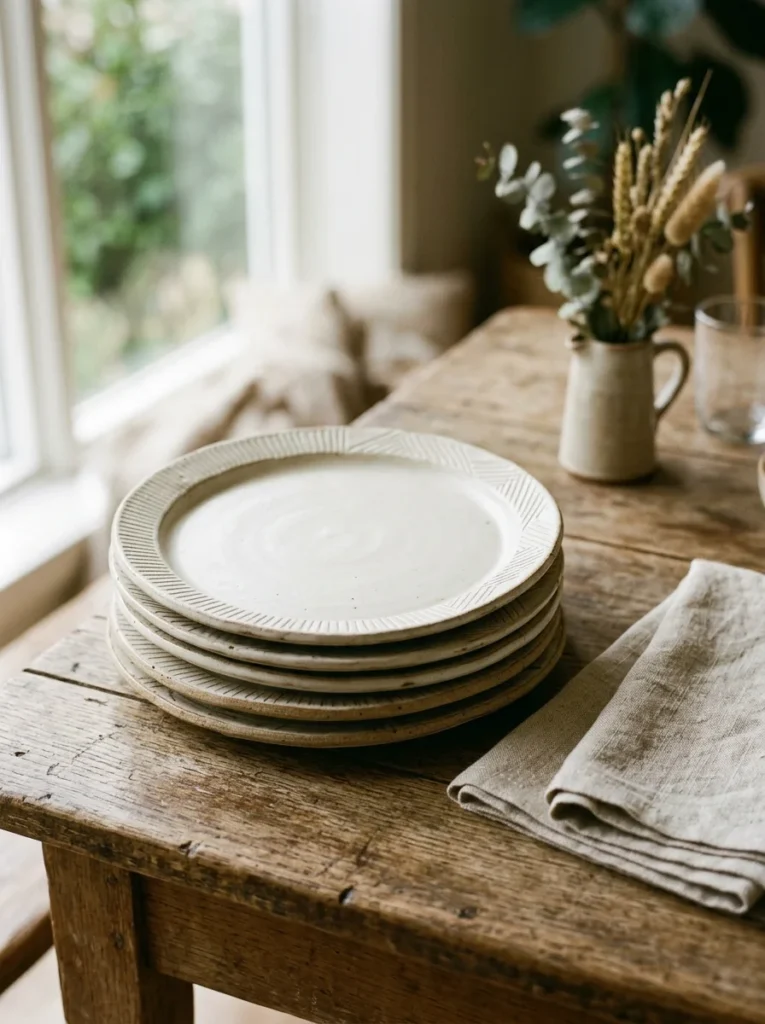
Plates take patience because they need to dry completely flat. Roll a slab, drape it gently over a slightly curved mold, and trim the edges into a clean circle.
While the clay firms up, etch a simple repeating pattern around the rim using a fine tool or toothpick.
Budget tip: Practice etching on scrap clay first. Pattern spacing is the hardest part to get right, and mistakes are easy to fix before the real plate.
Dry plates slowly, flipping occasionally, to prevent warping. This step matters more for flat pieces than almost anything else on this list.
Keep the etched pattern simple, like dots, lines, or small leaves repeated evenly. Complex designs are harder to keep consistent by hand.
A set of four handmade plates makes a striking centerpiece for a dinner party, even if you serve something as simple as pasta.
19. Ceramic Drawer Pulls
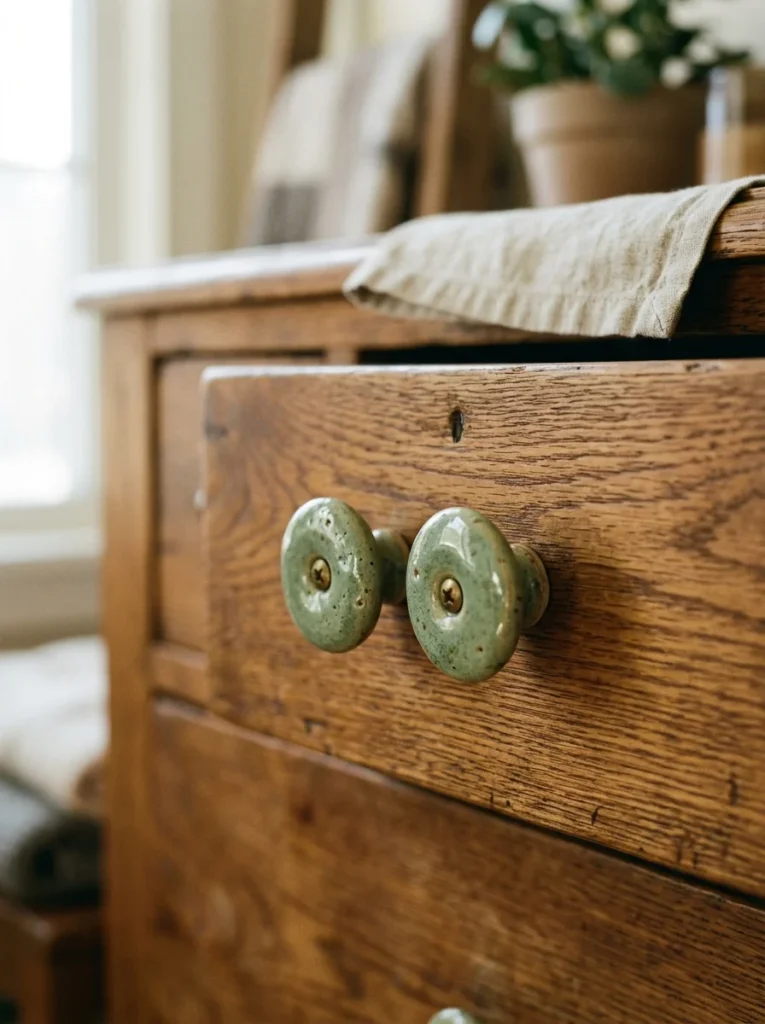
Swapping plain hardware for ceramic knobs is one of the cheapest ways to update old furniture. Shape small domed or cylindrical knobs, then push a screw-friendly hole through the back before drying.
Keep sizing consistent if you’re making a full set for one piece of furniture.
Budget tip: This project costs less than buying new designer knobs from a hardware store, often by a wide margin.
Use a screw and washer combo to attach finished knobs once glazed and fired. Test fit with a spare screw before final installation.
Pick a glaze color that contrasts with your furniture’s finish. Sage green or dusty blue against dark wood creates noticeable contrast without repainting anything.
This is one of the most practical pottery projects on this list. It transforms an entire dresser’s look using only a handful of small clay pieces.
20. Decorative Incense Holders
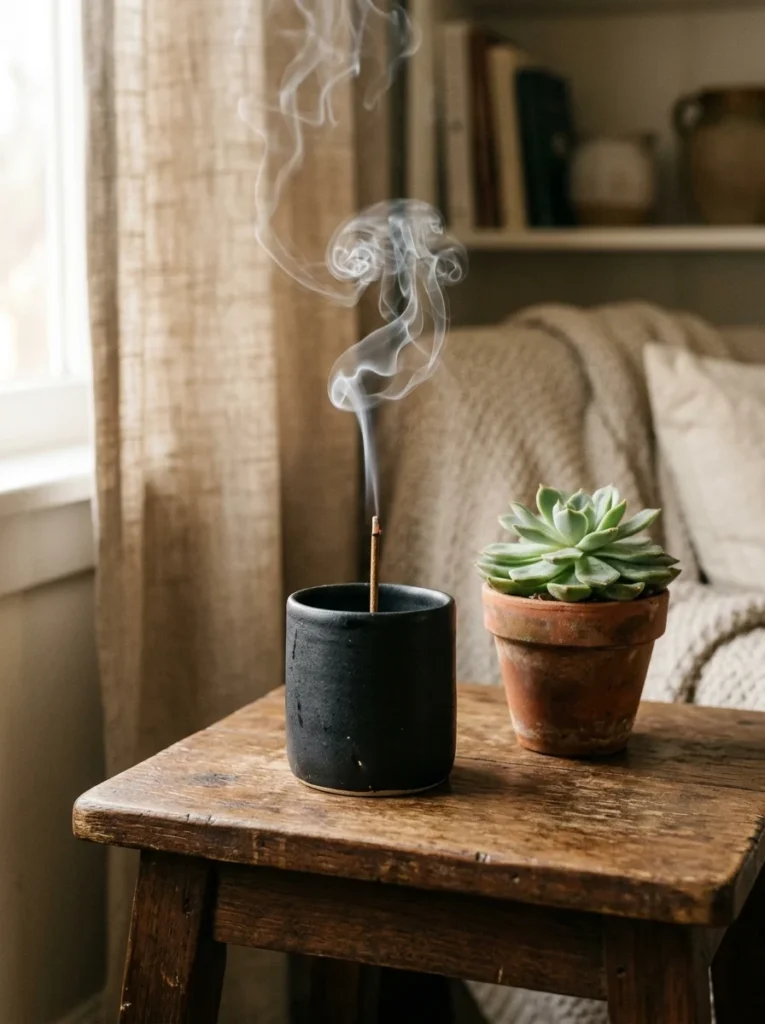
Incense holders need one small hole sized to fit a standard stick, plus a wide enough base to catch falling ash. Shape a simple flat or curved tray and poke the hole at one end.
Keep the catching area at least three inches wide so ash doesn’t land on furniture.
Budget tip: This is a single-sitting project that uses very little clay, perfect for using up small leftover amounts.
Curve the tray slightly upward at the edges. This contains ash better than a completely flat surface.
Glaze in matte black or deep charcoal for a calming, minimalist look that fits most decor styles without standing out too much.
Place it on a nightstand or shelf where you unwind. It’s a small object, but it adds a quiet ritual moment to an everyday routine.
Conclusion
Pottery doesn’t ask for much to get started. A bag of clay, a few basic tools, and an afternoon are enough to make something you’ll actually use every day. These 25 ideas range from five-minute trinket dishes to bigger weekend projects like fruit bowls and wall clocks, so there’s room to start small and build up your skills over time. None of this requires expensive equipment or a dedicated studio. A kitchen table works just fine. Pick one idea that fits your current skill level, gather your materials, and give it a try this weekend. The first piece probably won’t be perfect, and that’s part of what makes it feel handmade. Once you see how little it costs to fill your home with one-of-a-kind ceramics, it’s hard to go back to store-bought decor.
