

You don’t need an oven. You don’t need a kiln. You don’t even need a lot of space.
Air dry clay is one of the most beginner-friendly craft materials on the planet, it hardens completely on its own, right on your kitchen table. No heat required. Just shape it, set it aside, and let time do the rest.
Whether you want to make jewelry, home décor, or thoughtful handmade gifts, this guide walks you through exactly how to work with air dry clay from start to finish, without ever turning on your oven.
What You’ll Need Before You Start
Keep it simple. Air dry clay projects don’t require a big supply haul. Here’s what actually matters:
- Air dry clay, brands like Crayola, DAS, or Modeling Clay from any craft store work well
- A smooth rolling surface, a silicone mat, parchment paper, or a clean cutting board
- Basic tools, a rolling pin (or smooth cup), a toothpick, a small knife, and a damp sponge
- Acrylic paint, for decorating once dry
- Mod Podge or clear sealant, to protect the finished piece
- A small bowl of water, your most important tool for smoothing cracks
That’s genuinely all you need to get started. Most of these things are already in your home.
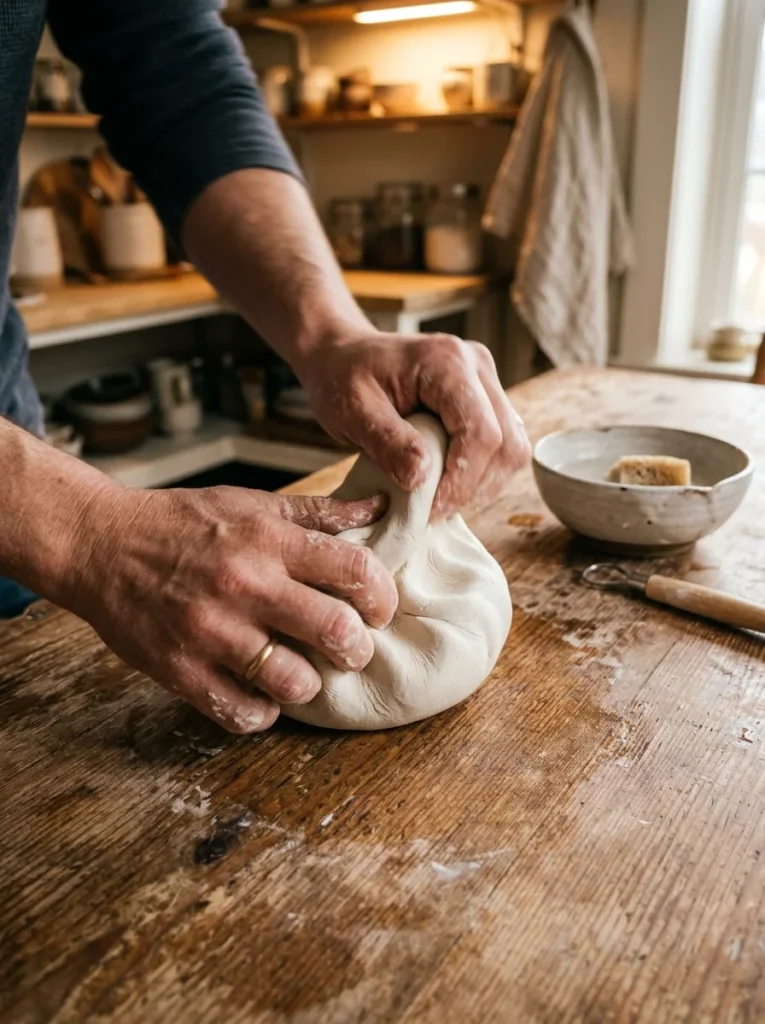
Step 1: Prepare Your Clay the Right Way
Take your clay out of the package and knead it gently for one to two minutes. This warms it up and makes it easier to shape without cracking.
If the clay feels dry or stiff, dip your fingers lightly in water and work it through the clay slowly. Don’t add too much water at once, it makes the clay sticky and hard to control.
Pro tip: Keep unused clay wrapped tightly in plastic wrap or inside a sealed zip-lock bag. Air dry clay begins hardening the moment it’s exposed to air, so even a few minutes uncovered can dry the surface out.
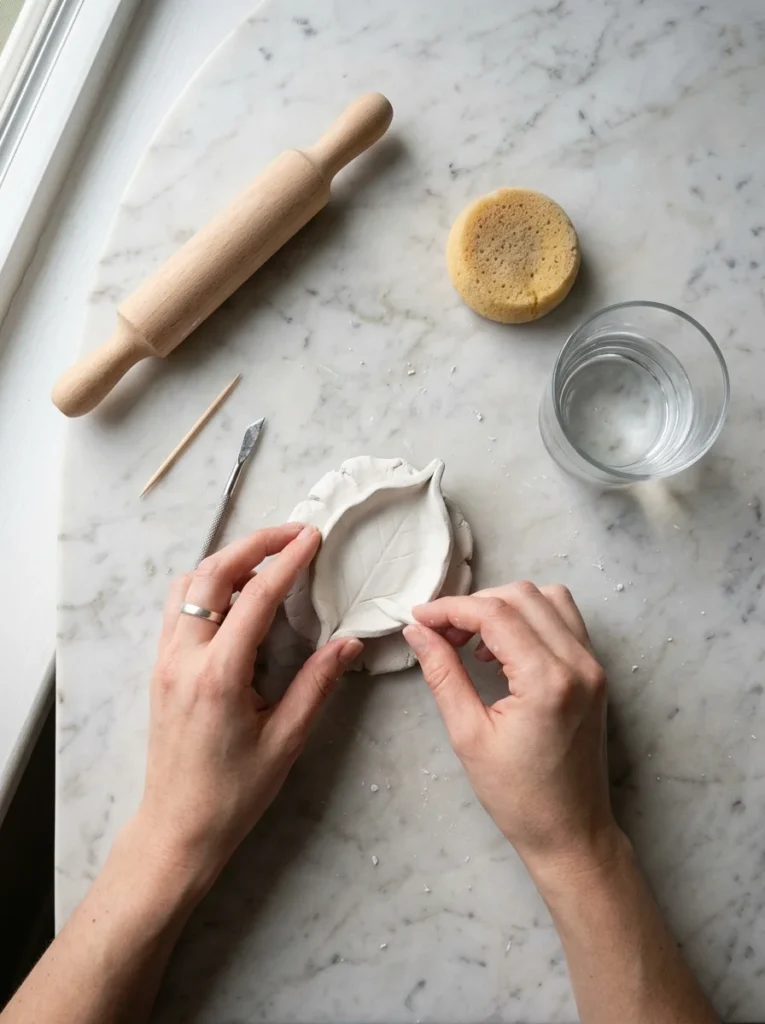
Step 2: Shape Your Project
This is where the fun begins. Roll your clay flat with a rolling pin to an even thickness, about half a centimeter for flat pieces like coasters or earrings, and thicker for three-dimensional pieces like pots or figurines.
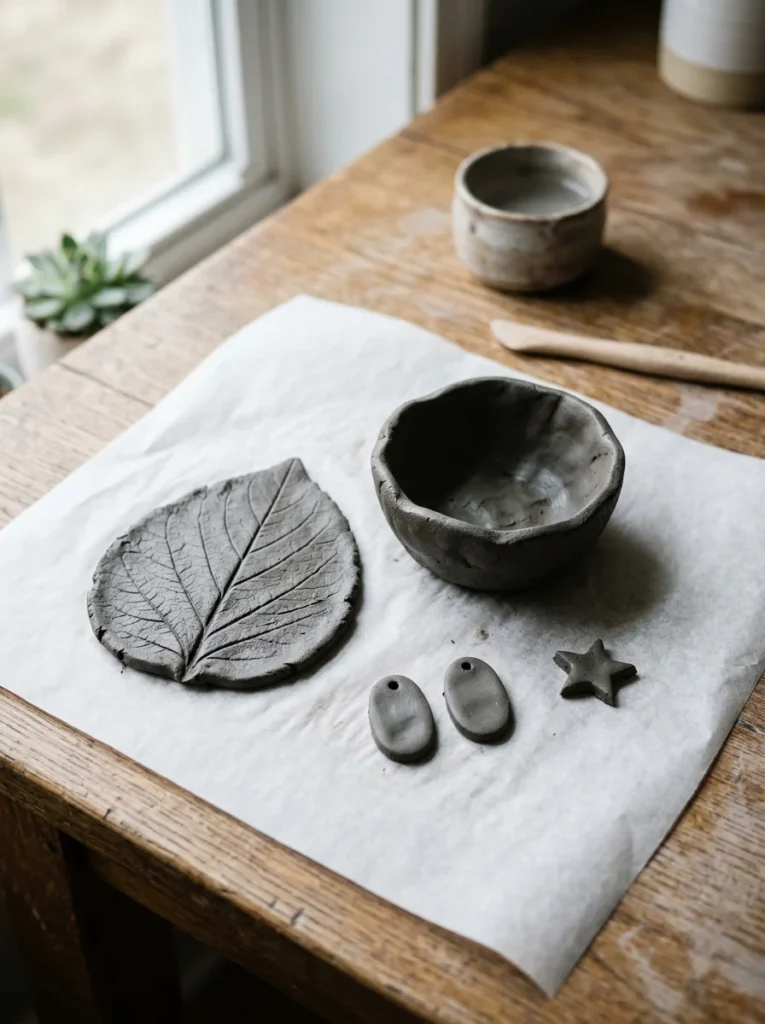
A few beginner-friendly shapes to try:
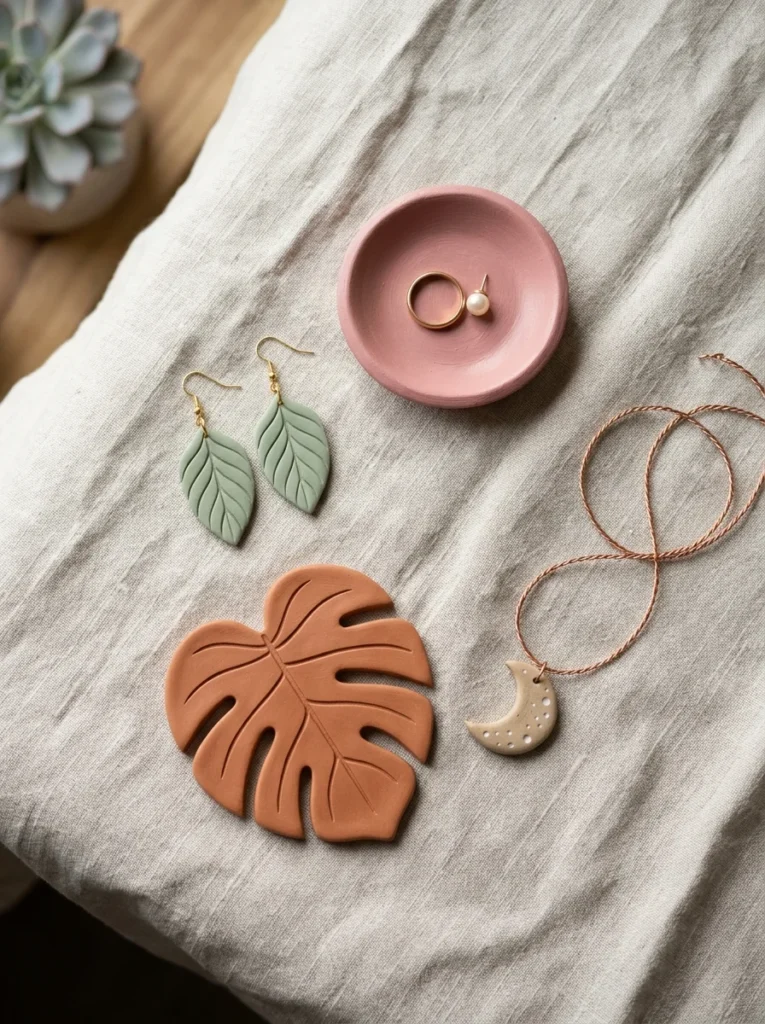
- Flat circles or ovals for earrings or pendants
- Small pinched bowls for ring dishes
- Rolled coils stacked into a simple pot
- Flat slabs with leaf impressions pressed in for coasters
Use a toothpick to add texture, details, or carved lines while the clay is still soft. Use a damp finger to smooth joins and cracks. The smoother you get the surface now, the less sanding you’ll need later.
Step 3: Let It Dry Without the Oven
Here’s the part most beginners get wrong: rushing the drying process.
Air dry clay needs 24 to 48 hours to dry fully, sometimes longer for thick pieces. Place your finished piece on a flat, non-stick surface like parchment paper or a wire rack.
Tips for drying without warping or cracking:
- Flip flat pieces halfway through drying so both sides dry evenly
- Don’t place clay near a heat source, rapid drying causes cracks
- Cover thick pieces loosely with plastic wrap for the first few hours to slow the drying and reduce cracking
- Let it dry at room temperature in a place with decent airflow
Resist the urge to speed things up with a hairdryer or oven. It almost always causes cracking along the surface.
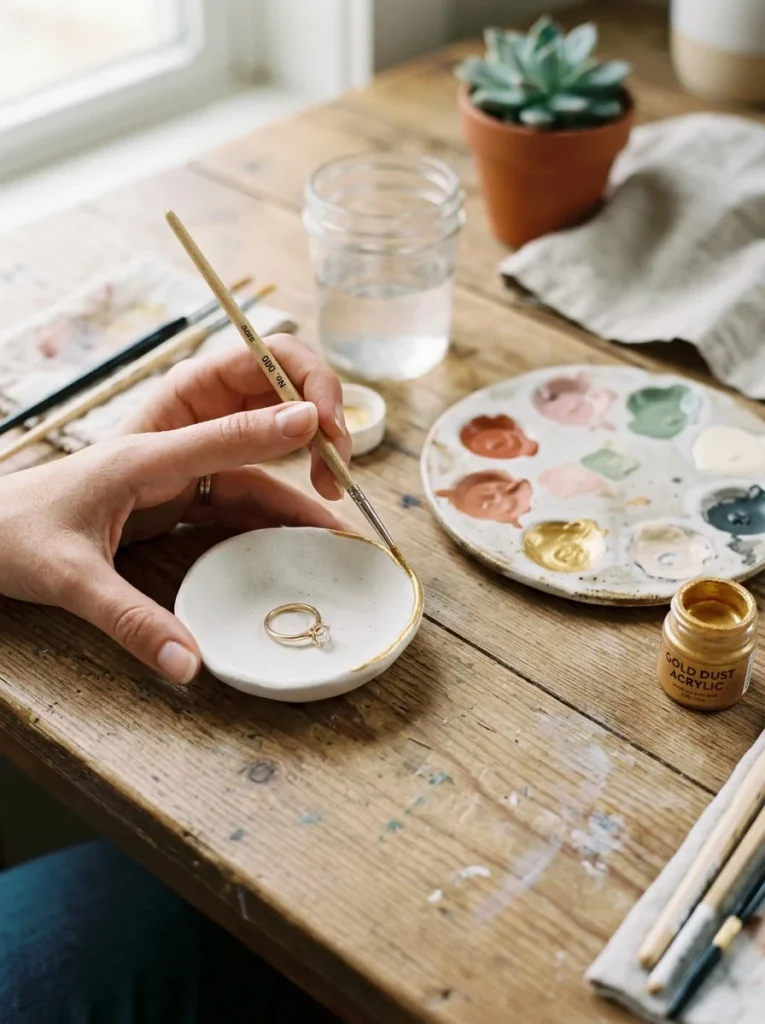
Step 4: Sand, Paint, and Seal
Once fully dry, your clay piece will feel hard and slightly chalky. This is normal.
Lightly sand any rough edges with a nail file or fine-grit sandpaper. Wipe away the dust with a dry cloth.
Now paint. Acrylic paint works perfectly on air dry clay. Apply a base coat first, let it dry, then add detail work or a second color.
Simple paint techniques that look impressive:
- Dry brushing, load a brush with paint, wipe most of it off, then brush lightly over textured surfaces for a highlighted effect
- Color blocking, paint the inside one color and the outside another
- Gold edging, run a gold paint pen along the rim of bowls or coasters for an instant polished look
Once your paint is fully dry, seal the piece with two coats of Mod Podge. This protects the paint, adds a finished look, and makes the clay more water-resistant for light use.
Common Mistakes to Avoid
Even simple projects go wrong when these things happen:
- Adding too much water, makes the clay gummy and hard to shape
- Making pieces too thin, thin legs, tails, or handles always crack when drying
- Skipping the sealant, unsealed clay absorbs moisture and can soften over time
- Not smoothing joins, two pieces pressed together without scoring or dampening will pull apart as they dry
Small mistakes are part of the process. Every crack and wobble teaches you something for the next piece.
Your First Project Starts Today
Air dry clay is forgiving, affordable, and genuinely satisfying to work with. You don’t need baking, special equipment, or experience. You just need a pack of clay, a clear afternoon, and a little patience while it dries.
Save this guide and try your first project this weekend. Start with a simple pinch pot or a pair of earrings, something small enough to finish in one sitting. Once you hold a finished piece you made with your own hands, you’ll want to make ten more.
That’s the thing about air dry clay. It’s hard to stop at just one.